
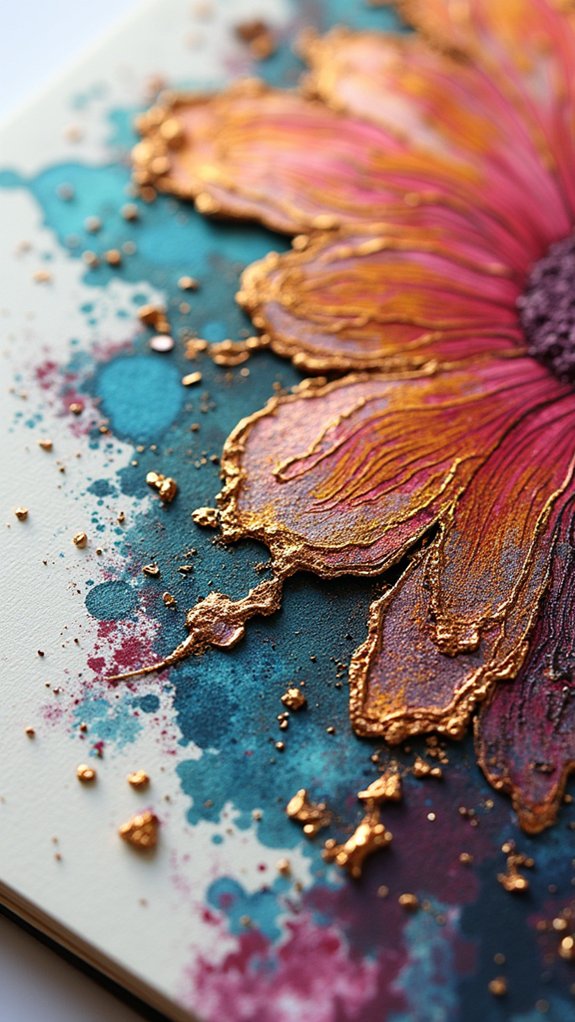
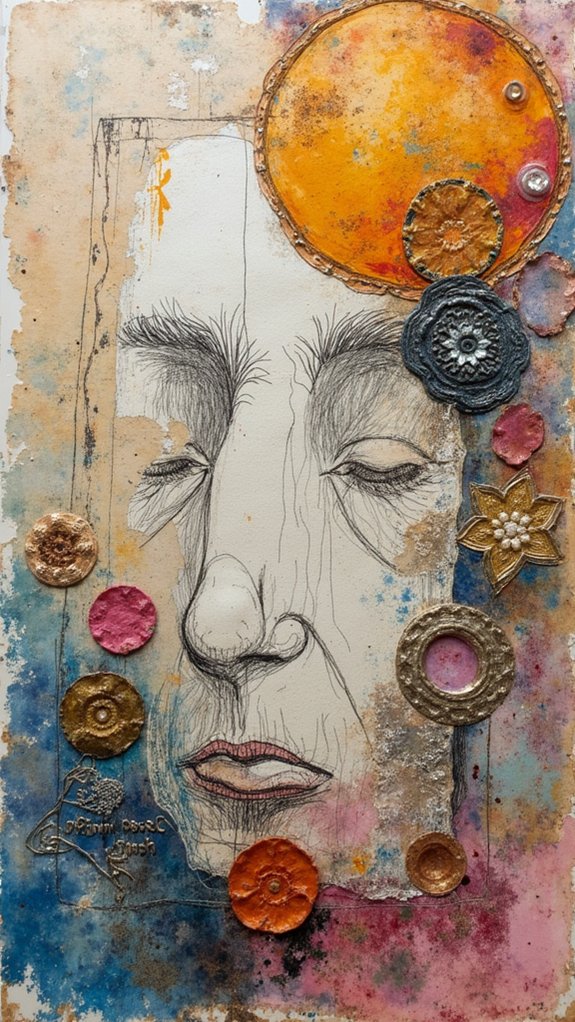
Bringing texture into a sketchbook makes every page feel like an adventure, loaded with surprises and new ideas. Artists can layer handmade papers, glue on fabric scraps, or scumble with colored pencils for quick visual magic. Stamps, salt with ink, and even hole punches add awesome patterns or hidden details. With mediums like gel or sponges, the page can get bumpy, smooth, or somewhere in between—seriously, it’s way more fun than it sounds. Curious what else can spice up your sketchbook?
Key Takeaways
- Layer handmade papers, fabrics, and transparent overlays for rich, multi-dimensional sketchbook textures.
- Apply textured gel mediums or thick acrylic paint with palette knives for tactile, touchable surfaces.
- Use natural object rubbings or found texture transfers to introduce organic patterns and surprise elements.
- Add washi tape, cut-outs, or hole punches for crisp lines, peekaboo effects, and playful layering.
- Experiment with custom rubber stamps or sponging techniques to create unique, patterned backgrounds and details.
Layering Handmade and Patterned Papers

Dive right in—layering handmade and patterned papers is like giving your sketchbook pages a secret life!
Want to add layers and create visual interest that’ll make people gasp? Try using various colors and patterns from gel-printed or handmade papers. Seriously, it’s like throwing a paper party right on your pages.
Want to go wild? Mix tissue, thick card, or even pieces with weird textures. Stick them down with a clear drying adhesive like matte medium so everything stays smooth—no one loves lumpy surprises.
Overlap your pieces, cut fun shapes, or even make peekaboo windows. Each layer is a new surprise, giving your art amazing depth.
And if someone runs their hand across the page? They’ll feel those textures and wonder how you did it!
Scumbling for Visual Texture
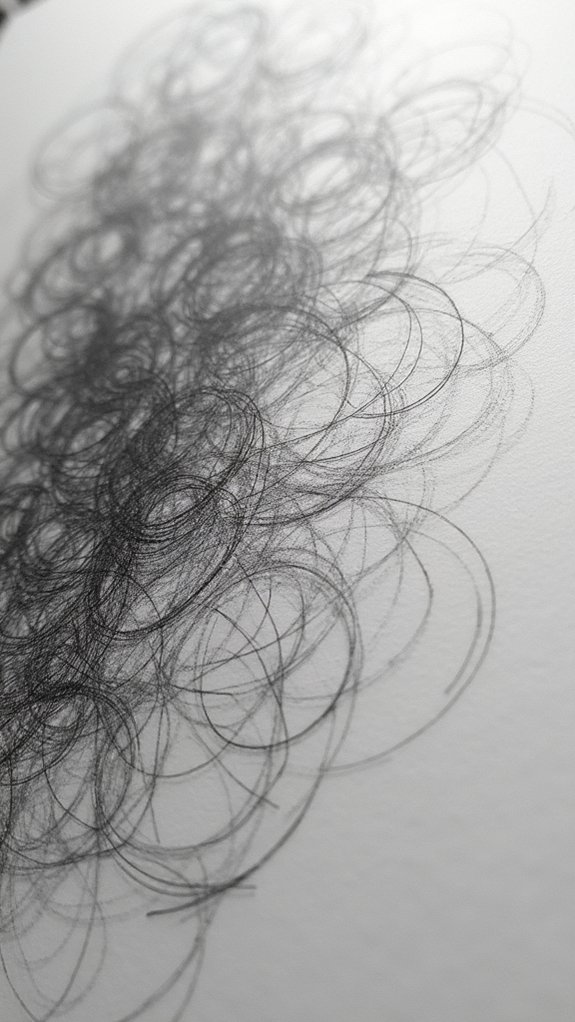
When it comes to adding visual texture fast, scumbling is like the sneaky trickster of art techniques—suddenly, a flat patch of color gets a whole new life.
Scumbling means going over a spot with a dry brush or pencil, laying down multiple layers, and catching the rough bits of the paper below. It’s magic for showing depth, or for making your trees and clouds look a little bit wiggly, wild, and real.
Here’s why scumbling has everyone excited:
- You can stack colors and values, blending them into a rich texture that feels alive.
- Light pressure at first, then build it up—watch that texture bloom.
- Different paper? New results! Each surface gives your scumble a unique vibe.
Scumbling truly turns dull into dynamic—super quick.
Transferring Found Textures

Stepping away from scumbling’s magic, artists can look outside their sketchbook for a whole new world of texture—literally.
Transferring found textures is almost like borrowing fingerprints from the world around you. Place a sheet of thin, high-quality laser or inkjet paper over something bumpy—maybe that ancient wood floor or even a brick wall.
Hold it steady, grab a blunt pencil (so it doesn’t snap under enthusiastic pressure!), and start rubbing. Light pressure gives a whisper of texture, while heavy pressure cranks it up for a bold effect.
Try layering two different colors as you rub across the grain—it’s like your texture just leveled up in 3D! This simple, hands-on transfer method turns everyday surfaces into awesome sketchbook surprises.
Collage Using Fabric Scraps
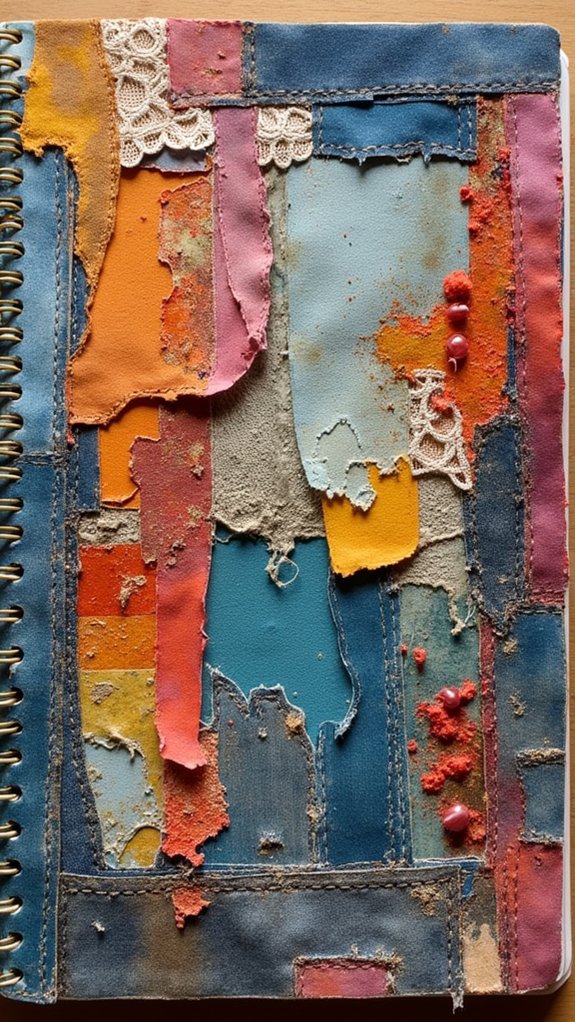
Some art ideas are so fun, it’s almost unfair—collaging with fabric scraps is one of those. Grabbing old cotton, lacy trimmings, or even a wild scrap of polka-dotted burlap feels a bit like hunting for treasure.
Fabric scraps can totally change the look of a sketchbook page, bringing an explosion of texture and patterns that add depth in ways plain paper can’t.
When jumping into Mixed Media collages, young artists can:
- Pick fabric scraps that match the color palette or theme for a pulled-together vibe
- Layer fabrics—think burlap over cotton or lace peeking out—to create crazy cool dimension
- Mix in paper, ticket stubs, or tiny oddities for extra flair
A dab of clear matte medium holds everything tight, keeping those dreamy textures in place.
Textured Gel Medium Application

Talk about a way to make your sketchbook pages pop—textured gel medium can turn a flat surface into a bumpy terrain that begs to be touched.
By spreading the gel on thick (or thin!) and swirling it around, artists can sculpt peaks, valleys, and even squish in bits of collage for cool surprise details hiding in the texture.
It’s like giving your art a secret handshake, and once everything’s dry, the possibilities for painting or adding more stuff are pretty much endless.
Creating Dimensional Surface Effects
Every sketchbook artist knows there’s a thrill in watching a flat page jump to life, and that’s exactly what happens when textured gel mediums get involved.
Suddenly, what was just paper is now a wild terrain of peaks and valleys—all thanks to the magic of a palette knife and some textured gel. It may look like frosting a cake, but don’t eat it!
Here’s how artists make their surfaces pop:
- Use a clean palette knife or brush to spread textured gel mediums, creating exciting raised designs.
- Try layering the gel, letting each layer dry before adding more, to build surprising depth and cool patterns.
- Once everything’s dry, swipe on acrylic paint to make the texture stand out—even more fun than drawing on a boring, flat page!
Embedding Collage Elements
Collage lovers, get ready—embedding bits and pieces into sketchbook pages with textured gel medium feels a bit like building your own secret world.
First, dabbing that gel medium beneath your collage elements isn’t just for fun; it keeps the art firmly stuck down, stopping any sneaky bubbles or ominous wrinkles from ruining your vibe.
Smoothing things out with a silicone spreader, or even your retired lunch card, adds a professional touch (and maybe a little drama if you go too fast).
Waiting for everything to dry can feel like forever, but patience pays off—the textures get locked in tight.
By layering on varied amounts of gel medium, artists can create surprising textures and totally unique surfaces.
Suddenly, sketchbook pages become action-packed, touchable adventures!
Stencil Techniques for Repetition
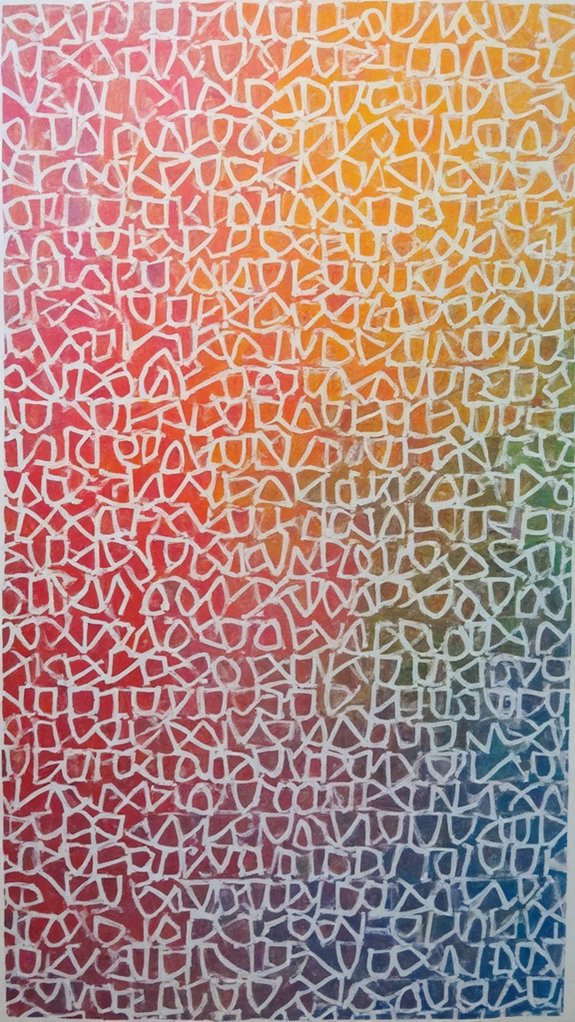
A handful of artists swear by stencil techniques when they want to jazz up their sketchbooks with some seriously cool repetition. Using acrylic paint and a trusty pre-cut stencil, it’s easy to stamp out patterns that look sharp and consistent.
The real trick is not overdoing it with wet paint—too much will ooze under the stencil and turn your crisp circles into awkward blobs!
To make stencils work their magic, artists often:
- Use a stencil brush or sponge to gently dab, not drag, the paint and keep lines neat.
- Try out different stencil materials like plastic, thin cardboard, or even fabric for surprising textures.
- Layer stenciled designs with ink or watercolor for extra pop and a lively, dynamic sketchbook page.
Stencil on!
Dry Brushing With Acrylics
Once stencils have made their mark with sharp, repeated patterns, it’s time to switch gears and get a little rough around the edges—enter dry brushing with acrylics. This technique is all about using acrylic paint very sparingly to make cool, subtle textures. The step by step method is simple: dip your dry brush in a small amount of paint, wipe most of it off, then gently drag it across your page. Suddenly, magic happens—whispery highlights and soft, weathered effects appear! That’s perfect for scenery, old jeans, or rustic barn scenes. Change up brush sizes for finer or bolder strokes, and layer like a pro without messing up earlier work. Want to see how it shakes out?
| Step | Tip | Result |
|---|---|---|
| Load brush lightly | Use very little paint | Softer effect |
| Wipe excess | Paper towel works | Even paint coverage |
| Choose brush size | Try a big flat one | Different textures |
| Go over dry layers | Let paint dry first | No color smudging |
| Layer and repeat | Build up slowly | Deep, rich texture |
Impasto With Palette Knife
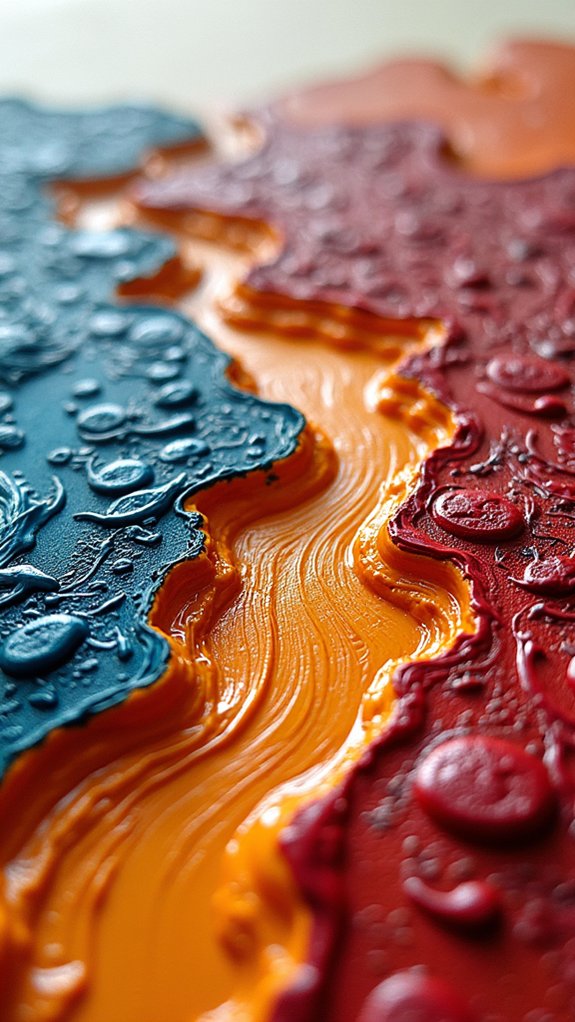
Dive right into the world of impasto, where paint gets piled on thick and wild with a palette knife, turning each page into something you want to reach out and touch.
Using the impasto technique, artists create wild, bumpy, three-dimensional textures that actually catch light and throw shadows—yep, your sketchbook suddenly gets real depth!
Acrylic paint is the superstar here since it dries fast and holds its super-chunky form. With just a swipe, scrape, or swirl of the palette knife, colors mix right on the page, making each swipe kind of a surprise party.
Try these to level up:
- Experiment with palette knife shapes for wild texture.
- Mix in gel or modeling paste for extra thickness.
- Layer colors on the page for bold, touchable effects.
Rubbing From Natural Objects

After making a total mess (in the best way) with thick, swirled paint, there’s another way to bring texture into a sketchbook that doesn’t require a single drop of paint—just grab whatever’s lying around in nature.
Rubbing from natural objects is basically a treasure hunt for cool textures! Pick up a leaf, a rough stone, or a piece of bark, place a sheet of tracing paper over it, and start rubbing with a blunt pencil or crayon.
Watch as wild patterns magically appear, showing off every vein and bump. Thinner paper works best for this, so the texture shines through.
Don’t be scared to experiment with different objects—nature has endless surprises. Layering rubbings adds even more interest, making every page an adventure.
Sgraffito Scratching Techniques
Scratch, scrape, and reveal—this is the magic of sgraffito! Imagine painting with a secret underneath, just waiting to be uncovered.
Using acrylic paint makes sgraffito a blast because it dries quickly, letting you layer bold colors and scratch them away for cool texture effects. Artists grab palette knives, old brushes, or sometimes just their fingers, each tool giving wild and unexpected results.
- Try scratching lightly for thin, delicate lines or press harder for bold marks.
- Mix up your angles and tools to mimic the look of bark, grass, or even rocky cliffs—your scenery sketches will thank you!
- Layering different colors under the top layer gives every scratch its own burst of surprise.
Sgraffito turns every mark into a tiny adventure!
Sponging for Organic Patterns
Choosing the right sponge is like picking your secret weapon—some are squishy and rough for wild, leafy patterns, while others are soft and smooth for gentler textures.
By layering different colors and dabbing lightly, artists can create patterns that look almost as real as nature itself, with each layer adding a new twist.
It’s honestly a little like magic: the same tool, a bunch of colors, and suddenly your page pops with rich, organic shapes.
Choosing the Right Sponge
Sponges might look simple, but in the hands of an artist, they’re serious texture-making machines. Choosing the right sponge can totally transform your sketchbook game, especially when it comes to creating wild, organic patterns with acrylic paint.
Not all sponges are created equal, and picking the perfect one takes a little trial, a little error, and a lot of fun. Try these ideas when zeroing in on your next texture tool:
- Natural sea sponges have odd shapes and holes, making unpredictable yet beautiful textures.
- Synthetic sponges with different surfaces can help artists make sharper or softer patterns, depending on your vibe.
- Don’t forget, the size matters—a chunky sponge for background drama, or a tiny one for tiny, epic details.
Who knew something meant for washing dishes could be this cool?
Layering for Natural Effects
Every artist needs a few tricks up their sleeve, and sponging—especially when it comes to layering—might just be the ultimate secret weapon for dreamy, natural effects.
Want to mimic fluffy clouds, crunchy leaves, or rough bark? Try dabbing acrylic paint with a sponge in gentle layers. By squishing and pressing with different angles or pressures, all sorts of wild, organic patterns appear—almost like magic!
The cool thing is, acrylic paint dries fast, so you can build up layers without smudging what’s underneath. Grab a sea sponge for fine, random marks, or a kitchen sponge for bolder blobs. A damp sponge also helps blend colors, softening harsh edges and creating depth.
It’s easy, fun, and perfect for bringing nature into a sketchbook.
Mark-Making With Unconventional Tools
Sometimes, the most surprising textures in a sketchbook don’t come from fancy art brushes, but from everyday objects you’d never expect—think old credit cards, sponges, or even your own fingers (yes, seriously!).
Using these quirky tools with paint ramps up the excitement, letting artists create texture that’s wild and unpredictable. Each object plays its own part: some tools drag or smudge paint for messy effects, while others carve sharp or wavy lines right into the color.
Experimenting with items from the kitchen, backyard, or junk drawer cranks up the creative fun. Here are some ideas to get started:
- Scrape and drag paint with an old credit card for bold, smooth streaks.
- Dab, dab, dab using a sponge to add texture and speckles.
- Press leaves or twigs into wet paint for organic patterns.
Incorporating Mixed Media Elements
Mixing things up with found objects, bits of fabric, or that random piece of patterned paper from your lunch can totally transform a sketchbook page—it’s like giving your art new superpowers.
Layering different materials creates awesome textures, and when you throw in something wild like a leaf or a scrap of burlap, suddenly the whole thing just pops.
Who knew a simple napkin could become the hero of your next masterpiece?
Integrating Found Objects
A stray feather, a bright candy wrapper, or even a lumpy leaf found on the way to school can become the star of a sketchbook page.
Artists never miss a chance to add something unexpected using heavy textures or odd shapes to liven things up. Picking the right found object turns an ordinary page into something special—sometimes it’s wacky, sometimes beautiful, but always personal.
Here’s how students can bring those cool treasures into their sketchbooks:
- Secure materials like twigs or fabric to the page with clear adhesive for a lasting and touchable effect.
- Mix traditional art supplies with unusual finds to create surprising combinations.
- Play around a bit: arranging pieces in different spots can completely change the mood or even start a brand new idea!
Layering Fabric and Paper
Fabric scraps, scraps of paper, and whatever else you can dream up—layering them in a sketchbook is like building a secret world on the page. Each layer adds depth and surprise, making viewers want to peek underneath.
For a first time attempt, grab funky gel-printed papers or anything with cool patterns, and glue them down with a clear adhesive.
Want even more texture? Thin strips of fabric or tissue paper do the trick without turning your page into a lumpy sandwich. Use acrylic paint to add pops of color or blend things together, but make sure the paint is dry before stacking more layers—you don’t want a soggy mess.
Tip-ins and overlays make secret doors and windows, letting your creativity run wild!
Adding Natural Materials
Nature lovers, rejoice—there’s a whole world of texture waiting just outside the door! Bringing in things like leaves, twigs, or even a pinch of sand gives sketchbook pages a wild, untamed vibe.
These natural treasures can be stuck down with gel medium, so they won’t escape halfway through art class. Think of it as a way to create super cool organic pattern creation, fresh from the backyard or the schoolyard. Plus, natural dyeing techniques—like crushing berries or using petals—bring earthy colors nobody can buy in a store.
- Mix sand into paint for gritty, tactile effects.
- Press leaves to see their intricate veins, highlighting organic pattern creation.
- Try techniques from texture exploration workshops, layering natural materials with fabrics.
Nature’s toolbox is always open—so go exploring!
Hole Punches and Cut-Outs
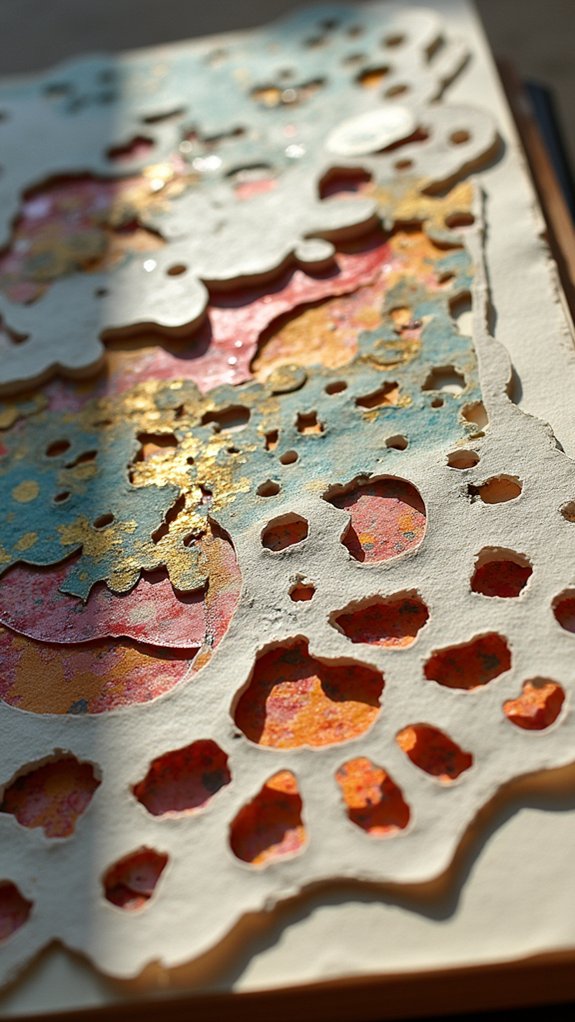
Confetti, anyone? Using hole punches and cut-outs totally amps up the fun in your sketchbook. Adding neat punch patterns—think circles, stars, even hearts—brings a playful vibe that feels hands-on. But wait, it gets better! Strategic cut out placement can reveal sneaky peek-a-boo moments to guide the viewer’s eye and create a cool layered effect. Pair this with textured papers underneath and the pages almost feel alive with layered textures and surprises. Mixing up the shapes and sizes keeps things dynamic, and you can even set up a visual scavenger hunt with what pops through, or, you know, hides behind a flap.
Here’s a quick look at ways to combine these ideas:
| Hole Punch Use | Cut-Out Strategy |
|---|---|
| Create punch patterns | Plan cut out placement |
| Use various sizes | Layer over texture |
| Add colorful backing | Guide the viewer’s eye |
| Group by theme | Reveal secret details |
Washi Tape and Masking for Texture
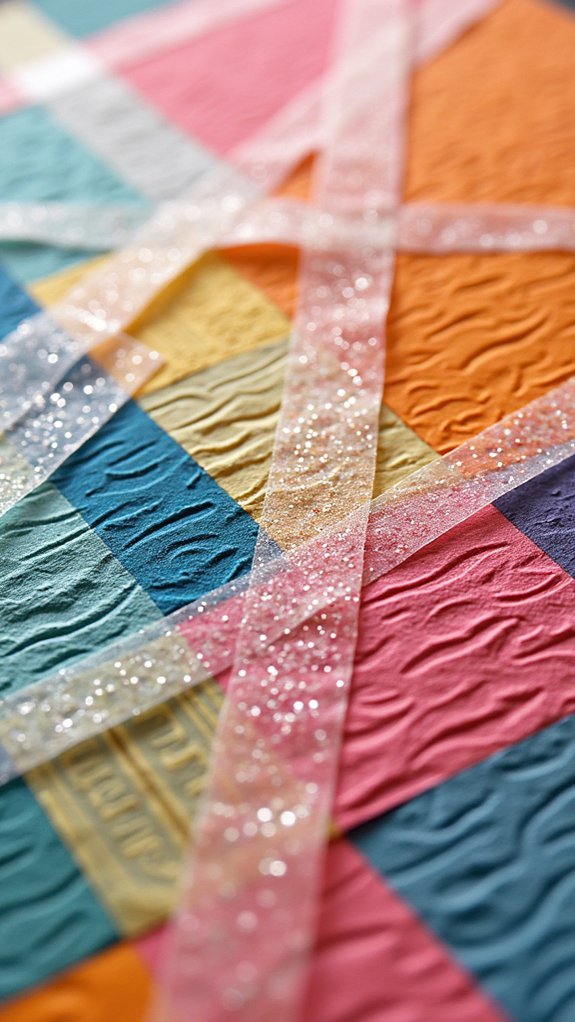
Washi tape isn’t just for decorating your planner—it can totally level up your sketchbook textures, too.
By layering strips for depth, playing around with creative masking tricks, and messing with how the tape overlaps, artists can cook up all kinds of cool effects.
Want crisp lines, sneaky hidden patterns, or a surprise pop of color?—this is where the tape magic happens.
Layering Tape for Depth
Peeling and sticking strips of tape might sound simple, but it’s actually a super cool way to give your sketchbook pages serious depth and texture.
With washi tape layering or masking tape techniques, each strip reveals new possibilities, especially when you play around with color contrast exploration. Laying tape at different angles, and sometimes overlapping them, makes the page feel almost three-dimensional—like an art project that jumps off the paper (just don’t let it jump onto your math homework).
- Try mixing different widths of tape for a bold, textured look.
- Use see-through washi tape to let your underdrawings peek out, giving your art a “hidden treasure” vibe.
- Combine patterned tape to create a background that instantly looks organized and layered—no fancy skills needed!
Creative Masking Techniques
Some of the coolest sketchbook art tricks start with nothing more than a few rolls of colorful washi tape or a strip of plain old masking tape. Seriously, these unassuming supplies are like secret agents for your art—undercover, but powerful!
By sticking down washi or masking tape, artists can block off spots for clean lines, funky shapes, or pops of color. Masking tape effects are magic when you peel the tape back and—boom—crisp edges!
Creative tape applications mean you can layer, overlap, or crisscross strips to invent wild patterns or borders. Mix in some tape layering techniques, and you’ve got instant depth.
Want even more fun? Try using tape over paint, ink, or collage; the reveal always has a wow factor, guaranteed to surprise.
Texture Effects With Washi
After seeing how tape can work undercover for wild masking tricks, it’s time to let it take the spotlight and create texture magic all its own.
Washi tape techniques are the secret weapon for sketchbook artists who crave visual texture that pops without the mess. This cool, paper-thin tape isn’t just for wrapping presents or jazzing up notebooks—it can transform boring pages into textured masterpieces.
Want to make people go “Whoa, how did you do that?” Try these ideas:
- Tear the washi tape for jagged, organic edges—perfect for mimicking ripped fabric or distressed wood.
- Use decorative masking by layering tape patterns, then painting around them for super sharp shapes.
- Experiment with color layering to build wild, eye-popping backgrounds or complex mixed media vibes.
Ready to stick with it?
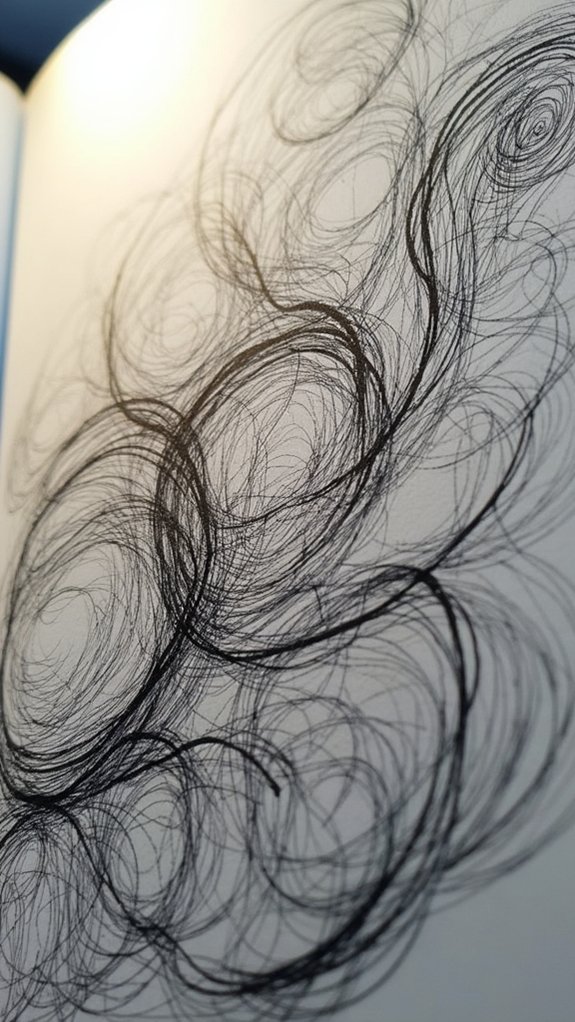
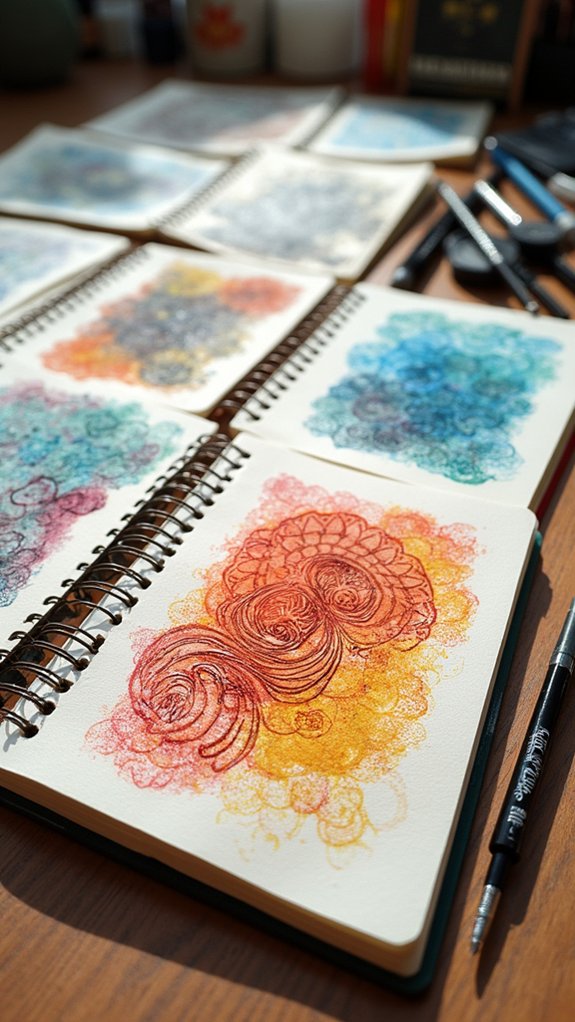
Scribble and Doodle Layers
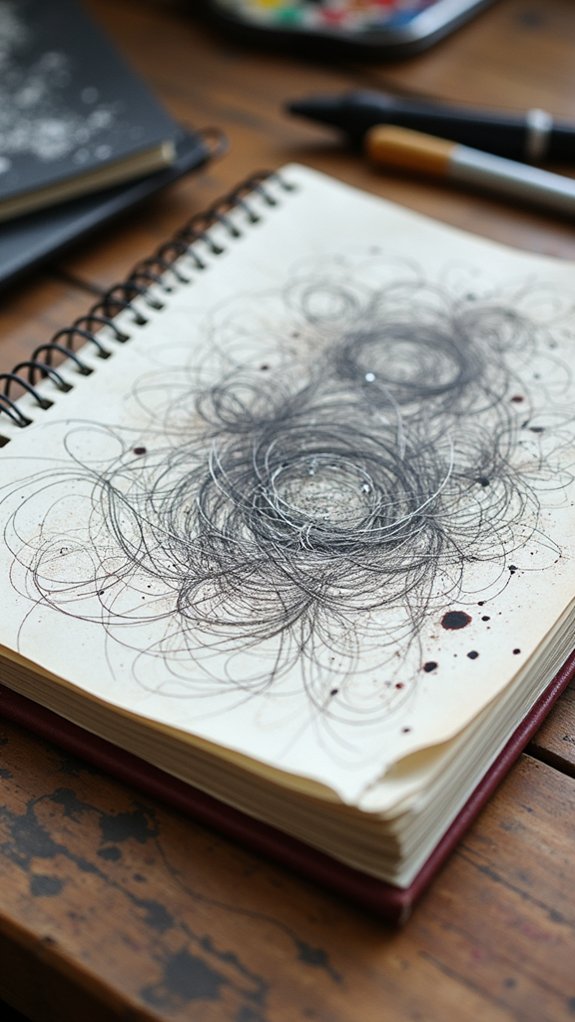
Let’s be real—almost every artist has found themselves doodling in the margins or scribbling wild shapes just for the fun of it.
But those little doodles aren’t just for passing time in class! When artists use clever doodle techniques and scribble styles, they can turn an ordinary sketchbook page into something seriously interesting.
Mixing up the types of pens, like flipping between gel pens and fine liners, lets different lines pop and gives texture that really grabs attention.
Try changing how hard or fast you draw for even wilder effects—thick, thin, sharp, or wobbly lines add depth.
The best part? By layering these funky scribbles onto painted or patterned pages, artists create unique, multi-layered artwork that jumps off the page.
Using Transparent Overlays
Wild scribbles and doodle stacks can definitely add energy to a page, but what if sketchbook texture could level up with a trick straight from the world of secret agents and stained glass?
Enter transparent overlays! Using clear tissue paper or acetate lets you layer up, making your sketchbook pages look mysterious and cool, like artwork in disguise.
With transparent material selection, the fun is figuring out which see-through sheet gives the best vibe—do you want soft, dreamy edges or sharp, playful reflections?
- Try overlay composition techniques by laying the transparent sheets at wild angles to experiment with colors, shadows, and hidden shapes.
- Experiment with different transparent materials for surprising results.
- Use adhesive application tips, like a thin swipe of matte medium, to stick overlays down bubble-free and wrinkle-less.
Suddenly, every page pops!
Adding Sand or Grit for Tactility
Crank up the “touch factor” in any sketchbook by mixing in a bit of sand or gritty texture to the paint—suddenly, every swipe across the page feels like an adventure for your fingertips.
Sand color mixing can level up flat colors—imagine blending yellow paint with fine beach sand or going wild with chunky granules to get a crazy bumpy effect. There are so many gritty possibilities!
For cool grit application techniques, artists can sprinkle, stir, or layer their mixtures before brushing onto the page.
Texture exploration methods are endless; some like to experiment with different grit sizes, test patches, or build up layers for an epic 3D look.
Just remember, always test out your sandy concoctions first—it’s way better than gluing your sketchbook shut!
Utilizing Stamps and Custom Printing
Although some might think stamps are just for office work or snail mail, in the hands of an artist, they’re basically magical texture-makers.
With stamp techniques, the options are wild—you can carve rubber, foam, or even potatoes (yes, really) to stamp all sorts of unique patterns onto your sketchbook. Custom printing steps things up a notch, like with gel printing, where brayers and acrylics help transfer super detailed designs that pop with texture.
- Stamp techniques let artists explore all sorts of patterns by switching up materials, shapes, and sizes.
- Printing variations, like monoprinting or gel printing, throw surprising textures and effects onto the page.
- Ink exploration opens up loads of possibilities, from punchy and bright to chill, subtle vibes.
The results? Layers, depth, and total sketchbook awesomeness.
Textured Tape and Fabric Ribbons
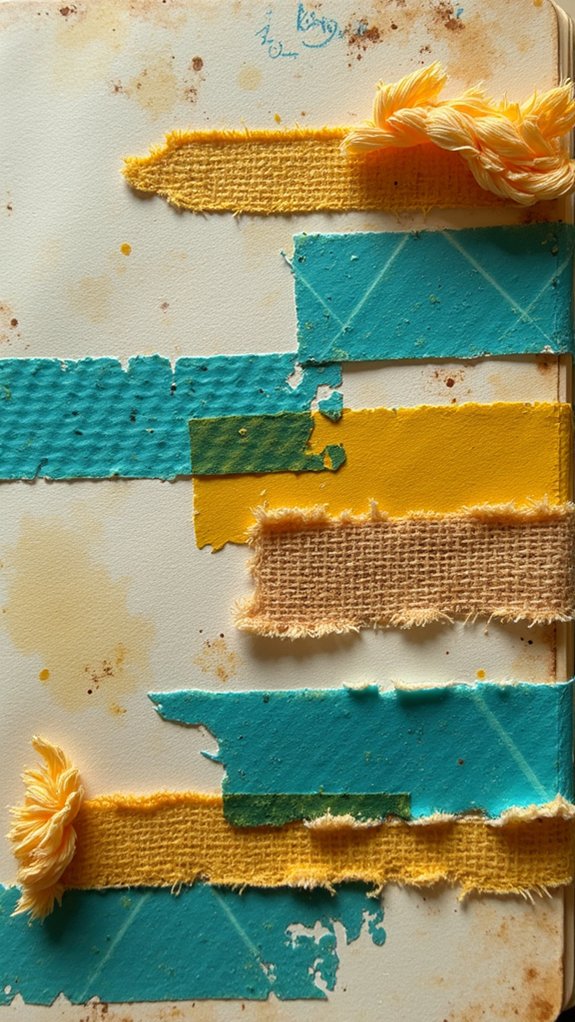
Patterned textile layers, like strips of fabric ribbon or washi tape, can totally transform a sketchbook page from plain to wow in just a few minutes.
There’s something pretty fun about choosing wild colors or funky textures, sticking them down, and seeing how each one changes the mood of your art.
Whether used as borders, accents, or backgrounds, these materials spark all kinds of creative ideas—and, as a bonus, they make your sketchbook feel extra special and ready to show off.
Incorporating Patterned Textile Layers
Let’s be honest—sometimes a sketchbook page needs a little extra something to make it pop. That’s where patterned textile layers like textured tape and fabric ribbons come in.
With their bold designs and fun materials, these simple additions can totally transform flat sketches into something interesting and touchable. What’s key is nailing textile color coordination, so everything works together, not against each other.
There’s also the thrill of fabric texture exploration—some ribbons are smooth, others are fuzzy or bumpy.
Try playing around with:
- contrasting thick and thin ribbons for layered material contrasts
- placing tape along page edges to frame your art
- overlapping different patterns to see what new effects you can invent
Go ahead, experiment, and see how these textile layers give your art fresh energy!
Creative Uses for Washi
Once patterned textile layers have been explored, the real magic starts to happen when washi tape and fabric ribbons enter the scene. Was it even possible to have too much fun with washi tape layering? Probably not! With so many colors and patterns, each strip screams creativity. Need a border that pops? Decorative borders can transform a plain page into something eye-catching, and because both washi tape and fabric ribbons are repositionable designs, changing your mind is easy—just peel and stick somewhere else. Check out this quick breakdown:
| Technique | Materials Used | Effect Created |
|---|---|---|
| Layering | Washi tape | Depth and interest |
| Borders/Frames | Fabric ribbons | Organized, defined edges |
| Repositioning | Both | Endless experimentation |
Total texture takeover, anyone?
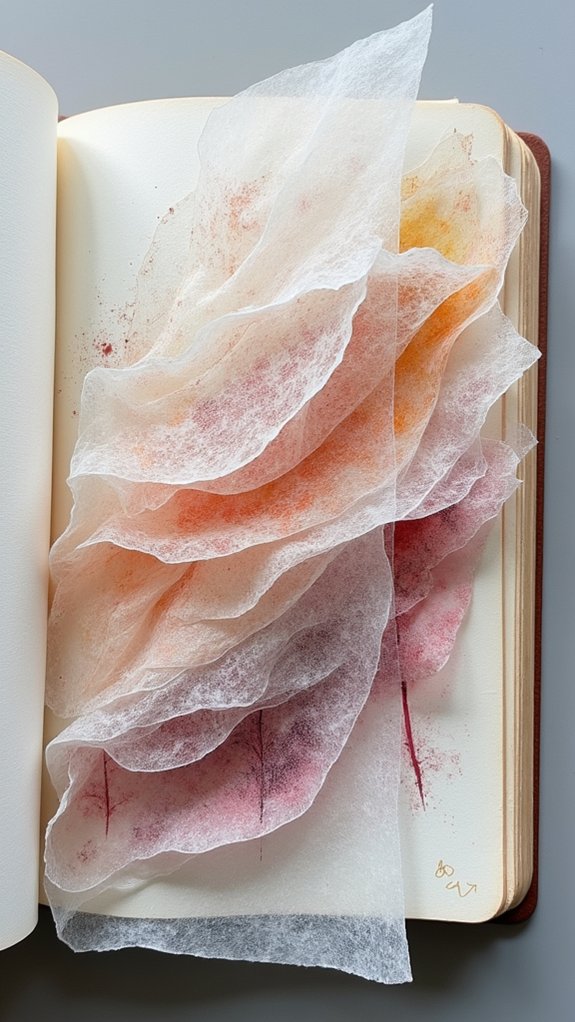
Building up With Tissue Paper

Tissue paper might look fragile and crinkly, but don’t let that fool you—it’s actually a secret weapon for adding crazy cool textures to sketchbook pages.
By layering tissue paper, artists create depth and a fun, touchable surface that pops off the paper. The magic happens when you start mixing and matching tissue paper techniques, including experimenting with bold color combinations or patterned scraps from gel-printed tissue.
A little creative adhesive application with something like matte medium guarantees those layers stick and keeps your masterpiece smooth, not sloppy.
- Tear or cut tissue into different sizes to build dimension.
- Play with bright or subtle color combinations for unique effects.
- Overlap tissue layers to leave sneak peeks of what’s underneath.
This approach turns any sketchbook page into a creative playground!
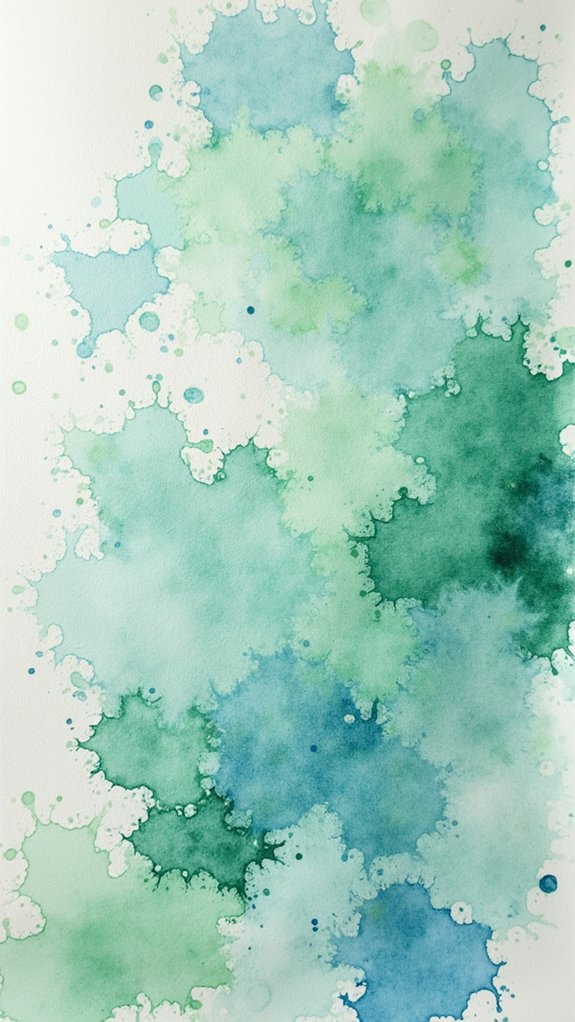
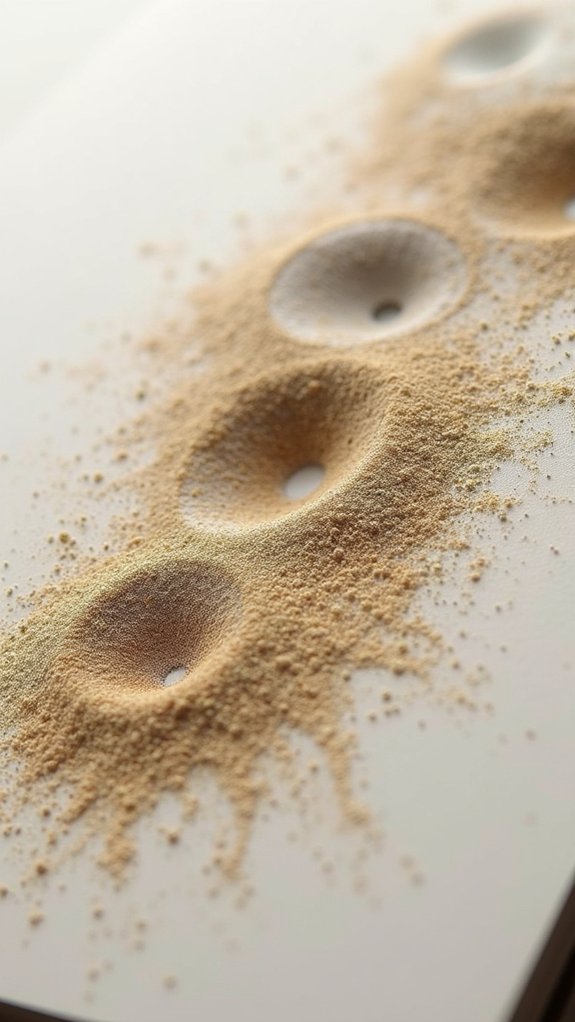
Drawing With Ink and Salt Effects
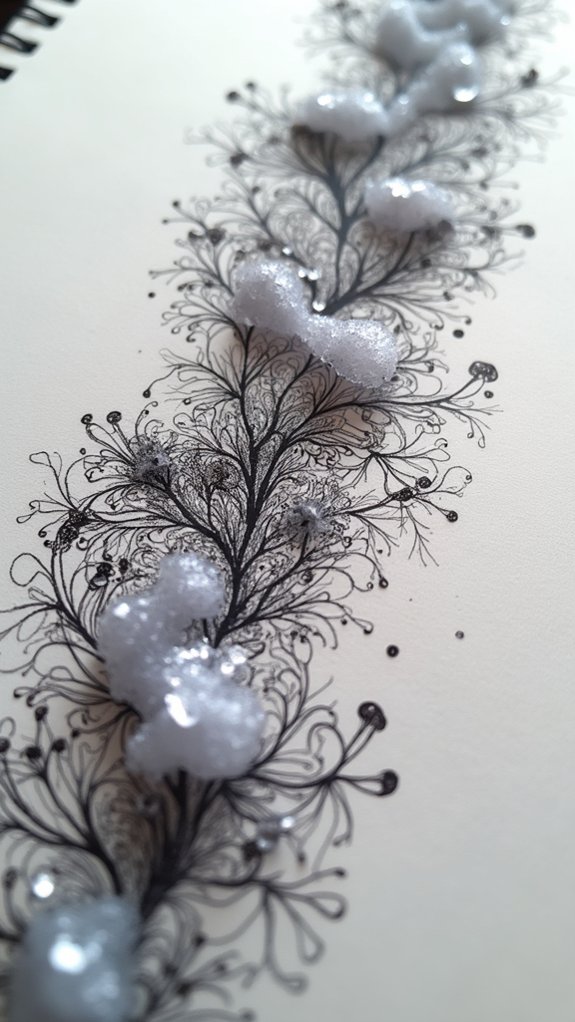
Swirl some liquid ink across a page, toss in a pinch of salt, and suddenly—your sketchbook turns into a science experiment with wild, unpredictable results.
Drawing with ink and salt effects means playing around with ink saturation techniques first—are you going for deep pools of color or a lighter wash?
Then, salt grain variations come into play: chunky sea salt blasts bold, crater-like patterns, while table salt sprinkles in gentle snowdrift textures.
Sometimes, people even dissolve the salt in a mist of water before dabbing it onto wet ink, just to see what might happen next.
The real magic? Drying time effects. Let your masterpiece dry completely, then brush away the salt and, boom, see amazing textures that look totally out of this world!
Frequently Asked Questions
How Do You Get Interest in Drawing?
Finding interest in drawing often involves engaging with creative prompts, participating in drawing exercises, and seeking artistic inspiration from various sources. These strategies can help maintain motivation and encourage continual exploration and enjoyment in the artistic process.
How to Make Your Sketchbook Not Boring?
To prevent a sketchbook from becoming boring, one should regularly engage with creative prompts, explore color experiments, and embrace mixed media. This approach encourages continuous discovery and guarantees each page remains visually engaging and conceptually stimulating.
How Do I Add Texture to My Sketchbook?
When considering how to add texture to a sketchbook, one can explore texture materials such as fabric or sand, apply layering techniques using different papers, and incorporate mixed media elements to enrich visual and tactile interest throughout the pages.
What to Include in GCSE Art Sketchbook?
A GCSE art sketchbook should demonstrate thoughtful sketchbook organization, include responses to creative prompts, document research on artistic influences, showcase development of ideas, and present a range of media explorations, reflective annotations, and personal experimentation to evidence artistic growth.
Conclusion
With all these wild texture tricks, any sketchbook can become a mad scientist’s lab for art. Try layering wild papers or sprinkling salt into ink—who knows what crazy results you’ll get? Every page is a chance to experiment, mess up, laugh, and discover a new favorite technique. So grab some scraps, gel, or even a bit of ribbon, and plunge into it. Don’t be afraid to get a little messy—sometimes, that’s when the best ideas happen!
Leave a Reply