
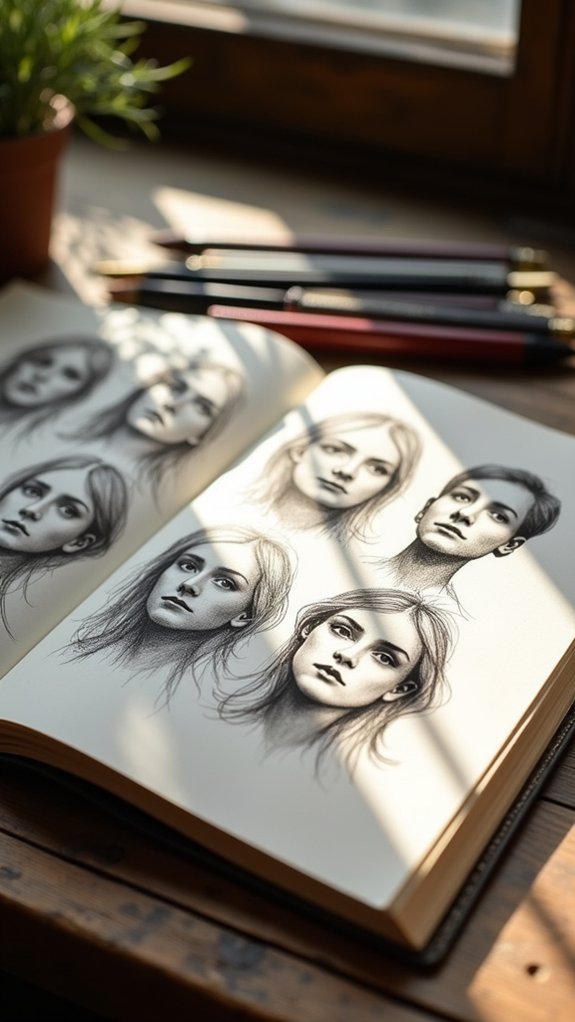
Practicing faces in a sketchbook can actually be a blast when you mix things up! Try sketching extreme emotions, wild angles, or silly caricatures—go ahead and make those eyebrows wiggle. Experiment with close-ups of just the eyes, dramatic black and white shadows, faces with weird hats, and even famous people drawn from memory. Throw in some fast gesture studies or invent wild props. Basically, your sketchbook never has to be boring—there are even more awesome ideas just ahead!
Key Takeaways
- Draw expressive portraits capturing extreme or subtle emotions by exaggerating features like eyes, brows, and mouths.
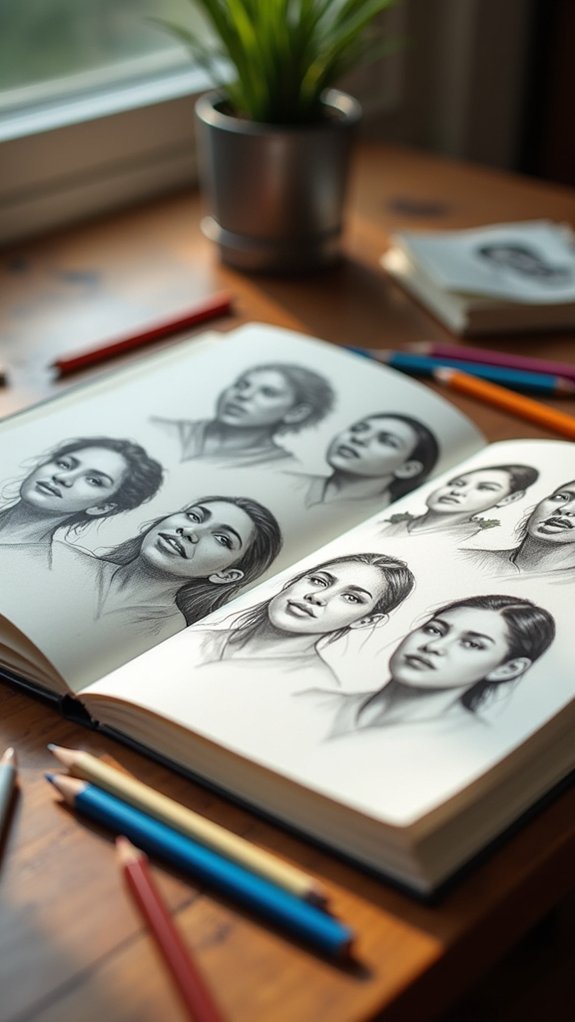
- Practice faces from unusual angles—profile, three-quarter, or dramatic tilts—to improve understanding of facial anatomy and perspective.
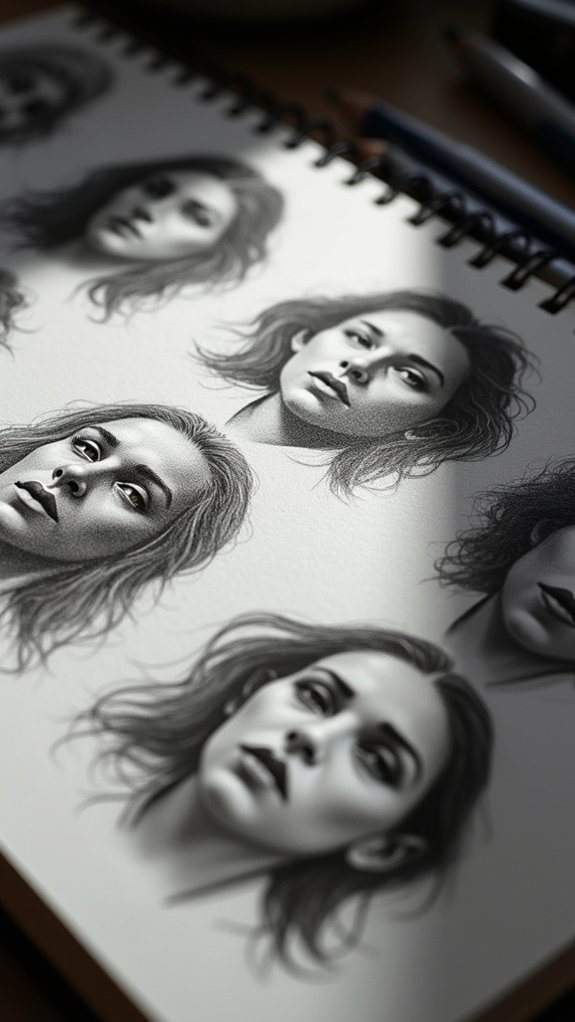
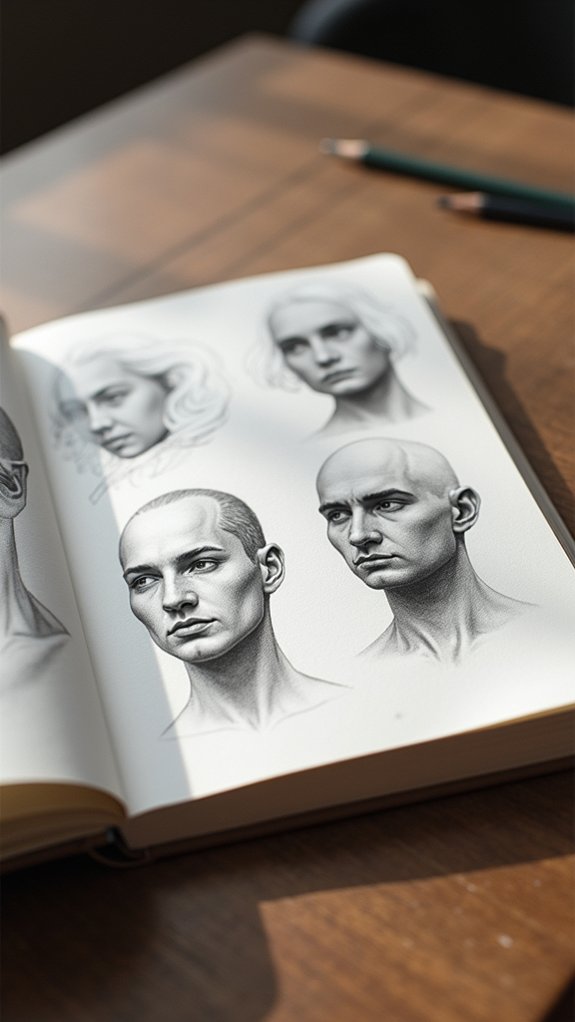
- Experiment with high-contrast black and white portraits to master shading, highlight placement, and dramatic lighting.
- Create minimalist line art portraits using continuous lines to simplify facial features and focus on flow and proportion.
- Add unique props or headwear to portraits, such as hats or glasses, to inject personality and variety into your face drawings.
Capture Extreme Emotions in a Portrait

How do artists make a face on paper look like it just got the best news ever—or maybe the worst? It’s all about zooming in on facial features in their portrait drawings.
Eyes can pop wide in shock or turn crescent-shaped with laughter. Eyebrows shoot toward the hairline when someone’s surprised, or they bunch up like angry caterpillars in frustration. The mouth stretches in a huge grin or quivers with sadness.
Artists practice capturing these emotional states by sketching from mirrors or pictures. Sometimes they exaggerate—big, wobbly lips or wild, raised brows—to make the emotion jump off the page.
Dramatic lighting helps too, letting shadows slink across worried faces or highlighting happy ones. Suddenly, their sketchbook has a whole cast of emotional characters!
Draw Faces From Unusual Angles
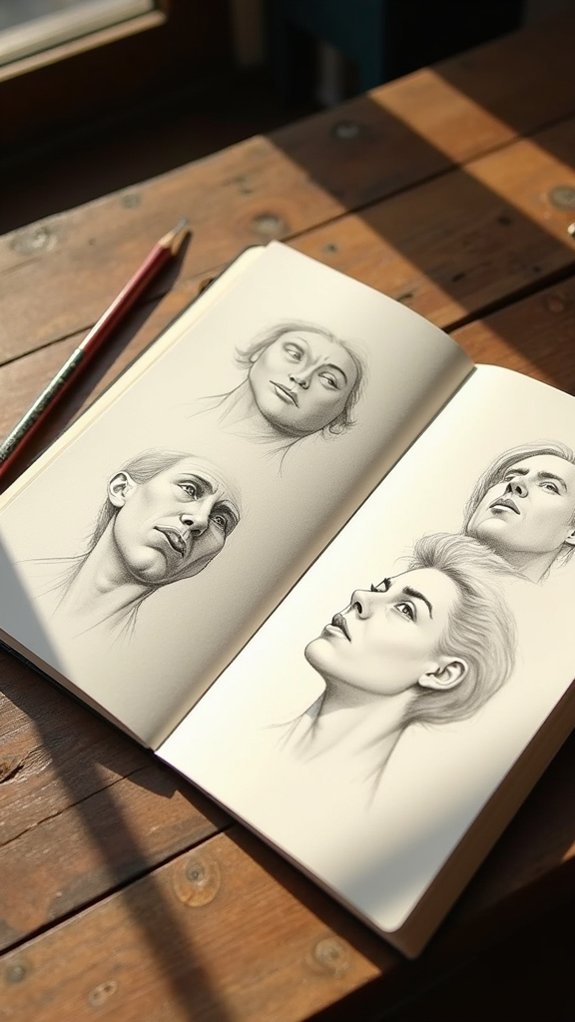
Even when an artist gets the hang of drawing a face straight on, changing up the angle can turn everything upside down—sometimes literally!
Drawing portraits from unusual angles is like putting your brain through a creative obstacle course. Suddenly, eyes curve and noses pop out in ways you never expected. Getting familiar with facial anatomy helps, but unusual angles push you to see just how much those features can shift with a new perspective.
Reference photos are super helpful, but nothing beats watching a friend tilt their head, or sketching someone upside-down on the couch. Each angle demands attention to how light and shadow dance across the face, making even a plain expression look dramatic.
Practice like this makes drawing portraits lively, original, and just a bit wild.
Practice High-Contrast Black and White Portraits

Step into the world of high-contrast black and white portraits, and suddenly, faces leap off the page like movie stars caught in a spotlight.
In this style of portrait drawing, it’s all about the bold drama between light and shadow. Artists experiment with crosshatching or little dots—yep, stippling!—to give cheeks, noses, and even messy hair some serious texture and dimension.
Want to make the eyes pop or the mouth look mysterious? Strong outlines and intense shading do the trick, grabbing all the attention. Playing with how hard or light you press your pencil creates those flashy blacks and dazzling whites.
For extra inspiration, use photos with dramatic lighting. It’s portrait drawing, but with the cool intensity of a classic black and white movie.
Sketch Quick Caricature Portraits
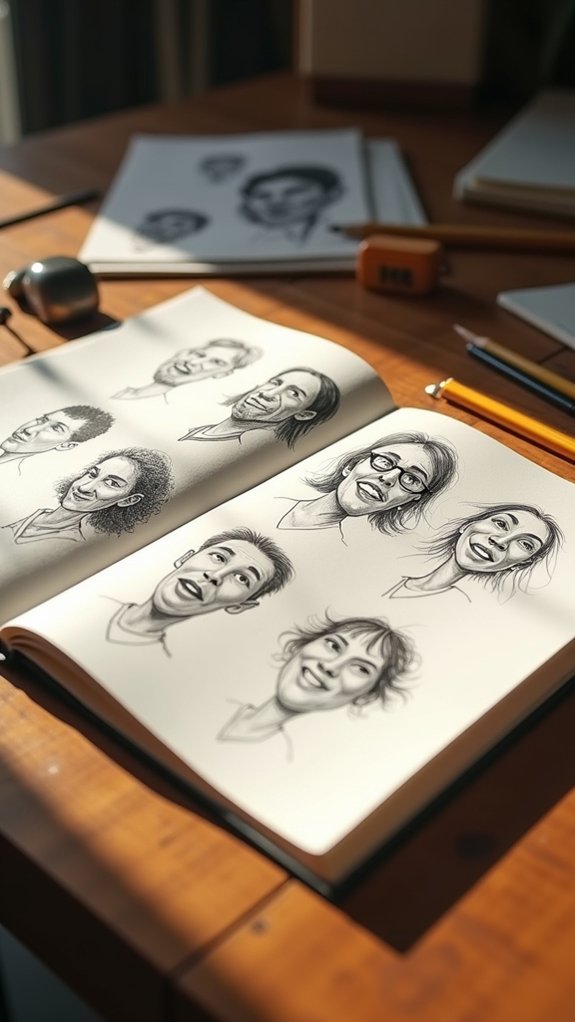
When sketching quick caricature portraits, it helps to exaggerate facial expressions—think seriously wild smiles or epic eyebrow raises—to make your drawings pop with personality.
Simplifying key features like the eyes or jawline keeps things easy to spot and extra funny, while studying head proportions stops your characters from looking totally wacky… unless that’s your goal!
With just a little practice, artists can capture someone’s face in the most hilarious way, all in just a few minutes.
Exaggerate Facial Expressions
Imagine this: faces twisted in wild grins, eyes popping open in surprise, or mouths pulled down in cartoonish frowns. Exaggerated facial expressions aren’t just fun—they’re a secret weapon for artists wanting to get better at drawing faces.
Caricature portraits help highlight what makes someone’s face unique, and when you sketch each expression super quickly, you learn more about real emotions.
Try it out with these four steps:
- Pick emotions like joy, anger, or shock, and set a timer for 1-2 minutes per sketch.
- Use mirrors or silly photos for reference and copy those wild looks!
- Study how famous caricature artists stretch, twist, and bend features.
- Don’t stress about perfection—focus on the feeling behind the face.
Simplify Key Features
After trying out wild and wacky facial expressions, artists can crank up the fun by zeroing in on the most unique features of someone’s face.
Simplifying key features means looking for the big stuff—huge eyes, a wild nose, maybe even epic eyebrows—and then drawing quick caricature portraits that play up those essential facial elements.
It’s all about spotting what makes someone stand out in the crowd and then having a blast exaggerating it on the page!
By sketching friends, family, or even random faces online, artists can practice capturing a person’s “look” in just a few lines.
Plus, tossing in a time limit—like five minutes—really keeps things zippy, helping boost confidence and sharpening observation skills in a way that’s never boring.
Study Head Proportions
Even though sketching a totally wild caricature is all about exaggeration, getting those head proportions right is the secret sauce to making it work.
If you mess up the basics, even the funniest nose won’t save your caricature portraits! Knowing that the average head is about 8–9 heads tall, and that the eyes sit halfway, is a game changer.
Want to nail those wacky but recognizable faces? Here’s a fast breakdown:
- Block in the basic head shape—don’t stress about details.
- Mark key features (eyes, nose, mouth) based on standard head proportions.
- Exaggerate unique traits—like supersized cheeks or a tiny chin.
- Practice from real people using quick sketches to study facial anatomy dynamically.
Get wild—just build on the right proportions!
Focus on Eye Expressions Only
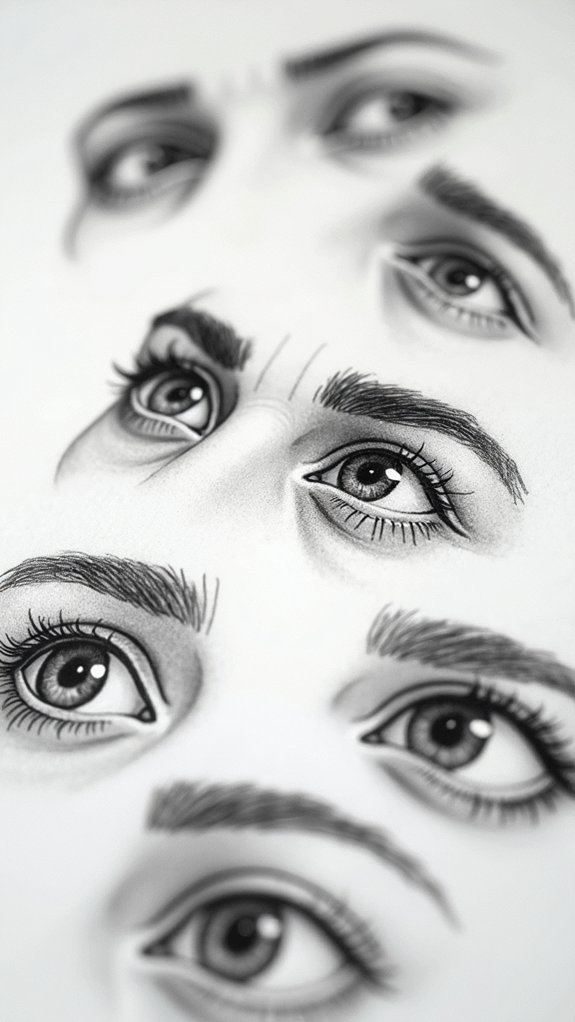
Focusing only on eye expressions can turn a regular sketchbook page into a drama-packed scene, since so much emotion comes from just a glance.
Eyes change shape, size, and even sparkle differently, depending on whether someone is surprised, laughing, or even plotting their next snack attack.
Capturing Emotional Nuances
When it comes to drawing emotions in a portrait, the real drama happens in the eyes. If an artist wants to show sadness, joy, shock, or suspicion, eye expressions are the ultimate shortcut to a character’s soul. Spotting emotional nuances in these small shapes and shadows means sharpening those all-important observational skills.
Here are four ways to master emotional eyes:
- Study how eyebrows, eyelids, and pupils change when someone’s happy, mad, or scared.
- Practice sketching eyes in different positions—squinting, wide, droopy—to catch the full rainbow of feelings.
- Use photos of real people acting out emotions and look for subtle shifts in muscle tension.
- Challenge yourself with fast sketches or mirror exercises to see how your own eyes “act.”
Eye drama brings sketches to life!
Exploring Eye Anatomy
Artists who want their portraits to buzz with emotion often find themselves obsessed with drawing eyes. That’s because the secret sauce of eye expressions lies in the fine details of eye anatomy—the iris, pupil, sclera, and, of course, those drama-loving eyelids.
Each part tells a different story: pupils go big for excitement or fear, squint for suspicion, and shrink with focus or anger. Eyebrows? Oh, they’re the best sidekicks, amplifying whatever emotion is happening below them.
Sketching eyes in all their states—wide open, slyly squinting, or tightly shut—helps artists become emotion detectives. For practice, studying real faces or photo references is key. Observing even the tiniest shifts brings personality and life to every portrait, one expressive glance at a time.
Experiment With Dramatic Lighting Setups
Even though most sketches start with basic outlines and simple lighting, diving into dramatic lighting setups can seriously supercharge the wow factor in a portrait.
When artists play around with dramatic lighting, portrait drawings get a whole new level of depth and intensity—the kind that makes people stop and stare.
Want to take your lighting compositions to the next level? Here are some ideas to try:
- Grab references from Grafit Studio or photos with wild lighting—get inspired by unique angles!
- Experiment with side lighting or the moody chiaroscuro to pump up those shadows and highlights.
- Layer in colored pencil shading for smoother shifts that make faces look more real.
- Notice how light bounces off skin or gets tangled in hair—it creates amazing effects!
Draw Portraits Using Only Crosshatching
Some portrait artists love a good challenge, and drawing using only crosshatching is definitely one that pushes skills to the next level.
Crosshatching means stacking heaps of tiny lines—sometimes straight, sometimes slanted, sometimes downright wild—to make a portrait look realistic and full of life. Start with light lines, spacing them out and slowly building up the shadows in areas like under the nose or along the cheekbones.
Feeling brave? Try switching up the angle of your lines to show where the face curves and dips. Want to level up? Focus on tough spots like the eyes, nose, or lips and see how the crosshatching adds depth to those facial features.
Using reference photos can save you from some major line confusion!
Create Minimalist Line Art Faces
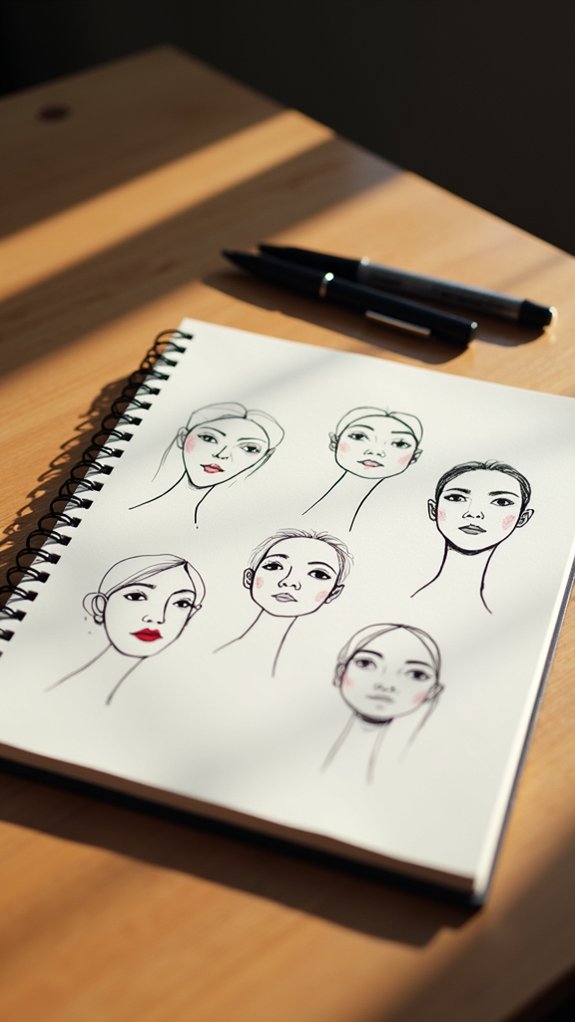
When making minimalist line art faces, artists get to play around with contour line techniques, turning each stroke into a kind of visual shortcut, like a cartoon superpower for capturing someone’s look.
It’s almost magical how just a few carefully placed lines can pack so much expression, even with all the extra details stripped away—kind of like telling a joke with the punchline and nothing else.
Finding the right balance between proportion and flow keeps the whole face from looking wonky, so the sketch feels lively and connected rather than like a puzzle with missing pieces.
Exploring Contour Line Techniques
Although it might look tricky at first, exploring contour line techniques is actually a super fun way to make cool minimalist portraits and faces. Instead of drawing every single eyelash or freckle, you get to focus on the most important edges and lines, using less detail to show more! This makes for awesome minimalist drawings and boosts your observational skills big time.
If you’re ready to try, remember these ideas:
- Try not to lift your pencil—flowy, continuous lines give your portraits a unique look.
- Mix up your pencil pressure to get thick and thin lines for extra flair and volume.
- Break faces into simple shapes instead of detailed features—it’s like transforming people into cartoons!
- Practice a lot—over time, your hand-eye coordination and observation will totally shine.
Emphasizing Expression With Simplicity
A single, bold line can pack a punch—especially in minimalist portrait art!
Drawing faces using minimalist line art is like capturing someone’s spirit with just a handful of strokes. It’s all about expression; you want the viewer to immediately feel something, even if you’re only using a few lines.
Focus first on the essentials—the curve of an eyebrow, the tilt of a mouth, or the shape of the eyes. Quick, rough sketches can help sharpen your observation skills and teach you to notice what really makes a face unique.
Keeping things simple is key, but don’t be afraid to play with different line weights for depth.
And remember, a limited color palette keeps things clean and lets the expression really shine through.
Balancing Proportion and Flow
Balance—it’s the secret ingredient behind those super cool minimalist line art faces that seem to just *work*. When sketching faces in this style, it’s not only about keeping things simple—it’s about how you handle proportion and flow.
Minimalist line art lets artists capture the spirit of a face with just a few thoughtful lines, but those lines need to land in just the right spots. Here are some quick tips for nailing that perfect mix:
- Study facial proportions—Start with basic shapes for the eyes, nose, and mouth.
- Focus on flow—Draw smooth, connected lines that suggest movement without overdoing it.
- Add negative space—Let the paper show through to highlight features.
- Practice expressions—See how tiny changes in line can change the whole mood!
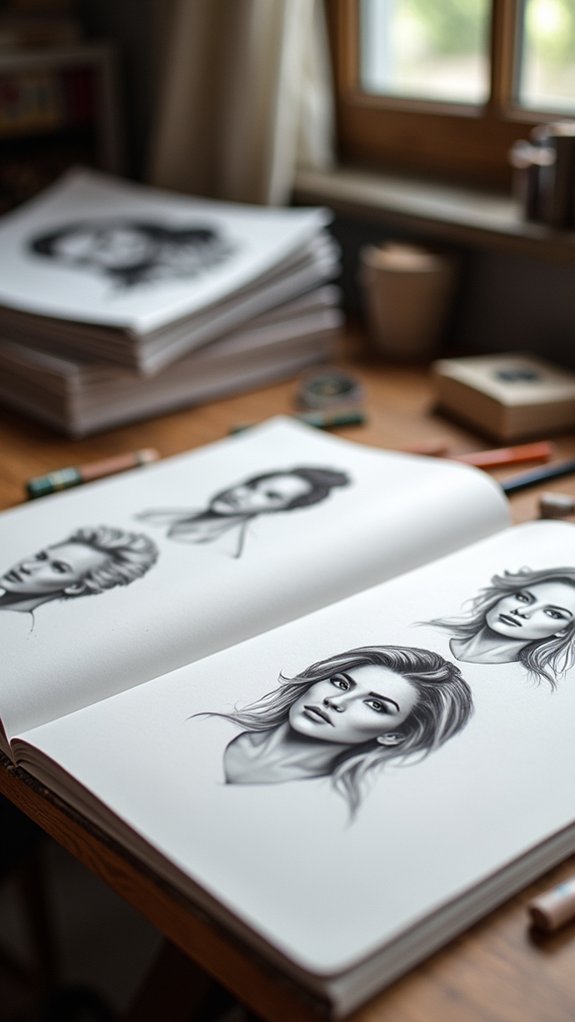
Render Realistic Skin Textures
Forget boring, flat faces—realistic skin textures are what make a portrait pop off the page and grab attention like a puppy at a birthday party. To nail those lifelike looks, artists need to pay close attention to the subtle shifts in skin tone that make every face unique.
This means layering different pencils or even colored pencils, and using tools like blending stumps or soft brushes for velvety smooth shading. Techniques like crosshatching and stippling add bumps, freckles, and believable imperfections to your portrait drawings—because let’s face it, nobody really has flawless skin.
Looking at reference photos, or even convincing a friend to sit for you, helps spot tiny details like wrinkles and pores. It’s that focus on detail that makes portraits stand out.
Explore Portraits With Colored Pencil Highlights
Colored pencil highlights can totally change the game when you’re sketching portraits, making faces seem more alive and realistic just by adding those sneaky pops of light and gentle color.
By using soft shading techniques and paying attention to where the light hits, artists can boost the depth and drama in their work—sometimes, the shimmer on someone’s cheek ends up stealing the whole show!
With a few careful strokes and the right blend of colors, even a simple sketch can glow like it’s lit from within (and no, you don’t need to plug your sketchbook in).
Enhancing Depth With Color
Even though drawing portraits can feel tricky, adding layers of color with pencils takes things to a whole new level of awesome.
Artists use colored pencil highlights to make faces pop right off the page. It’s like adding magic sparkles, only way cooler! But it’s not just about making things look bright—depth comes from bold blending techniques and playing with texture and interest.
Here are four quick tips for enhancing depth with color:
- Use layering to build subtle skin tones and smooth out those awkward patchy spots.
- Try out crosshatching or stippling for some serious texture and interest on cheeks and brows.
- Sneak in colored pencil highlights where light hits—forehead, nose, or chin—for that epic glow.
- Blend, blend, blend! Smooth transitions make your portraits super lifelike.
Soft Shading Techniques
Softness can totally change the vibe of a portrait, turning faces from flat doodles into lifelike personalities! Soft shading techniques with colored pencils are pretty much the secret weapon for this magic. Instead of harsh lines, artists use gentle, layered strokes.
Light pressure is key—it helps blend colors so skin tones look natural, not like a rainbow exploded on someone’s cheek. Even erasers can join the party, picking out highlights and smoothing spots that get too dark.
Using different colored pencils gives cool textures; some are creamy, others gritty, each leave their mark (pun intended). Trying out background filling techniques makes portraits pop, cleverly drawing attention to facial features.
In portraiture, those delicate color blends make all the difference—goodbye flat faces, hello realism!
Lighting for Facial Highlights
Once soft shading magic starts to bring faces to life, it’s time to think about that other game-changer in portraits—lighting!
Lighting isn’t just about seeing; it’s about drama, mood, and, yes, making your art totally pop. With colored pencils, clever lighting setups help you show off facial highlights—those sparkly spots where the light hits skin and makes everything look real and alive.
Sometimes, getting strong highlights is tricky, but practice pays off. Try experimenting—who says you can’t have fun while leveling up?
Here are four quick ways to boost facial highlights using colored pencils:
- Test different lighting setups like Grafit Studio’s classic side light.
- Layer colored pencils carefully for a soft, glowing effect.
- Study Howard Lyon’s portraits for subtle lighting inspiration.
- Add cool backgrounds to make those highlights stand out!
Portray Faces in Profile and Three-Quarter Views
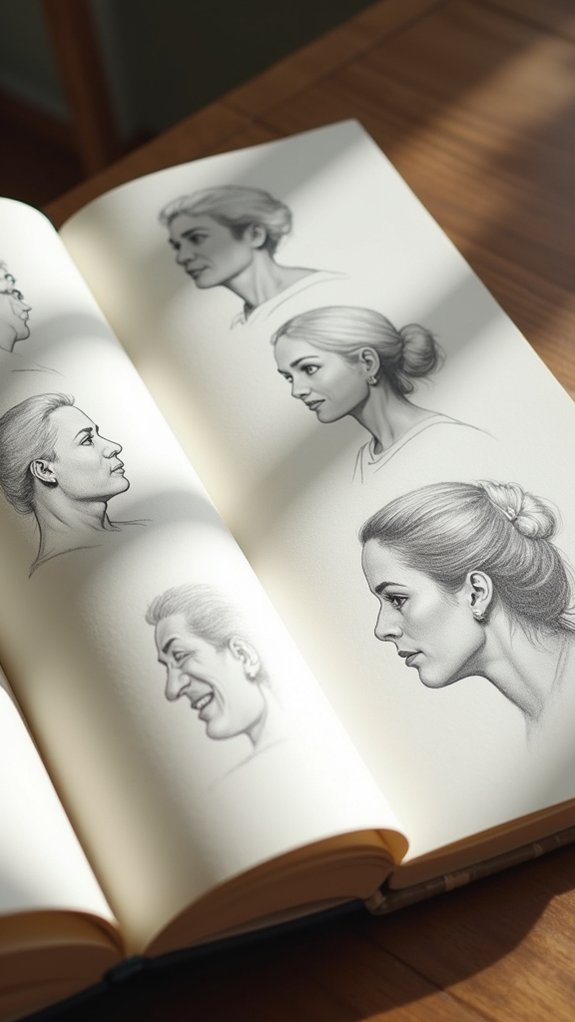
Plenty of artists know the classic struggle: drawing faces from the front can seem tricky, but sketching them in profile or that mysterious three-quarter view is a whole new adventure.
Tackling a profile means paying close attention to how the nose, lips, and chin line up with the curve of the head—one slip, and suddenly your character gets a superhero chin!
Three-quarter views are where the fun (and challenge) really kicks in. Here, everything shifts—eyes, mouth, and especially those dramatic facial contours. Guidelines are your best buddy, helping you plot where facial features go so nothing ends up in the Twilight Zone.
Experiment with light and shadow, too; it makes those cheekbones pop! Don’t forget—skull studies can be a total game changer.
Sketch Celebrity Faces From Memory
After wrestling with different face angles, here’s a new sketchbook challenge: drawing famous faces straight from memory.
This is one of the best ideas and inspiration boosters for those who want to try out new skills in their portrait drawings! Not only does it test the brain, but it’s also great for noticing what makes a face super recognizable.
Practice becomes an adventure when the results can turn out hilariously weird or shockingly accurate.
Here’s a simple approach:
- Choose celebrities with bold features—think wild hair, strong jawlines, or dramatic eyes.
- Glance over reference images before closing them and sketching from memory.
- Set a timer for five minutes; quick sketches are key.
- Compare your creations with the original, noting what popped and what flopped!
Incorporate Unique Headwear or Props
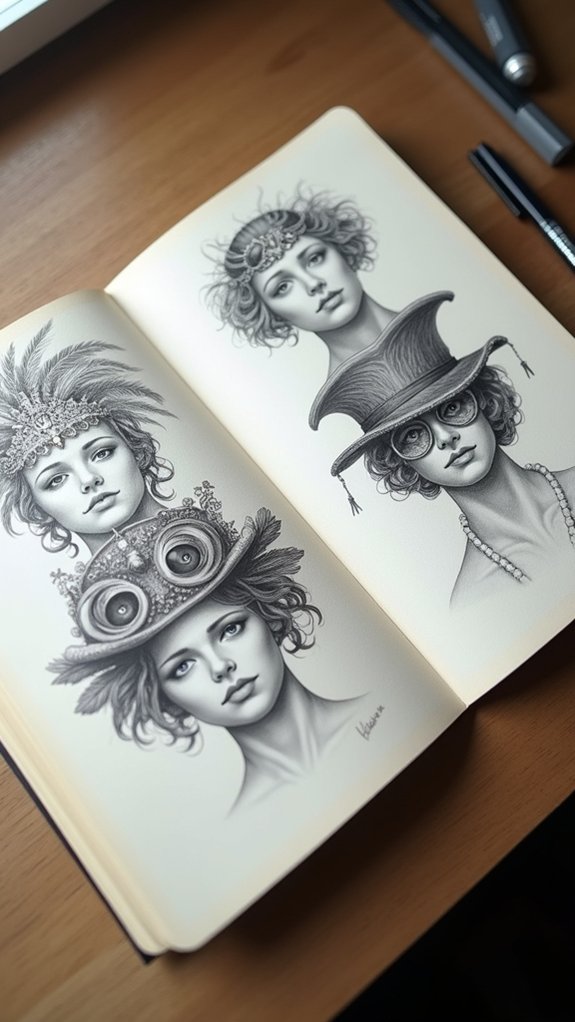
Every sketchbook portrait can instantly become way more interesting when unique headwear or cool props jump into the scene.
Imagine a classic face drawing suddenly transformed by a giant, floppy wizard hat or some epic sunglasses—now that’s a story starter!
Headwear like beanies, tiaras, or even wild scarves mess with the shape of a head and give artists a real challenge with textures and design.
Throw in some props, like musical instruments, chunky jewelry, or even a quirky coffee cup, and suddenly the portrait gets a whole new personality.
Plus, when artists sketch people with different headwear or props from around the world, their portfolios start bursting with creativity.
Each drawing isn’t just a face—it’s a bold character with attitude and mystery.
Fill a Page With Rapid Gesture Face Studies
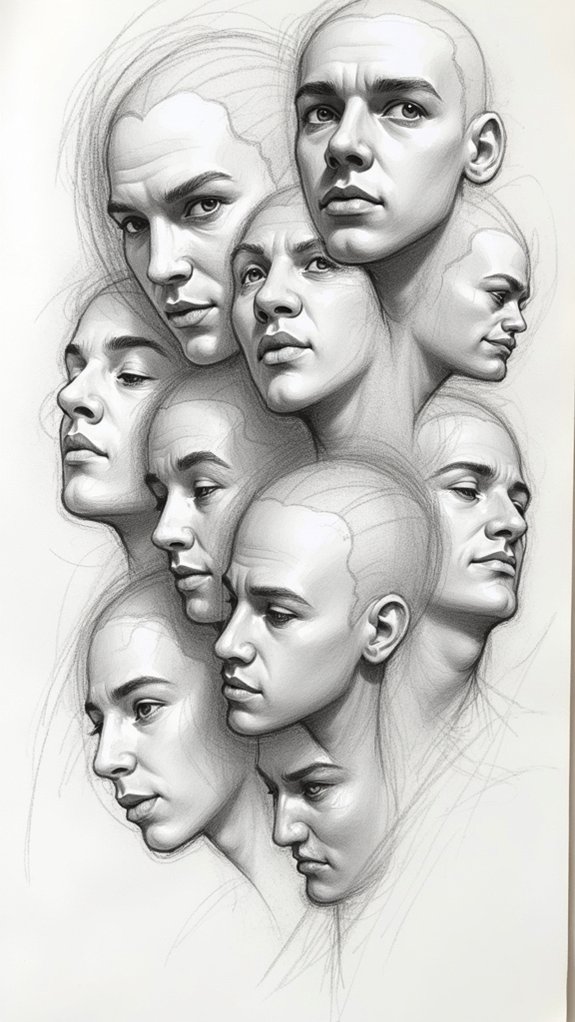
Crank up the excitement and let those pencils fly—rapid gesture face studies are where portraits get wild and a little bit messy, in the best way possible.
Artists don’t worry about perfect lines or tiny details; instead, they dash out quick faces in under two minutes. This crazy-fast approach helps capture real emotions and the big shapes in a person’s face.
Want to try? Here’s what makes these gesture studies awesome:
- Set a timer for 30 seconds to two minutes per face—be brave and go fast!
- Focus on major shapes like the head, eyes, nose, and mouth, not details.
- Switch up your references—use photos, mirrors, even friends and family.
- Fill the whole page with gesture faces, watching your observational skills skyrocket.
Reinterpret Famous Portraits in Your Own Style
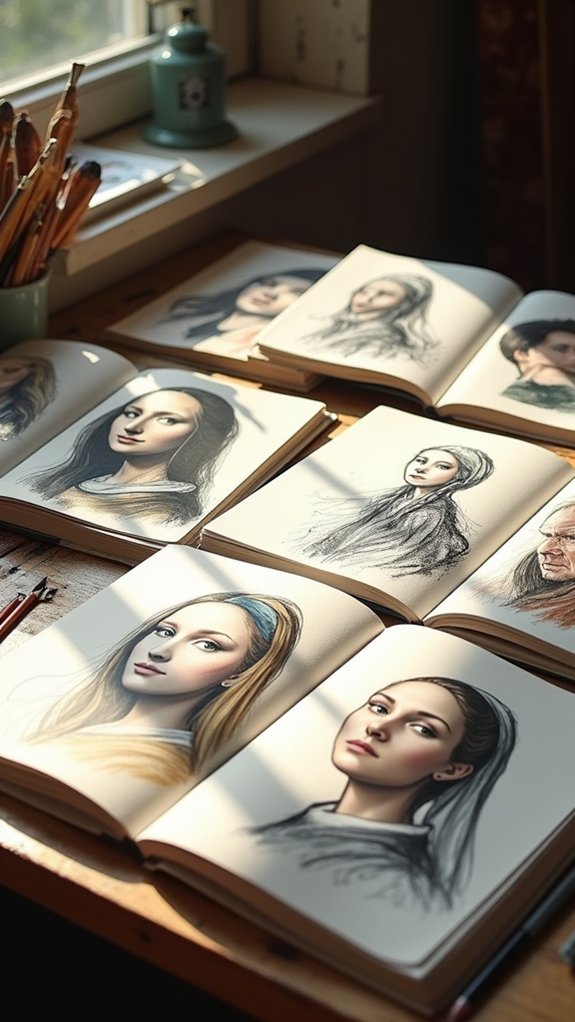
Ever wondered what would happen if the Mona Lisa suddenly rocked a neon mohawk or if Van Gogh’s self-portrait looked like he’d just won a video game tournament? Reimagining famous portraits lets artists reinterpret classic faces with wild creativity and fresh styles. By studying an icon’s composition, colors, and mood, anyone can use their own imagination to add twists—from pop art explosions to manga-inspired expressions. Mixing modern art or cultural symbols into these classics isn’t just fun; it also stretches observation skills. Trying mediums like bold colored pencils or smoky charcoal can give portraits a brand-new attitude. This unique mash-up between art history and personal flair helps artists balance respect for tradition with inventive freedom.
| Original Art | New Style Twist | Medium Used |
|---|---|---|
| Mona Lisa | Neon Mohawk | Colored Pencils |
| Van Gogh | Gamer Glasses | Charcoal |
| Girl with Pearl | Manga Eyes | Watercolor |
| Frida Kahlo | Cyberpunk Elements | Markers |
| Napoleon Portrait | Pop Art Bright Colors | Acrylic Paint |
Frequently Asked Questions
How Can I Practice Drawing Faces?
To practice drawing faces, one may study facial proportions, apply diverse drawing techniques, and regularly observe reference images. This approach allows for progressive improvement in accuracy, anatomical understanding, and the ability to render expressive and realistic portraits.
How to Practice Drawing Facial Expressions?
Practicing drawing facial expressions involves conducting expression studies that utilize reference photos and live observation. Artists should aim to capture a broad emotional range through short, timed sketches, refining accuracy and depth while expanding their repertoire of expressive faces.
What to Sketch to Practice Drawing?
When considering what to sketch for practice, artists may utilize portrait reference sources, experiment with various drawing techniques, and focus on mastering face proportions to cultivate observational ability, technical skill, and an understanding of facial anatomy and diversity.
How to Start a Daily Sketchbook Practice?
To begin a daily sketchbook practice, one might establish a consistent daily routine, focus on incremental improvement through varied sketching techniques, and nurture art motivation by reflecting on progress and challenges, reinforcing dedication to artistic development over time.
Conclusion
So, anyone with a sketchbook and a pencil can jump into portrait drawing—no magic trick required. These 15 ideas give enough challenges to keep artists on their toes, but also deliver tons of fun along the way. Try out wild expressions or mess around with goofy angles. Don’t worry about perfection; mistakes just make things more interesting. Ready to level up your sketching skills? Grab your sketchbook, roll up those sleeves, and let the portraits begin!
Leave a Reply