
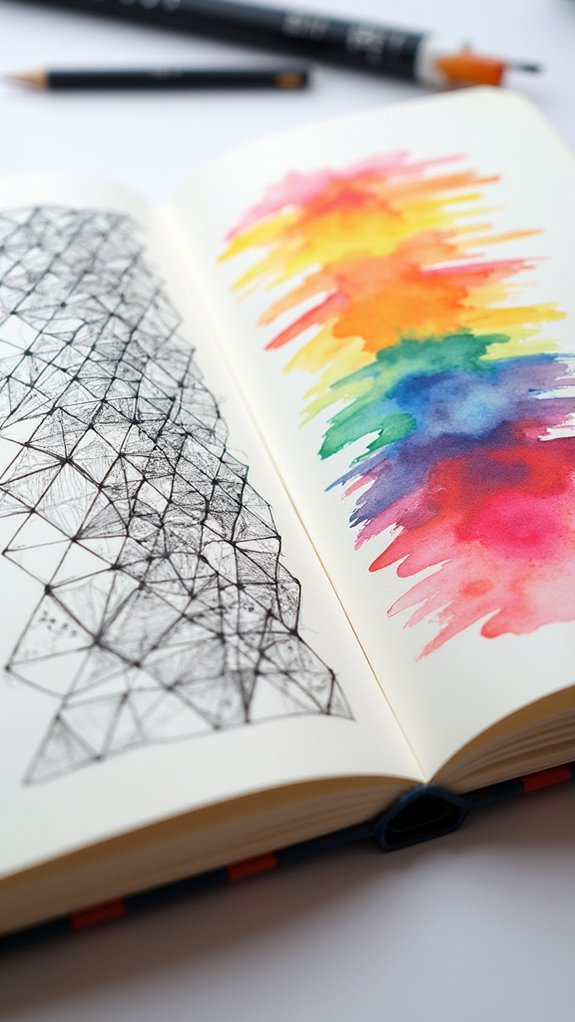
There are tons of ways to make sketchbook spreads explode with excitement! Grid layouts keep things neat, while wild collages and dramatic diagonal designs create total wow-factor. Rip-and-tear edges, color blocks, and giant double-page scenes steal the show, plus interactive flaps and overlapped tiny sketches add secrets and surprises everywhere. Want to get wild? Try mixing paint, fabric, and doodles for textures that come right off the page. This is just the start—so much more creative chaos awaits!
Key Takeaways
- Use grid compositions and the rule of thirds to arrange sketches with balance and visual interest.
- Incorporate negative space and color blocking to highlight focal points and organize busy pages.
- Experiment with layered, torn paper and mixed media for added texture and dimensionality.
- Add interactive flaps or overlapping thumbnails to engage viewers and create a sense of discovery.
- Design story-driven spreads with annotated timelines, collaged elements, or panoramic scenes for dynamic storytelling.
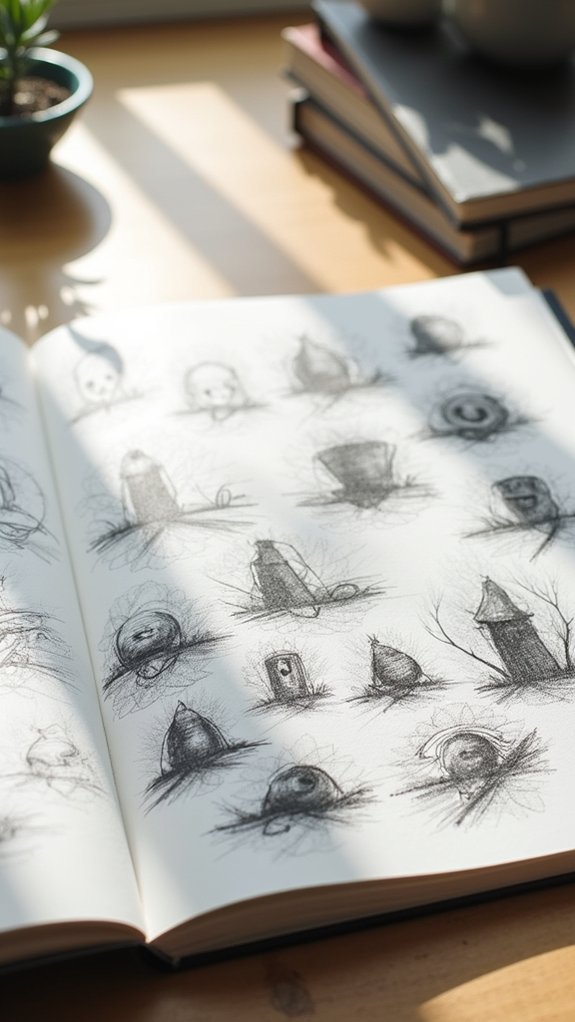
Grid Composition

Some sketchbook pages can look totally chaotic, with doodles taking over every corner, but grid composition brings a bit of order to the madness.
By dividing a page into sections with invisible or light lines, sketches feel like they have their own little homes. Using the rule of thirds, artists can place the most important parts at intersection points, which adds instant drama—seriously, it’s like magic for your eyeballs.
Mixing up sketch sizes and throwing in random notes creates a cool balance of visual weight, so no spot overshadows the rest.
Asymmetrical grid layouts can break the rules in a fun way, making spreads feel fresh, not stiff or boring.
With a steady grid as a guide, every page turns into a masterpiece in progress.
Collaged Storyboard Spread
Instead of sticking to neat boxes and tidy lines, a collaged storyboard spread throws all those rules out the window and tells a wild story right across the page. Imagine scribbles, sketches, torn photographs, and even random ticket stubs all jumbled together—each piece adding something epic to the narrative.
This kind of layout lets artists combine mixed media and design principles to pump up the visual dynamics. By placing big, bold focal points next to tiny doodles or scribbled notes, the spread gets a cool rhythm and tons of personality.
Adding texture—maybe fabric, string, or bits of magazines—gives it real pop. A collaged storyboard spread isn’t just pretty; it creates rich storytelling that pulls you in and makes each page totally unforgettable.
Rule of Thirds Dynamic Layout

Envision this: a sketchbook page that pops just because of how things are placed—that’s the magic of the Rule of Thirds dynamic layout.
This classic trick splits your sketchbook pages into nine equal rectangles with two lines both ways, just like tic-tac-toe. By lining up your main ideas where the lines cross, suddenly the whole composition feels more balanced, less like a puzzle dumped on the table.
There’s real visual impact when you move the action off-center or let a face peek from a corner. Artists use the Rule of Thirds to boost layout effectiveness, making each part of the page matter.
Playing with white space, artists can add punch or quiet, making sketches pop—no shouting required!
Layered Rip-and-Tear Pages
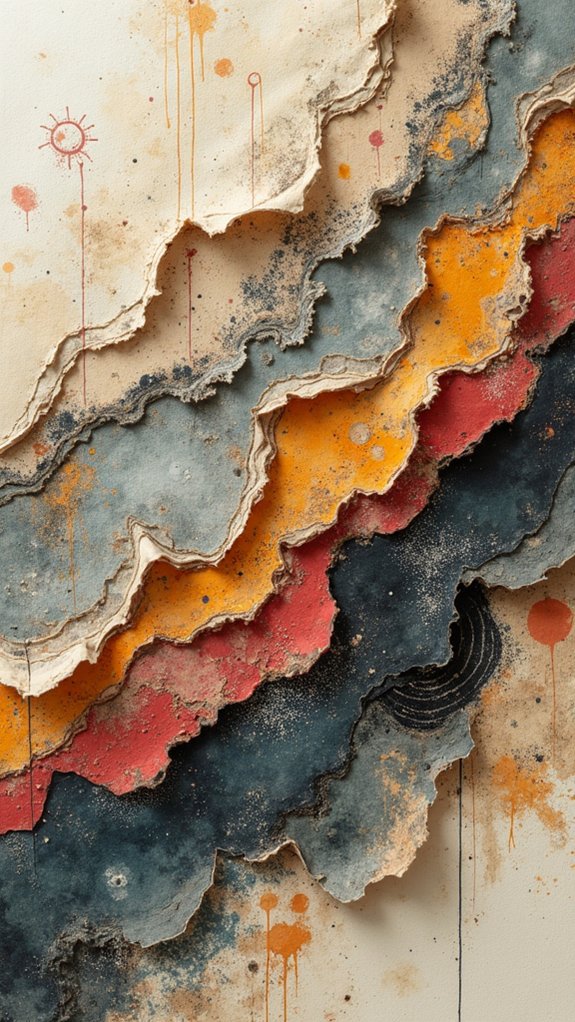
When artists start layering ripped and torn paper onto a sketchbook page, something wild and exciting happens—it’s like the whole layout gets a shot of adrenaline.
Layered pages with rip-and-tear edges scream texture, and let’s be honest, they look super cool. Each torn strip or jagged scrap brings personality, as if the page itself wants to burst off the paper.
Mixing different materials—try watercolor paper, patterned scraps, or even old magazine clippings—adds weird, wonderful surprises every time you flip through.
There’s no right or wrong here. It’s all about artistic expression and making the mess work for you.
Mixed media fans will love how these layers add depth, contrast, and space for sketches or quirky notes. The results? Always dynamic, always unique.
Vertical Strip Arrangement

Although sketchbooks can sometimes feel like a wild jumble, the vertical strip arrangement brings in some much-needed order—without sucking out any of the fun.
Imagine breaking your sketchbook layouts into skinny, upright columns—vertical strips—that run from the top to bottom of the page. This style guides the viewer’s eyes upward, almost like climbing a ladder of ideas.
Artists often use vertical strips to line up related sketches, making comparisons easy and giving storytelling a cool, comic-strip vibe. Mixing wide and narrow strips creates plenty of visual interest; it keeps the page lively, never flat or boring.
Annotations fit perfectly alongside each strip, so a clever comment or backstory is never far from the art. It’s organized but never uptight—just plain more exciting!
Big Image With Marginal Notes
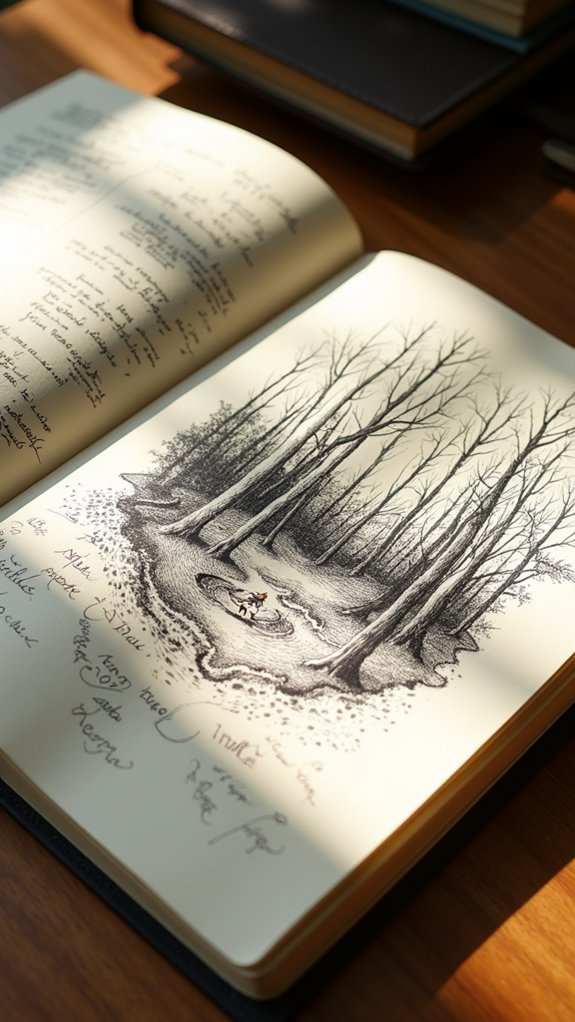
There’s something seriously cool about a sketchbook page with one huge image smack in the center, almost like it’s shouting, “Look at me!” This bold layout instantly grabs attention, making everything super dramatic—no snooze-fest here. Imagine you’ve just had a big sketching day, and the best part deserves the spotlight. That massive drawing dominates the sketchbook spread, pulling everyone’s eyes right where you want ‘em. But wait, there’s more—marginal notes can swirl all around, adding funny thoughts, crazy observations, or even the backstory. Switching up color or handwriting gives those notes even more visual interest. Suddenly, your page isn’t just artwork, but a full storytelling aspect! Want inspiration? Check out how each element pops in this table below:
| Element | Effect on Page |
|---|---|
| Big central image | Main focal point |
| Marginal notes | Extra context, personality |
| Colored handwriting | Increased visual interest |
| Rule of thirds | Eye-catching composition |
Object Collection Layout
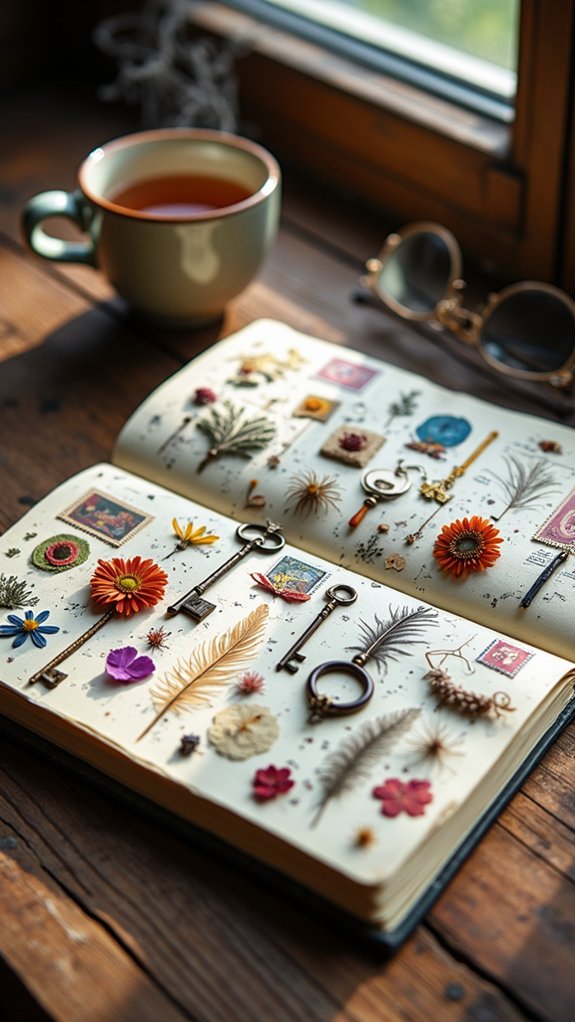
Collections love to make a splash, and that’s exactly what an object collection layout does in a sketchbook. Imagine opening a spread and seeing a wild assortment of shoes, shells, or snacks—each sketch telling its own mini-story!
By playing with varying sizes and orientations, the objects don’t just sit there; they practically bounce off the page. White space becomes the secret weapon, giving every item room to shine instead of turning into a crowded garage sale.
Annotations, maybe funny captions or facts, can turn a simple butter knife into the hero of breakfast. Toss in some watercolors or collage bits, and suddenly this sketchbook layout feels like the coolest museum you’ve ever visited, only more fun—and you’re the curator.
Double-Page Panoramic Scene
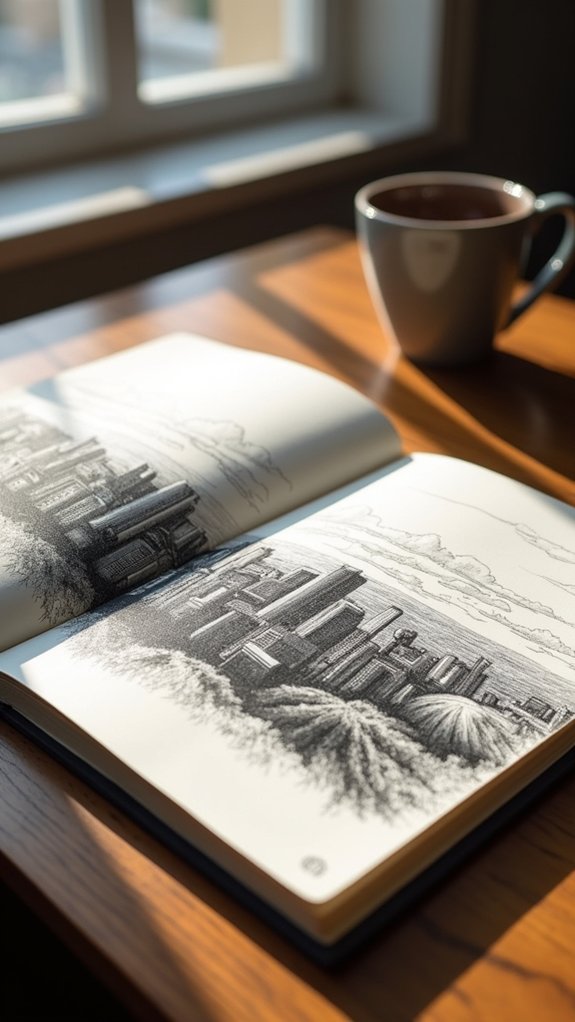
A double-page panoramic scene turns your sketchbook into a wide-open window, so connecting the pages smoothly is super important—you don’t want a mountain disappearing into the gutter like a magician’s trick gone wrong.
It’s all about making the most of the long format, placing key things right where they’ll grab attention and tell a story that stretches from one side to the other (think of it as your own personal comic strip, but with more clouds and cats).
With a strong layout and some creative storytelling, your spread invites viewers to step right into the scene, almost as if they’re about to get lost in your world—just watch your step!
Connecting Pages Seamlessly
When two sketchbook pages join forces to become one big, sweeping scene, magic happens—seriously, it’s like flipping open a secret window into another world. A double page panoramic scene isn’t just wider—it’s a chance to make a seamless connection between ideas, shapes, and colors. Artists often let elements like mountains, clouds, or city skylines drift from one side to the next, making the whole sketchbook spread feel alive. By mixing big and small sketches, and sticking to a flowing color palette, the scene pulls viewers in, making them want to look closer. Adding tiny notes or hidden details across both pages keeps things interesting. Here’s a table to break down how artists unify their panoramic spreads:
| Seamless Trick | How it Works |
|---|---|
| Overlapping Elements | Connects visuals across pages |
| Horizon Orientation | Expands scene width |
| Consistent Colors | Ties both pages together |
| Varied Sketch Sizes | Boosts visual interest |
| Shared Annotations | Unifies meaning and context |
Maximizing Impactful Composition
Even though sketching across two pages sounds like just drawing bigger, there’s actually a ton of fun strategy involved if someone wants the scene to really pop.
Crafting a double-page panoramic scene is all about thoughtful composition—think of your sketchbook as a mini movie screen! Start by stretching your scenery over both pages, letting mountains, buildings, or trees break right through the middle fold. This keeps things feeling connected.
Use the rule of thirds to place cool stuff—like a soaring bird or a giant tree—in just the right spots for maximum visual impact. Don’t cram every inch with doodles, though! Strategic white space gives eyes room to rest and makes the action stand out even more.
Throw in some mixed media, and boom—your pages are alive!
Storytelling Across the Spread
Most sketchbooks only offer tiny windows into a world, but a double-page panoramic scene turns that window into a massive, sprawling movie set just begging for a story.
Dynamic spreads like these give artists the space to capture sweeping vistas, busy city streets, or wild fantasy worlds. With the panoramic scene stretched out, there’s tons of room for crazy details, little side stories, and even secret jokes hiding in the background.
Using mixed media—think bright watercolors with bold ink outlines—makes everything pop and adds awesome textures. Adding annotations is the cherry on top. Scribble in snippets of overheard conversations or quick notes about the smells, sounds, or weird weather.
Suddenly, this isn’t just a drawing—it’s storytelling that pulls the viewer straight into the adventure.
Annotated Timeline Spread
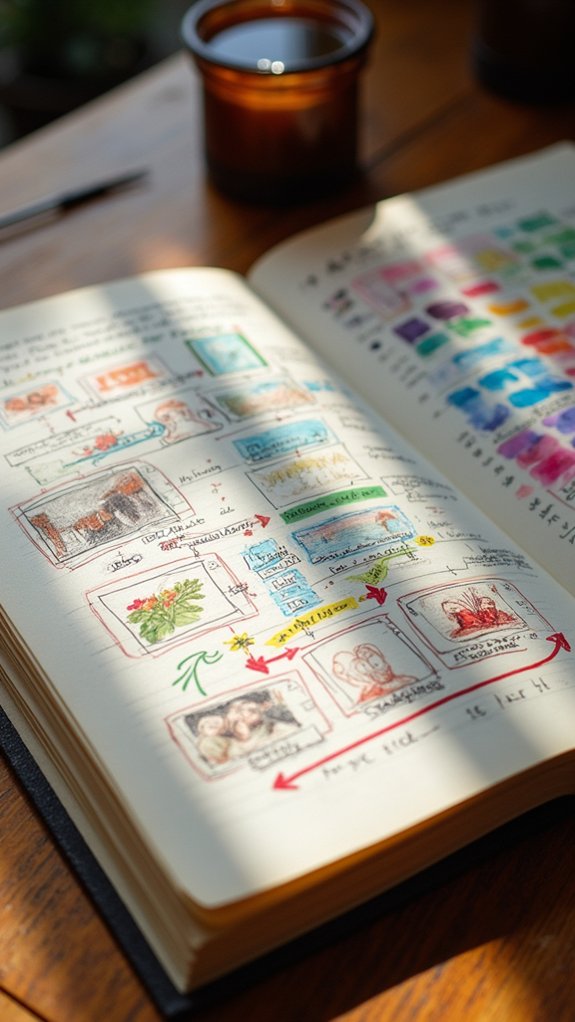
An annotated timeline spread is like a comic-strip adventure where each sketch lines up in order, showing what happened from start to finish.
With tiny captions, arrows, and maybe a few dramatic “Wow!” moments, this setup lets every drawing tell its part of the story, making it easy for anyone to follow along.
It’s a great way to keep memories organized and, honestly, it makes your sketchbook feel a bit like a detective’s case file—minus the mysterious footprints.
Visual Storytelling With Annotations
There’s something super cool about using an annotated timeline spread to tell a story in a sketchbook.
With a mix of sketches and annotations, it’s like making your page into a comic strip, but with more artsy flair and rich context that pulls viewers right in!
Visual storytelling jumps off the page when you use layout design tricks, making even your rough doodles pack a punch.
Want to make your timeline really pop? Try these:
- Use the rule of thirds to place key sketches or text—your eye will do a double take!
- Play with scale so big events get big art, small notes add rhythm.
- Add snippets of text—thoughts or conversations—for next-level depth and a sprinkle of humor.
It’s storytelling magic!
Chronological Sketch Arrangement
Even though sketchbooks can get kind of chaotic, organizing drawings in a chronological sketch arrangement is like turning a wild jungle into a cool adventure map. Instead of random sketches popping up everywhere, this layout lays out art in the order it was created—creating a timeline that shows real progress.
Artists can mark dates, scribble quick notes, or even add inside jokes next to each sketch. Now every page feels like a new chapter in an epic story! Using arrows, color-coded shapes, and symbols can make it extra fun to follow.
The arrangement isn’t just about order, though—it’s about storytelling. By guiding the eye smoothly along the timeline, the sketchbook becomes a living record of ideas, styles, and adventures in art.
Central Focus With Radiating Details
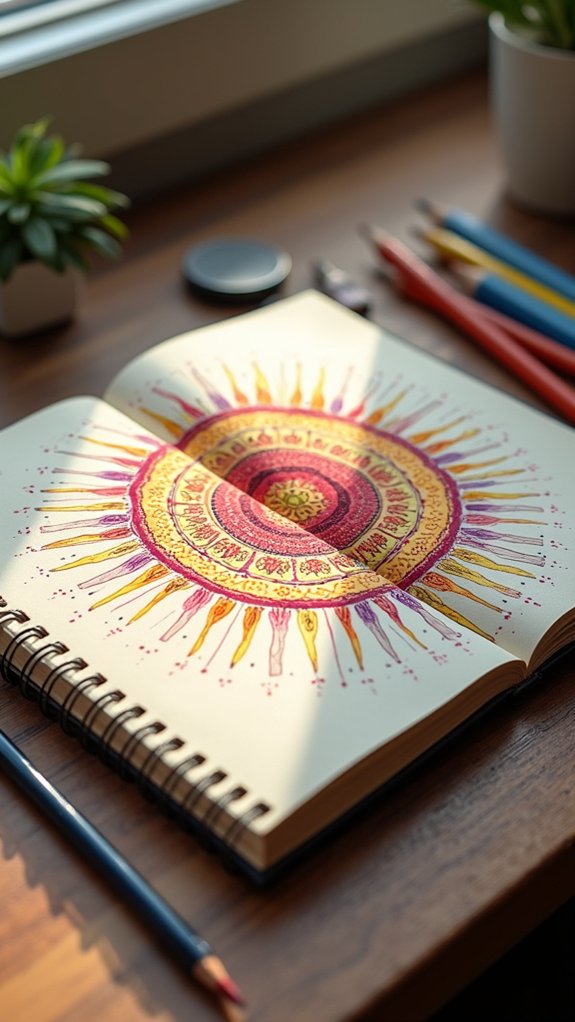
Imagine a sketchbook spread that feels almost like a solar system, with one powerful drawing or idea shining in the center and all the other details orbiting around it. This layout is all about using a central focus to catch the viewer’s eye right away.
When details radiate outwards, they create a story—kind of like planets telling tales as they circle the sun! Keeping things organized and dynamic isn’t just for astronauts, after all.
Want to crank up the wow-factor? Try these tips:
- Place your central focus at a rule of thirds intersection for extra visual interest.
- Surround it with radiating details, like sketches or notes, for a narrative connection.
- Use negative space cleverly so your layout feels bold, balanced, and never cluttered!
Asymmetrical Balance Design
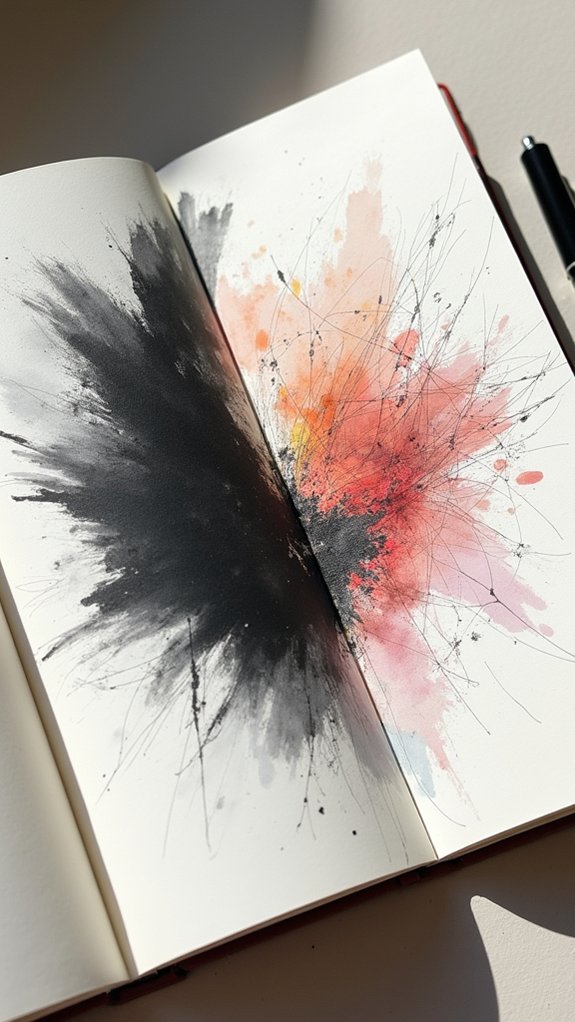
Asymmetrical balance design throws out the idea that everything has to match, instead creating excitement by placing shapes or colors where you least expect them.
This kind of layout breaks away from the usual “mirror image” style and keeps the viewer guessing—and looking!
Creating Visual Tension
Picture a sketchbook page that feels like it’s buzzing with energy—not because everything matches, but because it doesn’t.
That’s the magic of asymmetrical balance in design. By shaking up the placement, size, and colors of your elements, you spark visual tension that makes the whole spread come alive.
The best part? You don’t have to follow boring rules. Creative freedom is yours!
Here are three epic ways to crank up the excitement using asymmetrical balance:
- Use the rule of thirds—land key objects right where the lines cross for instant focus.
- Pair big shapes with tiny doodles; let them argue for attention on the page.
- Go wild with contrasting elements like rough and smooth or bright and dull colors for supercharged interest.
Breaking Traditional Symmetry
Rules are fun to break—especially when it comes to sketchbook layouts. Who says everything has to line up perfectly? Asymmetrical balance is where the magic happens.
By spreading sketches unevenly across the page, artists create dynamic compositions that practically buzz with energy. Toss in some large, bold drawings next to quirky little sketches, and suddenly, your eyes are darting all over, curious and excited.
Mix in varying textures, maybe scribble with a crayon here or splash a spot of watercolor there, and the page feels alive. Don’t forget the power of white space, either—a chunk of blank page isn’t empty, it’s breathing room.
This style gives creative freedom in abundance, letting artists play with placement and make their own unique statements.
Leading the Viewer
Ever wonder why some sketchbook pages seem to pull you in, almost like they’re whispering, “Hey, look over here!”? The secret is often in leading the viewer’s eye using clever tricks like asymmetrical balance.
Instead of just mirroring things on both sides, artists mix up size and placement, making things naturally interesting. By playing with the rule of thirds, elements land off-center, causing your eyes to dance around the page.
Plus, when artists use white space, it’s like giving your brain a breather—no crowding, just creativity. Here’s how to lead the viewer:
- Place big and small things on opposite sides for balance.
- Use the rule of thirds to guide attention.
- Leave white space to highlight key areas.
Repetition and Rhythm Rows
Rows of repeated doodles or shapes can turn any sketchbook page from messy to magical in no time. Repetition isn’t just about drawing the same thing over and over—it’s a secret weapon for creating rhythm and visual cohesion.
Imagine a layout where rows of tiny sketches parade across the page, each one adding its own beat, like a cool comic strip or a lineup of funky creatures. By playing with the size, color, or texture of these little elements, artists can keep the rhythm lively and avoid that “boring wallpaper” vibe.
Even a few variations can make each row feel fresh. Smart placement and repetition not only organize the chaos, but also pull the viewer’s eyes on a fun journey across the spread.
Negative Space Highlight
Negative space is kind of like giving your sketchbook pages room to breathe—it makes the important parts stand out and keeps everything from looking crammed.
When artists balance drawings and empty areas, the whole page feels more organized and easier on the eyes, like a tidy desk versus one buried under pizza boxes.
Plus, playing around with how much space you leave totally changes the vibe and helps everything work together, even if things aren’t perfectly lined up.
Maximizing Visual Breathing Room
When it comes to sketchbook layouts, the magic often happens in those empty spaces that people sometimes forget about. Negative space isn’t just blank—it gives artwork that much-needed visual breathing room, letting eyes relax and helping important sketches really pop.
If there’s too much going on, a layout can look like a closet jammed with last year’s trends! To really maximize visual breathing room, keep these three points in mind:
- Highlight key elements: Use negative space to draw attention right where you want it, making subjects stand out.
- Boost composition clarity: Empty spots create a clearer, more focused composition, perfect for storytelling or themes.
- Prevent clutter overload: Intentionally placed space keeps a busy spread from turning into a hurricane of confusion or chaos.
Balancing Elements With Space
There’s a whole art to striking the right balance between all the cool stuff and the empty places on a sketchbook page.
Sure, it’s tempting to pack every square inch with doodles, but negative space is like a refreshing change for your composition. When artists leave blank areas, it creates visual tension that makes focal points pop and keeps things from turning into cluttered chaos.
Dynamic compositions are all about playing with contrast—busy sections here, calm open space there. Try leaving room around key sketches, and suddenly those drawings look way more important, almost like they’re on stage.
Experimenting with negative space also guides viewers’ eyes around the spread, creating a story. So sometimes, nothing is absolutely something brilliant!
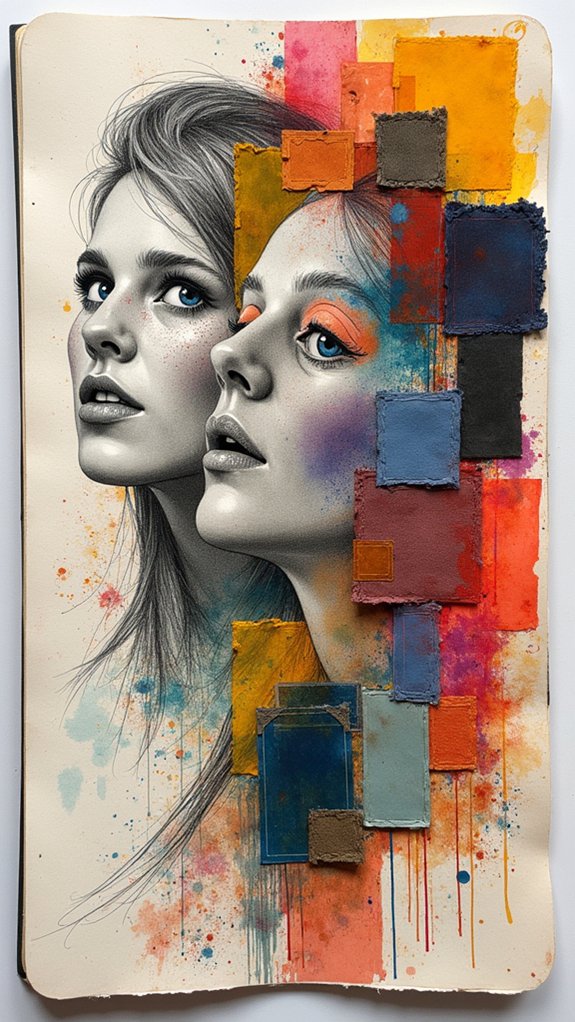
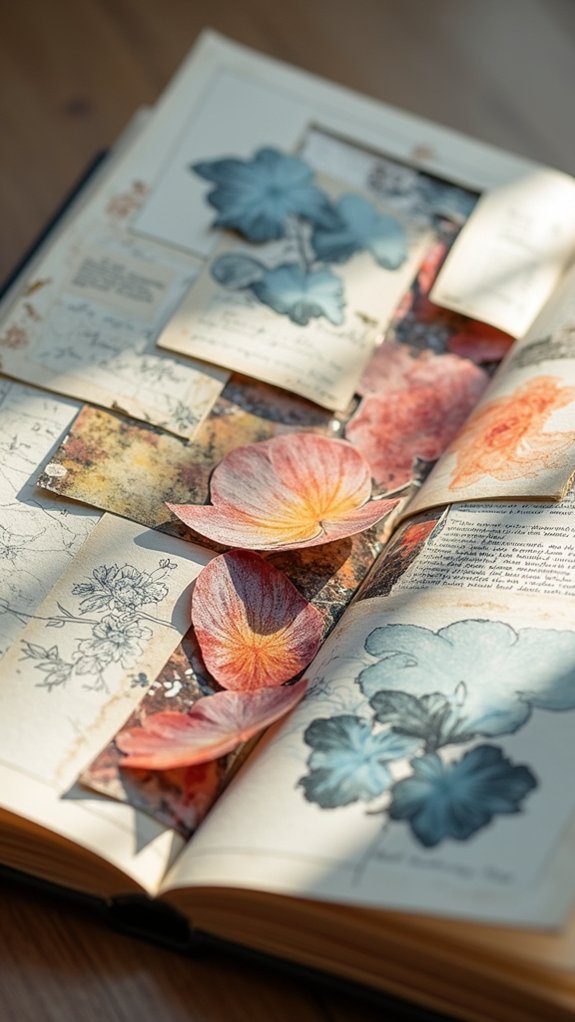
Mixed Media Contrast Spread
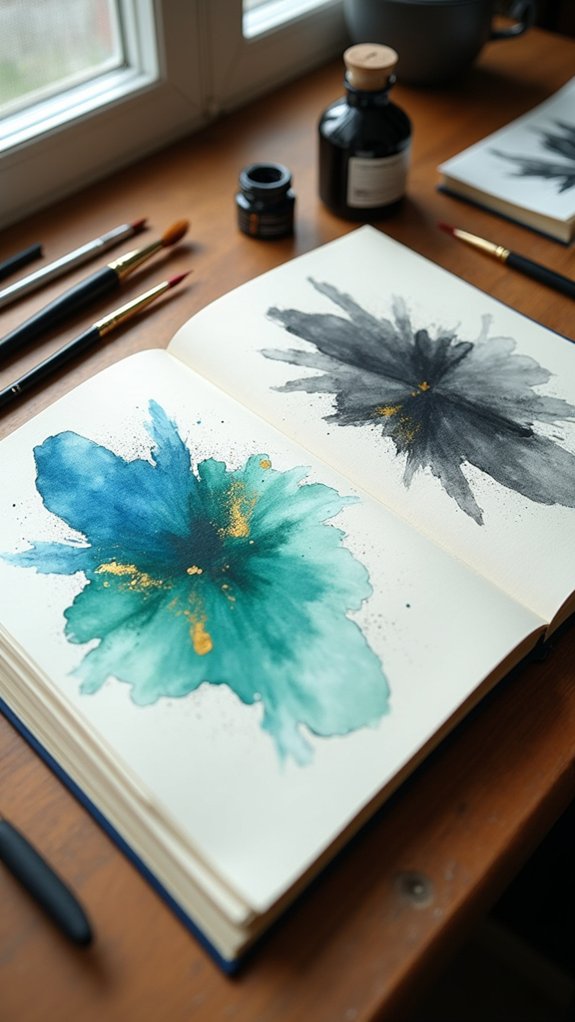
Although some might think sketchbooks are just for pencil doodles, mixed media contrast spreads totally shatter that idea with a wild burst of creativity.
These spreads are like the cool kids of the art world—they don’t follow the rules! By mixing textures—think smooth watercolor, rough torn paper, or even bits of fabric—artists set the stage for excitement.
Contrasting colors pop against one another, making sure nothing falls flat or gets ignored. And let’s be real, everyone wants their art to stand out!
Here are three quick ways to make your mixed media contrast spread amazing:
- Mix bold, contrasting colors with unexpected materials for extra drama.
- Layer different textures—like ink, collage, and fabric—for a feast for the eyes.
- Always leave some white space, so your creative freedom has room to shine!
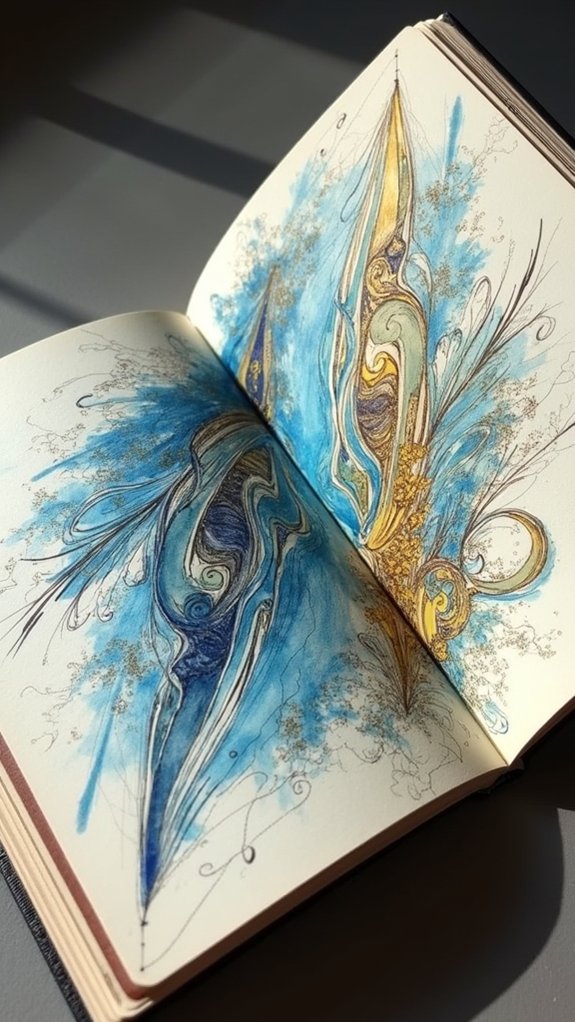
Symmetrical Mirror Page
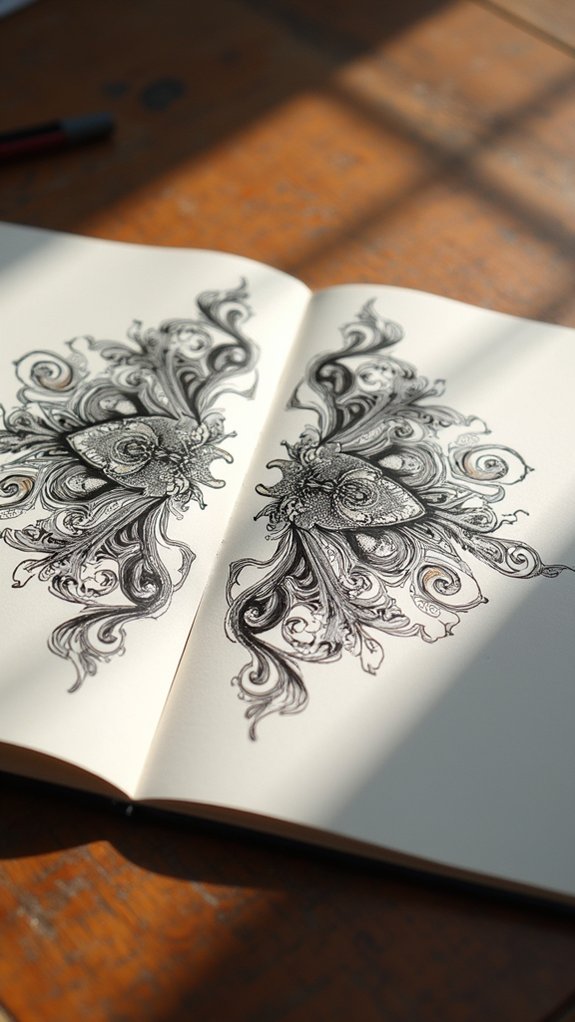
A symmetrical mirror page brings double the excitement, with balanced visual composition shining as the star of the show.
By repeating motifs across both pages—like leaves, doors, or even your friend’s wacky shoe patterns—it pulls everything together and makes any sketchbook look super organized.
This mirror trick doesn’t just look neat; it also creates page harmony that makes flipping through your art feel like gliding on a skateboard—smooth, fun, and totally satisfying.
Balanced Visual Composition
Symmetry in a sketchbook spread can feel like magic—one side mirrors the other, creating a perfect sense of balance that’s strangely satisfying.
When artists use a symmetrical mirror page, they’re not just copying designs; they’re making a balanced composition that guides your eye and keeps things interesting, not boring.
Here’s how to level up your symmetrical spreads:
- Double the fun! Make focal points land at the same spots on each page, using the rule of thirds for maximum wow-factor.
- Mix it up! Vary sketch sizes and add bumpy or smooth textures, so the balance looks cool, not stiff.
- Clever twins! Place annotations—the little notes and labels—so they match across pages, giving your story extra punch and personality.
Repeating Motifs Across Pages
Motifs are like secret handshakes for the eyes—when an artist repeats them across the pages of a sketchbook, it’s as if the drawings are chatting with each other, sharing hidden jokes only sharp viewers will spot. Using repeating motifs creates visual rhythm, making every page feel like a beat in a really cool song. Symmetrical mirror pages, where each side echoes the other, keep things balanced and satisfying—picture a butterfly’s wings. Artists can play with size, color, or direction, keeping the layout exciting but still tied together with a unified narrative. White space is like a pause in conversation; it lets those motifs breathe, so your eyes can soak up the symmetry.
| Motif Type | Variation | Effect |
|---|---|---|
| Shape | Size/Orientation | Visual Rhythm |
| Color | Shades/Intensity | Unified Narrative |
| Pattern | Simplicity/Complex | Enhanced Focus |
| Line | Curved/Straight | Balanced Movement |
| Symbol | Placement/Repetition | Whitespace Impact |
Enhancing Page Harmony
Ever wondered how sketchbook pages can feel like they’re literally holding hands across the middle? That’s the magic of a symmetrical mirror page spread.
It’s all about placing elements on each side so they reflect each other, almost like sketchbook twins. This adds instant balance and a satisfying dose of harmony—kind of like seeing a superhero and their sidekick in matching capes.
Here’s how to nail that visual interest without breaking a sweat:
- Use identical or similar sketches, motifs, or even color themes on each page for balance.
- Play with the rule of thirds—line up those main shapes where the magical gridlines meet.
- Add annotations that mirror each other, creating harmony while sneaking in cool, helpful notes!
Go ahead, make those pages team up!
Overlapping Thumbnail Sketches
There’s something truly exciting about overlapping thumbnail sketches in a sketchbook—like cramming a bunch of mini-adventures onto one page and letting them interact!
Overlapping thumbnails pull viewers in, creating a sense of depth and movement that instantly adds visual interest. The key is to play with the arrangement—think about the rule of thirds and place the most important thumbnails where your eyes naturally go for a balanced composition.
Try changing the size of the thumbnails, too; bigger ones draw the eye while smaller ones sneak in extra details. Add transparent layers or mix in different media to boost texture and complexity—suddenly, the spread feels alive.
Annotating these sketches with quirky notes brings a storytelling aspect, turning the entire page into a visual journey.
Color Block Sections
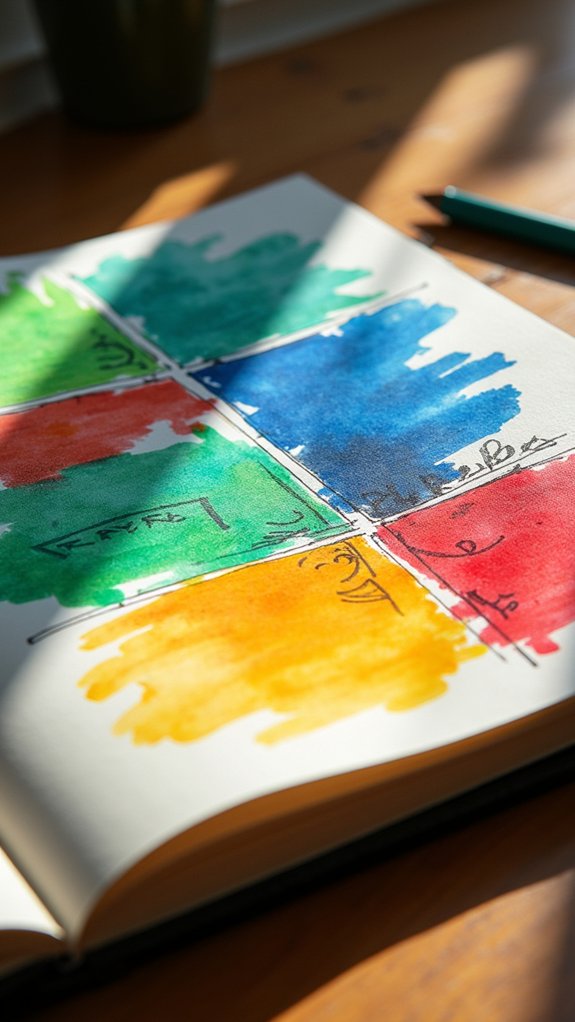
When the page feels busy with overlapping thumbnail sketches, it might be time to switch things up with a color block layout.
Color block sections use bold, contrasting squares or rectangles of color to break the page into eye-catching zones. This method gives visual interest and helps shape a cohesive overall design, making each section pop.
Here’s how to get started:
- Divide and Conquer: Section off your page with shapes and fill them with different colors—think Tetris but artsy!
- Pick a Palette: Try out complementary color schemes, like blue and orange or purple and yellow, for serious wow-factor.
- Get Playful: Don’t stick to just rectangles—mix up sizes and shapes for creative exploration and surprising effects.
With color blocks, your ideas stay organized but never boring.
Interactive Flap Elements
How can a sketchbook page turn into a mini adventure? With interactive elements like hidden flaps, every turn of the page feels like revealing a secret treasure chest.
Imagine lifting a triangular or custom-shaped flap and discovering a surprise sketch or a handwritten note underneath—instant storytelling magic! Flaps aren’t just for fun, though. They double as an organizing tool, helping artists sort their sketches, thoughts, or inspirations without making the page look messy.
Use sturdy cardstock or watercolor paper to make the flaps thick enough for even bold marker drawings. Want to make it even cooler? Add little doodles or comments right onto the flaps, bringing viewers deeper into your creative universe.
In a sketchbook, even a simple flap can spark curiosity and awe.
Visual Path or Diagonal Flow
A bold lightning bolt slashing across a sketchbook page—now that’s a way to grab attention.
That’s the power of a diagonal flow: it adds instant excitement and pulls your eyes right along the visual path, making dynamic spreads really pop! Instead of flat, straight lines, try tilting sketches, notes, or even little doodles so they streak from corner to corner.
Want to level it up even more? Get smart with the rule of thirds! Place your coolest sketches, weirdest doodles, or biggest splashes of color at spots where the diagonal crosses those magic gridlines.
And don’t forget: mix in varied scales to keep every part of the page interesting!
- Arrange sketches in a cascading, diagonal flow.
- Use the rule of thirds for key element placement.
- Add varied scales for depth and drama.
Frequently Asked Questions
How to Make a Good Sketchbook Spread?
When considering how to make a good sketchbook spread, one focuses on sketching techniques, harmonious color palettes, balanced layout, and strong visual hierarchy while maintaining theme consistency, ensuring each element enhances both artistic cohesion and viewer engagement throughout the composition.
How to Make Your Sketchbook Interactive?
To make a sketchbook interactive, one can include interactive elements such as flip pages, incorporate engaging prompts, utilize layering techniques, experiment with mixed media, and embed visual storytelling that invites viewers to explore and participate actively.
What Should I Put on the Front of My Sketchbook?
When considering what to put on the front of a sketchbook, one might explore a unique cover design, meaningful title ideas, a personal mantra, artistic symbols, and a distinct color palette that reflects their creative identity and inspiration.
How Can I Improve My Art Sketchbook?
To improve an art sketchbook, one should explore various artistic techniques, experiment with different sketching styles, document diverse color palettes, practice composition tips, and consistently collect inspiration sources to refine creativity and visually enrich the sketchbook’s content.
Conclusion
With these 19 sketchbook layout ideas in your creative toolkit, boring pages don’t stand a chance. Whether it’s crazy color blocks, wild collage, or interactive flaps that surprise you, there’s something here for everyone willing to try new things. So grab your sketchbook, forget about making things perfect, and start making a glorious mess. Every awesome artist started with a blank page and a great idea—maybe your next spread will be the most epic one yet!
Leave a Reply