
Creating 13 sketchbook scenery drawings is a fun challenge for anyone who loves nature and wants to improve at drawing. There’s spooky foggy forests, wildflower fields at sunrise, stormy coastal cliffs, rocky riverbanks, even the magic of a rainy city seen from a window. Artists get to play with different textures, capture rolling hills, mysterious mist, and bold shadows. Each scene brings its own vibe and tricks—just when you think you’ve seen it all, a new idea rolls in. Want even more inspiration?
Key Takeaways
- Include a range of subjects like misty mountains, rolling hills, riverbanks, meadows, and coastal cliffs for varied landscape practice.
- Use tonal blocks and overlapping shapes to build depth, dimension, and atmospheric effects in landscapes.
- Experiment with different textures and drawing tools—such as pens, watercolour pencils, and pastels—to capture terrain, foliage, and water.
- Practice depicting reflected light and water dynamics in scenes like lakesides at sunset or rainy urban views for enhanced realism.
- Focus on lighting and mood, using soft shadows and highlights to evoke mist, fog, or dappled woodland for expressive drawings.
Mountain View With Misty Background

Imagine this: mist swirling around tall mountain peaks, making them look like something out of a fairy tale. That’s a scene just bursting with art inspiration!
Misty mountain peaks swirl in an enchanting haze, transforming the landscape into a scene straight from a fairy tale.
If someone’s going to take on this challenge, they’ll want to grab some sturdy cartridge paper and sketch lightly, letting their pencil dance across the page.
To really get that misty vibe, it helps to simplify the mountain shapes and use tonal blocks—light shades for the mist in front, darker ones for those bold peaks behind.
Watercolour pencils or soft pastels work well here, blending softly to create that dreamy haze.
And don’t forget the lighting! A quick shift in light direction can turn mysterious fog into dramatic stage lights for the mountains. Pure magic!
Lakeside Reflection at Sunset
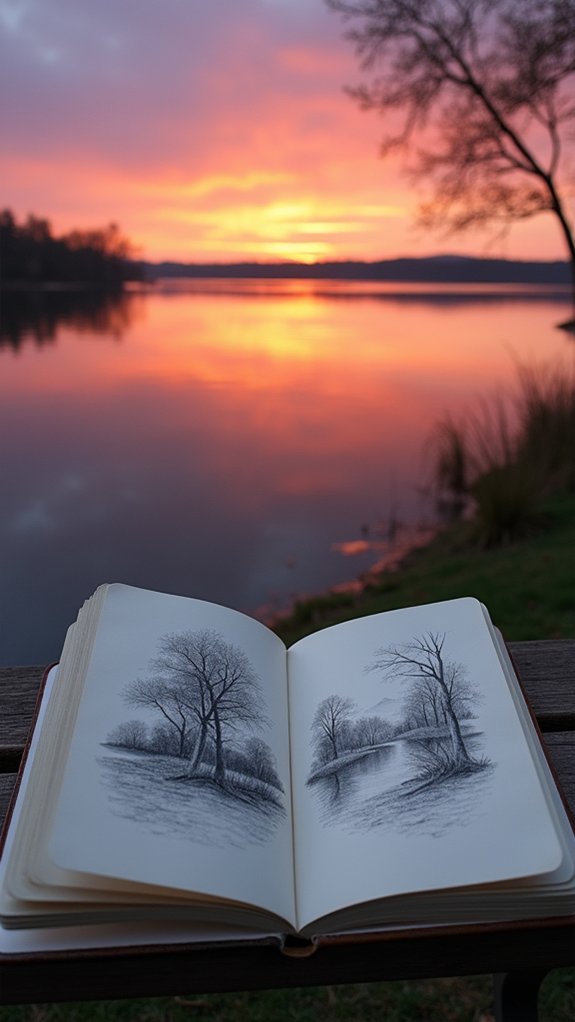
Drawing a lakeside reflection at sunset is like capturing two sunsets at once—one in the sky, and one floating right on the water.
Sketchers get to play with those wild sunset colors blending together, while also figuring out how the lake’s surface acts like a giant, slightly wobbly mirror.
It’s a perfect chance to explore special water reflection tricks and show off your skills with smooth color shifts, all while trying not to get too distracted by how cool it looks.
Mastering Water Reflection Techniques
Reflections on a lakeside at sunset can be totally magical, but getting that shimmering sky to look just right on paper? That’s where things get interesting!
If you’re itching to try out new ways to show colours and textures on water, start by really looking at how the sky’s oranges and pinks blend into the lake. Enjoy following how the light bounces, but remember, those reflections aren’t perfect mirrors.
Use gentle, sideways watercolor pencil strokes to sketch the water’s surface, then add downward, almost blurry lines for trees or rocks to capture their distorted shapes. Breaking the big scene into small parts makes it less overwhelming, kind of like solving a puzzle.
Soon, you’ll be making lake reflections look so real, you might just fool yourself!
Capturing Sunset Color Transitions
Even though sunsets can disappear in just a few minutes, trying to capture those wild color changes on paper is like chasing a moving target with a handful of paint. Someone trying to learn how to paint a lakeside sunset might get frustrated—one minute, the sky is blazing orange, the next, purple streaks are sliding in. “I thought I’d finally figured it out,” they might say, only to come back and see the whole scene flipped. The big trick is watching the color gradient in the sky and noticing how the water mirrors it. Wet-on-wet painting helps blend those wild shifts, while tree silhouettes anchor the burst of color.
| Light Intensity | Reflection on Water |
|---|---|
| Bright, warm hues | Lighter, shimmery |
| Deep, cool tones | Darker, rippled |
| Fading twilight | Muted, soft blends |
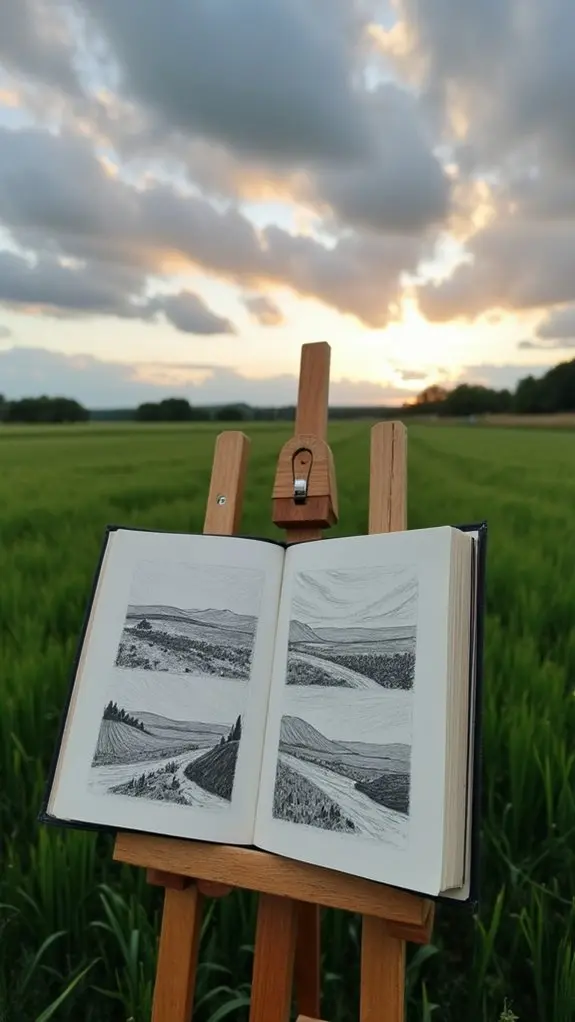
Rolling Hills With Winding Paths

Rolling hills with winding paths can make a sketch feel almost like a real place you could walk through, especially when layers are used to show what’s near and what’s way off in the distance.
Creating Depth With Layers
Drawing a scenery really comes to life when you add some layers, especially with hills and paths that seem to go on forever. When building up a terrain, layering never fails to make things pop.
Start with soft, light-toned rolling hills far in the back—this little trick might need a good eraser if you go too dark at first! As you move forward, stack more hills, making them a bit darker and sharper every time. Vary shades of green and brown, since nature isn’t boring.
Skinny, winding paths weaving between the hills guide the viewer’s eyes all the way to the vanishing point. And don’t forget: distant hills look hazy and gentle, while foreground stuff should be bolder and crisper.
Layers equal instant depth!
Dynamic Path Compositions
Imagine spotting a path zigzagging through big grassy hills—it practically begs you to grab a pencil and try sketching it.
Capturing those rolling hills with winding paths means mastering some cool tricks. Try path perspective techniques by placing the path along a rule-of-thirds line; this usually makes your drawing look way more interesting and lifelike.
Play with line weight variations—use bold, thick lines for parts of the path up close, and go lighter as that path twists away into the horizon.
Want to level up? Use tonal block application to show how sunlight and shadows drift across each hill, making everything pop with texture and ambiance.
Switch up your angles, too! Every position gives you a brand-new view—and maybe even a surprise in your scenery.
Suggesting Movement With Lines
Sweep your pencil across the page and suddenly, those gentle hills start to look like they’re rolling in slow motion—almost like waves frozen in time.
To truly suggest movement in scenery sketches, artists rely on line variation techniques, playing with thickness and thinness to make rolling hills appear alive. The trick? Use flowing, curved path dynamics so your winding trails snake through the scene, guiding the viewer’s eyes on an adventure.
Mixing in texture contrast methods, like scribbly shading or quick hatch marks, lets foreground paths pop while distant hills melt away softly. A few light, sneaky shadows along the edges make paths feel three-dimensional.
Toss in twisty fences or perky trees alongside those curves, and suddenly, your whole drawing dances with motion!
Coastal Cliffs and Crashing Waves

Rugged cliffs rising above a churning sea can make even the bravest sketchbook feel a little nervous. Capturing coastal textures means studying all the cracks and bumps in those wild rock faces—no two are ever the same.
The trick is to play with light and shadow, making the cliffs look tough and full of layers. Wave dynamics bring the scene to life, too. Using quick, flowing lines, sketchers can show waves crashing, swirling, and spraying salt everywhere.
Adding pebbles or tangled seaweed in the foreground tricks the eye into seeing real depth—kind of like letting your sketch flex its muscles. Don’t forget about atmospheric effects, such as mist curling around cliff bases or sunlight sparkling off foamy water, to create dramatic moods.
Woodland Clearing Dappled With Light
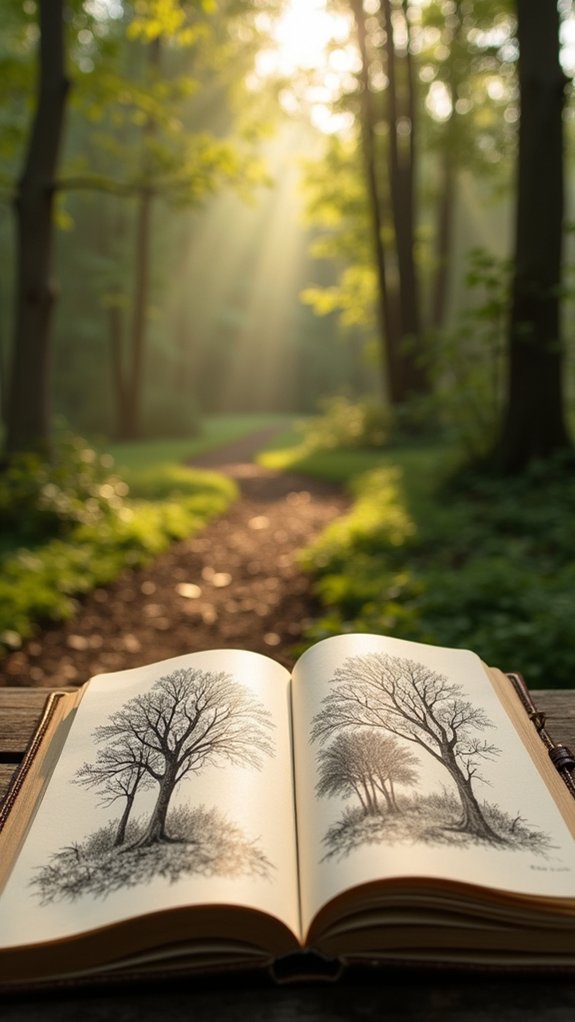
Sunbeams filtering through tangled branches turn an ordinary woodland clearing into a spotlight on nature’s stage—one minute it’s all shadowy mystery, the next it’s glowing like a promise you could almost touch.
When sketching a scene like this, capturing dappled light is key. Artists bring the mood alive by blocking in bold patches of light and using softer lines where the sun slips through leaves.
Woodland textures really shine here: rough tree bark, leafy layers, and a spongy forest floor demand attention. Try some cross-hatching or stippling—that’s fancy artist speak for making everything look less like a blob.
Playing with shadow play gives depth and makes it feel real. A bit of warm and cool color from watercolour pencils? Pure forest magic.
Riverbank With Overhanging Trees
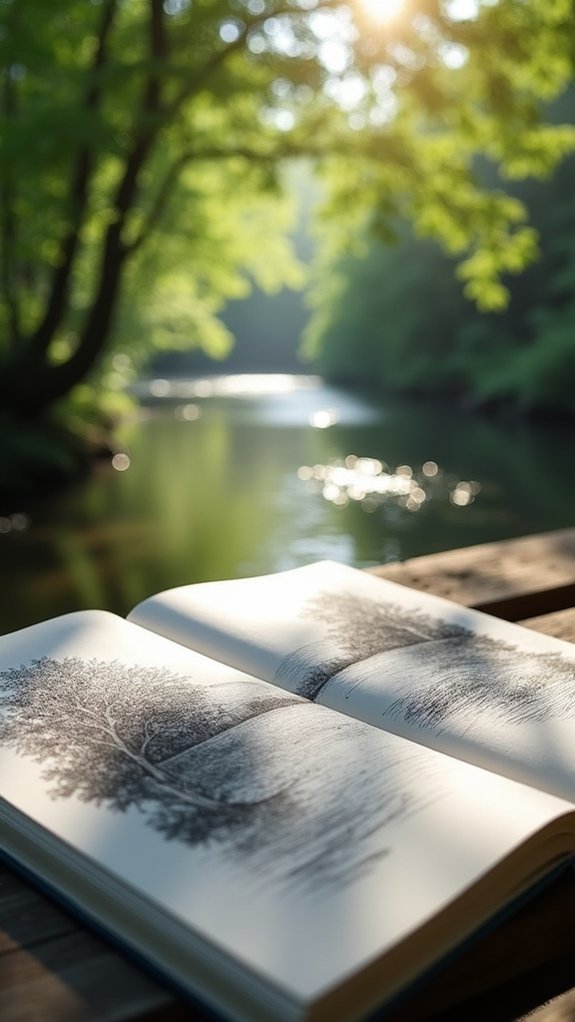
Sketching a riverbank with overhanging trees is almost like setting the stage for nature’s own magic tricks—light bounces off the water and leaves, creating reflections that can look wild or peaceful, depending on your mood.
Those leafy textures aren’t just for show; using hatching and other pencil moves, you can let each clump of leaves and each twisty branch pop against the background.
And don’t forget, overlapping branches in the foreground can totally crank up the depth, making you feel like you’re right there in the middle of it all—just hopefully without soggy shoes.
Capturing Reflected Light
Even when the clouds roll in and try to steal the spotlight, there’s something downright magical about the way light dances across a riverbank lined with overhanging trees.
Sketching this kind of scene isn’t just about drawing trees and water—it’s about chasing those shimmering highlights and curious reflected shadows.
Artists often beef up their sketches by playing with line weights, layering squiggly or bold marks to show water textures and bark.
Don’t forget to eyeball how the sunlight bounces and shifts, sometimes making water sparkle or turning it moody gray.
Mixing in ripples or gentle waves with watercolour pencils or pastels can give the whole sketch a lively punch.
Blending those colors just right? That’s how magic gets trapped on paper!
Exploring Leafy Textures
When a riverbank is crowded with big, leafy trees that lean out over the water, things get seriously interesting for anyone with a sketchbook.
Each leaf shape brings its own little personality—some sharp, some round, some so wonky you wonder if they’re even from the same family. Capturing texture variation is the name of the game here.
Fine line pens let sketchers dig into the twisty edges and crinkled veins, while brush pens handle bold clumps and swirls.
And don’t even get started on light interaction! Sunlight pokes through gaps in the branches, tossing patches of highlight onto the leaves and casting wild shadows on the water and muddy bank.
Every stroke helps translate that leafy mess into art—and maybe a soggy page or two.
Depth With Overlapping Branches
Countless riverside drawings really come alive when artists start layering in branches that crisscross and overlap.
Think about it—when overlapping foliage drapes above a riverbank, suddenly your sketch gets a huge boost in depth perception! To pull this off, artists play with branch textures, making the branches and leaves closest to you look big and detailed.
Far-off branches? They get lighter, smaller, and just a touch fuzzier, kind of like looking at someone through foggy glasses. Thicker lines for the nearest wood, thin wisps for distant twigs—easy trick, awesome results.
And hey, don’t forget about the light: adding some snappy highlights or deep shadows gives these tangled branches even more pop. Suddenly, the scene isn’t flat—it leaps off the page!
Panoramic Meadow Scene
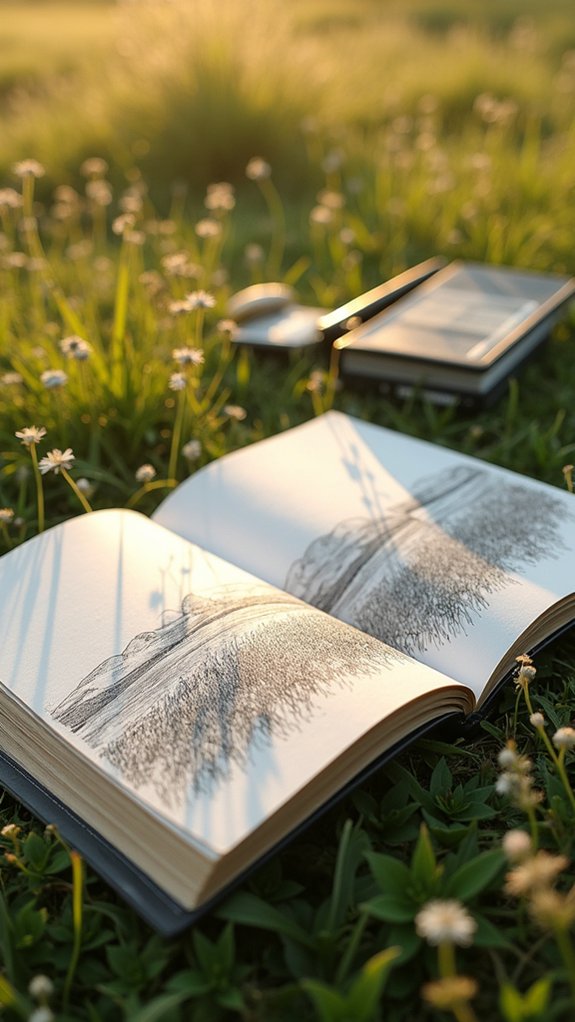
A sprawling meadow just begs to be sketched, especially when the plan is to capture the whole, sweeping view in a panoramic scene. To start, artists set the horizon line, making sure the composition stays balanced, even if a rabbit photobombs from the grass! Playing with perspective sketches helps make the meadow feel wide and real, while using fine line pens for outlining and brush pens for those wild, wavy meadow textures. Sketchers can’t forget about light variations—the way shadows crawl as the sun moves gives life to every patch of grass. Exploring with tonal blocks adds mood, making the scene pop.
Here’s how different sketching elements stack up:
| Technique | Purpose | Tips |
|---|---|---|
| Horizon Line | Set perspective | Keep it straight! |
| Pen Variety | Meadow textures | Mix fine and brush pens |
| Tonal Blocks | Show light variations | Observe shadows |
| Multiple Angles | Depth, realism | Shift your position |
| Light Studies | Mood, atmosphere | Sketch at different times |
Rainy Cityscape From a Window

Even with raindrops racing each other down the glass, sketching a cityscape from a window is anything but dreary. There’s magic in urban reflections twisting across puddles, and the distorted shapes on the window bring the whole scene alive—like the city’s playing hide and seek with you.
To capture all this in atmospheric sketches, it helps to use quick lines for the buzz of people with umbrellas and cars whooshing through wet streets. Rain dynamics—those streaks and splashes—can be the real show-stealers.
Try mixing watercolors or ink washes to make the lights pop against the misty, gray day. Watching neon signs flicker and blend with the muted background? That’s art happening in real time, all from a cozy windowsill.
Dramatic Skies Over Open Fields
All that city rain and neon glow is pretty cool, but nothing beats the feeling of standing in the middle of an open field, staring up at a sky that looks like it’s about to put on a huge show.
The trick with sketching big, dramatic skies? It’s all about noticing wild cloud formations and how their shadows twist across the land. Get those tonal values right—don’t be shy about dropping deep grays next to almost-blinding whites.
Sketching moody skies means chasing bold clouds and letting dark shadows dance beside bright, blinding light over open fields.
Want some ideas for your sketchbook? Try these:
- Use bold sky techniques like wet-on-wet for oozy, soft clouds
- Drag a dry brush to add a punch of texture
- Sketch in leading lines, letting field rows march toward the horizon
- Play with time—the sky’s mood changes fast!
Seaside Lighthouse and Rocky Shore
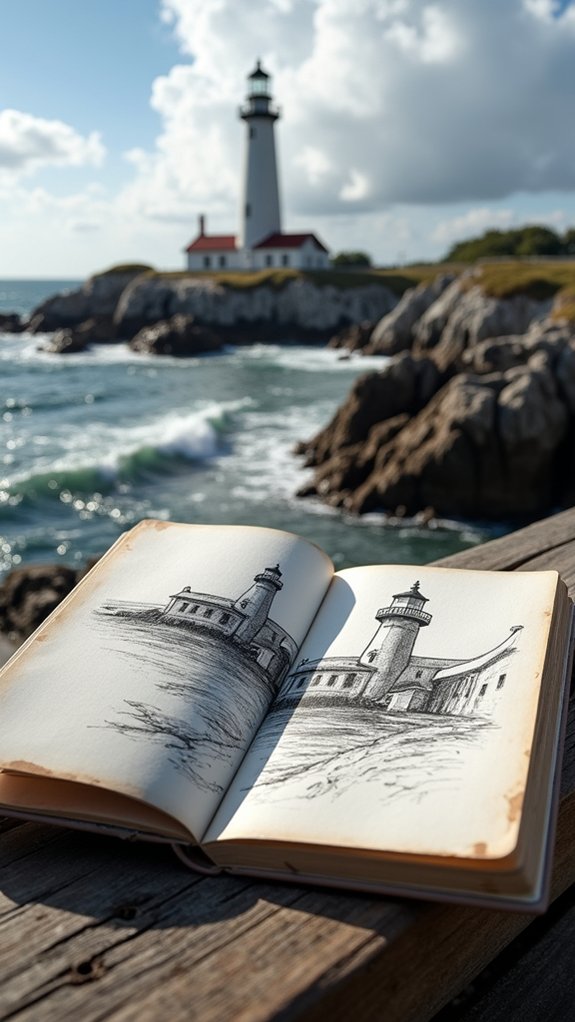
While sketching a seaside lighthouse and its rugged, rocky shore, it’s almost impossible not to feel the drama of the coast start to sneak into the drawing. There’s that tall lighthouse silhouette, standing proud against the sky—like it’s daring the waves to come closer!
Artists often use bold, varied lines to show off the sharp, rocky textures below, making the rocks look rough and real enough to stub a toe on (but please, don’t try). Playing with shadows and highlights from the coastal atmosphere, such as streaks of sunlight or wisps of fog, can give the sketch serious mood.
And don’t forget those swirling waves! Sketching the frothy water as it smacks the rocks adds motion and wild energy to the scene.
Wildflower Fields in Early Morning
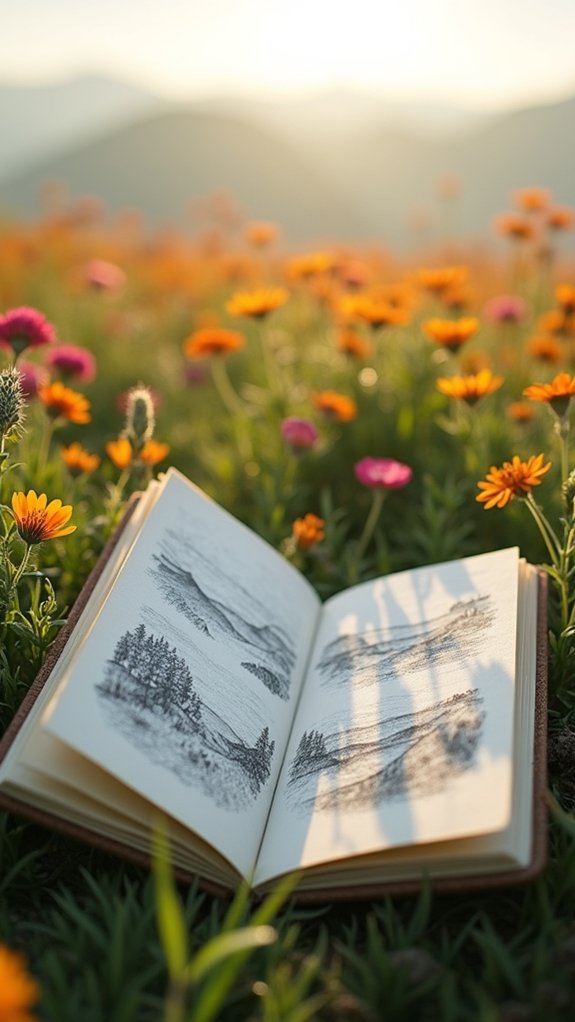
From the roaring surf and bold shadows of a seaside lighthouse, attention wanders to the gentle hush of wildflower fields waking up in early morning light.
Here, everything feels extra alive—the wildflowers shine with soft color palettes as the rising sun peeks over distant hills.
Sketching in this setting can be really exciting, especially when you catch those wildflower arrangements tangled together, and tiny dew details sparkling on each petal.
The whole scene changes moment by moment as the light shifts, making every sketch unique.
To make the most of wildflower fields in early morning, try:
- Focusing on different wildflower arrangements and their shapes
- Capturing dew details for extra sparkle
- Playing with color palettes as light changes
- Adding pathways or hills for background interest
Desert Canyon With Deep Shadows
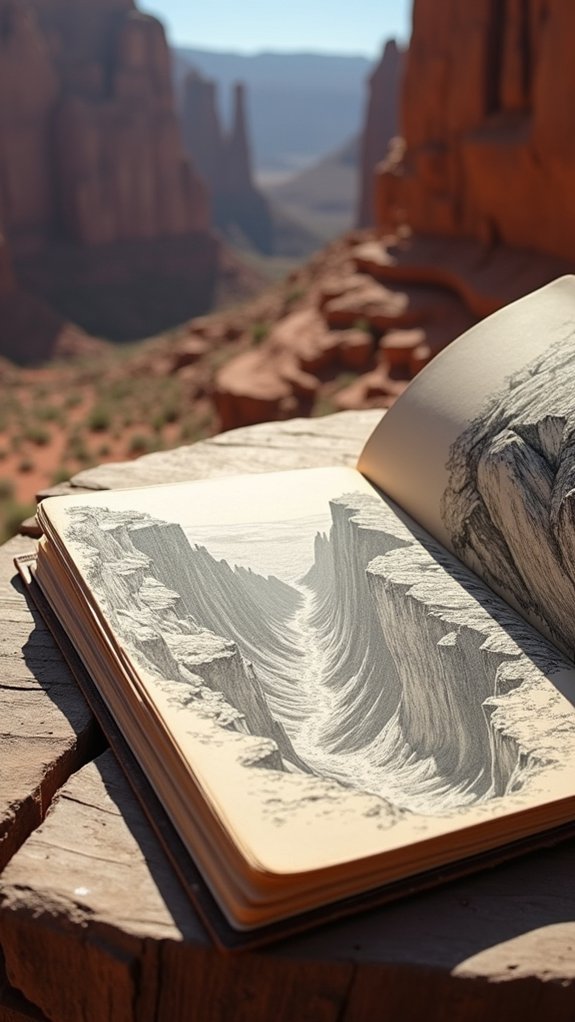
Even after the soft glow of a wildflower field, a desert canyon almost feels like a different planet. The sun blazes overhead, but it’s the deep, jagged shadows that steal the show. Sketching here means diving into shadow play techniques—try cross-hatching to show sharp ridges, or stippling for softer dips. Keep your earthy color palettes simple: ochres, reds, and browns help tell the canyon’s hot, dry story. Don’t forget canyon flora observation; notice how small shrubs cling to dusty ledges and maybe sneak a lizard into your drawing if you spot one. Keep your eyes moving—edges and paths can pull a viewer deeper in, just like this:
| Mood | Technique | Canyon Life |
|---|---|---|
| Looming | Cross-hatching | Desert shrubs |
| Mysterious | Stippling | Cacti |
| Dramatic | Bold contour lines | Lizards |
| Timeless | Warm color washes | Wildflowers |
Foggy Forest Pathways

As silent as a secret, fog can twist a normal forest path into a world straight out of a storybook—mysterious, magical, and maybe just a little bit eerie.
Artists sketching these foggy forest pathways love to play with the mysterious atmosphere that fog brings. Instead of crisp shadows and bright sunlight, there are soft highlights and shadows that seem to whisper rather than shout. It’s all about capturing that unreal, ethereal quality.
- Use lighter shades for distant trees and darker ones up front—this helps show depth.
- Try quick, loose pencil or brush strokes to catch fog’s always-changing look.
- Mix up line weights and textures for diffused, blurry edges on trees.
- Leave parts blank for “invisible” fog, making the viewer feel the mystery.
Who knew fog could be so much fun?
Frequently Asked Questions
How Do You Draw Landscape Scenery?
To draw scenery, one analyzes composition by breaking down natural elements into simple shapes. Employing drawing techniques like shading and perspective enhances depth, while thoughtful placement of features guarantees a balanced and visually engaging scene.
What Should I Sketch to Practice Drawing?
To practice drawing, one might choose to sketch a variety of nature elements, observe seasonal changes, and explore diverse color palettes. This approach helps artists refine observational skills while capturing the beauty and variability found outdoors.
How Do You Draw a Beautiful Realistic Drawing?
To create a beautiful, realistic drawing, one should apply realistic shading techniques, use color blending tips for smooth shifts, and employ composition balance strategies, ensuring each element contributes harmoniously to the overall scene for heightened realism and visual impact.
How Do You Draw Perspective Landscape?
The current question focuses on drawing perspective sceneries by applying perspective techniques. The artist establishes horizon lines and vanishing points to organize spatial depth, while incorporating overlapping forms and atmospheric perspective to enhance realism and dimensionality within the composition.
Conclusion
With just some paper, a pencil, and a bunch of imagination, anyone can immerse themselves in drawing sceneries. Each sketch—mountains, forests, cliffs—brings new adventures, mistakes, and laughs (especially when clouds turn into mashed potatoes). Don’t stress about perfect lines or shadowy trees that look like broccoli. It’s all about exploring, problem-solving, and making something that feels alive. So grab a sketchbook and have fun. Who knows? Your next page might hold your best scene yet.
Leave a Reply