
From enchanting botanical watercolor sketches to trippy color pops and kawaii doodles, there are tons of sketchbook ideas totally worthy of hanging on the wall. Try dreamy charcoal portraits, wild animal faces in colored pencil, or minimalist cityscapes in sharp black ink. Mix it up with abstract patterns, blended pastels, or even surreal double exposures for a little mystery. Each technique can turn a simple page into art you’ll be proud to show off—and that’s just the start of the inspiration.
Key Takeaways
- Botanical watercolor illustrations with detailed layering create vibrant, frame-worthy art inspired by nature.
- Charcoal monochrome portraits offer dramatic contrast and depth, perfect for sophisticated display.
- Minimalist cityscapes in pen and ink feature bold simplicity, making them modern and visually striking.
- Geometric pastel patterns blend colors and shapes for mesmerizing, gallery-quality sketches.
- Surreal double exposure drawings combine multiple images for unique, thought-provoking visual effects.
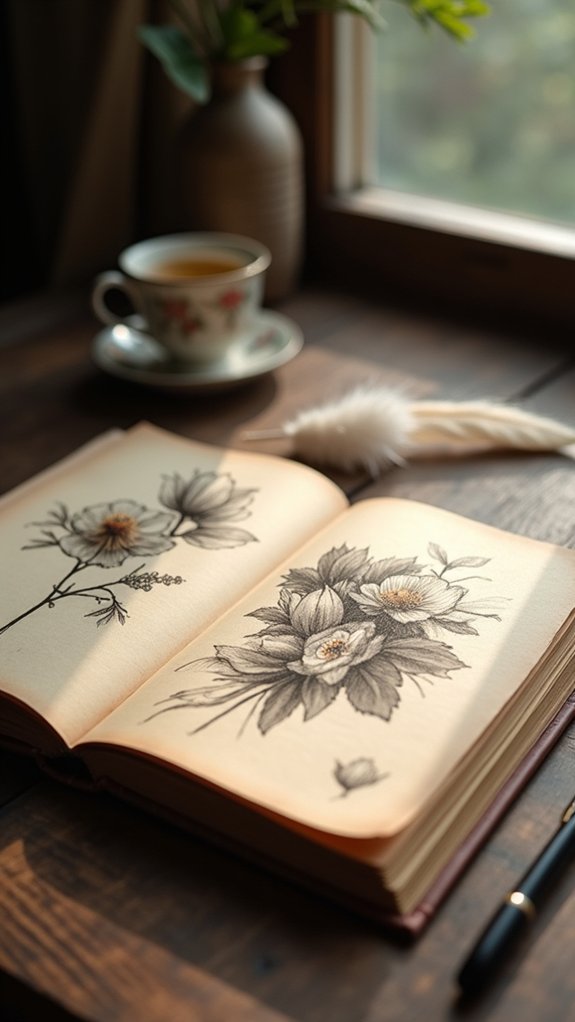
Botanical Illustrations With Watercolor Accents

There’s something seriously magical about botanical illustrations with watercolor accents—almost like bringing a secret garden to life right on the page! Each stroke of watercolor adds pops of color to fancy line drawings of leaves, flowers, and herbs, making the art jump off the paper.
Using high-quality watercolor paper isn’t just for show—it actually soaks up the paint perfectly, letting colors blend smoothly and look extra rich. Artists often use techniques like wet-on-wet to create dreamy layers or dry brush for sharper details, giving each piece a whole new dimension.
Cool little touches, like painting shadows and highlights, help everything look more realistic. When framed, these botanical illustrations can seriously wow anyone, especially if you mix different plant subjects for a unique display.
Monochrome Portraits in Charcoal
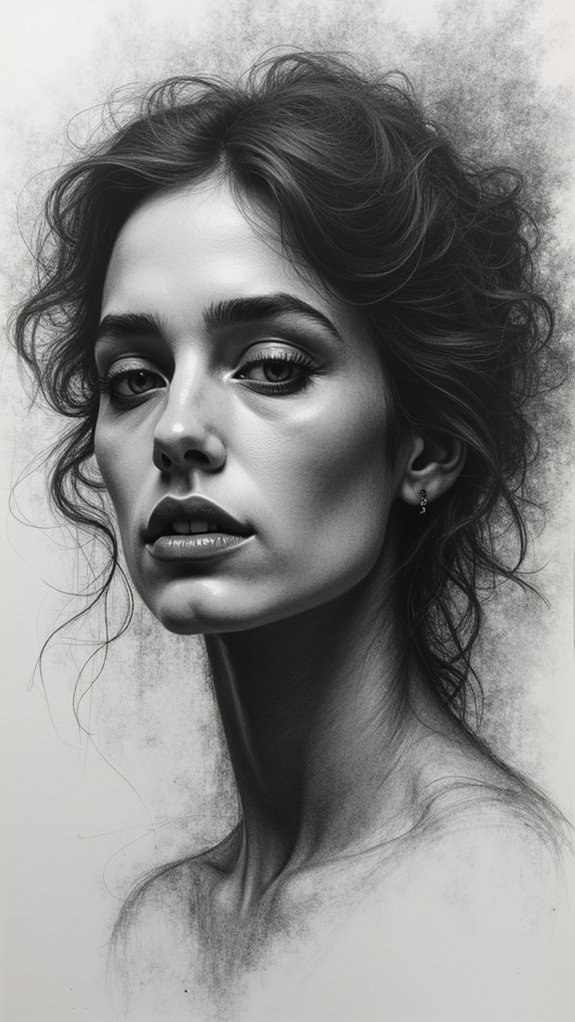
Charcoal might just be the drama king of all the art supplies—bold, moody, and totally ready to steal the spotlight in monochrome portraits!
When creating charcoal portraits, artists get to play with an awesome range of tones, turning a blank page into a super dramatic face full of light and shadow. The medium is famous for letting you swoop from ultra-soft, blended shadows to razor-sharp lines, which makes capturing every freckle and grin extra exciting.
Techniques like smudging, hatching, or cross-hatching add loads of texture and realism. Want even more drama? Try drawing on toned or textured paper!
Just remember, charcoal dust loves to wander, so a swipe of fixative spray is a must to lock your masterpiece safely in place.
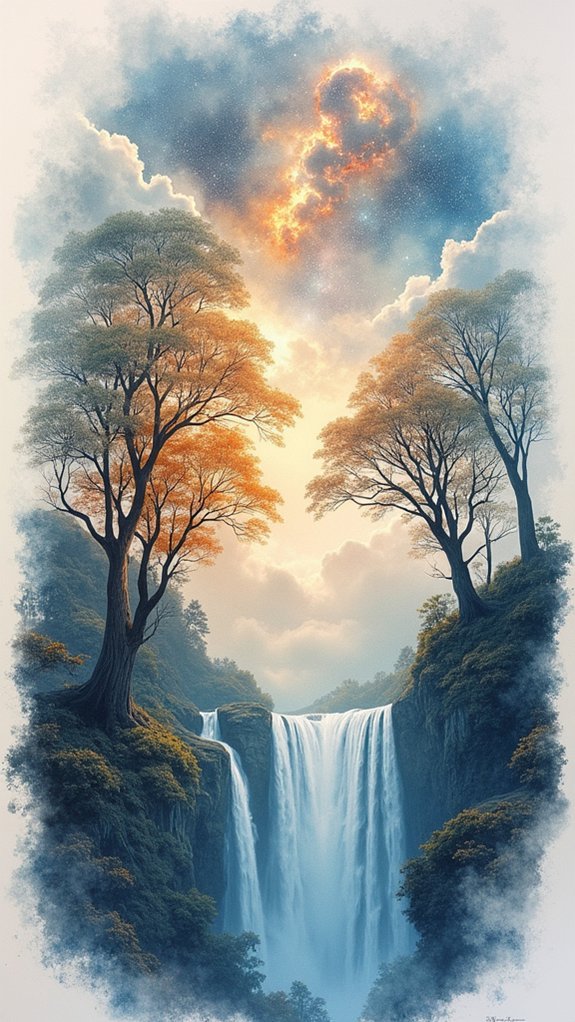
Dreamy Landscapes Using Gouache

When gouache hits the page, it’s like turning the volume up on nature—colors get brighter, skies shimmer, and every hill or tree seems to whisper a secret. Gouache lets artists layer vibrant, lively color over a soft underpainting, cranking up the magic with each fresh stroke. To make dreamy scenery, using a limited palette with soft pastels or muted tones brings a gentle, peaceful vibe. Wet-on-wet blends turn distant clouds to dreamy puffs, while dry brushing sharpens rocks and edges. Switching up brush sizes gives clouds, trees, and glistening water totally different textures—almost like a painting’s throwing a mini party.
| Gouache Magic | Why It Works |
|---|---|
| Layering colors | Adds depth and detail |
| Soft pastels palette | Creates dreamy mood |
| Wet-on-wet blends | Smooth, ethereal look |
| Dry brush technique | Pops up textures |
Whimsical Animal Studies With Colored Pencils
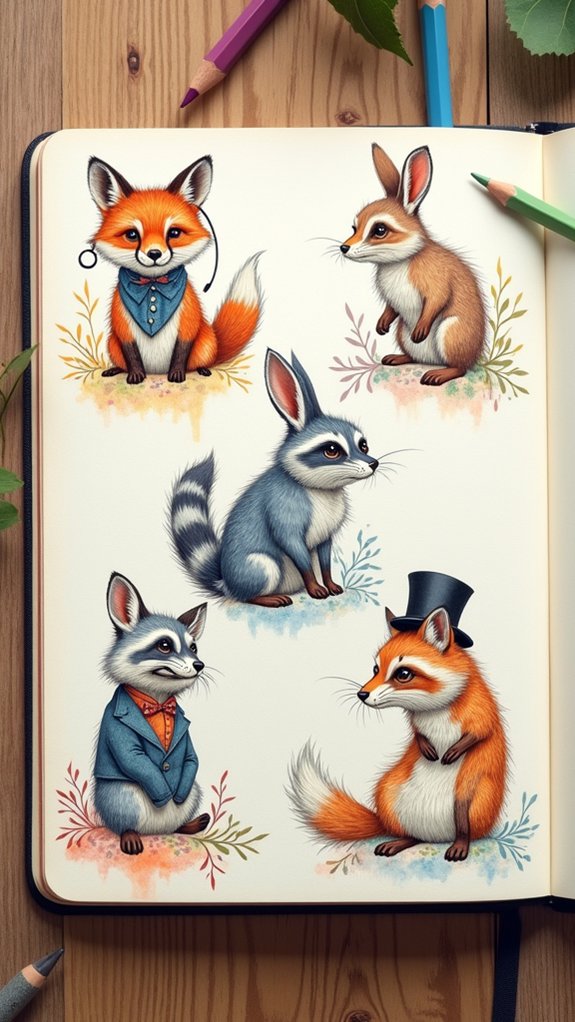
Colored pencils are awesome for drawing animals because you can layer lots of colors to make fur look fluffy and real—or at least way cuter than your average hamster.
Expressive animal portraits come to life when you give your creatures funny faces, silly smiles, or wild, cartoon eyes that practically leap off the page.
With a bit of patience and some playful imagination, sketching animals this way turns every portrait into a little burst of personality and color.
Layered Fur Texture Techniques
Jump right into the wild world of fur with colored pencils, and it quickly becomes clear—drawing fluffy animals is no walk in the park!
Nailing those layered fur textures takes clever tricks and a little bit of patience. Start by laying down a light base to map out your critter’s main color. From there, build up with short, directional strokes—think quick flicks, not scribbles—to create depth and natural flow.
Mixing different shades and playing with pressure helps mimic the wacky variety found in real fur. Want those layers to look extra polished? Use a colorless blender pencil or a soft cloth to smooth out harsh lines.
Always remember: light to dark is the secret sauce for fur that actually pops off the page!
Expressive Animal Portraits
Animal whiskers, bushy tails, and those big, sparkling eyes—there’s something downright magical about turning ordinary animal faces into expressive masterpieces with colored pencils.
When creating expressive animal portraits, colored pencils become your ticket to a whole zoo of creativity. Blending and layering bring fur, feathers, and scales to life. Choose reference images of animals with wild patterns or funky colors—think neon parrots or striped lemurs—to make each drawing pop.
Switch up the pressure, too, pressing hard for dark outlines or softly for blended cheeks. Don’t forget a playful background, like a giraffe in sunglasses or a fox in a field of fireworks.
The more you practice, the better you’ll get at drawing tiny whiskers and shiny eyes that practically jump off the page!
Minimalist Cityscapes in Pen and Ink
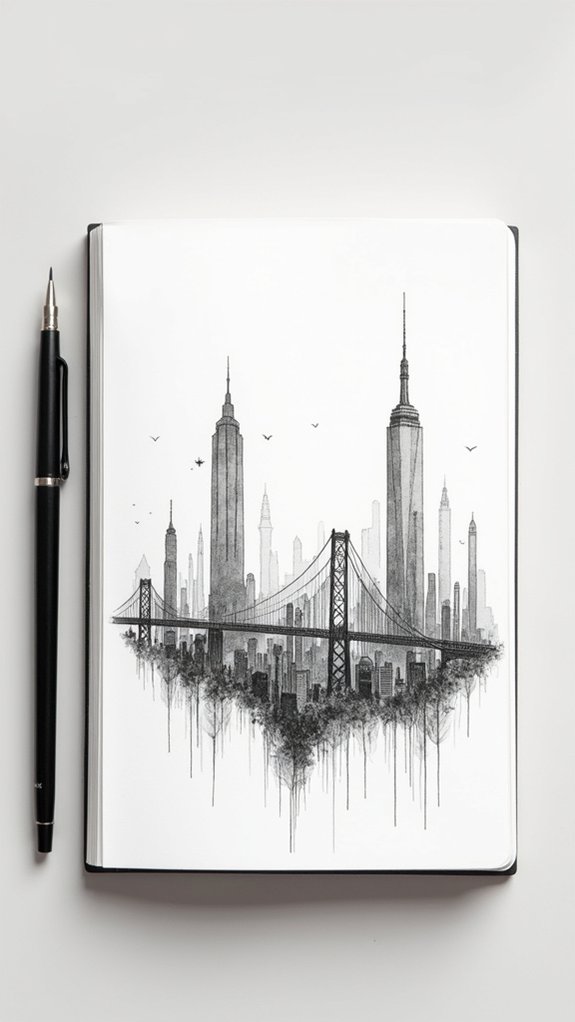
Imagine the sharp skyline of a city drawn with just a few bold lines—no fancy shading, no flashy colors, just pure pen and ink. That’s the magic behind minimalist cityscapes, one of the coolest sketchbook ideas for anyone who loves structure over chaos.
With a few careful strokes, artists capture the energy of urban life. Just picture it:
- Black ink lines shoot skyward, becoming skyscrapers—simple, straight, and dramatic.
- Hatching and cross-hatching play with shadows, making windows and alleys come alive without crowding the page.
- Only one or two pen sizes tell the story, thicker marks for bold rooftops and thin ones for sneaky street details.
Minimalism makes city scenes clean and modern—totally frame-worthy and endlessly fun to draw.
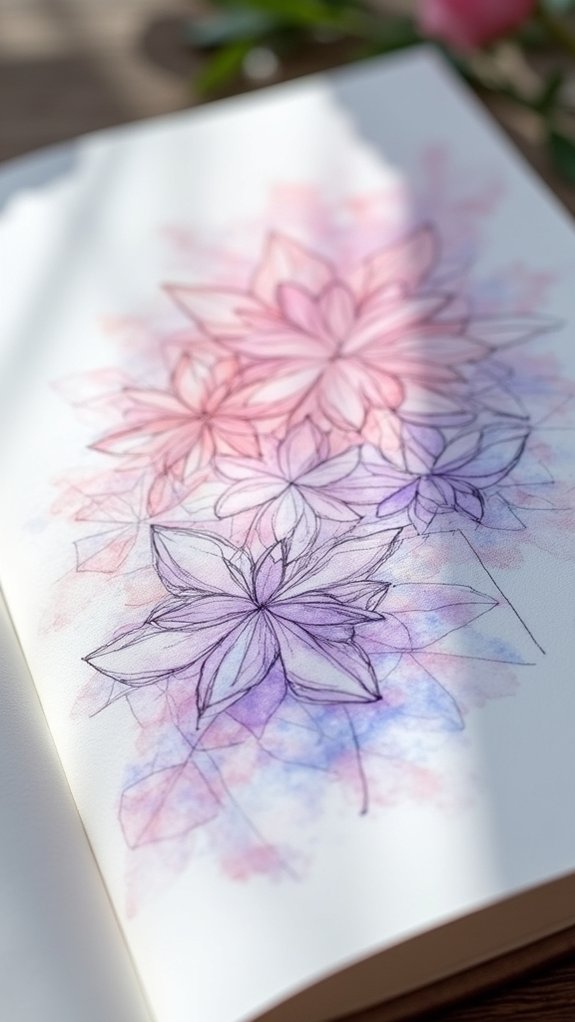
Mixed Media Floral Patterns
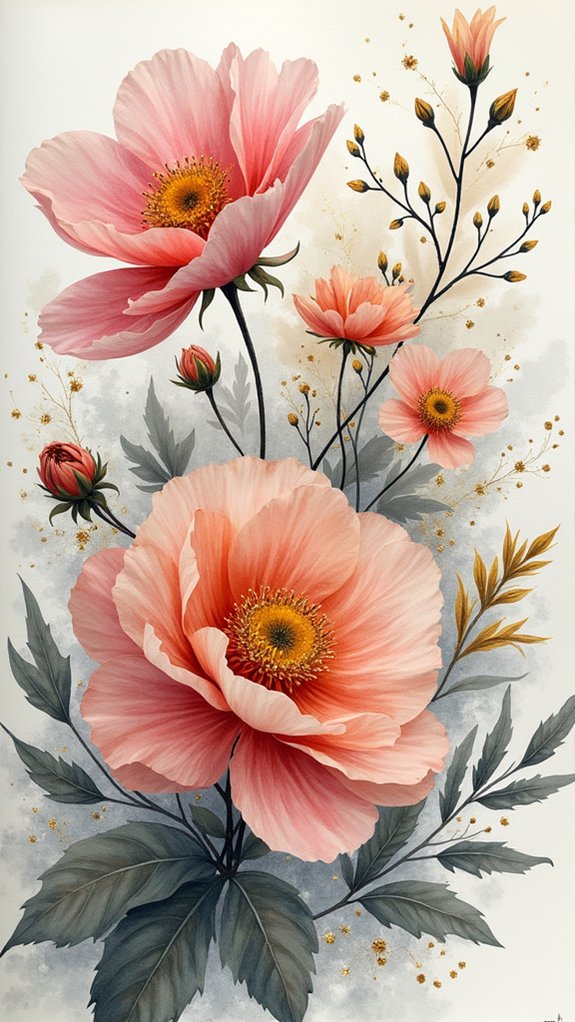
Mixed media floral patterns bring together all sorts of cool materials—think watercolor backgrounds, colored pencil details, and maybe even some pressed flower bits glued right in.
By layering transparent washes and then adding bold lines or collage shapes, anyone can make their flowers pop with texture and color that practically jump off the page.
Mixing drawing with collage turns a simple flower sketch into a wild garden party, and honestly, who wouldn’t want to frame something that awesome?
Layering Textures and Colors
Dive right in—layering textures and colors in floral patterns is like giving your sketchbook a dazzling upgrade.
Suddenly, each page turns into a garden full of excitement instead of just some regular doodles. By mixing materials, students can watch their floral designs pop right off the page.
Envision the magic when watercolor meets colored pencil, or when a swipe of dry brush sits next to a stamp.
Want some ideas? Consider this:
- Soft watercolor washes underneath bold, vibrant pencil flower outlines.
- Transparent tissue paper leaves floating over wild, splattered backgrounds, letting light shine through.
- Sponged color gradients that drift from super bright to whisper-soft, with a sneaky pop of texture here and there.
Layering textures and colors turns every sketchbook entry into a frame-worthy celebration.
Combining Drawing and Collage
While some artists might stick to pencils or paints, combining drawing and collage opens up a whole new world for sketchbooks bursting with floral patterns. By mixing hand-drawn flowers with magazine scraps, fabric pieces, or even see-through acetate, the artwork comes alive with color and surprises. Artists get to flex their drawing skills, making realistic petals and leaves, then shake things up by tossing in abstract or funky backgrounds. It’s almost like planting a wild garden, where anything can bloom! Watercolor washes behind the collaged bits help pull everything together, so it’s not just chaos, but art that’s frameable. And don’t forget—every choice tells a story, from found materials to wild contrasts.
| Drawing Skills | Collage Textures | Unifying Techniques |
|---|---|---|
| Realistic line work | Magazine cutouts | Watercolor wash |
| Abstract doodles | Fabric swatches | Layering transparencies |
| Shading/Blending | Patterned paper scraps | Overlapping elements |
| Botanical outlines | Acetate sheets | Color coordination |
| Freehand sketches | Handmade papers | Consistent motifs |
Surreal Double Exposure Drawings
Even though regular sketching is fun, surreal double exposure drawings take things to a whole new level of weird and wonderful.
Artists layer two or more images, letting them melt and merge together, and the end result will totally warp your brain (in a good way). It’s like staring into someone’s dream—or maybe even their wildest daydream.
Surreal double exposure drawings often use powerful contrasts, cool textures, and lighting that makes everything pop off the page.
Here’s what you might see:
- A forest growing out of a human silhouette, with treetops as hair.
- Bold animal outlines filled with swirling galaxies or cityscapes.
- Faces made mysterious by blending in abstract shapes or chaotic clouds.
Seriously, these are the types of sketches you’ll want to frame.
Abstract Acrylic Paint Textures
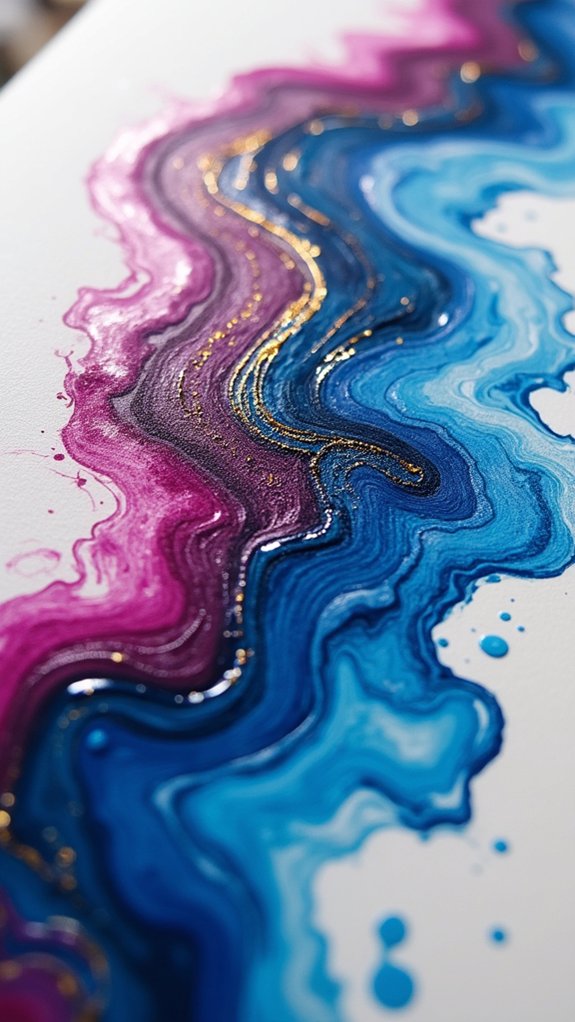
That’s the sound of creativity crashing onto a blank page, ready to become something wild with abstract acrylic paint textures. Artists dive right in, using palette knives, sponges, and even combs to scrape, dab, and swirl thick, juicy colors. They switch it up with gels and pastes for extra chunkiness—seriously, it almost looks good enough to eat (but definitely don’t). Layering paint while it’s wet creates blends and mysterious shapes that pop off the page. Color mixing? Oh, it makes everything twice as exciting, especially when you pick surprising hues.
Here’s a quick look at tools and effects:
| Tool/Technique | Effect Created |
|---|---|
| Palette knife | Bold, jagged textures |
| Sponges | Soft, cloud-like blends |
| Gel mediums | 3D, raised paint surfaces |
Suddenly, a sketchbook feels frame-worthy!
Line Art Self-Portraits With Aesthetic Borders
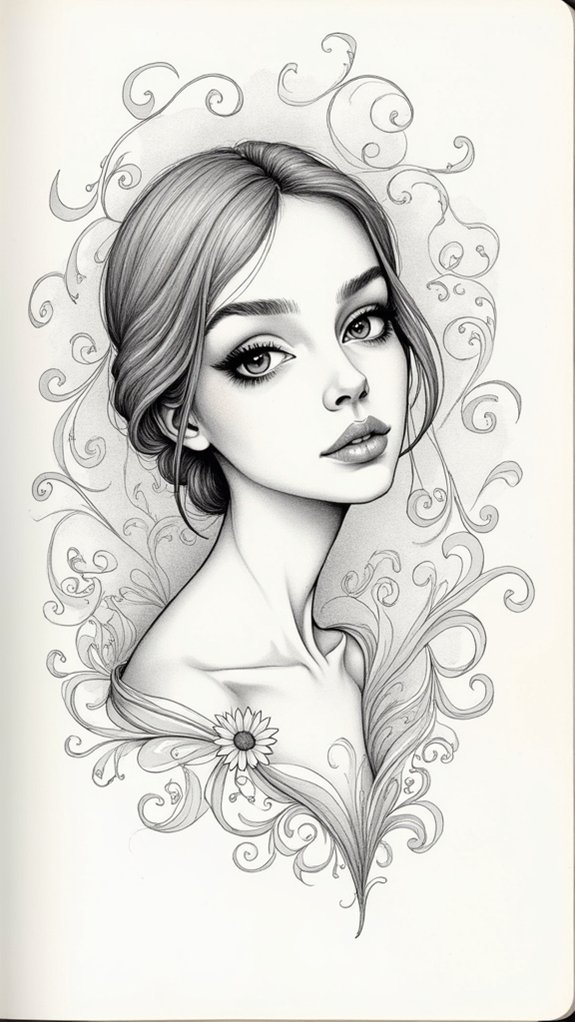
Line art self-portraits are all about bold, expressive lines that show off your personality without needing a million tiny details, and adding a cool border takes things up a notch.
Think about funky frame ideas—like zig-zags, stars, or even your favorite snack doodled around the edges—to make your portrait pop off the page.
Playing with line thickness and creative borders doesn’t just make your art stand out; it turns your sketchbook into a gallery, with your face as the star.
Expressive Minimalist Line Techniques
While some people might think drawing a self-portrait means a million careful details, expressive minimalist line techniques totally flip that idea upside down.
Instead of shading every eyebrow hair or fretting over eyelashes, these techniques go for bold simplicity. Each portrait is built from a continuous, flowing line, kind of like drawing with your mind on autopilot but your heart totally plugged in.
These lines capture the soul of a face, not just its shape. Want to envision what this could look like? Consider this:
- A single, swooping line sketching a face, capturing emotion with a curve of the lips.
- Varying line thicknesses used for dramatic eyebrows or a delicate nose.
- Negative space becoming part of the story—a blank cheek suggesting light, mood, or mystery.
Creative Frame Design Ideas
Nobody said a self-portrait has to end at the face—why not let the frame become part of the story too?
Creative frame design ideas take line art self-portraits to another level when surrounded by aesthetic borders. Imagine wrapping your drawing in tiny flowers, bold geometric shapes, or even playful doodles that echo your personality.
It’s not just about looking good—it’s about making the portrait feel complete. Keeping the same colors in the line art and border ties everything together, creating a vibe that’s super pleasing when you finally get to frame it.
Feeling extra creative? Slip in a favorite quote or mantra along the edge. Picking the right mount and colors only boosts the wow factor, making your art totally frame-worthy.
Enhancing Portrait Visual Impact
Even the simplest black and white self-portrait can hit like a masterpiece when surrounded by an eye-catching border. Line art self-portraits get a major glow-up just by adding that creative edge.
Big bonus—borders aren’t just decoration, they totally change the vibe, drawing everyone’s eyes right to your face (well, your sketched face).
Think about this:
- Imagine crisp, clean lines forming your self-portrait, framed by a border of bold geometric shapes or wild, wavy patterns.
- Picture using bright, contrasting colors for the borders, making the portrait pop and feel full of energy.
- Visualize playful doodle borders—stars, vines, or lightning bolts—highlighting your expression and personality.
With high-quality paper and fine liners, your line art self-portrait becomes frame-worthy art ready to show off!
Nature-Inspired Collage Pages

After a walk outside, have you ever stuffed your pockets with leaves, tiny flowers, or random bits you found on the ground? That’s exactly how nature-inspired collage pages begin!
Art teachers agree—these ideas to help turn your findings into Fine Art are actually pretty cool. Try taping down three different natural treasures, then combine them with a pencil drawing or some coloured pencils.
Want to level up? Add tiny acrylic paintings or a splash of watercolour painting, making sure your colour scheme ties it all together.
Experiment with interesting form by layering textured papers or overlapping see-through petals; they work well for larger works and tiny sketches alike.
Toss in a handwritten nature quote and wow—your sketchbook suddenly looks frame-worthy!
Geometric Patterns With Soft Pastels
Blending geometric shapes like triangles and circles with bold pastel colors is honestly a blast, especially when you start mixing and layering one shade into the next for an eye-popping effect.
Some shapes play nice with each other, and others seem to argue on the page until you find just the right color to calm them down—think of it as art class peacemaking!
Harmonizing Shapes and Colors
Imagine accessing a whole new world just with shapes and colors—kind of like building a secret code only you can crack.
With geometric Drawing, soft pastels aren’t just crayons—they’re magic wands. By picking shapes like triangles, circles, and squares, anyone can create patterns that totally mesmerize the eye. Combine those with color theory tricks—think matching similar or opposite colors—and suddenly, your page starts to sing.
Check out the possibilities:
- Smooth pastel pink circles floating beside teal squares, their edges blending into a calming fuzz.
- Overlapping triangles in buttery yellows and minty greens, creating a mysterious maze.
- Negative space zigzagging between bold shapes, adding breathing room and extra wow.
Soft pastels and simple shapes—totally frame-worthy art, right from your sketchbook!
Layering Pastel Blends
Ready for a new trick? Get your sketchbook out, because layering pastel blends is about to level up your art.
Starting with a light pastel base, sketch out geometric shapes—think triangles, circles, or even wild hexagons if you’re feeling brave. Gradually build up those shades, getting a little darker each time; it’s like adding suspense to a story, but with color.
Use tortillons or, if you want to feel like a mad scientist, your fingers, to smudge and blend the pastels. It’s surprisingly satisfying!
Go for high-quality pastel paper with a textured surface, so your colors pop and blend like magic. The result? Patterns so vibrant and smooth, they’ll beg to be framed and shown off proudly.
Trippy Sketchbook Spreads With Vivid Color Pops
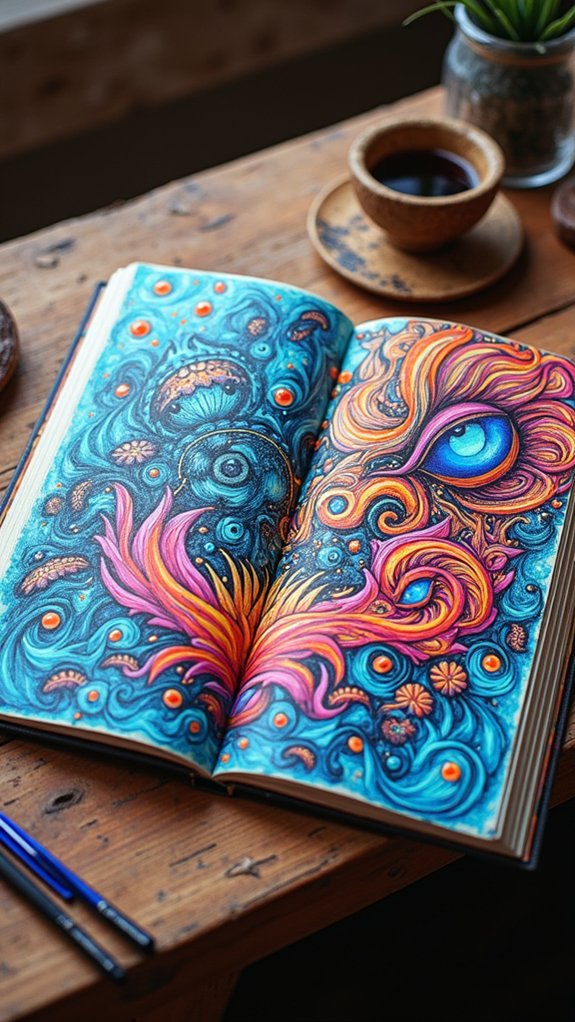
A burst of wild color can instantly grab anyone’s attention, which is why trippy sketchbook spreads are so much fun to create.
These wild, vivid pages aren’t just fun—they almost hypnotize you with their crazy combinations of swirling lines and electric color pops.
Imagine mixing bright, contrasting colors and tossing in some wild patterns. With a little bit of blending colored pencils or splashing on bold watercolor, every doodle gets mega boosted.
Want even more “wow”? Layer glitter, shiny metallic pens, or try markers over paint for extra flash.
Here are three ideas for trippy sketchbook spreads that are frame-worthy:
- Geometric shapes that clash with swirly, dreamy lines
- Rainbows bursting from abstract forms
- Nature-inspired psychedelic patterns—think neon leaves or cosmic mushrooms
Delicate Still Life Sketches on Toned Paper
Even though bright white paper gets all the attention, toned paper is like the cool, mysterious cousin everyone wishes they could get to know better.
When it comes to delicate still life sketches, toned paper brings something extra magical to the table. The soft, dreamy background helps each light highlight and inky shadow leap off the page—suddenly, a simple pear or wildflower feels dramatic and important.
Artists love to mix in tools like charcoal, colored pencils, or even white gel pens for that special pop. Layering these mediums adds texture and crazy-good depth.
Want to draw glass, a shiny apple, or seashells? Toned paper loves capturing things that glow.
Seriously, delicate still life sketches on toned paper are frame-worthy, even if your sketchbook’s bursting.
Kawaii-Inspired Character Illustrations
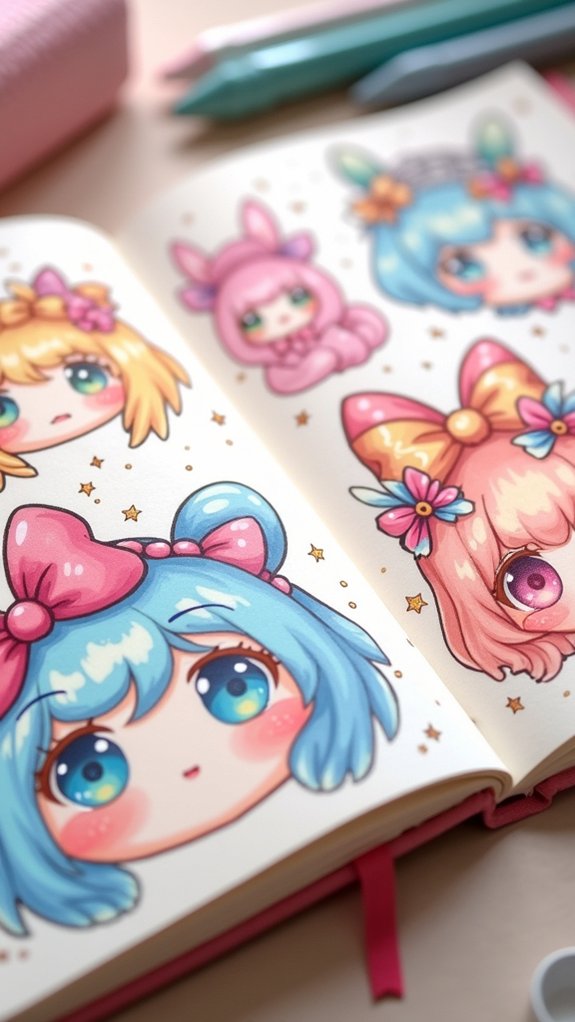
If there’s one thing that can make a sketchbook instantly more cheerful, it’s kawaii-inspired character illustrations. This style piles on the charm, using exaggerated facial expressions, cuddly shapes, and pastel colors that just radiate happiness.
Kawaii-inspired character illustrations often turn even the most ordinary everyday object—like a toaster or a milk carton—into an adorable, wide-eyed friend. That lighthearted vibe is hard to resist, and it’s a great way to personalize any sketchbook.
Just picture:
- A chubby, blushing cat lounging inside a giant teacup.
- A squad of squishy, smiling clouds raining down rainbow sprinkles.
- A slice of bread hugging a strawberry jam jar, both with sparkling eyes.
Simple shapes and clean lines make this style super easy to try—no perfection required!
Frequently Asked Questions
How Can I Make My GCSE Art Sketchbook Better?
To improve a GCSE art sketchbook, the student should explore diverse creative techniques, employ high-quality materials, experiment with themes, include personal reflections, and actively seek feedback to continuously refine their skills and presentation.
How to Make a Sketchbook More Aesthetic?
To enhance artful presentation in a sketchbook, one incorporates varied media, maintains a cohesive color scheme, and adds layered elements. Personal touches like decorative borders and high-quality materials further improve the visual appeal and overall harmony.
What to Draw 100 Ideas?
When considering what to draw, artists might explore 100 diverse topics, ranging from imaginative objects to scenes inspired by daily life. Nature patterns, intricate floral designs, and unique perspectives on familiar settings offer endlessly inspiring sketchbook possibilities.
Do Sketchbooks Have to Be Perfect?
The current question explores whether sketchbooks must achieve perfection; in reality, creative freedom is central to their purpose. Sketchbooks provide artists with a safe space for experimentation, imperfection, and growth, rather than enforcing strict standards of flawlessness.
Conclusion
With all these sketchbook ideas, anyone can find something to try—maybe even something frame-worthy! Whether it’s bright watercolor plants or funky geometric pastels, there’s no rule that says art has to stay in a notebook. So, grab those supplies, let your imagination go totally wild, and see what awesome art pops out. Who knows? That wild, trippy doodle might just end up on your wall…and get way more attention than the family portrait.
Leave a Reply