
Sketchbook pages get way more exciting with fun fillers like floral clusters, colourful spiral motifs, messy layered doodles, funky geometric shapes, and bug cartoons that are way less creepy than the real deal. Micro-paintings, edgy gothic sketches, anatomy miniatures, squiggly borders, and holiday icons amp up any blank space—and seriously, wavy ocean page dividers are a vibe. Even the tiniest spot can host leaf doodles or page dividers shaped like cacti. Stick around for even more wild, creative ideas!
Key Takeaways
- Fill pages with clusters of quick floral doodles or continuous leafy branches to create lively, nature-inspired patterns.
- Experiment with bold geometric shapes, repeated patterns, and vibrant color combinations for dynamic visual interest.
- Illustrate whimsical creatures, bugs, or cryptids using playful, stylized designs and imaginative backgrounds.
- Practice mark-making with messy, overlapping lines or tiny anatomy sketches to build technique and texture.
- Decorate margins with themed dividers, seasonal icons, or mini comics for organized, engaging layouts.
Floral Clusters and Petal Patterns

Flowers—who knew they could turn a plain sketchbook page into a total masterpiece? With just a few light marker strokes, anyone can start outlining basic flower shapes. It doesn’t have to look perfect—sometimes a wonky petal is the most fun!
By changing up the size and direction of each flower, artists can make a floral cluster that looks lively, not stiff or boring. The real magic happens when bold lines and darker shades emerge, bringing petals to life and adding awesome texture.
Got awkward gaps? Fill them with little doodles or patterns, and suddenly the sketchbook page looks packed and professional. Mixing up different color combos is the icing on the cake, making every floral explosion truly unique and super eye-catching.
Colourful Spiral Motifs
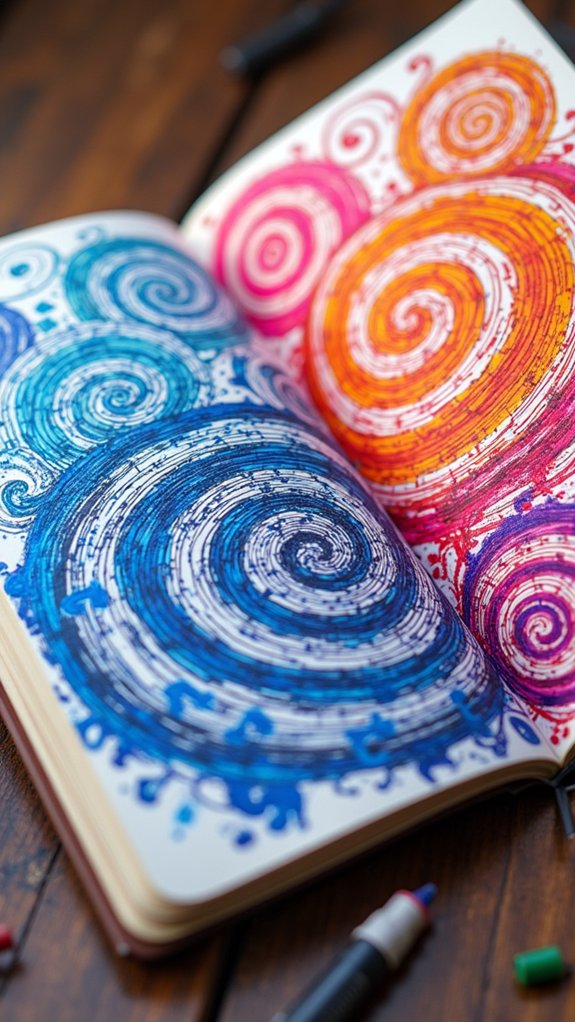
After filling pages with wild floral vibes, it’s only natural to crave something a bit more…twisty.
Enter colourful spiral motifs—a bold way to bring some energy and motion to your sketchbook pages. Start by drawing a simple spiral in the middle using a light color.
Then, as you work your way out, layer on deeper, richer shades, turning that basic swirl into a hypnotic, eye-catching wonder.
Try mixing unlikely color combinations or slotting cool patterns between the spiral arms—think zig-zags, tiny dots, or even squiggles.
Every spiral can look totally different, so you never have to repeat yourself.
The best part? It’s chill and fun, almost like a creative warm-up for your brain and your sketchbook pages.
Continuous Line-Leaf Doodles

Continuous line-leaf doodles start with a jagged branch line that zigzags across the page, kind of like a squirrel racing from tree to tree.
Loosely connected leaf shapes sprout from this line, each looping back like it’s giving a high-five to where it began.
Layering colors on top—especially if you use some dramatic shading—takes these doodles from “just okay” to “wow, that looks cool!”
Simple Jagged Branch Lines
Branches can be way cooler than people think—especially when they’re just wild, jagged lines waiting to turn into something awesome.
In any sketchbook, starting with a light-colored pen to scribble a snaky, zigzagging line can make a page way more interesting. The trick is to keep your hand loose, letting the line dance across the paper like it’s got its own wild ideas.
Then, by adding leaves that sprout from that branch, you can experiment with all sorts of shapes and directions—no two branches ever have to look alike.
Grab a darker pen to give the leaves more punch, playing with shadows and bold outlines. By crowding the page with these tangled branches, you end up with a sketchbook filled with twisty, lively nature-inspired doodles.
Loosely Connected Leaf Shapes
Once those wild, jagged branches start crisscrossing the page, it’s hard not to imagine what could sprout off them next.
That’s where loosely connected leaf shapes come in—think wild vines just daring to grow. Continuous line-leaf doodles begin with a single, light-colored jagged line acting as your supportive branch. From there, leaves of all sizes and slants start shooting out. No two leaf shapes look identical, and that’s the fun part!
You can fill the empty spaces with twisty, overlapping leaves or keep them spaced apart for dramatic effect. Switching to a darker pen helps bump up the detail—try outlines, squiggles, or even a shadow here and there.
It’s surprisingly relaxing, and you don’t need perfection—just play and explore.
Layering Colors for Depth
Even though a wild tangle of leaf doodles might look finished, adding layers of color can completely change the vibe—almost like turning up the volume on your drawing. To start, grab a light-colored pen and sketch a jagged line for the branch, letting it twist and turn naturally in your Sketch Book. Connect loosely shaped leaves of different sizes and shapes—the weirder, the better! Next, pick a darker color and add pressure to some leaf edges, making them pop with depth. Wrap up by outlining the main branch with a rough, dark line; don’t worry about being super neat. Want to really fill the page? Throw in extra doodles or crazy background patterns. Check out this quick guide:
| Step | Pro Tip |
|---|---|
| Light jagged line | Use yellow or pale green pens |
| Loop loose leaf shapes | Vary sizes and angles |
| Add dark edges | Press harder for bold lines |
| Rough branch outline | Slow down for a wobbly look |
| Pattern-filled space | Doodle in stars or zigzags |
Gothic and Dark Aesthetic Sketches
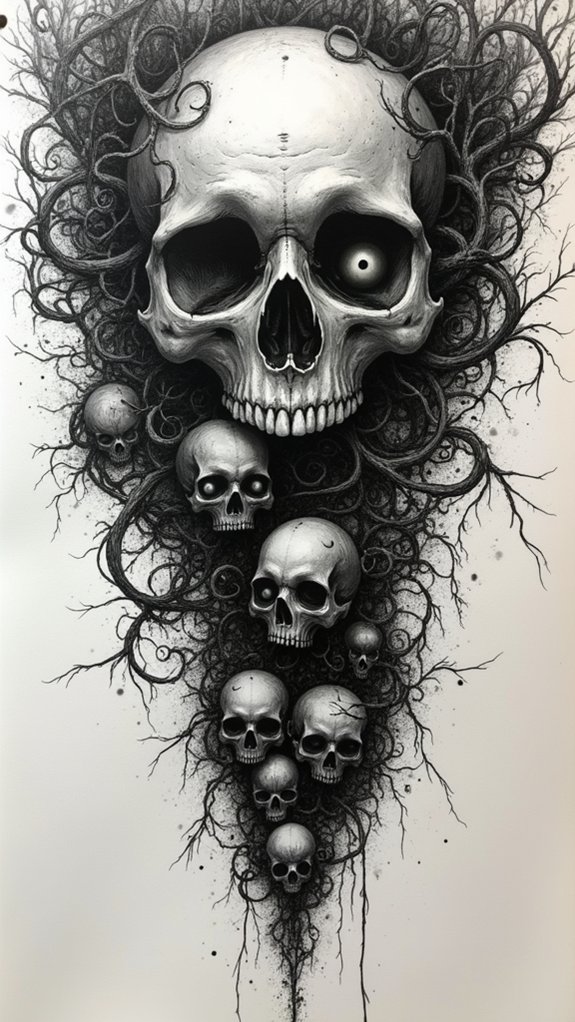
Although the world of sketching covers a lot of ground, few styles grab attention quite like gothic and dark aesthetic sketches.
These moody and mysterious creations pull you in with their deep shadows, elaborate details, and just-the-right-amount-of-spookiness. Artists channel gothic vibes by mixing haunting imagery, ornate lace, and dramatic color schemes.
Shadows, skulls, and brooding castles fill these pages, setting a mesmerizing scene that’s both eerie and beautiful. The mood? Think haunted mansions at midnight—but way cooler.
- Moody Motifs: Try drawing skulls, ravens, or roses to nail that gothic flair and create a theme on every page.
- Layered Techniques: Use cross-hatching or shading to make your dark aesthetic sketches pop.
- Limited Palettes: Stick to blacks, purples, and reds—they’re dramatic and totally on-theme.
Funky Geometric Shapes
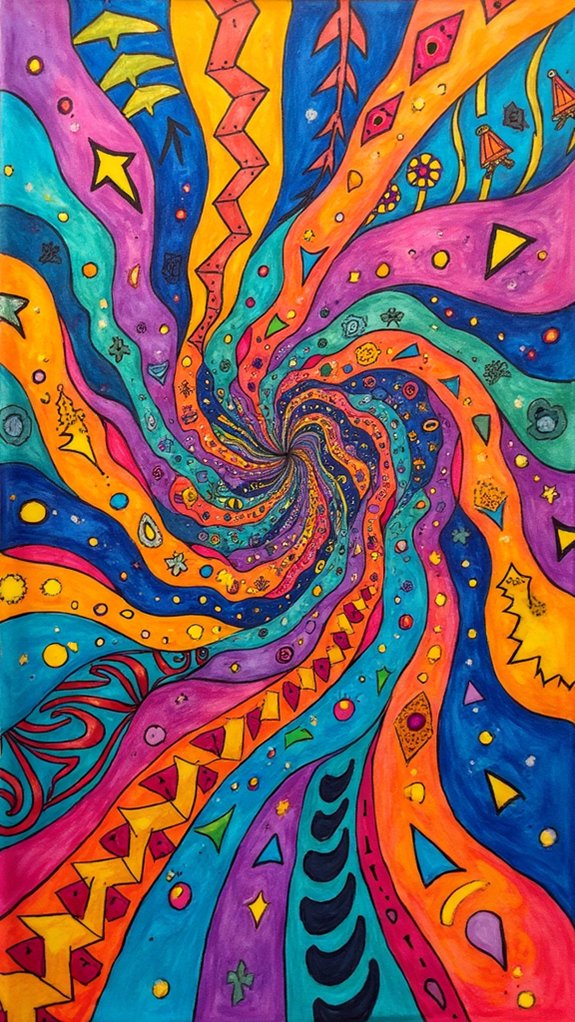
Funky geometric shapes are an awesome way to make your sketchbook look wild and exciting, especially if you play around with bold angles that zigzag and crisscross all over.
Mixing in layered colors, one on top of another, can give your page some serious depth, like your shapes are popping right off the paper.
Want to crank it up? Try repeating patterns inside your shapes—suddenly, even a plain triangle can become the star of the show!
Experimenting With Bold Angles
A surprising number of sketchbook pages go from “okay” to absolutely eye-catching just by playing around with bold angles and wild geometric shapes.
Experimenting with these funky forms can instantly transform boring blank spaces into scenes packed with action and personality. When artists mess around with sharp corners, zany zig-zags, or even piles of overlapping polygons, their pages start to look like something from a futuristic comic book.
Even using a ruler or protractor for precise edges doesn’t mean you have to skip the fun! Some of the coolest results come from mixing clean lines with wild, hand-drawn ones.
Tips for getting started:
- Try stacking geometric shapes at weird angles to create movement.
- Mix up line thickness for instant depth.
- Highlight edges with bold, contrasting colors.
Layering Colors for Depth
Immerse yourself in layering colors, and suddenly, those wild geometric shapes pop right off the page like they’re about to dance. Start with a light-colored pen to draw a jumble of funky shapes—think diamonds, triangles, or jam-packed polygons leaning every which way. Pick three or four complementary colors. First, shade in the shapes with the lightest color for a strong foundation. Then, add the next darkest color where you’d expect shadows. Keep layering, each time getting a bit darker and focusing on the edges for smooth changes. Blending is key for that dreamy dimensional look!
Here’s a quick breakdown:
| Step | Tip/Trick |
|---|---|
| Sketch shapes lightly | Use a pale pen for easy erasing |
| Pick color palette | Try bold blends (for fun!) |
| Add shadows with layers | Focus on edges and corners |
| Blend for smooth depth | Use soft circular strokes |
Patterns With Repetition
Just about everyone has seen a page packed with wild shapes repeating over and over—like some kind of funky, never-ending dance party for triangles, circles, and squares. That’s the magic of patterns with repetition!
Funky geometric shapes take over sketchbook pages in the most epic ways. By experimenting with sizes, colors, and arrangements, each pattern feels totally one-of-a-kind. Some artists switch up the distance between shapes, toss in bright and bold color combos, or even layer patterns over one another.
Want a pro tip? Add lines, dots, or random doodly embellishments inside the shapes for extra zing!
Here are three cool ideas to keep things groovy:
- Mix large and tiny shapes to build visual rhythm.
- Layer patterns in different colors.
- Add mini designs inside each shape.
Whimsical Bug Illustrations
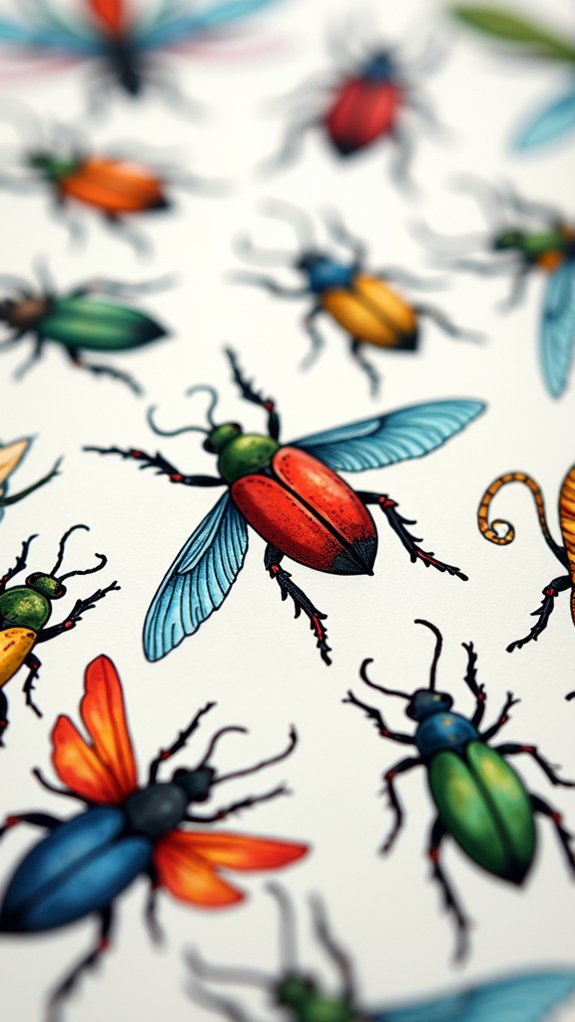
Even though real bugs might make some people squirm, turning them into whimsical illustrations is a whole different story—suddenly, those creepy-crawlies become bursting bundles of color, personality, and charm. Cartoonish dragonflies with goofy grins or moths in rainbow stripes? Yes, please! Artists let their imaginations go wild, throwing in oversized wings, vibrant colors, or even silly hats, making each whimsical bug illustration uniquely delightful. Different artistic styles are fair game, too. Some go bold and abstract; others opt for detailed realism but with a quirky twist. Choosing magical backgrounds like enchanted gardens only cranks up the fun. Mixed media (think markers, watercolor, and ink) adds zing and texture. Seriously, filling a sketchbook with whimsical bug illustrations is a guaranteed boredom-buster.
| Whimsical Element | Bug Feature |
|---|---|
| Goofy Grins | Sparkly Wings |
| Stripy Bodies | Giant Eyes |
| Silly Hats | Blushing Cheeks |
| Polka Dot Shells | Wild Antennae |
| Rainbow Colors | Dainty Top Hats |
Cryptidcore Creatures and Legends

Mothman flapping through misty forests and mysterious forest spirits hiding among the trees can make any sketchbook page feel legendary.
Chupacabra sketches bring a chill with glowing eyes and shadowy fur, almost daring you to add extra fangs or a weird tongue just for fun.
These odd creatures let artists go wild with spooky settings and strange details, making every page a story waiting to be told.
Mothman and Forest Spirits
Sometimes, the creepiest legends come from deep in the woods, and “Mothman and Forest Spirits” proves it in style. Just imagine this: you’re flipping through your sketchbook, and there’s mothman staring back with his big, glowing red eyes—spooky, right?
Add in forest spirits—maybe some mischievous fairies or towering tree guardians—and suddenly your pages feel alive! These cryptidcore favorites mix the strange and the magical, turning any sketchbook into a wild, haunting forest of legends.
Whether you go for mysterious, funny, or just plain weird, these creatures never run out of inspiration.
- Draw mothman swooping above dark treetops, eyes glowing.
- Sketch forest spirits peeking from bark and leaves.
- Combine legends—mothman trading secrets with a cheeky dryad!
Chupacabra Sketchbook Pages
Of course, not all cryptids are forest guardians or glowing-eyed legends staring from the trees—some, like the Chupacabra, come straight out of nightmares!
When brainstorming sketchbook ideas, artists can have a blast exploring this blood-sucking creature from Puerto Rico. The Chupacabra’s reptilian look, hunched back, and sharp fangs make it perfect for spooky, dynamic sketches.
Try drawing it slinking through rural terrains, leaving a blood trail or glaring with glowing eyes—creepy, right? You can even add distressed livestock or hints of local folklore to your pages, making each scene tell a bigger story.
Don’t forget: sketchbook pages are a great way to immerse yourself in fear, the unknown, and weird legends. The possibilities for creative Chupacabra ideas are endless!
Messy Layered Mark-Making

Even though sketchbooks can sometimes feel like they need to be neat and perfect, things get way more exciting when the pages get a little wild with messy layered mark-making.
Forget the pressure to keep every line straight! By grabbing markers, pens, and pencils, anyone can experiment with overlapping lines, wild doodles, or even frantic scribbles to bring art to life.
This isn’t about staying inside the lines—it’s about letting loose and seeing what happens. Embracing a messy, layered mark-making approach makes every page unpredictable and fun.
- Try mixing mark-making techniques: Scribble, cross-hatch, and stipple to build up texture.
- Play with color and pressure: Create movement and make your page pop!
- Celebrate imperfections: Sometimes, the messiest bits end up being the coolest discoveries.
Mini Comics or Sequential Panels
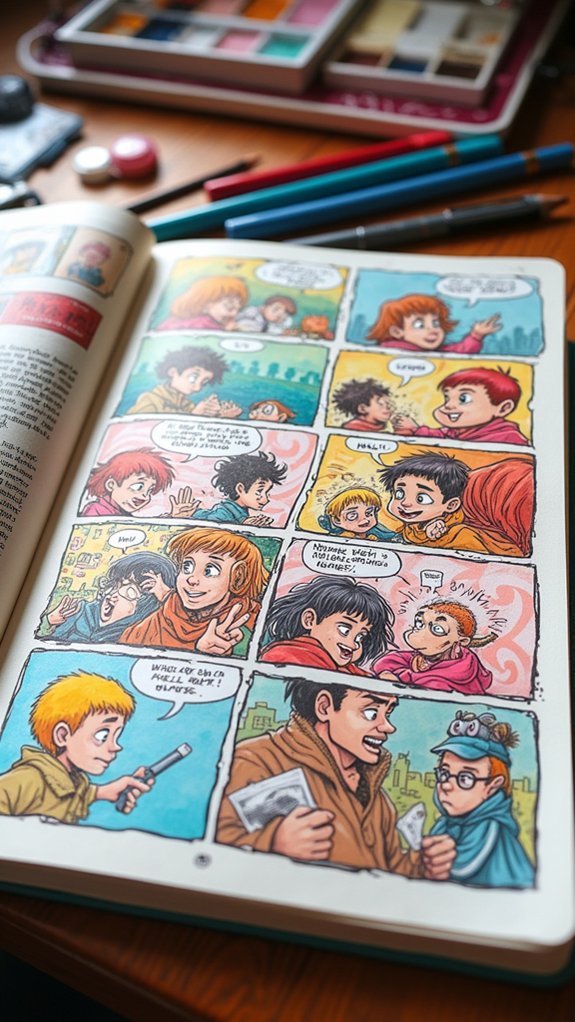
When sketchbook pages start to get messy and wild with layered marks, it opens the door to a whole new kind of creativity—telling stories with mini comics or sequential panels.
With just 4-6 frames, mini comics let artists pack a whole adventure, joke, or dramatic twist onto a single page. That’s cool, because it pushes you to focus on the essentials, like drawing expressive faces or coming up with snappy dialogue.
You get to experiment—maybe you switch up your linework, toss in wild colors, or play with different panel shapes. Plus, mini comics are a fun way to practice your storytelling skills and find your unique style.
And let’s be honest, squeezing a whole story into a tiny space? Totally epic.
Handwritten Quotes and Song Lyrics
Almost every sketchbook ends up with a page where someone just had to scrawl out a favorite quote or blast out a few lines from a song, like they just couldn’t hold it in.
Handwritten quotes and song lyrics aren’t just “filler”—they’re like secret messages or time capsules from the heart (or, you know, whatever epic playlist was on repeat). Artists use these as boosts of inspiration, scribbling phrases that spark doodles or connect to what they’re drawing.
Different handwriting styles—loopy, bold, or totally messy—turn the words into art themselves. Throwing in lyrics can even set the mood for an entire sketchbook spread.
Try these strategies:
- Mix font styles to highlight emotional words.
- Pair handwritten quotes with themed doodles.
- Turn song lyrics into illustrated song pages.
Snippets From Everyday Life
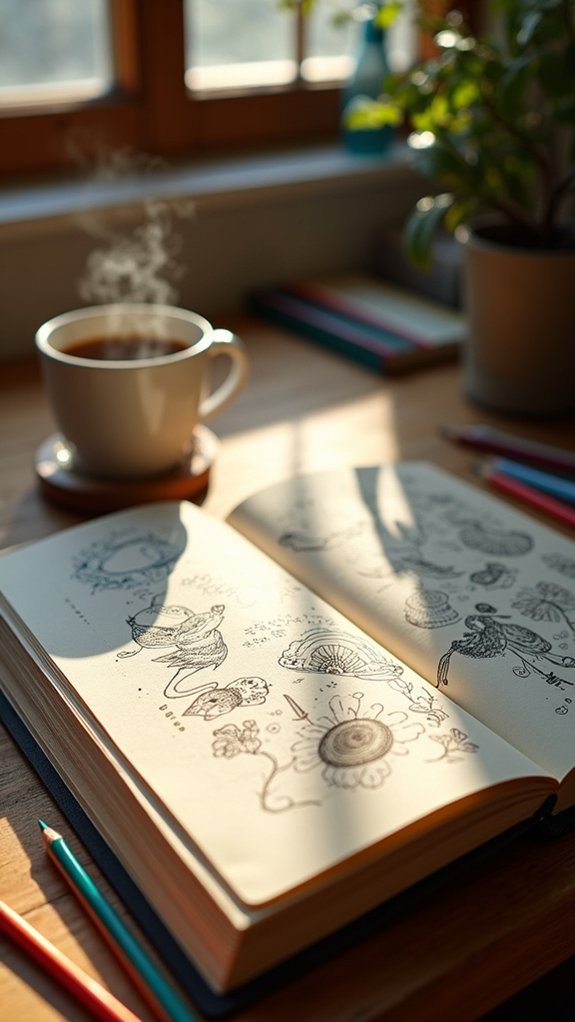
How does someone keep their sketchbook feeling fresh and real? One way is by grabbing snippets from everyday life. These aren’t huge masterpieces—just quick sketches of simple stuff like your keys, coffee mug, or your shoes tossed by the door.
Snippets like doodles of your cat rolling over, or a stranger sipping a neon drink at a café, can spark stories or even fun character designs. Add little notes or quotes next to your drawings—like what you overheard at the playground—to make your sketchbook pages talk back to you.
Collecting these everyday snippets trains your eyes to notice details you’d usually miss and helps you find surprises in boring moments. Soon, your sketchbook becomes a visual diary of real life.
Abstract Swatches of Colour
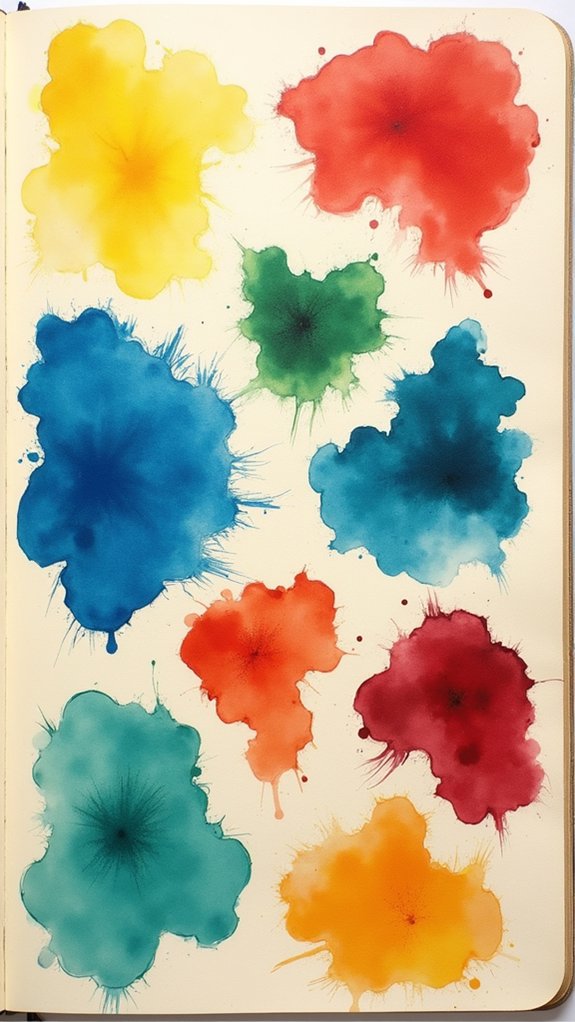
A splash of color can wake up even the sleepiest sketchbook page. Abstract swatches of colour are a bold way to fill space, test new art supplies, or just have fun mixing things up.
Artists use watercolours, acrylics, or markers, and try different brush techniques, making textures go wild. Swatching different shapes—blobs, lines, or irregular streaks—keeps the page bouncing with energy. Some stick to a few colors for a unified look, while others go wild with contrast, shocking the eye (in a good way!).
Sometimes, these swatches set the scene for future sketches, or they might just become their own piece of art.
Here are three cool ways to use abstract swatches of colour:
- Make backgrounds for doodles
- Test color combos
- Create eye-catching standalone art
Tattoo Flash Sheet Inspirations
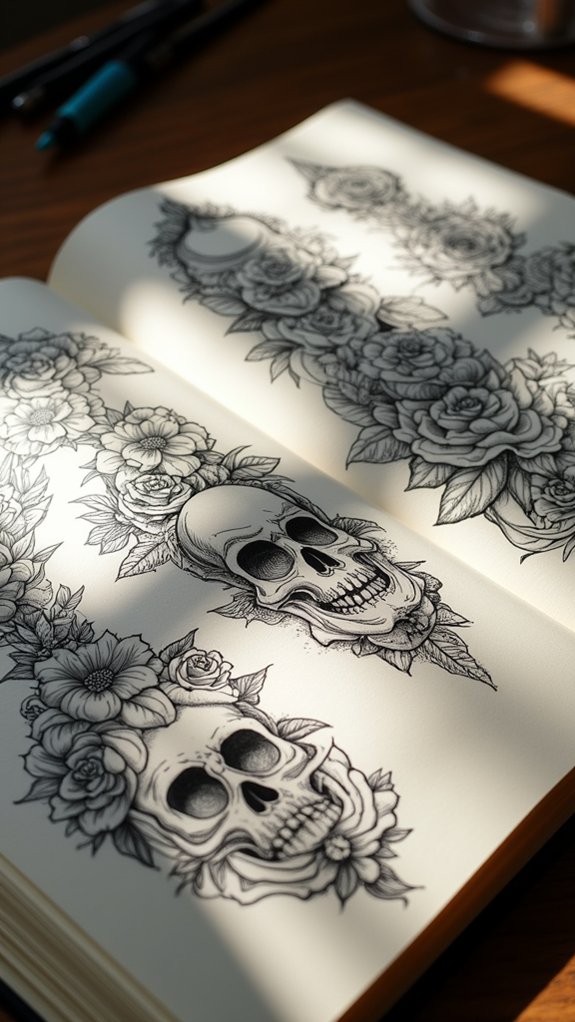
Flash sheets pop up all the time in the world of tattoos, exploding with wild ideas and inspiring anyone who gets a look. Tattoo flash sheets aren’t just for the pros—they’re like candy for the imagination! Picture a page packed with bold, punchy designs: creepy skulls, heartbreak roses, or maybe a pizza-slice astronaut. They’re awesome to doodle, even if your only needle is a pen. Artists use flash sheets to show off their style, mix classic tattoo symbols with modern attitude, and invent something totally new.
Check out these flash sheet favorites:
| Motif | Classic Example | Cool Twist |
|---|---|---|
| Rose | Old-school blossom | Neon petals, graffiti style |
| Anchor | Sailor icon | Robot anchor, pixel art vibes |
| Skull | Grinning skull | Candy skull, cat-skull fusion |
| Snake | Twisting serpent | Skateboard snake, cartoon eyes |
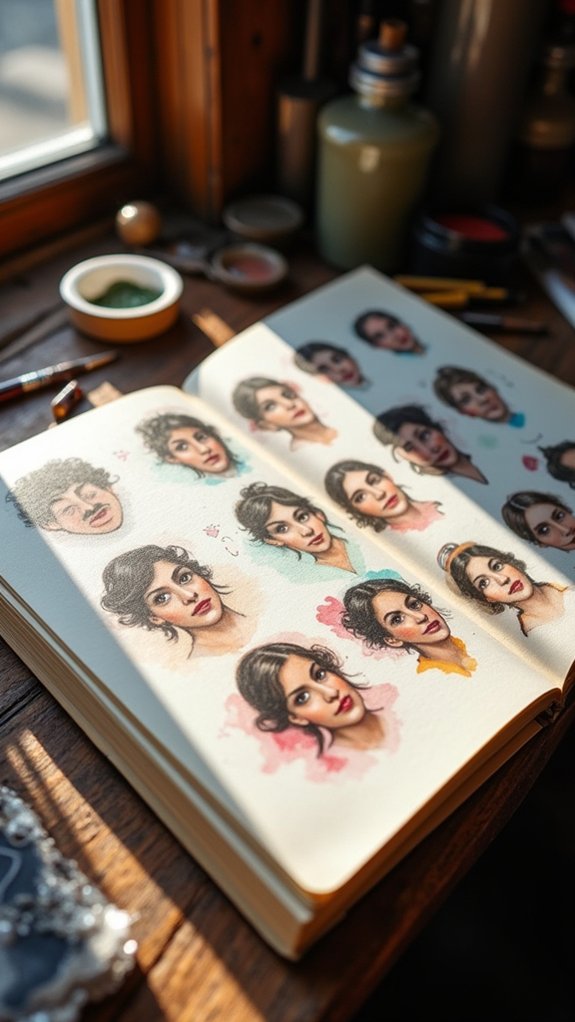
Tiny Portrait Studies
If bold tattoo flash gets energy flowing, tiny portrait studies keep the hands and eyes sharp.
These little faces are like speed-training for artists—they let you zoom in on eyes, noses, mouths, and challenge yourself with different angles.
Some days, it’s quick sketches; other days, full-on color extravaganzas.
Keeping things tiny means you can pack a ton of faces onto one page, and nothing feels better than seeing rows of finished portraits staring back at you.
Plus, tiny portrait studies help artists capture personality and play with all sorts of references, from magazines to selfies.
Grab a pencil, find a face, and make magic happen—the mess-ups are smaller too, so laugh ‘em off!
- Practice facial proportions fast
- Try new drawing mediums
- Improve observational skills
Pages of Random Expressions
Pages of random expressions are like cartoon mood swings frozen on paper, capturing everything from excited grins to eye-rolling boredom and wild surprise.
Artists mess around with eyebrows, mouths, and squinty eyes to explore how faces change, giving each drawing its own vibe and helping them understand facial dynamics better.
It’s a great way to practice sketching real-life moods—plus, some of those wacky faces might sneak into a future comic when you least expect it!
Capturing Everyday Moods
How do you catch a mood on paper, anyway? It’s kind of like inviting your emotions to do a “sketchbook tour my friends” across blank pages—some days bright, others wild or moody.
Using random expressions helps artists not just practice drawing faces, but also turn their sketchbooks into a diary bursting with personality. Whether it’s messy surprise, total confusion, or cheeky joy, every face tells a story.
Pages get even cooler with pops of color from markers or watercolors, and trying different styles means every expression is a new adventure. For anyone who wants to start capturing daily feelings, here are some easy ideas:
- Draw three different moods using wild colors.
- Mix cartoon, realistic, and silly styles.
- Challenge yourself: try a “one-expression-a-day” page.
Exploring Facial Dynamics
Everyone knows sketchbooks turn into a mood playground pretty fast, but what about stretching those expressions into something wild? Immerse yourself in exploring facial dynamics—a real secret weapon for any artist who wants to capture the craziness and variety of human emotion. With over 7,000 facial expressions possible (yeah, that’s not a typo!), it pays to dedicate pages to pure practice. Try drawing faces in mirrors or snap goofy pics for reference. Mix things up with different angles—front, side, even upside down! Want a pro tip? Continuous line drawings loosen up your hand and make those sketches lively. Check out this table to jumpstart your experiments:
| Expression | Angle | Drawing Trick |
|---|---|---|
| Surprise | Profile | Fast lines |
| Sadness | 3/4 view | Shadow emphasis |
| Happiness | Front | Loose outlines |
Let your sketchbook grin, frown, and smirk with every page!
Anatomy Practice Miniatures
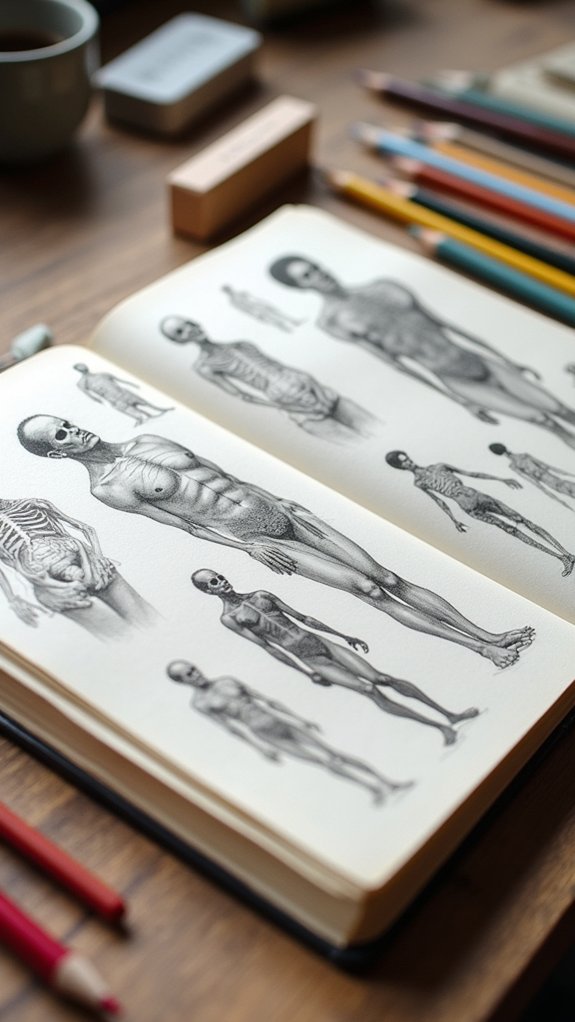
Quite a few artists know the struggle of getting that elbow or knee to look just right, as if it somehow morphed into a weird potato instead.
Anatomy practice miniatures swoop in to save the day! These tiny, simplified models of different body parts make understanding human proportions way easier. Artists use them to nail down where muscles go and how bones actually bend—pretty important if you want your superheroes looking heroic and not like pasta noodles.
To make the most out of anatomy practice miniatures, try this:
- Sculpt miniatures with clay or sketch simple models in your sketchbook.
- Use them as references for dynamic poses and better body alignment.
- Pair miniatures with anatomy diagrams to really level up your muscle and movement knowledge.
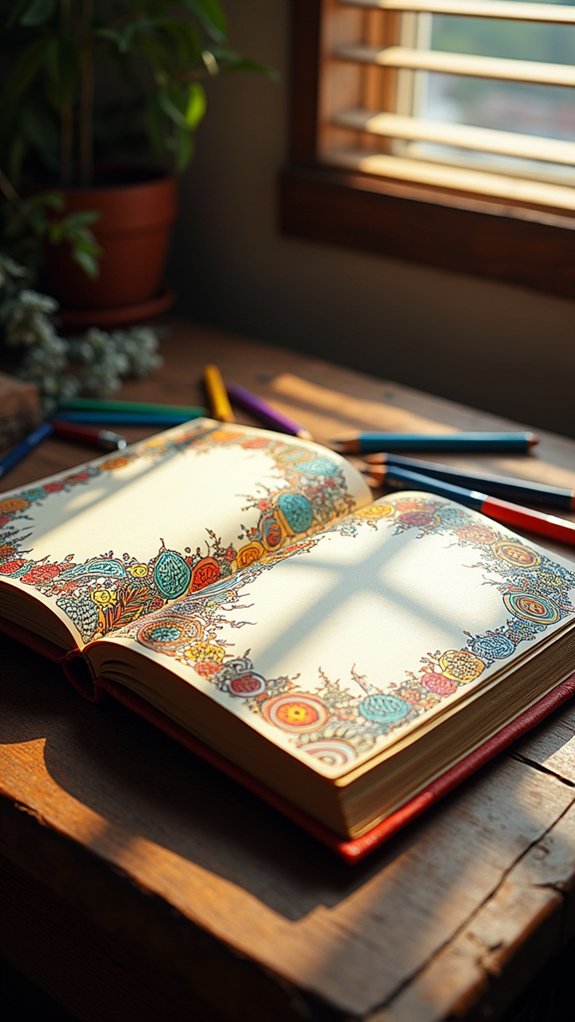
Doodled Borders and Dividers
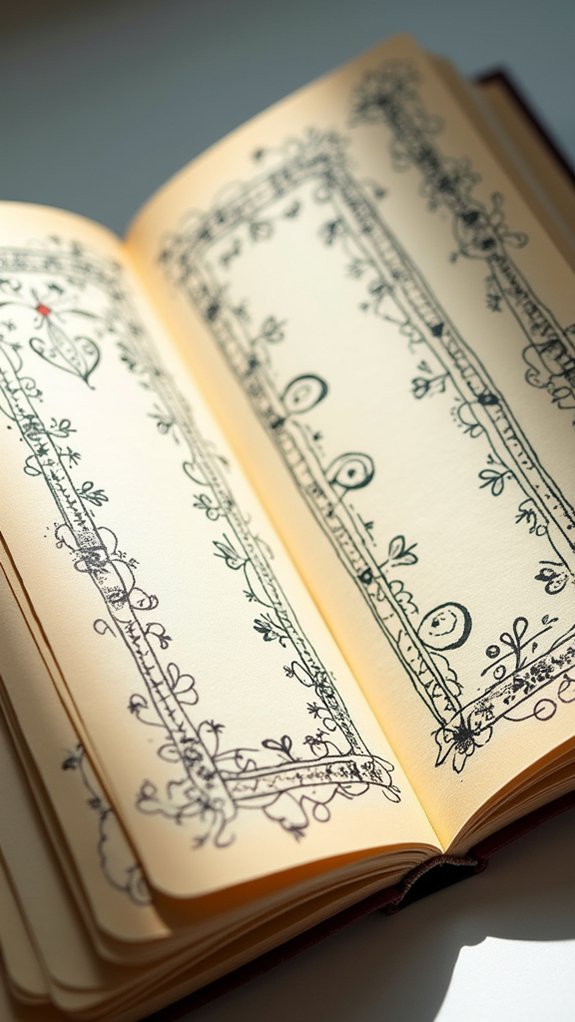
Doodled borders and dividers can turn plain sketchbook pages into mini masterpieces, making every spread pop with personality.
Whether it’s wild creative border designs, endless lines of repetitive pattern dividers, or themed edge embellishments that match your latest drawing obsession, there’s a style for every mood.
Who knew squiggly lines, tiny flowers, or even pizza slice shapes could be the secret sauce for a super cool sketchbook?
Creative Border Designs
Some borders just sit quietly on the edge of the page, but creative ones? They grab attention, shout for a little spotlight, and turn any boring sketchbook filler into a feature show.
Creative border designs aren’t just eye candy—they tell a story around your art, making even little doodles feel epic. Adding zigzags, tiny florals, or crazy geometric shapes can wrap your work in style, giving those blank margins some major swagger.
It’s like adding a cool frame to your favorite poster, but you get to choose every detail.
- Try thick-and-thin lines for borders—they make your borders pop and dance.
- Mix up patterns; zigzags, dots, or vines instantly lift any sketchbook page.
- Play with color contrast for borders that spotlight your art like a pro.
Repetitive Pattern Dividers
Once the borders are bursting with color and personality, it’s hard not to want the same kind of excitement in the rest of the page. That’s where repetitive pattern dividers come in—they’re those fun, doodled borders that split up your space and pull everything together at the same time.
You can go wild with zigzags, curly waves, polka-dotted lines, or any kind of shape that feels right. Try stacking scallops or alternating triangles for a look that’s both neat and eye-catching. If you use different line weights or even throw in a splash of contrasting color, your dividers will totally pop!
These designs can match the theme of your page, making the whole layout look thoughtful—and a little bit magical, too.
Themed Edge Embellishments
Even if a sketchbook page already pops, adding themed edge embellishments can take things to a whole new level. Borders and dividers aren’t just for neat freaks—anyone can use them to boost a page’s style.
Doodled borders, like wavy lines, zigzags, or even goofy little flowers, instantly frame art and make the whole book feel more connected. Creative dividers are perfect for splitting up different sketches, notes, or moods, plus they let artists play with line thickness or sneaky splashes of color.
Want to make it even cooler? Personalize those embellishments with tiny drawings tied to the page’s theme. Here are three ideas to get started:
- Wavy ocean borders around beach sketches
- Cactus dividers for desert themes
- Icon-filled edges for special events
Seasonal or Holiday-Themed Icons
Pumpkins in fall, snowflakes in winter, and brightly colored beach balls in summer—seasonal or holiday-themed icons have a way of instantly jazzing up any sketchbook page.
These small, festive symbols capture the mood of each season and turn plain spaces into eye-catching doodle zones. Drawing iconic shapes, like leaves in autumn or sunbursts in summer, gives artists endless ways to fill a page.
Plus, playing with seasonal color palettes—cozy reds for fall, chilly blues for winter, or bold yellows for summer—makes each sketch pop even more. It’s super satisfying!
Whether these icons end up as playful borders, fun little clusters, or stand-alone stars, they keep the creative gears turning. And honestly, it’s a stress-free way to make every sketchbook session feel like a celebration.
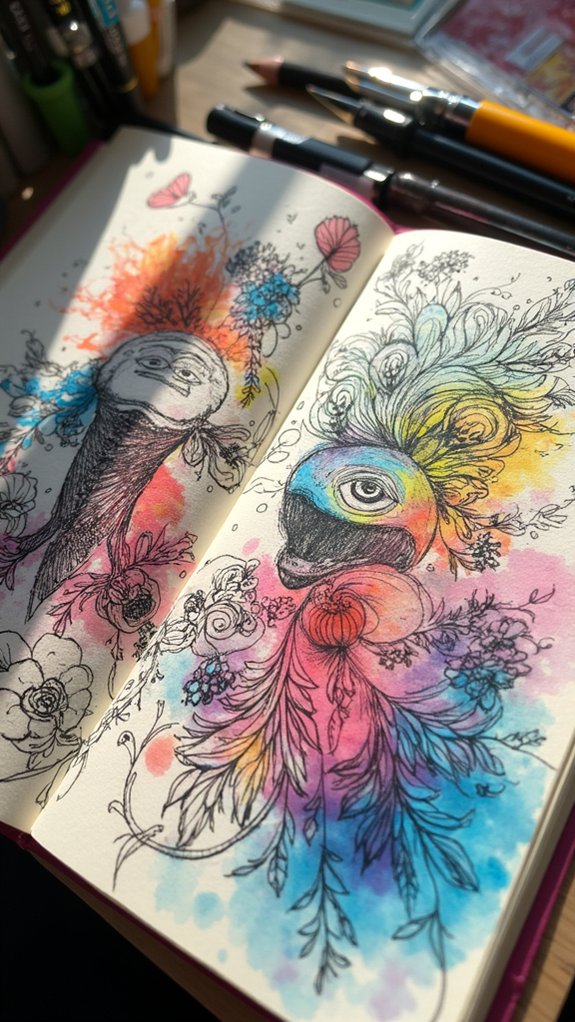
Micro-Paintings Inspired by Nature
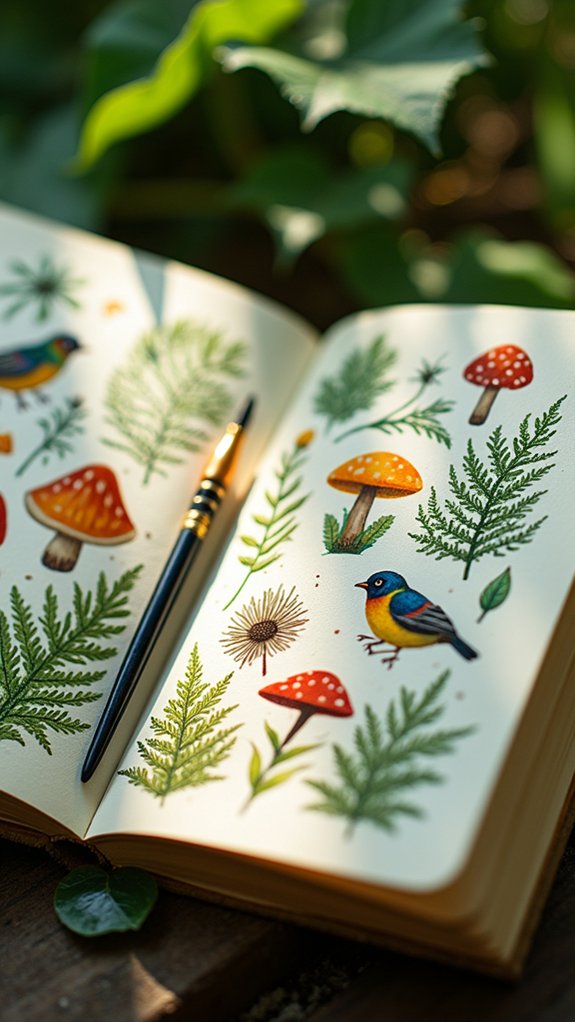
How can so much beauty fit into such a tiny space? Micro-paintings inspired by nature prove that greatness comes in small packages. These miniature masterpieces celebrate the fascinating details of leaves, petals, and wild creatures, all squeezed into a few precious inches.
From watercolors to acrylics, even a bit of bold ink, any medium can make these scenes pop off the page. They don’t just look cool—a micro-painting challenges artists to be precise while still capturing vibrant life and motion. Plus, they’re a fantastic way to bust up blank space in your sketchbook.
Here are three ways micro-paintings inspired by nature can boost both creativity and skill:
- Practice keen observation
- Build patience and hand control
- Add unique flair to your sketchbook
Frequently Asked Questions
What to Fill Your Sketchbook With?
When considering what to fill a sketchbook with, an artist might explore creative exercises such as doodles, themed illustrations, texture studies, and collages. Experimentation with various mediums and observation sketches can foster both artistic growth and visual interest.
How to Make Your Sketchbook Interactive?
To enhance engagement, one might introduce interactive elements, such as flaps, pockets, or envelopes, into the sketchbook. Incorporating prompts, games, or collaborative spaces also encourages active participation and fosters a more dynamic creative process.
How Do You Preserve Sketchbook Pages?
To guarantee page protection and longevity, one should use acid-free materials, apply archival fixatives, store sketchbooks in controlled environments, utilize plastic sleeves or lamination, and regularly digitize artwork to guard against smudging, fading, and physical deterioration over time.
How Do I Fill up Space in a Sketchbook?
When considering how to fill up space in a sketchbook, one may explore creative techniques such as incorporating doodles, patterns, collage elements, thematic spreads, or text. These approaches encourage experimentation, visual interest, and personal expression throughout the pages.
Conclusion
With these 19 creative sketchbook fillers, you’ll never stare at a blank page again (unless you really want to—hey, no judgment). From wild spirals to gothic vibes, there’s always something new to try when your pencil starts itching for action. Some ideas are quick doodles, others might take a little more time, but all are fun. So grab your sketchbook, get messy, and don’t worry if it’s not perfect. Sometimes the messiest pages end up being your favorites!
Leave a Reply