
Anyone can have fun filling a sketchbook with easy ideas! Try drawing everyday objects from around the house, sketching fruit from weird angles, or making a goofy self-portrait with a mirror. Illustrate your favorite mug, or study those worn-out shoes for some artsy inspiration. Plants and flowers make cool subjects, and stacking books gives your page personality. Dream up a wild scene, practice shading with a simple shape, or try tracing your hand and adding patterns. There’s much more to spark your creativity next!
Key Takeaways
- Draw everyday household objects to practice simple shapes and textures in a stress-free way.
- Sketch your favorite mug or cup, experimenting with colors, designs, and personal memories.
- Observe and draw fruit or plants from different angles to explore shapes, shadows, and detail.
- Trace and embellish your hand for a fun, customizable sketch using patterns and mixed art supplies.
- Stack books or shoes in unique arrangements to practice shading, perspective, and capturing interesting textures.
Draw Everyday Objects From Around Your Home
There’s a whole world of inspiration just sitting around at home—think about it! Your room is probably packed with awesome stuff you can use for sketchbook assignments.
Still life drawings aren’t just for old art teacher demos—they’re actually a super fun way to practice art skills. Grab that old sneaker hiding under your bed, your favorite mug, or even a wonky stapler from the desk. These everyday objects have simple shapes and interesting textures, so they’re perfect for artists of any skill level.
Setting up a mini still life with household items helps you experiment with shadow and light. You’ll get better at seeing details and capturing them on paper. Plus, drawing familiar things takes the pressure off, so you can focus on making art uniquely yours!
Sketch a Piece of Fruit in Different Positions
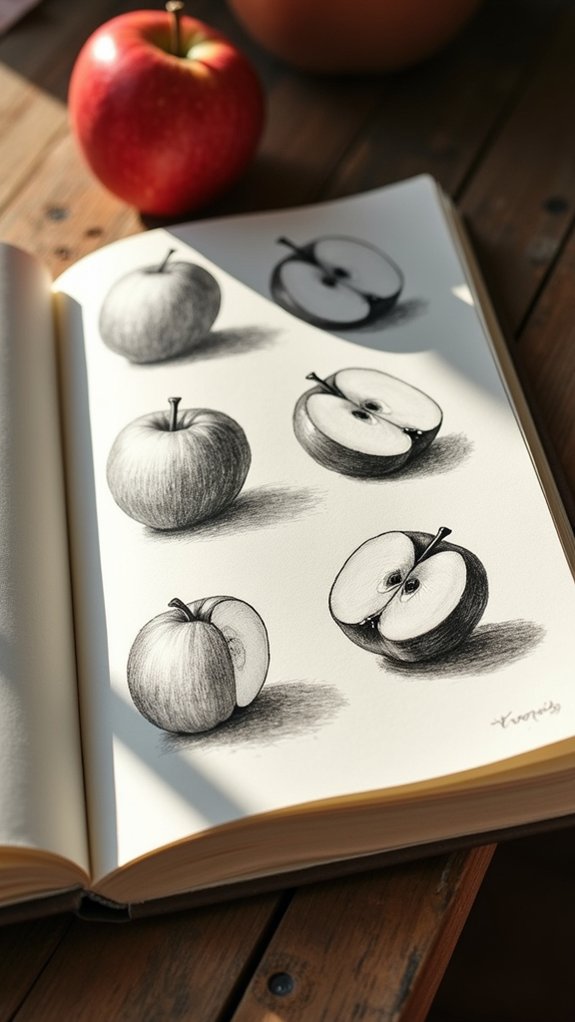
Sketching a piece of fruit from all sorts of angles can feel a bit like being a detective, searching for clues about its shape and character.
Every new position shows off different curves and shadows, which makes shading for realism both tricky and fun—sometimes an apple will look mysterious just because you shifted it an inch!
Picking out all the bumps, textures, and how the light bounces around keeps things interesting, and no two sketches ever turn out exactly the same.
Exploring Fruit Perspectives
Even a simple piece of fruit can turn into a mini adventure when you start exploring it from all kinds of angles!
Trying out different views—like flipping your apple upside down or sketching a banana from the top—really boosts your drawing skills. It helps you understand how simple shapes can look totally different, depending on where you’re sitting.
If you want to grab your friends’ attention, here are some ways to experiment:
- Try sketching your fruit from the side, top, and super close-up to discover new shapes.
- Place the fruit on weird backgrounds or next to other objects for surprise effects.
- Snap some photo references of your fruit in new spots—great for studying unique details!
You might just reveal some new artistic superpowers.
Shading for Realism
After scoping out fruit from every possible angle, it’s time to dig into what really brings those sketches to life: shading. Shading is the secret ingredient that can turn a flat apple into a plump, mouth-watering masterpiece—or a banana into something you almost want to peel.
Pay close attention to where your light source is. This tells you where to keep things bright and where to go dark. Use hard pencils (those marked with an H) for the highlights, and soft ones (the B’s) for those deep, mysterious shadows.
Try cross-hatching or stippling to shift smoothly between values. Remember, the curves of the fruit decide how shadows bend and highlights land, making the realism pop.
Keep practicing from different angles—soon, your fruit will look ready to eat!
Create a Simple Self-Portrait Using a Mirror

Looking in a mirror and sketching a self-portrait might feel weird at first, but it’s one of the best ways to practice observational drawing techniques and really see what makes your own face unique.
Paying close attention to the shapes of your features—like your wildly dramatic eyebrows or that dimple you pretend not to notice—helps capture what sets you apart from stick figures everywhere.
The mirror doesn’t lie, so each stroke builds your skill and shows off those quirks that make you, well, you.
Observational Drawing Techniques
Some sketchbook challenges feel pretty epic, but nothing beats the adventure of drawing your own face!
Observational skills really kick in when you sit in front of a mirror with a pencil, trying to capture your facial features. It’s more than just lines on paper—it’s a crash course in spotting light and shadow, plus learning all the little shapes that make a face look real (and maybe a little goofy).
If you want to try an easy self-portrait, here’s a quick guide:
- Set up a mirror at eye level and make sure the lighting highlights your features clearly.
- Break your face into simple shapes—think ovals for your head, rectangles for your jaw.
- Study the light and shadow, and let shading add some awesome depth!
Capturing Unique Facial Features
Ever wondered why no two faces ever look exactly the same—even twins have their own quirky details?
Grab your sketchbook, because drawing ideas just got personal. To start capturing those unique features, all you need is a mirror set at eye level in a bright spot. Lightly sketch the outline of your head, noticing if your chin’s more “heroic” or your cheekbones less dramatic than you thought.
Focus on the exact shapes of your eyes, the curve of your nose, and mouth—no skipping your one-of-a-kind look! Use shading and pay attention to where the light hits your face, adding dimension.
Practicing boosts your observation skills, and pretty soon creating epic self-portraits will seem way less intimidating—plus, it’s fun noticing your cool quirks!
Illustrate Your Favorite Mug or Cup
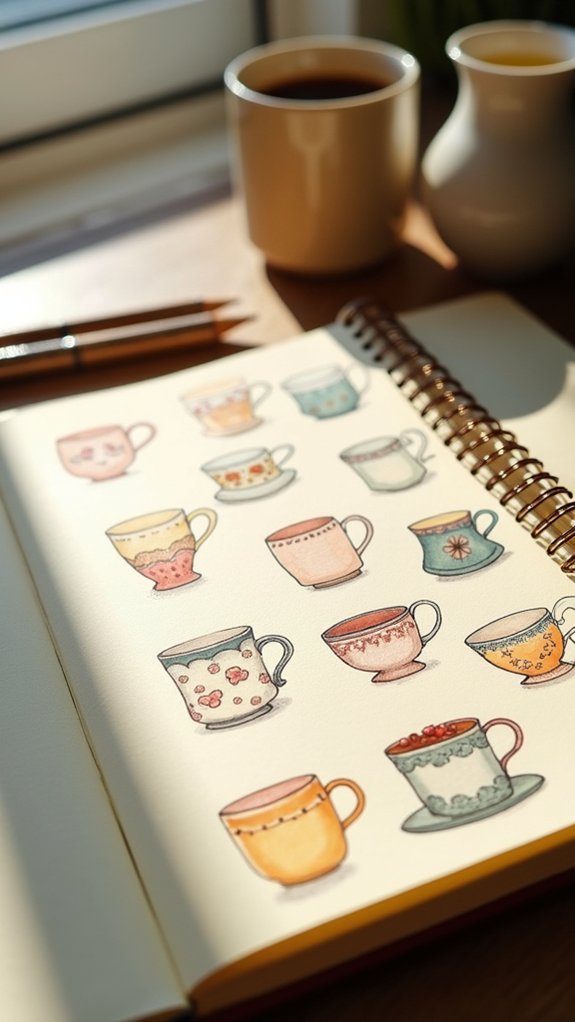
A favorite mug can feel like a tiny treasure chest—full of memories, warm drinks, and maybe even a few tiny chips from those times it was dropped (oops!).
When approaching this art prompt, Drawing your mug can be surprisingly simple and super satisfying. Observe the unique curve of the cup, its handle, and any interesting patterns that beg to be captured on the page.
Try these steps:
- Start with shapes: Sketch simple circles and ovals to build the basic structure.
- Add details: Look for logos, designs, or that particular color that makes your mug “yours.”
- Shade and color: Experiment with shadows, then add color to both the mug and the drink inside.
It’s a fresh, easy way to make your sketchbook personal!
Capture a Quick Study of Your Shoes

Shoes might seem ordinary, but look closer—every scuff, crease, and bit of dirt tells a story that makes them way more interesting to sketch than you’d expect.
By zooming in on textures and signs of wear, and by picking funky angles—like the bottom of a well-loved sneaker or a dramatic side view—you can make your drawing pop with personality.
Try to show off what makes your shoes totally yours, and don’t be afraid to get a little weird with the perspective; after all, even shoes like to be in the spotlight sometimes.
Emphasizing Texture and Wear
There’s something oddly fascinating about looking closely at a pair of well-worn shoes—the dirt smudges, the wrinkled leather, the spots that are almost falling apart.
When sketching shoes, it’s like you’re telling their story by showing off all those textures and tiny details. Start by quickly outlining the basic shape; don’t stress about perfection. The real magic comes with the next steps:
- Pay super close attention to scuffs, creases, and dirt—these marks give the shoe personality.
- Experiment with different techniques, like hatching or stippling, to highlight unique textures, from rough canvas to shiny leather.
- Use shading to make the worn-out areas pop, adding depth and making everything look way more real.
It’s amazing—almost every old shoe has secrets waiting to be drawn!
Exploring Unique Shoe Angles
Sometimes, all it takes is a little twist or tilt to turn an ordinary object—like a shoe—into seriously cool art material. Shoes might seem basic, but if you look around your room, you’ll realize just how interesting they can get in your sketchbook.
Try placing your shoes at funky angles—overhead, kicked over, or sideways—to uncover surprising shapes. Don’t rush! Paying attention to details like bumpy laces, squiggly scuffs, or textured soles will make your drawing pop off the page.
Play with lighting by shining a lamp from different sides; those wild shadows add depth and atmosphere. Break the shoe down with simple shapes first—they’re more forgiving than you think.
Finally, add any personal touches, and voilà—your quick study becomes something truly unique!
Trace and Embellish the Outline of Your Hand
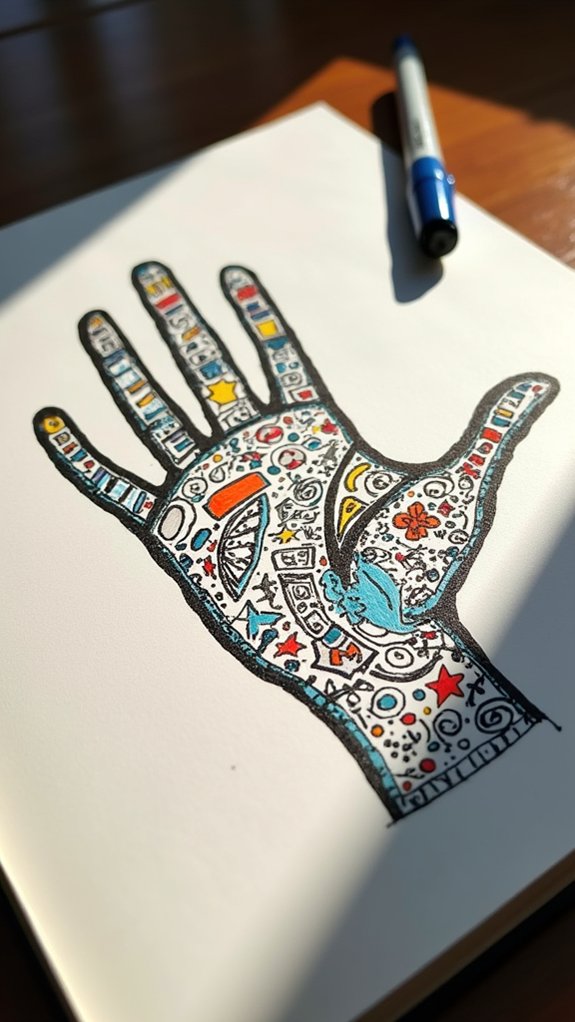
When someone traces the outline of their hand on a blank sheet of paper, it feels almost like starting a secret map—one where anything can happen inside those familiar lines. The best thing? Everyone’s hand is unique, and so is the potential for creative flair.
Once the trace is set, there’s a whole world to embellish and experiment inside those lines. Doodle zig-zags, bold stripes, or fill it with tiny stars; let your style run wild. Don’t shy away from mixing markers, colored pencils, or even watercolors for an extra pop.
Use this easy method to:
- Trace your hand and capture its quirky shape.
- Embellish inside the lines with wild or simple patterns.
- Experiment with colors and shading for a 3D effect.
Experiment With Drawing Your Favorite Plant or Flower
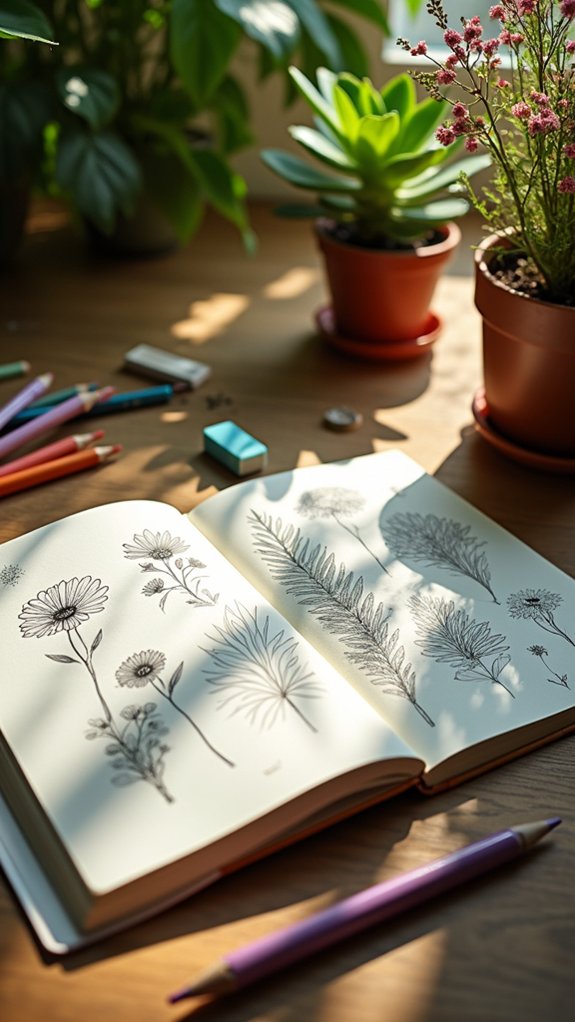
Any sketchbook can burst into life with a drawing of a plant or flower—especially when it’s one that means something to the artist. To begin, they observe their favorite plant, really looking at the way the leaves curl or the petals twist. Next, the artist can experiment by breaking down the shapes—maybe starting with a few ovals or lines, because even roses start out as circles! Changing the perspective, like drawing from above or a bug’s-eye view, keeps things fresh. Shading gives everything depth, making the flower seem to pop from the page. And when it comes to vibrant colors, they shouldn’t be shy—sometimes, a plant wants to be painted with the whole rainbow.
| Step | Tip | Result |
|---|---|---|
| Observation | Notice shapes and textures | Realistic drawing |
| Experiment | Try new angles | Dynamic viewpoint |
| Vibrant colors | Use bold shades or mixed media | Energetic result |
Arrange and Sketch a Stack of Books

A pile of books can tell a story all on its own. When someone arranges a stack of books, each angle and size can make the sketch look more lively.
It’s not just about tossing some books together, though—one needs to pay attention to all the small details! The covers, worn edges, and quirky spines give each book character.
Quick tip: try sketching the basic shapes first so proportions stay on point. Here are a few things to focus on:
- Arrange books at different angles for a fun, interesting view.
- Look closely at textures, covers, and spines to capture their personality.
- Pay attention to shadows and how the light bounces—this adds depth and drama.
Go ahead, let those books steal the show!
Depict a Scene From Your Imagination

There’s something wildly exciting about turning a blank sketchbook page into a world straight from your imagination. Maybe your scene has a dragon on a skateboard or a pirate ship floating above the clouds—if you can think it up, you can sketch it. Start by brainstorming little doodles of characters, places, and weirdly awesome objects you want to include. Sketch out the basic layout using shapes—don’t stress about getting it perfect. Add fun details once your composition feels right! Play with perspective: make things closer to the front look bigger, and overlap objects for depth. Grab whatever art supplies you love, from colored pencils to markers or watercolors, and experiment with colors. Here’s some inspiration to start:
| What to Try | Helpful Tip |
|---|---|
| Out-of-this-world pets | Use simple shapes to start |
| Mountain castles | Vary sizes for perspective |
| Space pirates | Mix bold colors for pop effects |
Practice Shading With a Single Geometric Shape

Jump into the world of shading by picking a basic shape—maybe a mysterious sphere, a sturdy cube, or a wobbly cone—because even the simplest forms can look epic with the right shadows.
Practicing shading with a single geometric shape doesn’t mean being boring—it means entering the secret club of artists who understand how light source works its magic. Start by shining an imaginary flashlight; notice where the highlights and darkest shadows appear.
Try using pencils to layer shades softly, then press harder for deep darks. Testing out hatching, cross-hatching, or even tiny dots can totally transform how real and three-dimensional your geometric shape looks.
Here’s your quick-start guide:
- Choose your favorite shape and sketch it.
- Decide where your light source comes from.
- Layer shading for cool shadows and glowing highlights.
Frequently Asked Questions
What Is the Easiest Thing to Sketch for Beginners?
When considering the easiest thing to sketch for beginners, one finds that simple shapes, everyday objects, and basic patterns offer accessible starting points. These options help build confidence, improve observation skills, and provide a solid foundation for artistic growth.
What Can I Draw to Improve My Skills?
When seeking to improve drawing skills, individuals might focus on still life arrangements for composition, figure drawing to understand anatomy and movement, and scenery studies to practice capturing perspective, texture, and the effects of light and shadow.
What Makes a Good GCSE Art Sketchbook?
A strong GCSE art sketchbook demonstrates careful sketchbook organization, clearly explores varied art project themes, and includes effective feedback. It showcases technical growth, creative experimentation, thorough annotations, and a logical visual progression, reflecting personal development and artistic understanding.
What Can I Draw in 5 Minutes?
When considering what to draw in five minutes, one could focus on quick sketches of everyday items, daily drawing exercises like fruits, or timed art scenes featuring people and pets, all of which enhance observation and creativity.
Conclusion
No matter your skill level, these sketchbook ideas promise a fun way to flex those creative muscles without overthinking it. Just grab your pencil and plunge in, whether you’re sketching your worn-out sneakers or making your fruit look like it’s doing a handstand. With every page, your confidence (and maybe your sense of humor) will grow. So, really, don’t sweat it—sketch what you see, imagine, or even dream up. The main rule: have fun!
Leave a Reply