
A sketchbook is a zone for wild creative experiments and skill-building, way beyond just regular doodles. Try blind contour drawing to practice focus, or switch to your non-dominant hand for some hilariously wobbly lines. Mix things up with quick composition studies, busy collages, or funky themed pages—like “inside a jar.” You could even illustrate a song lyric or design a skateboard deck. Want ideas that’ll stretch your imagination and make sketching way more fun? Stick around!
Key Takeaways
- Practice blind contour and non-dominant hand drawings to strengthen observation and loosen up your sketching process.
- Draw quick composition studies or thumbnails to improve your sense of space and experiment with different arrangements.
- Explore adding color to black-and-white sketches using watercolor washes or colored pencils to enhance mood and depth.
- Combine materials like collage, mixed media, and different drawing tools to discover new textures and creative effects.
- Repeat a single subject from various angles and with different techniques to deepen your understanding and creativity.
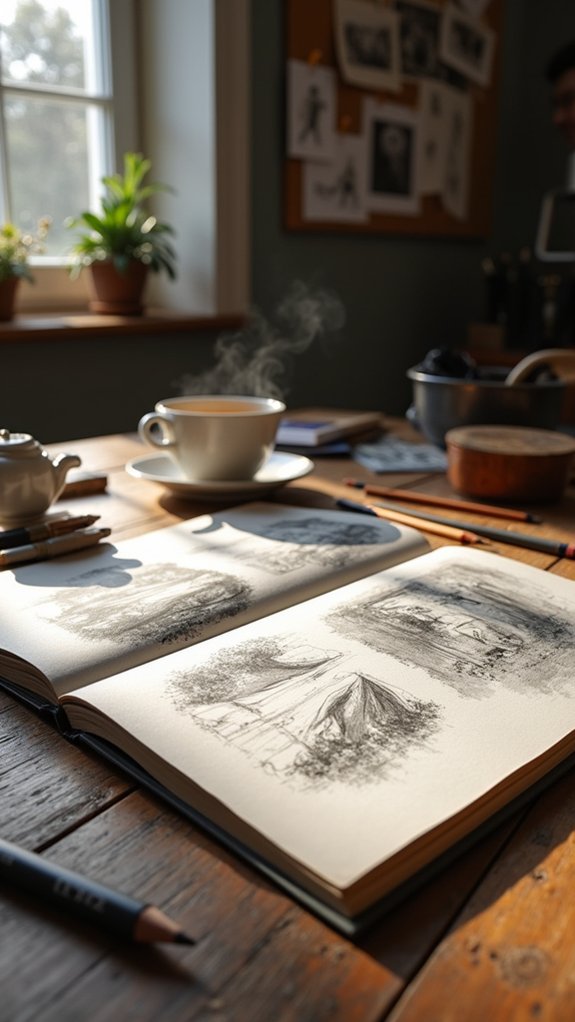
No-Pressure Sketchbook Practice

A lot of artists feel this weird pressure every time they open a brand-new, fancy sketchbook, almost like the paper is judging them for not being perfect.
That’s where the magic of no-pressure sketchbook practice comes in. Imagine swapping out that high-end sketchbook for a cheap, floppy one with thin paper—suddenly, mistakes aren’t a big deal anymore! If watercolor makes the paper buckle? Awesome, now it has “personality.”
Working without fear lets artists fill pages wildly, trying out new things and maybe even discovering a hidden style or technique. Little by little, this approach builds confidence and really boosts drawing skills.
Plus, flipping through a messy old sketchbook creates a cool archive, showing how far someone’s come since page one.
Blind Contour Drawing
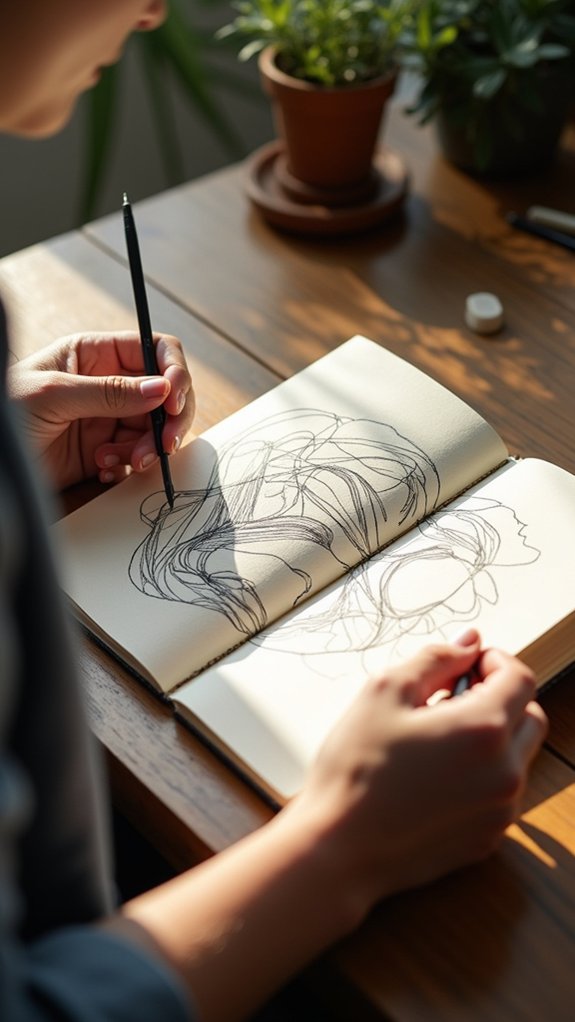
Even though it sounds a little wild, blind contour drawing is basically like a trust exercise between the eyes and the hand—a true art adventure.
In this practice drawing technique, the artist keeps their eyes glued to the subject and not the paper, letting the pencil or pen wander wherever it needs to go. It feels a bit risky, but that’s the fun part!
Mistakes are not only okay; they’re expected. This method is fantastic for stretching those observational muscles and shaking off the fear of messing up.
A blind contour drawing often ends up looking quirky or silly, but it captures the subject’s essence in a way that’s super lively. It makes for an awesome warm-up before jumping into more detailed sketches.
Drawing With Your Non-Dominant Hand

Most artists know the struggle of getting stuck in their comfort zones, but flipping the script by drawing with the “wrong” hand feels like giving your brain a wake-up call.
Seriously, trying drawing ideas with your non-dominant hand is wild—your lines wibble, your sketches get wacky, and suddenly, nothing looks perfect. But that’s the whole point! It’s like your brain is doing push-ups, stretching new muscles.
When artists draw this way, they end up with loose, creative sketches that just feel more alive. Plus, it knocks self-criticism down a peg, because who expects perfection from their non-dominant hand?
This exercise builds observation skills, boosts hand-eye coordination, and can help anyone break through creative blocks—so go ahead, let your “wrong” hand take the lead.
Quick Composition Studies
Just when it seems like drawing can’t get any wilder than switching hands, along comes quick composition studies to shake things up even more.
Imagine drawing tiny scenes inside small boxes—like they’re comic book panels but with less pressure and way more fun. For these sketchbook assignments, artists whip up a batch of little rectangles and quickly experiment with different ways to organize shapes and space.
No need to get lost in details—this is all about the big picture. Quick composition studies help you spot your favorite ways to arrange things, and suddenly, you’re making fast decisions like a real pro.
Sceneries, portraits, even strange doodles—anything goes! By the end, your sketchbook turns into a treasure map of ideas, helping your creative instincts come alive.
Continuous Line Sketches
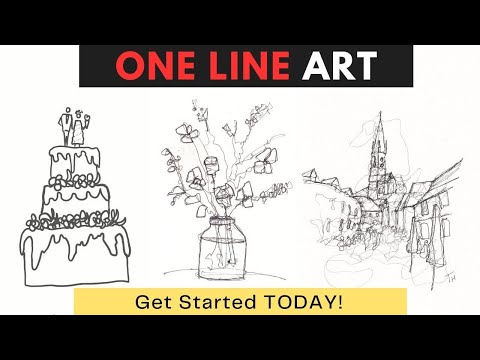
While some drawing techniques feel like a game of connect-the-dots, continuous line sketches flip the rules completely—you pick up your pencil, put it down on the page, and don’t let it leave until the drawing is finished.
Continuous line drawing can seem a little wild at first, but that’s exactly the fun of it. This is one of those sketchbook ideas that forces artists to really look at what they’re drawing, building amazing hand-eye coordination.
Forget about perfect lines or details—here, the magic is in the movement and the surprises that pop up along the way. Mistakes? Think of them as happy accidents!
It’s also an awesome way to loosen up before bigger projects and to see one subject from brand new angles.
Value Studies With Simple Shapes
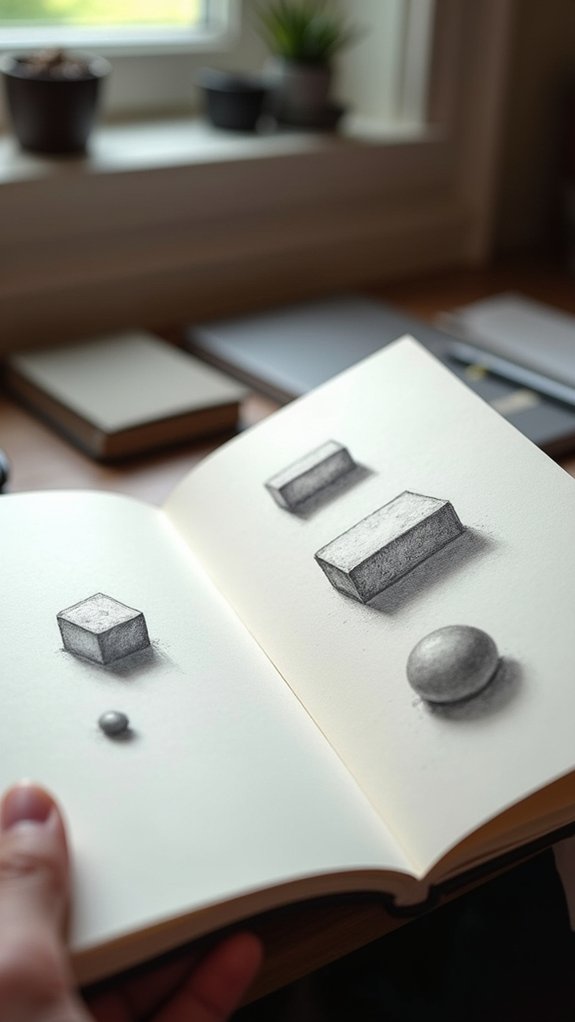
Light, shadow, and a handful of basic shapes might not sound like the recipe for an epic drawing session, but don’t let the simplicity fool you.
Value studies with simple shapes can totally level up your sketchbook game. By focusing on easy forms—like spheres, cubes, or even that stubborn cylinder—you get to see how light and dark work together to make flat things look 3D. It’s like magic, but, you know, with pencils or even watercolor washes.
These value studies are secretly teaching your brain how shadow wraps around a shape, helping you judge where to put the darkest darks and brightest highlights. Plus, once you start shading simple shapes, your observational skills start to sharpen—and soon, nothing in your sketchbook will look boring.
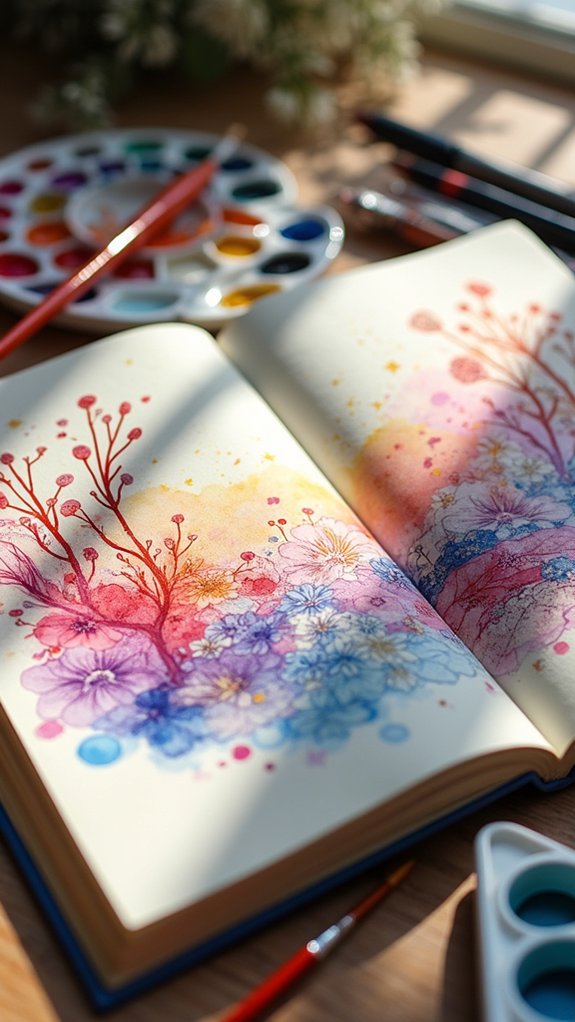
Adding Color to Black-and-White Sketches
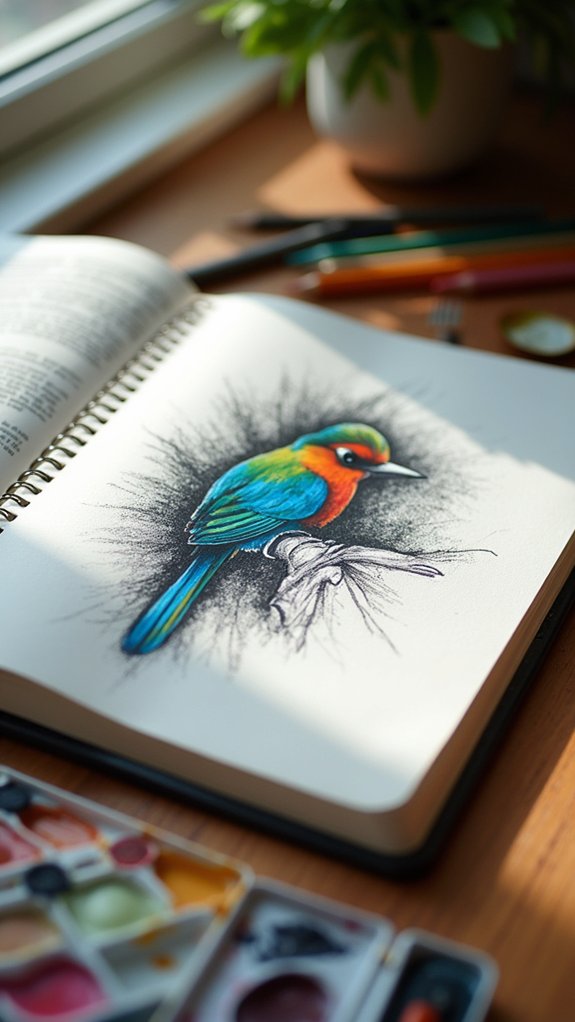
Switching from black-and-white to adding color can totally change the look—and the mood—of a sketch, making everything pop and sing.
When using watercolor washes, the paint soaks in gently, giving just enough color to keep those crisp lines visible, like someone splashing a little magic onto the page.
Colored pencil overlays take it up a notch, letting artists layer bright shades or blend them smoothly, kind of like building a rainbow one step at a time.
Watercolor Wash Techniques
Sometimes all it takes is a splash of watercolor to breathe life into a black-and-white sketch, turning something plain into something that seriously pops. Watercolor washes are a go-to trick for artists who want a quick, vibrant upgrade.
With the wet-on-wet approach, you can brush on water first—then add diluted paint and watch colors flow and blend together like magic. Prefer crisp lines? Try a wet-on-dry wash; just swipe watercolor onto dry paper and see those edges stand out.
Gradation techniques are where the fun kicks in: load your brush with rich color, then gently add more water as you move across the page for smooth, dreamy color fades.
Stick to a limited palette—sometimes less is more for eye-catching results!
Colored Pencil Overlays
A burst of colored pencil can transform a plain black-and-white sketch into something bold and full of life, almost like watching a movie jump from old-timey black-and-white to technicolor.
When sketching one of your favorite doodles or portraits, try layering colored pencils right over your graphite or ink lines. Start light—you wouldn’t want to scrub a hole in your page—and build up those colors slowly.
Experiment with hatching, cross-hatching, or even stippling to make fun textures that pop. Color blending and layering make everything look richer, less like a homework assignment and more like, well, art.
Pick colors that go well with the mood of your sketch. And remember, go easy with fixatives; too much can turn your masterpiece into a smudgy mess!
Exploring Color Palettes With Color Studies

Now comes the fun part—experimenting with all sorts of color combos to create eye-catching, harmonious color schemes!
Imagine mixing paints, pencils, or markers in wild ways, seeing how each blend or clash changes the whole look of a drawing.
Sometimes colors will surprise you, working together like best friends or starting a mini wrestling match on the page, especially when you’re mixing different art materials for totally unique effects.
Building Harmonious Color Schemes
Few things in art are more exciting than playing with color, and sketchbooks are the perfect spot for color adventures. By making color studies, artists get to mess around with different palettes, finding out which combinations create that feeling of harmony everyone craves.
Mixing up hues, tints, and shades can totally change the mood of a piece, like switching from a suspenseful movie soundtrack to a lighthearted jazz tune. The best part? Mistakes don’t matter—you’re just testing out ideas!
Try grabbing inspiration from your favorite artists or play “mad scientist” mixing colors with pencils or watercolor.
- Pages splashed with tiny color swatches and scribbled notes about emotions
- Surprising discoveries when blue and orange suddenly become best friends
- Messy grids of color, each square totally unique
- Favorite combos saved for your next masterpiece
Experimenting With Medium Mixes
Some artists mess around with color so much in their sketchbooks, you might think they’re cooking up weird science experiments. Mixing watercolor with colored pencils, or blending acrylics on a scrap of paper, they explore how different art supplies get along—or totally clash.
Making color studies is like throwing a paint party: you try out wild combos that you’d never risk in a “real” piece. Maybe purple and lime green become your new favorite duo!
Tiny swatches and quick sketches fill the pages, capturing every oops and awesome moment. By layering or mixing different materials, artists learn how colors interact and discover what tools really work for them.
All these sketchbook experiments become a color treasure map, guiding future art adventures and inspiring bold, new styles.
Mark Making Experiments
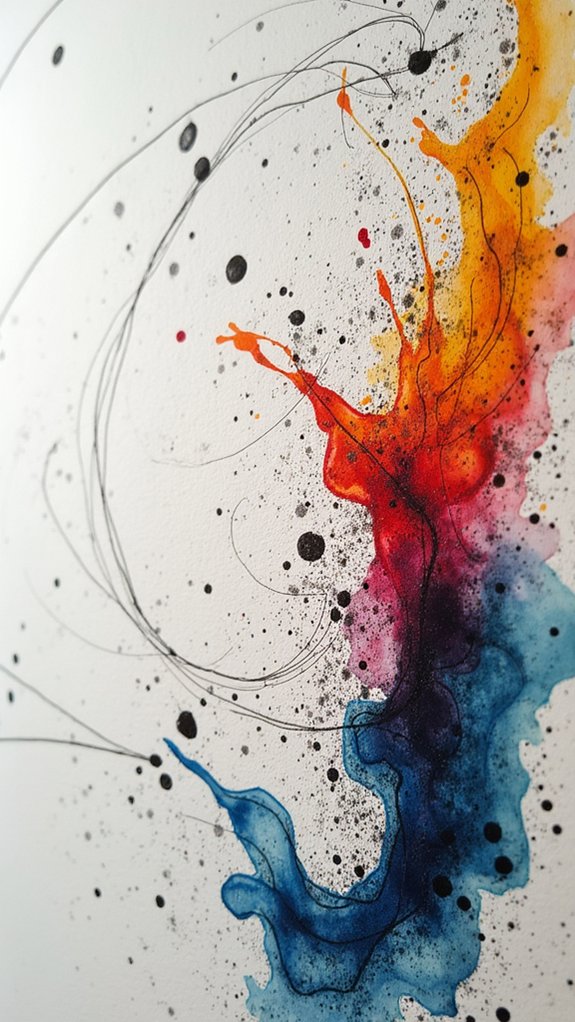
Jump right into the wild world of mark making—it’s like giving your hand permission to go a little crazy.
Mark making experiments are all about exploration, letting artists discover what brushes, pens, pencils, or even wacky stuff like sponges or sticks can do. No two marks look the same, which is kind of the fun part.
Trying out fast, slow, light, or heavy strokes teaches you how much energy you can put into a single line, and how different each one feels. Think of your sketchbook as a mad scientist’s notebook for all the weird and wonderful things you can do with a mark.
- Swirling circles with a sponge dipped in ink
- Jagged lines scratched with a broken twig
- Smooth, watery streaks using a wide brush
- Dotted patterns made with the back of a pencil
One Subject, Four Approaches
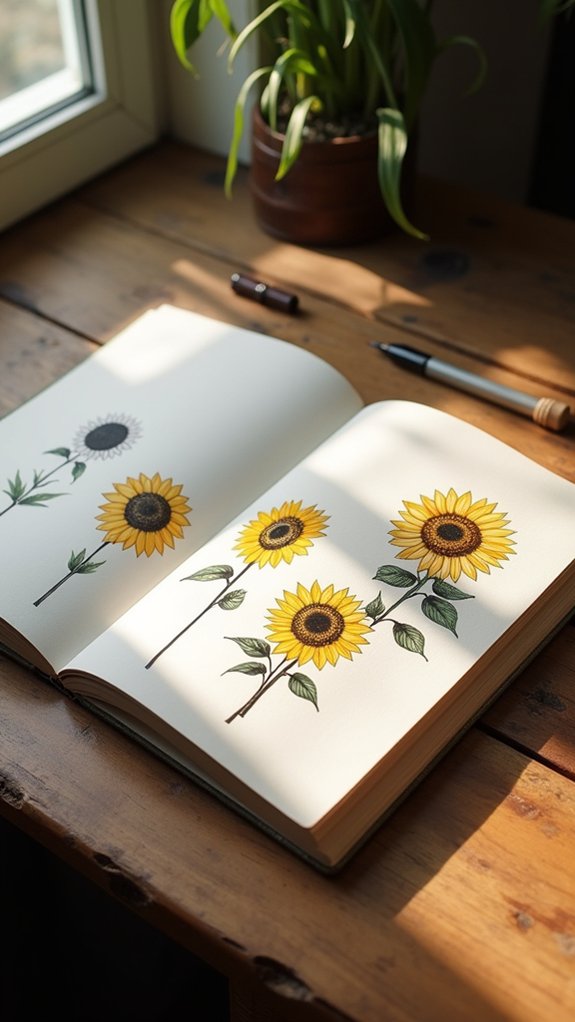
With “One Subject, Four Approaches,” things can get pretty wild—one apple might turn into four totally different drawings just by switching up the tools or the angle.
Maybe watercolor paints explode into colorful splotches one minute, while a pencil sketch shows off every tiny shadow the next.
And looking from above or from the side can give the subject a whole new attitude.
Experimenting with funky techniques or unexpected viewpoints makes even the simplest thing, like a sneaker, suddenly full of surprises.
Exploring Different Mediums
Even though drawing the same subject over and over might sound boring at first, exploring it with four totally different art supplies—like watercolor, ink, pencil, and digital tools—can actually turn into a really exciting adventure.
When someone tries exploring one subject with different mediums, the results can get wild in the best way. Watercolor might make a scene feel dreamy, while ink lines can transform it to look bold and dramatic.
Pencil is perfect for shadowy details, and digital tools bring insane possibilities, like wild colors or instant erasing. Each approach highlights something new, and you never really know what you’ll discover until you try.
- Soft watercolor clouds blending into the paper
- Sharp, daring ink lines outlining bold shapes
- Detailed pencil shading that builds form and mystery
- Bursts of digital neon colors that pop off the screen
Shifting Perspectives Visually
How can a boring old apple suddenly become the star of the sketchbook show? Easy—just by flipping how you look at it! Drawing one subject from four different angles is like sending the apple on a wild adventure, letting it show off many sides. This method helps artists break down the apple into different shapes, from round to oval or even a quirky squished blob. It skips the tricky details and focuses on what makes an apple, well, an apple. Along the way, artists find details they never noticed before. Here’s a peek at four perspectives:
| View | Main Shape Spotted | Focus Area |
|---|---|---|
| Top-Down | Circle | Stem |
| Side | Oval | Shadows |
| Diagonal | Squished oval | Dimples |
| Bottom-Up | Odd star | Base curves |
Experimenting With Techniques
Sometimes, all it takes to make a drawing session wild and unexpected is to mess around with new techniques on a single, ordinary subject.
Imagine picking something like an apple or your favorite sneaker—then drawing it four totally different ways. This approach to experimenting with techniques really helps artists find ideas for style, composition, and even what art materials they might love (or hate).
Breaking things down like this isn’t just fun; it makes you look closer and see more details than ever. Plus, it’s a major creativity booster, helping conquer those annoying creative blocks.
Try these:
- Sketch the subject using only bold, messy charcoal lines.
- Paint with loose watercolors, splashing on wild colors.
- Create a super-detailed digital drawing.
- Do a quick, dramatic value study using just pencil.
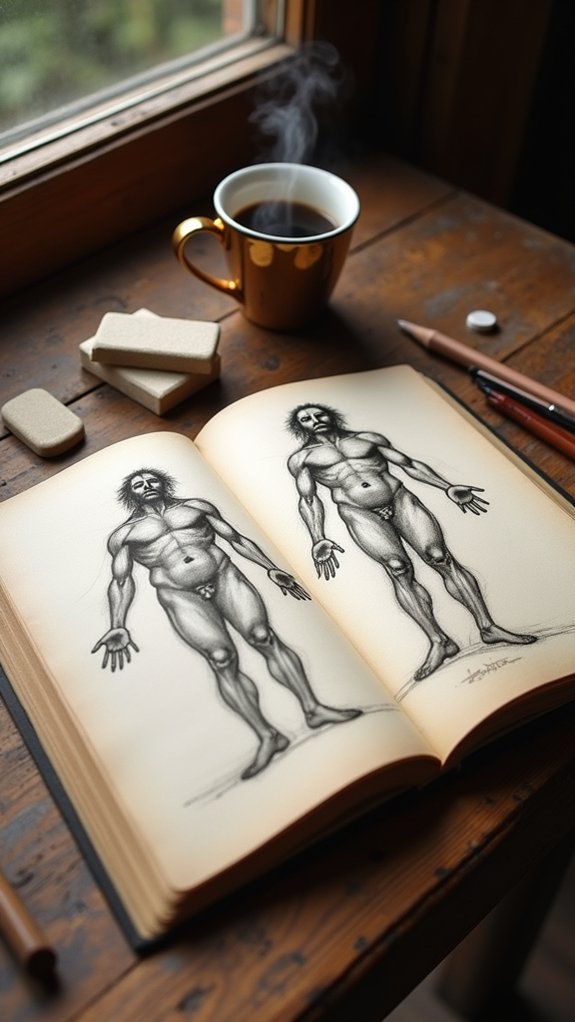
Shading for Volume and Depth

If you’ve ever wanted your drawings to leap right off the page, shading is the secret weapon you need. Learning how to shade brings serious depth to your sketches—it’s like giving your doodles a 3D upgrade!
The trick is to understand light and shadow. Imagine a flashlight shining on a ball: where’s it brightest? Where’s it darkest? That’s your shading roadmap.
Try practicing on simple shapes, playing around with techniques like hatching, cross-hatching, and a little stippling action for texture. Don’t be afraid to mix things up—blend gently for soft shadows or experiment with charcoal for bold contrast.
And hey, the best tip? Observe real stuff! The more you study, the easier it gets to spot those subtle shifts in depth.
Master Artist Copy
Picking a famous artwork to copy can feel like choosing a superhero to train with—you want someone awesome whose tricks you can borrow!
As you try to match their brushstrokes, colors, and clever moves, you start to see where the magic really happens.
It’s exciting to realize that by studying their style up close, you can actually sneak some of their secret powers into your own sketchbook.
Choosing Iconic Artworks
While studying art history in a textbook can get a little boring, actually copying an iconic masterpiece in your own sketchbook feels like uncovering secret codes hidden in paint.
Choosing which legendary artwork to copy is half the fun—and a smart move for anyone interested in master studies. Whether you use photo references from the internet or snap a pic on your next museum trip, the possibilities are endless.
Picking a classic piece gives you a chance to peek into the mind of a master—was that shadow really that weird? Did Van Gogh’s hat always look like that?
Try keeping things fresh:
- Sketch the haunting smile of the Mona Lisa.
- Duplicate the swirling night sky from Starry Night.
- Copy a dramatic Rembrandt self-portrait.
- Try a wild, colorful Kandinsky abstract.
Learning Technique Details
There’s something special about putting pencil to paper and trying to recreate a masterpiece—it feels like stepping right into an artist’s shoes, even if they were wearing way fancier boots. Doing master artist copies is all about learning technique details, like figuring out how someone painted that magical light or pulled off those weird, textured shadows. The best part? Keep your sketches quick and loose; perfection isn’t the goal, understanding is! This approach makes it chill and low-pressure on your artistic journey. Try switching up your tools to mimic brushstrokes or experiment with colors you see. Track what you learn in a notebook. Check out the table below for tips:
| What to Study | How to Practice |
|---|---|
| Brushwork | Quick sketch sessions |
| Color choices | Swatching and mixing |
| Composition | Thumbnail drawing |
| Texture | Try different mediums |
| Emotional impact | Write reflections |
Interpreting Artistic Style
A master study is like stepping into a time machine—but instead of meeting dinosaurs, you get to hang out with legendary artists and peek over their shoulders.
When someone copies a masterpiece, they start to really see how the artist made choices that shaped their style. Master studies let artists break down the techniques, color palettes, and brushwork used by the greats.
It’s a hands-on way to understand artistic styles—no pressure to invent something wild, just a chance to practice and learn. As artists spot these little details, they start to think, “Hey, I could try that, too!”
Teachers love this exercise for building skills and sparking inspiration.
- Swirling Van Gogh skies full of motion and color
- Soft, shadowy portraits like Da Vinci’s
- Bold, contrasting shapes in Picasso’s works
- Tight, realistic details of Vermeer’s paintings
Limited Brushstroke Challenge

Imagine grabbing your favorite paintbrush and being told you only get a handful of strokes to finish a whole picture—talk about pressure!
That’s exactly what the Limited Brushstroke Challenge is all about. In art class, you might wonder why anyone would give themselves such a tough rule, but there’s actually a good reason. Limiting brushstrokes forces artists to really focus on key shapes and forms instead of tiny details.
It’s like a brain workout for decision-making! Every single stroke counts, so you have to plan carefully and use creativity to make your marks stand out.
This challenge is cool because it works with watercolor, acrylic, or gouache. It helps artists make bold, balanced pictures—and hey, sometimes less is definitely more!
Speed Drawing Sessions
Now it’s time for a real adrenaline rush—speed drawing sessions!
Embracing quick gestures, artists challenge themselves to capture a subject’s essence in just a few wild, fast-paced minutes, almost like sketching in turbo mode.
There’s no room for perfection here, just pure, rapid creativity and a race against the clock, which can lead to some surprisingly awesome results.
Embracing Quick Gestures
Sometimes, all an artist needs is five to ten minutes and a dose of boldness to kick-start creativity, and that’s exactly what speed drawing sessions are for. Embracing quick gestures means letting go of perfection and jumping right in, capturing movement and shapes before your pencil has time to second-guess.
With each round of speed drawing, confidence grows—a squiggly line becomes a lively arm, a scribble turns into an expressive face, and suddenly, mistakes feel more like happy accidents. These speedy sketches help artists become braver and more spontaneous, stretching their creative muscles without pressure.
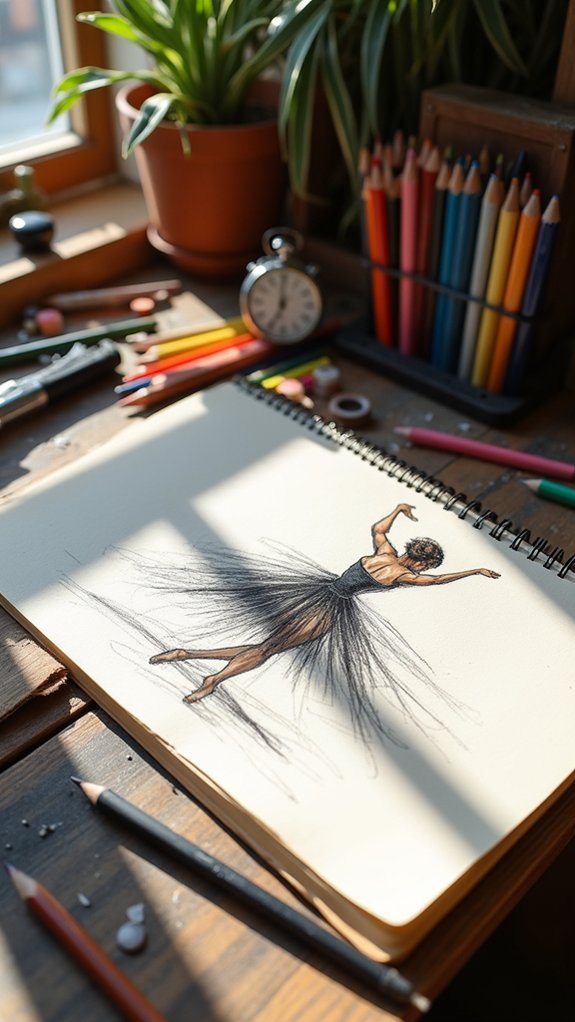
- Rapid lines chasing the flow of a dancer’s leap
- Scribbly circles becoming wild, tangled hair
- Whole pages filled with five-minute superheroes in action
- Funky, unfinished creatures popping up in every corner
Capturing Essence Rapidly
Diving into a speed drawing session feels like jumping onto a moving carousel—there’s hardly any time to overthink, and that’s the whole point.
With just 5 to 10 minutes on the clock, artists grab their pencils and race to capture the heart of a subject. Speed drawing isn’t about making a perfect masterpiece; it’s about spotting the most important shapes and features, then sketching them fast.
Think of it as a creative sprint where observational skills get a real workout. The pressure is off, mistakes are welcome, and creativity gets a boost from all the unexpected outcomes.
Regular speed drawing helps hands move faster and eyes see sharper. Plus, it’s the perfect warm-up before jumping into bigger projects—no sweat!
Curated Collage Creations
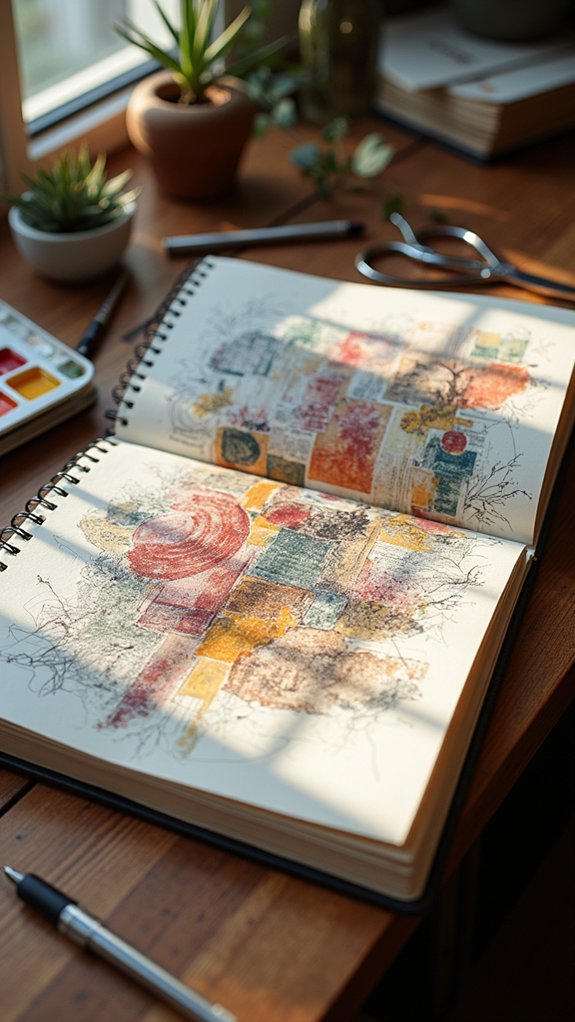
What happens when scissors, glue, and a wild imagination all land on one page? Curated collages are where experimenting takes center stage—forget pencils and paints for a second.
Instead, artists dig through scraps, collecting everything from shiny ribbons to wrinkled old ticket stubs. Mixing textures, layering colors, and piecing together random bits can spark new ideas, and maybe even a few laughs when something unexpected happens.
Collage-making isn’t just about sticking stuff down; it’s a way to unleash creative energy, tell a hidden story, or just have a blast while making art that’s totally unique.
- Soft fabric swatches echoing memories of favorite outfits
- Splashes of paint clashing next to faded comic strips
- Torn maps pointing to imaginary adventures
- Glittering candy wrappers shining alongside heartfelt notes
The Circle Challenge
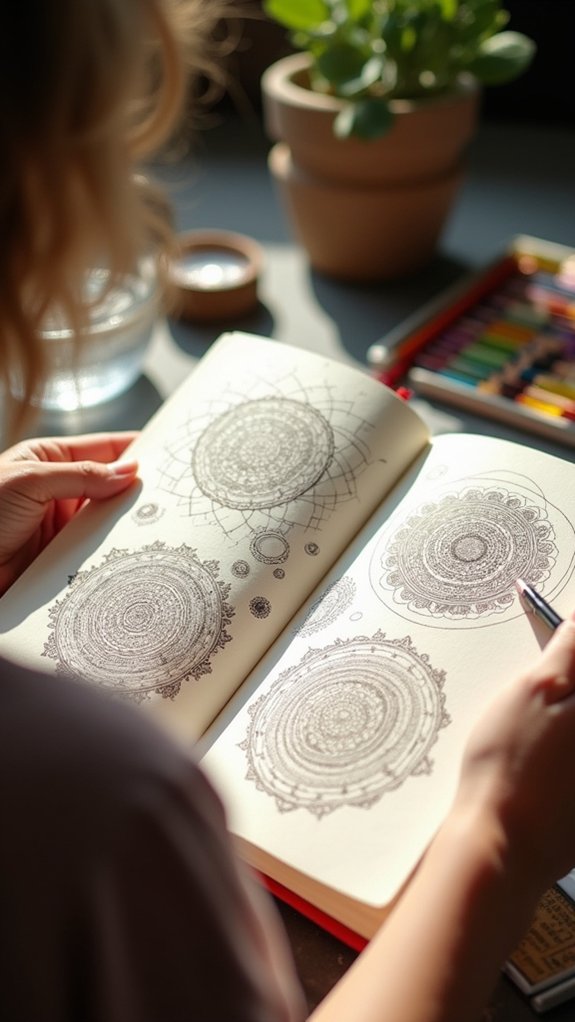
After playing with collages and letting all sorts of random scraps take over the sketchbook, it might sound impossible to go back to something as simple as a circle.
But that’s exactly what the Circle Challenge is all about. The idea is to fill a page with at least 45 circles—sounds easy, right? Not so fast! Suddenly, drawing with your non-dominant hand or switching up patterns turns this into an artistic workout.
Each circle can become a masterpiece, with wild patterns, goofy faces, or bursts of color. Some circles might wobble, but that’s part of the fun.
This challenge gets those creative muscles warmed up, making it perfect for every artist—whether you’re just starting out or basically a sketchbook superstar.
Designing a Skateboard Deck
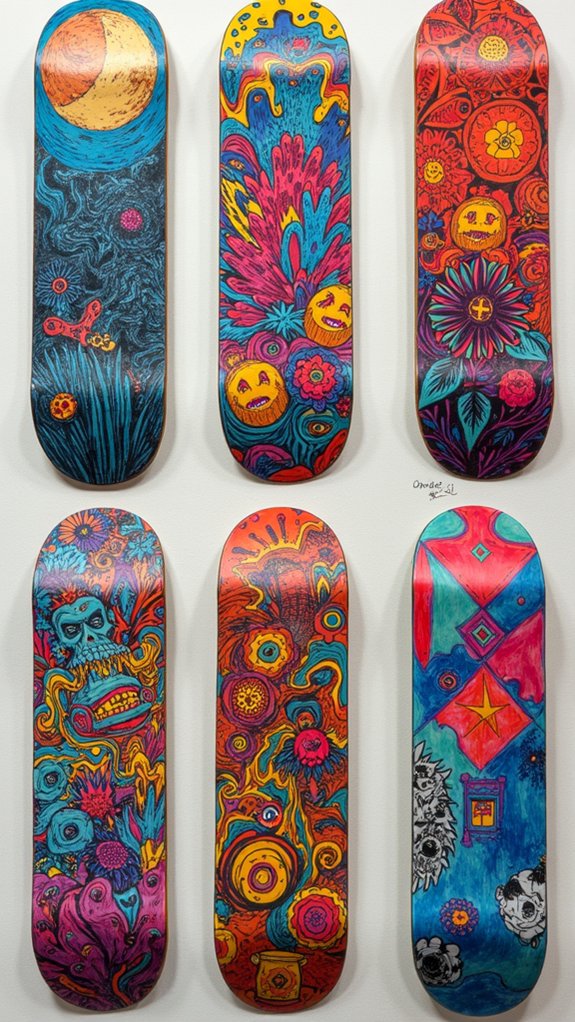
Designing a skateboard deck starts with wild brainstorming—think fire-breathing dragons, neon galaxies, or maybe a pizza party for penguins.
Picking bold color palettes makes the board really pop, so don’t be shy about mixing electric blues with cherry reds or even a splash of bright yellow.
Every wild idea has a place on a deck, and who knows, your theme might just become the next big trend at the skatepark!
Brainstorming Unique Deck Themes
Ever wonder how a plain skateboard deck gets turned into something totally eye-catching and personal? That all starts with sketching up some wild ideas for its theme!
When artists and skaters team up, Art becomes a playground for creative energy. Choosing a theme isn’t just about looking cool—it’s about making the board speak. People often draw from things that really matter to them, like a favorite band, a memorable hike, or maybe even a pet iguana with an attitude.
Throw in pop culture or wild geometric shapes and suddenly, your deck isn’t just for skating, it’s a piece of Art that rolls with your vibe.
- Thundering waves packed with detailed sea creatures
- Neon city skylines straight from an 80s video game
- Abstract shapes spinning across the wood
- A mashup of sports gear and musical notes
Exploring Bold Color Palettes
Whether someone’s into wild splashes of neon or prefers super chill pastel shades, color is where a skateboard deck can really pop off the wall—or the pavement.
Picking bold color palettes lets artists show off their style and grab attention. Think about color theory—like using complementary colors for a wild clash or keeping it smooth with analogous shades.
The shape and size of the deck matter, too. Larger decks eat up those bold tones, while tiny details shine with subtle blends.
Want extra visual appeal? Try gradients and color shifts—they add serious wow factor and give the deck more depth.
And don’t just stick to markers: experiment with spray paint, acrylics, or even vinyl wraps for cool textures.
Creativity on wheels, anyone?
Watercolor Doodle Pages
Sometimes, all it takes is a splash of color and a wild imagination to kick boredom out the window—enter watercolor doodle pages! This playful exercise is all about free expression.
Artists don’t have to stick to rules or make something perfect; they just grab their paints and start making marks, lines, or blobs. Watercolor doodle pages are awesome because anyone can try them—total beginners, or advanced sketchbook ninjas looking to warm up.
Picking a color scheme can make the whole page look more put together, kind of like picking out a cool outfit for your art!
- Swirling blue waves slip across the page, blending into soft violets
- Bursts of orange and yellow dance like flickering fireworks
- Messy stripes, vibrant and zig-zaggy, crash into dreamy splotches
- Gentle dots turn into abstract rain falling from a pink sky
Arrow Design Exploration
Arrows are way more interesting than most people think—they can zig, curve, or dive across the page like little adventure paths!
When it’s time for Arrow Design Exploration, you don’t just draw one boring arrow; you fill an entire page with wild, overlapping arrows in all kinds of shapes and sizes. An art teacher might call this a great exercise because it gets your creative gears turning, builds up your spatial awareness, and lets you play with line weights, patterns, and maybe even neon colors (if you’re feeling bold).
Experimentation is key—some arrows are skinny and quiet, others are chunky and loud, some even look like they’re doing the cha-cha. This is a perfect warm-up sketch, low pressure and maximum fun!
Song-Lyric Illustration
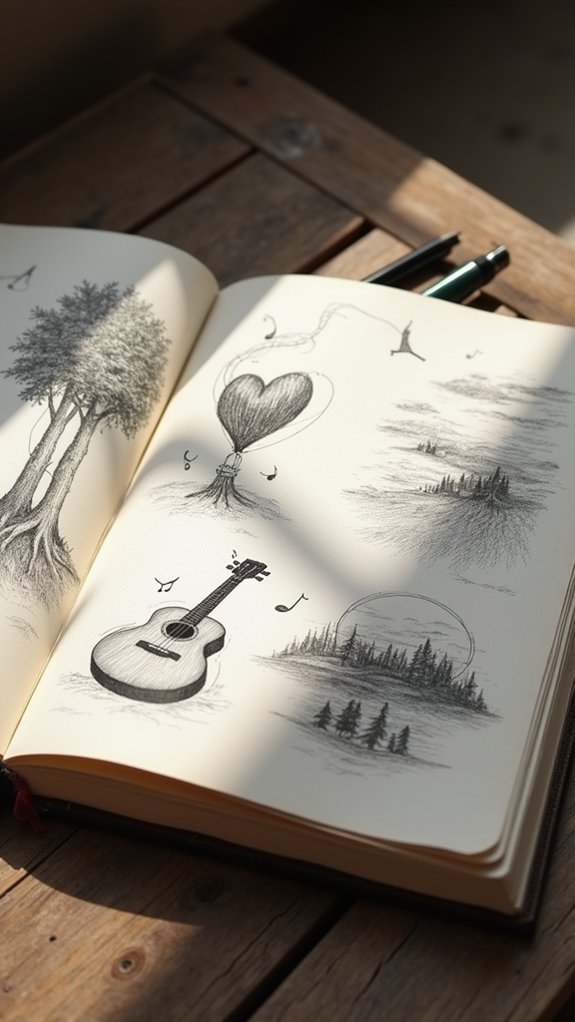
If there’s one thing that can crank up the drama in a sketchbook, it’s taking a favorite song lyric and turning it into art.
Illustrating song lyrics is like letting your imagination run wild on the page—one minute you’re hearing the words, the next you’re doodling what they make you feel! This is the perfect way to dig deeper into music and blend personal experiences with colorful visual stories.
Think of it as jamming with your pencil instead of a guitar. Artists who give this a shot get to play with different styles and materials, letting each lyric inspire a totally unique look.
Here are some ideas that might spark your own musical masterpiece:
- swirling colors to show emotion
- shadowy figures singing
- exploding hearts or broken glass
- dreamlike scenery echoing lyrics
Inside the Jar or Envelope Drawing
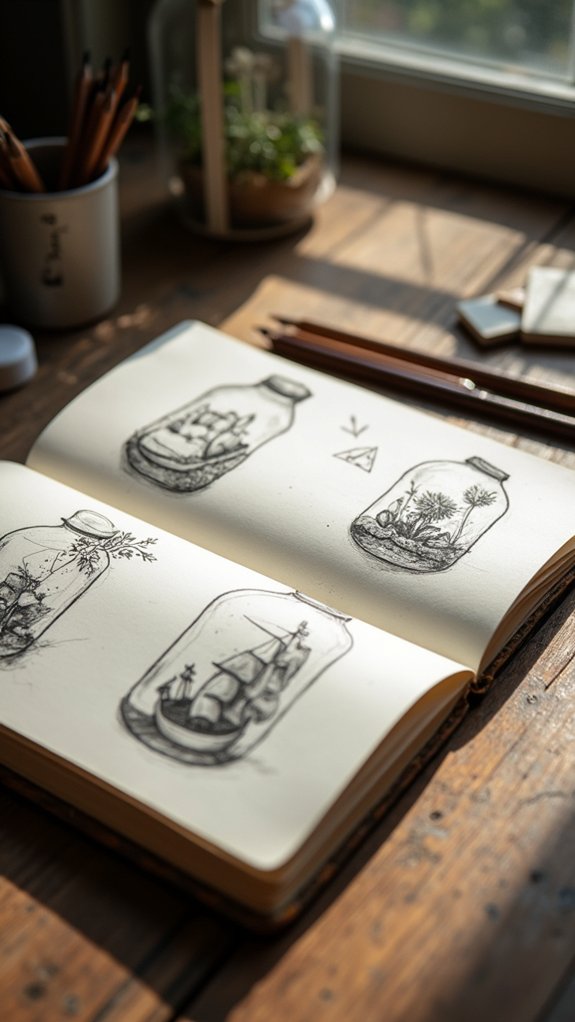
Not every drawing needs to be a giant, sprawling epic—sometimes the real magic happens in small spaces.
Drawing something “inside” a jar or envelope flips your usual sketchbook routine on its head. Suddenly, you have a limited, cozy spot for your drawing and painting experiments. It’s less overwhelming than a huge blank page, so you can focus on wild ideas.
Imagine a frog chilling with a stack of donuts in a glass jar, or a secret letter stuffed with tiny stars. When you look closely at your chosen objects, you’ll start noticing cool details—the shine on glass, the crinkles of paper.
Different styles work wonderfully here, too: from bold ink to a soft watercolor wash. Most importantly, it’s fun, quick, and endlessly surprising!
Favorite Decade Collage
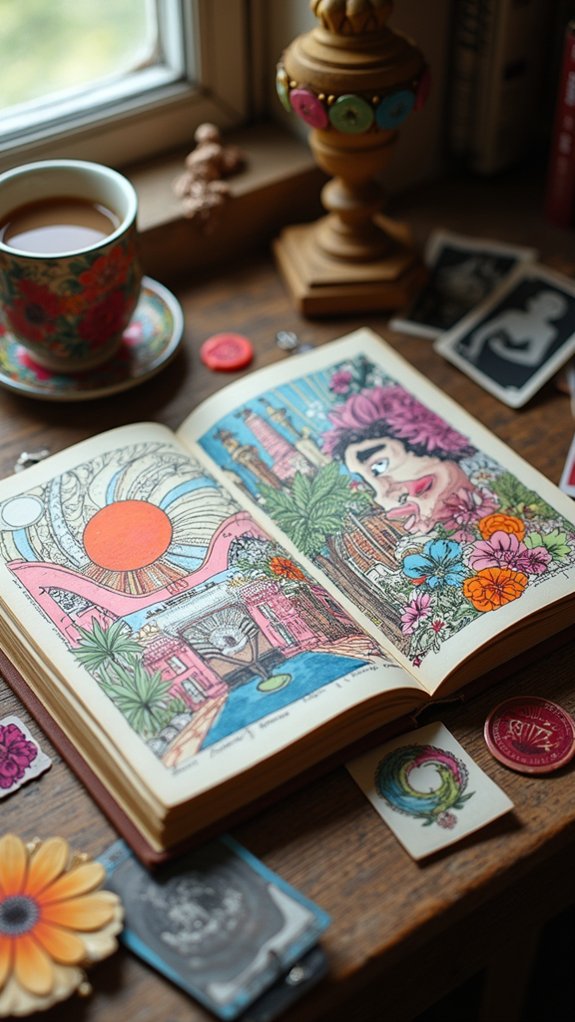
A favorite decade collage can turn a sketchbook page into a time-traveling party, packed with wild fashion, legendary music, and unforgettable trends from any era that strikes a chord.
It’s an epic way to explore great subjects—like zany ’80s hair, groovy ’70s disco balls, or grunge ’90s flannel—and stuff your page with personality. Using mixed media makes it even more awesome: you can layer magazine cutouts, song lyrics, doodles, and fabric scraps for a collage that pops with energy and nostalgia.
- Neon sneakers and jean jackets jumping off the page
- Concert tickets and cassette tape doodles jumbled together
- Psychedelic patterns swirling through illustrated hair-dos
- Bright color splashes holding hands with vintage black-and-white photos
It’s a wild, creative trip—and your sketchbook is the time machine!
Keyhole Bedroom Scene
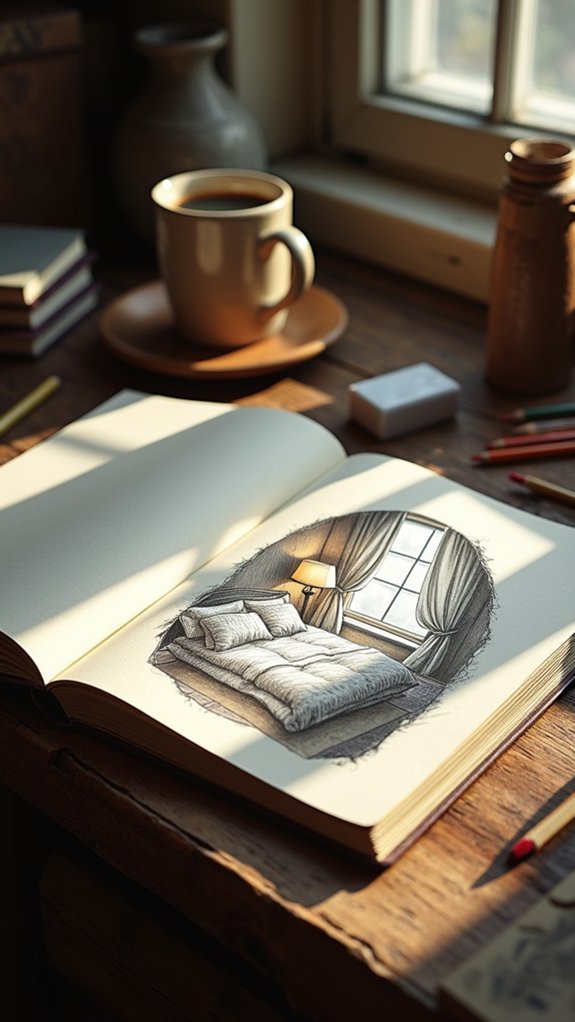
Though it might sound a little sneaky, imagining a bedroom through the peek of a keyhole instantly adds a dash of mystery to any sketchbook. Suddenly, you’re a detective looking into someone’s private world, but with pencil and paper instead of a magnifying glass.
Choosing a unique angle is key—it makes everything look a bit more secret and exciting. Don’t forget to highlight how light and shadow spill through the tiny keyhole, making parts of the room pop while others fade into mystery.
Personal details, like a favorite lamp or scattered books, help tell the story of who lives there. Try adding a pet snoozing on a bed or a half-open diary to boost intrigue. Who knew bedrooms could be so thrilling?
Frequently Asked Questions
What Can I Draw to Improve My Skills?
To improve their skills, one might practice gesture drawing, portrait studies, still life, environmental sketches, character design, animal anatomy, perspective exercises, color theory, abstract shapes, and texture exploration, each developing specific artistic techniques and observational abilities.
How Can I Make My GCSE Art Sketchbook Better?
To enhance their GCSE art sketchbook, a student can focus on sketchbook organization, clearly documenting creative processes and experiments. Emphasizing theme exploration allows for coherent, engaging visual narratives, demonstrating both technical progression and personal artistic development throughout.
What Should I Draw First in My Sketchbook?
When considering what to draw first in a sketchbook, one might explore beginner prompts or daily challenges featuring simple shapes and everyday objects. This approach fosters confidence, eases creative block, and encourages consistent practice for skill improvement.
What to Draw 100 Ideas?
When considering what to draw, one might explore a diverse list of 100 ideas, including abstract shapes, expressive portraits, botanical studies, everyday still life arrangements, architectural sketches, fantasy scenes, animal gestures, scenery thumbnails, and imaginative pattern designs.
Conclusion
Jumping into these sketchbook ideas can totally level up your art game. Some prompts might feel wild or weird at first, but that’s the fun part—just go with it. If you skip a day or your drawing looks like an alien potato, who cares? What matters is you keep exploring and learning. So grab your sketchbook, find something to doodle, and remember: every squiggle, scribble, and surprise mistake gets you closer to your own unique style.
Leave a Reply