
Want to make your sketchbook totally your own? Stack layers with fabric, tracing paper, or even magazine clippings for wild textures, stick interactive flaps and hide secret pockets, and decorate with shiny metallic tape or wild doodles on the cover. Use bold hand lettering, try crazy color combos, mix giant sketches with tiny notes, and even glue in feedback from friends. Personal style can explode on every page—curious about the 22 best hacks? Stick around for the whole adventure!
Key Takeaways
- Layer mixed materials like fabric, tracing paper, and magazine clippings to add textural depth and visual interest to your sketchbook pages.
- Personalize your cover and spreads with expressive hand-lettering, bold typography, stickers, and custom color schemes for a unique artistic identity.
- Create interactive elements such as hidden pockets, flaps, and fold-outs to make your sketchbook engaging and tactile.
- Organize ideas with themed sections and mood boards, grouping related materials and inspiration for strong visual cohesion.
- Experiment with unconventional color palettes and metallic accents to energize your artwork and highlight important design features.
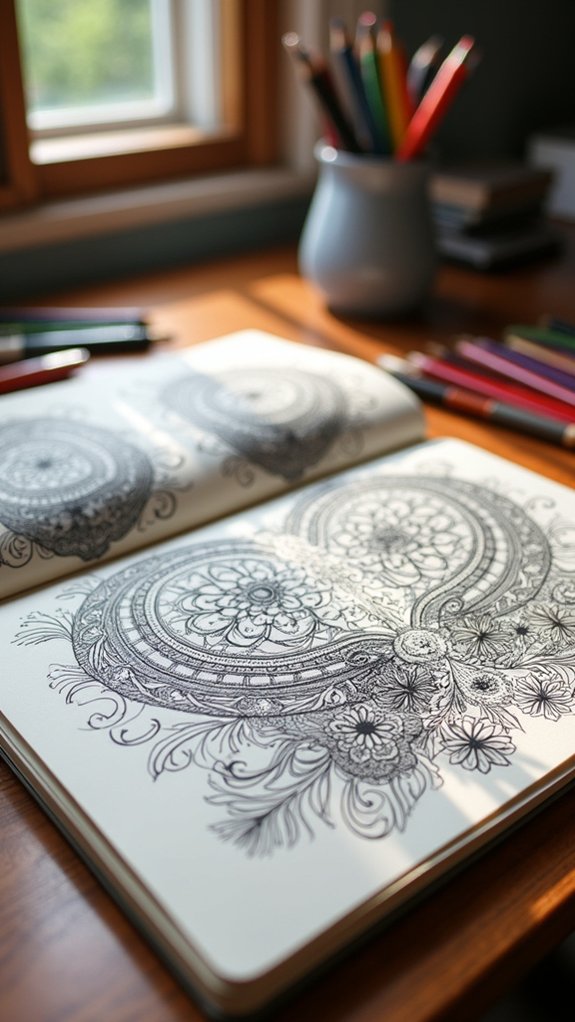
Layering Materials for Depth and Texture

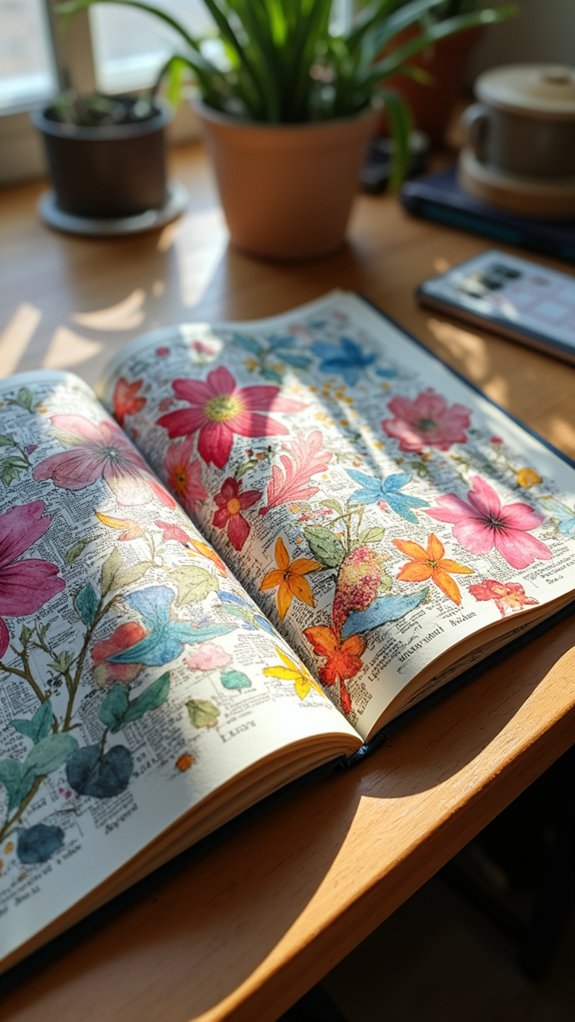
Even though a plain sketchbook page is nice, layering different materials can totally crank up the excitement. It’s like building a sandwich, but with more glitter and less peanut butter.
Mixing fabric swatches, magazine clippings, and textured papers adds crazy cool depth. Imagine shiny foil catching sunlight next to a rough, matte paper—talk about drama!
Trying watercolor paper, bumpy cardstock, or even tracing paper totally switches up the vibe and makes each page feel special.
And if you toss in envelopes or flippy fold-outs, people can’t help but touch—and peek!
Translucent layers like tracing paper or vellum create awesome mysterious effects, hinting at sketches or secret notes underneath.
Layering materials makes every page a new adventure, not just something to look at.
Creating Visual Mood Boards
When someone wants their sketchbook to really shout their style, creating a visual mood board is like giving their ideas a party to hang out at.
Visual mood boards are all about collecting stuff—images, colors, even old candy wrappers (seriously, if that’s your vibe)—to set the tone for the art ahead. Mixing in fabric scraps, magazine bits, and sketches? Instant depth and character!
Plus, digital tools like Canva or Pinterest make it easy to organize everything, so nobody gets left out of the fun. When picking things for their mood board, artists should ask, “How should this feel?” That helps keep everything on-brand and full of personality.
Here’s how to make visual mood boards awesome:
- Mix photos, textures, and colors
- Explore hand-drawn or digital elements
- Refresh the board as ideas grow
Expressive Cover Art and Personalization

After loading up on inspiration with a mood board, it’s only natural to want the outside of a sketchbook to look just as awesome as what’s going inside. That’s where expressive cover art comes in!
The cover is your blank billboard, daring the world to peek at your personality. Stickers, doodles, or even a squiggle of fabric can totally transform a plain sketchbook into something one of a kind.
Mixed media—like paint, wild marker patterns, or bumpy textures—make the cover super dynamic and totally touchable. Custom hand-lettering, like your name or a quote that screams “you,” gives it an extra power-up.
Choosing a color scheme you love sets the vibe for all your creative adventures ahead—no boring notebook vibes here!
Interactive Flaps and Hidden Pockets
Who doesn’t love a good secret hiding spot? With interactive flaps and hidden pockets in a sketchbook, every page can become a wild adventure, full of little mysteries waiting to be discovered.
Interactive flaps let anyone sneak extra sketches or secret notes underneath, making each turn of the page a surprise. Hidden pockets, made with folded paper or mini envelopes, are like treasure chests—great for stashing cool clippings or inspiration swatches you want nearby but tucked away.
Using washi tape or colorful clips adds personality while keeping everything locked down. Want to try it out? Here are a few simple sketchbook hacks:
- Vary the sizes of interactive flaps for extra curiosity.
- Use decorative tape for both security and style.
- Match materials to your overall sketchbook vibe.
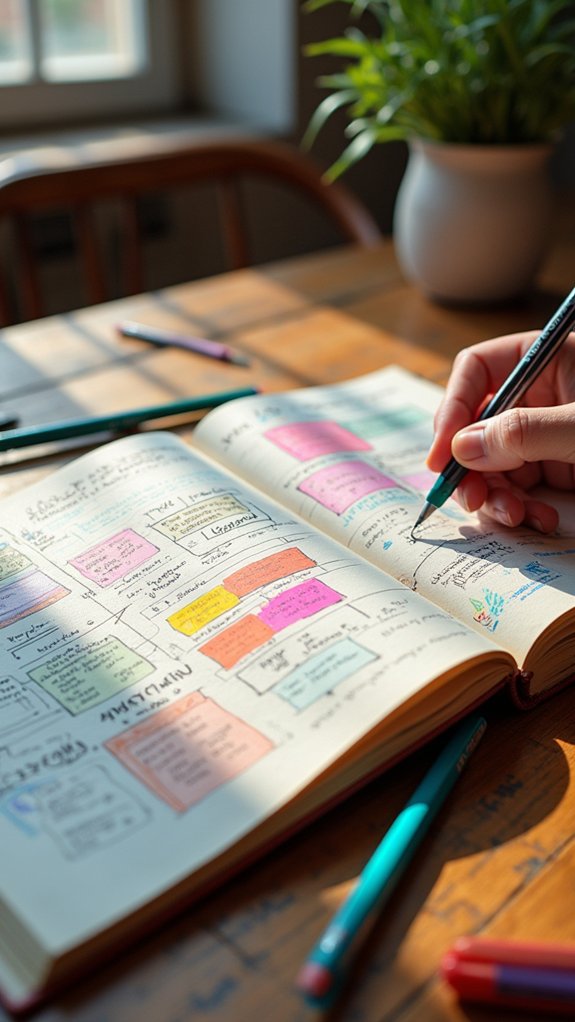
Annotating for Storytelling

Secrets tucked under flaps and pockets can make any sketchbook feel like a treasure map, but what really brings a page to life is the story swirling around each design.
Annotating for storytelling means sprinkling the pages with clear notes, little arrows, and even a doodle or two pointing out why a stripe looked cooler than polka dots or why green reminded someone of summer camp grass stains.
Designers jot down what fabrics they dreamed up, the inspiration behind their sketches, and even how their ideas changed after a teacher’s tough love.
Adding quotes, favorite song lyrics, or funny poetry can make the designs feel alive and relatable.
With these personal touches, every page becomes more than just art—it’s a window into a designer’s imagination.
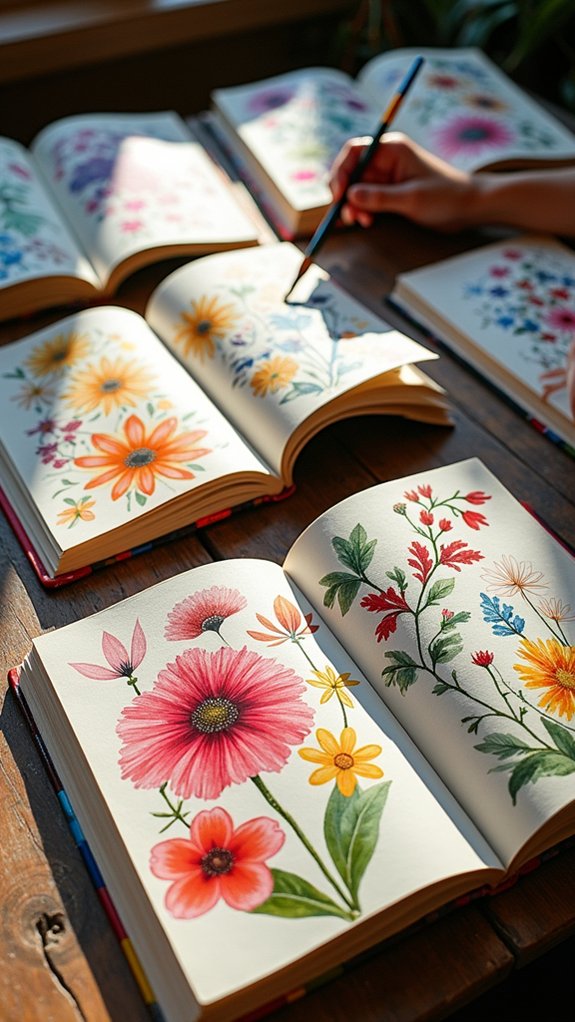
Experimenting With Unique Color Palettes
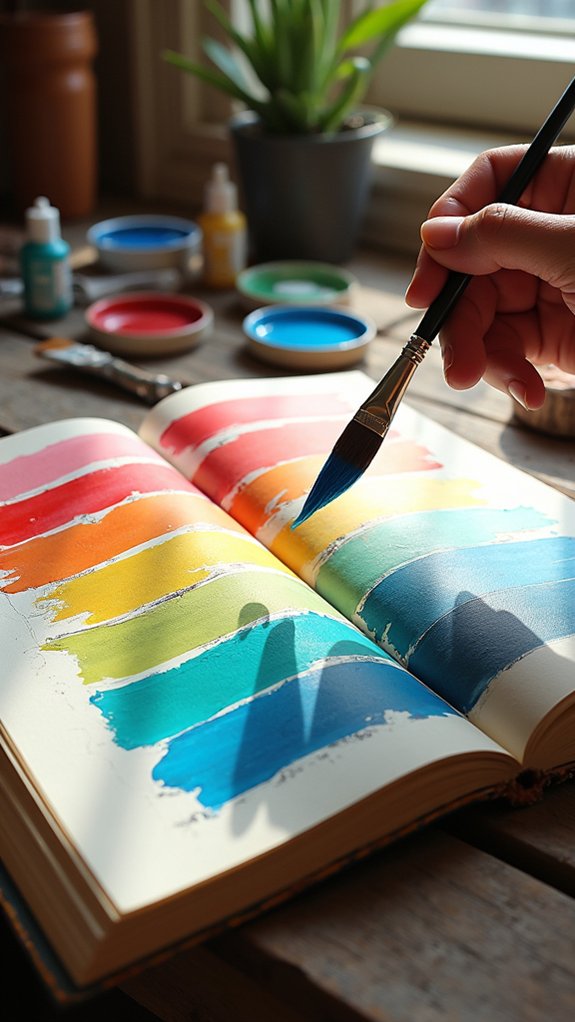
Trying out new color palettes can feel a bit wild, but it’s where some of the coolest ideas are born—think electric blue next to neon orange, or a moody gray paired with a sunny yellow.
When artists step outside their usual color choices, every sketch starts to tell its own story, letting colors shout, whisper, or even argue right on the page.
Mixing colors you’d never expect together can change everything, so why not throw the “rules” out the window and see what magic happens?
Breaking Color Comfort Zones
Ever wonder what would happen if bubblegum pink crashed a party with slime green? That’s what breaking color comfort zones is all about—letting bold, unexpected colors mingle and make magic.
It might sound wild, but experimenting with weird pairings can spark new ideas and keep sketchbooks exciting. Color theory says clashing colors can catch eyes and pack a punch, while a trusty color wheel helps find cool combos you might never expect.
Keeping a color journal? Even better. That’s like having a treasure chest for color victories (and funny fails).
- Try colors you rarely use, including soft, dreamy shades or neon brights.
- Peek at the latest fashion trends for palette inspiration.
- Log favorite combos in your color journal for future masterpieces.
Storytelling Through Color Choices
Why does a sketchbook feel so much more alive when colors do the talking? It’s like every shade tells a secret, every splash gives a feeling—sometimes more than words could ever say. Picking unique color palettes lets artists shape the mood or vibe of a page. Use color theory tricks like complementary or analogous color schemes to make art that really grabs attention and tells a story. Testing crazy color combos—think cool blues next to fiery oranges—sparks drama and excitement. Documenting what each color mix makes you feel helps for future ideas. Gluing in fabric swatches or color samples adds that extra “wow!” There’s power in those color palettes, and they help every sketch come to life.
| Mood/Themes | Color Palettes | Emotional Response |
|---|---|---|
| Adventure | Earthy + Sunset Tones | Excited, Energized |
| Calm/Peaceful | Blues + Soft Greens | Relaxed, Serene |
| Mystery | Dark Purples + Silver | Curious, Intrigued |
| Joyful | Yellow + Coral | Happy, Playful |
Mixing Unexpected Hues
Once colors start telling the story, it’s almost impossible not to get curious about what happens when totally unexpected shades team up.
Mixing unexpected hues can turn a plain sketchbook page into something wild and bold! Imagine pairing electric blue with spicy orange, or tossing in a silvery gray next to a zesty lime green—suddenly, your work jumps off the page.
It’s not just about shock value, though. Playing with unique palettes can totally change the mood, giving your style a new edge.
To take the guessing out of color collisions, try these tricks:
- Make a mood board with weird-but-fun color combos for inspiration.
- Mix fabric scraps or magazine snips to see how colors behave with textures.
- Dedicate pages to color experiments; note what works (and what doesn’t).
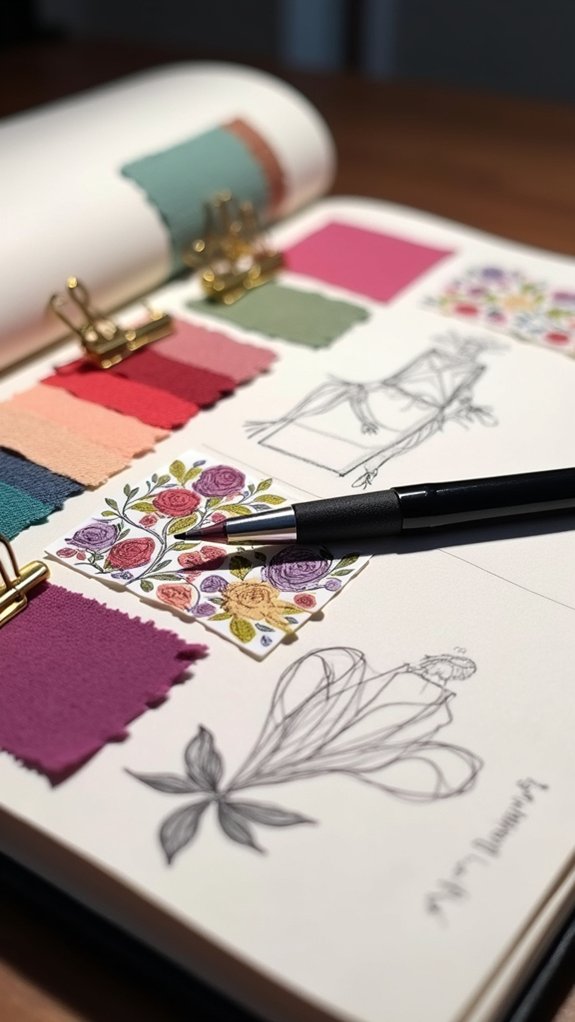
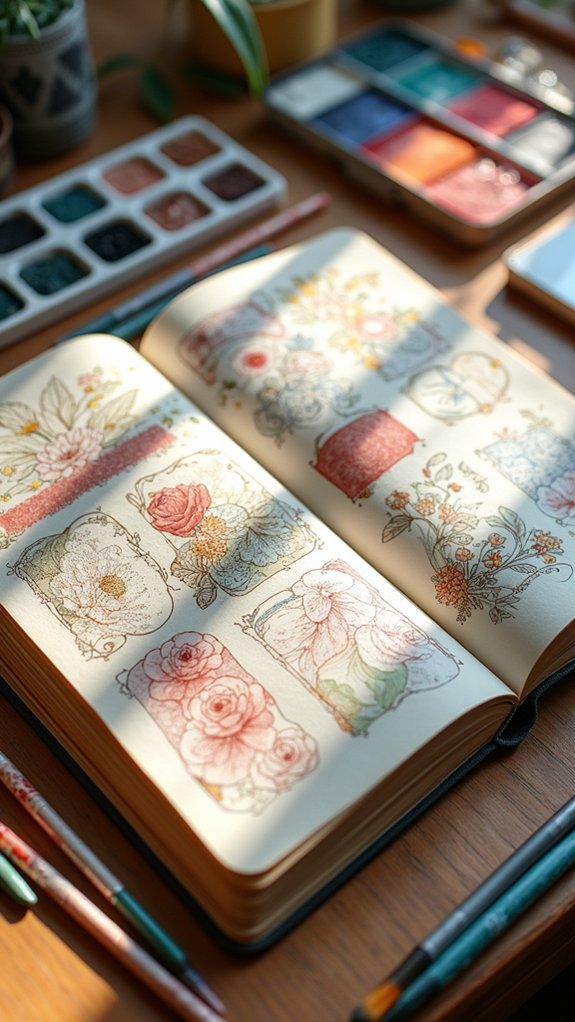
Using Fabric Swatches and Textiles
Fabric swatches aren’t just scraps—they’re the secret sauce for supercharging your sketchbook, letting you show off textures and patterns like a pro.
Picking the right ones matters, whether you’re all about wild, fuzzy layers or keeping things sleek with a bit of silk. Sticking them in, maybe even wrapping sketches with them, adds a hands-on punch that makes your ideas pop right off the page.
Selecting Swatches With Purpose
Even though picking out swatches might sound easy, there’s actually a bit of science—and a whole lot of fun—involved if you want your sketchbook to really pop.
Fabric swatches can totally transform a simple sketch, but it takes some clever thinking to make them work for your style. Consider texture, weight, and drape; you want your swatches to tell the story of your design!
Experiment with wild patterns or subtle weaves and remember, color isn’t just about what you like—it’s about setting the mood for your whole collection.
- Attach fabric swatches right next to your sketches so everyone can see your genius ideas coming to life.
- Jot down care tips and wild notes on how you’d use each swatch.
- Mix colors and textures—they’re your secret style weapons!
Layering for Tactile Interest
There’s nothing quite like flipping through a sketchbook and suddenly discovering a page that feels alive—thanks to layers of real fabric right on the paper.
Layering for tactile interest means using actual fabric swatches, from soft velvet scraps to scratchy denim, directly in your fashion illustration. This lets anyone touching the page actually feel what inspired the design process.
Want to supercharge your page? Try putting a sketch on tracing paper right over a wild, patterned swatch. The transparent layer makes the fabric underneath part of the design magic—it’s like instant depth, no special effects needed.
Using big bold cuts, tiny details, or odd shapes all create more energy on the page. Jotting quick notes next to these layers completes the story.
Integrating Textiles Creatively
Curiosity comes alive when real textiles sneak their way onto the sketchbook page. Suddenly, it’s more than just pencil or paint—it’s fabric swatches bringing colors, patterns, and actual touch to the story.
Using tiny pieces of lace, denim, or silk isn’t just for show; it’s about helping ideas jump off the paper. Layering fabric swatches gives depth and lets the textures interact with sketches, kind of like different characters in a play.
Attaching them with washi tape or clips transforms pages into playful, interactive art. If you want a creative twist, experiment with water printing on fabric swatches for wild new designs!
Try these textile hacks:
- Mix layers of fabrics for visual depth
- Use washi tape for interactive swatches
- Try water printing on swatches for new patterns
Incorporating Collages and Mixed Media
A splash of creativity can totally transform a plain sketchbook page, and nothing does it better than mixing in collages and different materials.
Building collages with fabric swatches, magazine clippings, and textured paper brings a whole new level of energy, making pages pop with color and even a little touch of “what is that?”
Layering these materials—stacking, overlapping, and letting shapes peek out—gives your artwork awesome depth and makes your sketchbook feel alive.
Mixing your own drawings with these collage pieces is like letting your imagination and the world outside have a friendly chat.
Don’t forget little notes or funny doodles beside the collage elements to explain your choices.
Suddenly, the whole page feels personal, visually exciting, and totally unique—just like you!
Contrasting Large and Small Elements
Mixing up big, bold sketches with tiny, detailed notes in a sketchbook is like putting a T. rex next to an ant—suddenly, both get a lot more interesting!
When artists balance visual scale like this, it helps the exciting stuff pop while making sure the little things don’t get lost.
This kind of contrast keeps each page looking fresh, makes the eye travel across the spread, and guarantees boredom doesn’t stand a chance.
Balancing Visual Scale
Imagine opening a sketchbook and seeing a giant, bold monster stretching across the page, while tiny, delicate stars dance all around its feet—suddenly, the whole scene just feels alive and exciting!
That’s the power of balancing visual scale in your artwork. Big, eye-catching shapes grab your attention and become heroes of the page, while the little details—like those stars—fill in the gaps and add layers of meaning.
Artists can experiment by mixing huge and tiny elements, guiding the viewer’s eye, and creating depth so every page feels like its own tiny universe.
Try these tricks to make your sketches pop:
- Layer large objects behind smaller ones for extra depth.
- Use big elements to create focus points.
- Sprinkle small details to make stories richer.
Creating Dynamic Contrast
Big monsters and tiny stars aren’t just about size—they’re about contrast, and that’s where the real magic happens on a sketchbook page.
Dynamic contrast is what makes a page pop. When artists toss in one huge, bold sketch right next to a cluster of tiny, detailed doodles, the eye zips around, never staying bored. It creates tension, like a wrestling match between giants and ants.
By layering a big shape under smaller drawings, suddenly the page has depth—almost like it’s about to leap off the paper! Whitespace is key, too; it keeps things from turning into a crowded lunchroom.
Plus, large elements can shout strength, while teensy details whisper mystery and charm. In other words: play with contrasting sizes, and let stories bloom.
Enhancing Page Interest
While some might think a page full of sketches is just a jumble, the real secret is all about playing with size. Enhancing page interest isn’t just about what you draw—it’s about how you show it.
Mixing large, eye-catching sketches with smaller details on the same page creates an exciting kind of visual ping-pong. It’s good practice to place small doodles or notes near dramatic, oversized sketches. This guides the viewer’s eye, almost like a secret treasure map, and makes every corner fun to explore.
- Layer big and small elements for extra depth—think of it as a sandwich, but for your eyes!
- Use tiny details for extra info, like mini comics or fabric notes hanging out by the “main event.”
- Dramatic size changes make even simple pages pop!
Playing With Borders and Frames
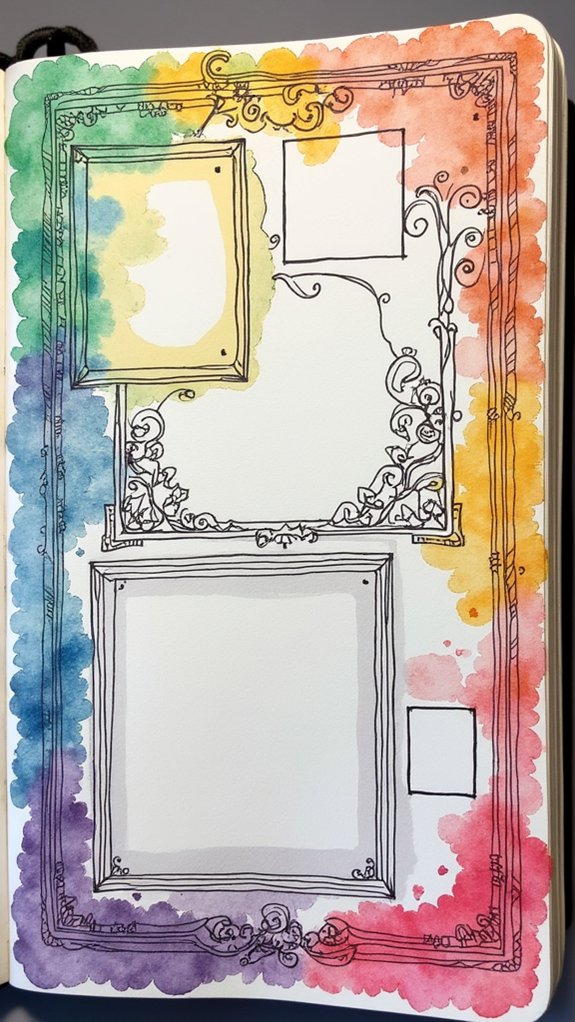
A page in a sketchbook can be a blank stage just waiting for a little drama—enter borders and frames. Suddenly, your doodles and drawings aren’t just floating in space; they’re spotlighted, front and center.
Play around with dashed borders for a comic-book effect, or slap on some patterned tape when you want a quick, cool vibe. Watercolor washes give soft edges, while magazine clippings as borders add unexpected texture.
Think about using bold, contrasting colors—they instantly demand attention but remember, the frame shouldn’t upstage the art (even if it’s a diva). Layering translucent borders, or letting them overlap, creates movement that guides the viewer’s eye.
Borders and frames aren’t just decoration—they’re a secret tool for focus and flair.
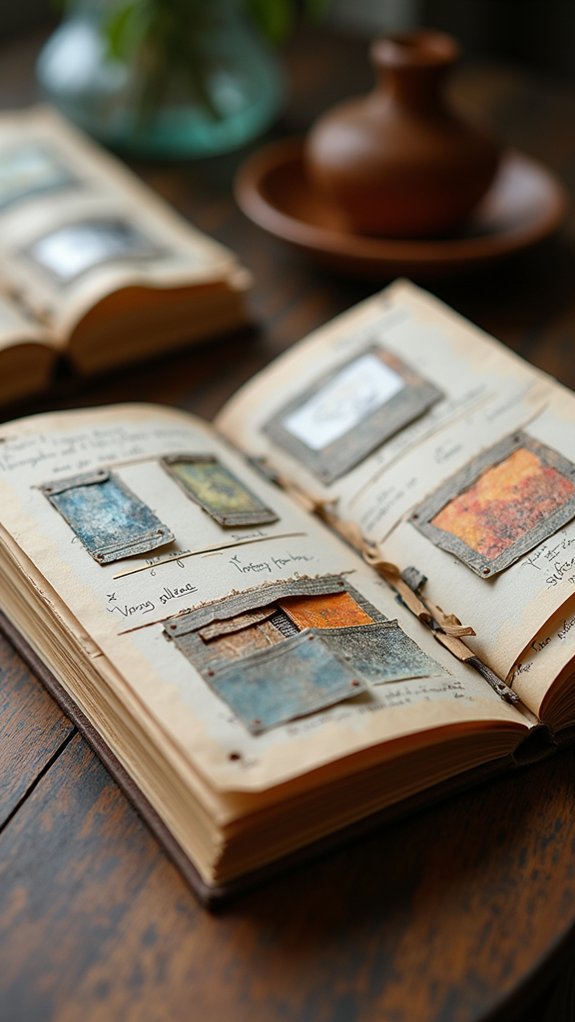
Adding Samples and Swatch Cards
Let’s be honest—sometimes color pencils and doodles just don’t cut it when you want to really see how a fabric or material will look in real life.
That’s where samples and swatch cards come in and, honestly, they’re game-changers for any sketchbook. By sticking actual bits of fabric or textured paper onto your pages, your designs jump off the paper even more.
Using adhesive or fun washi tape means these samples can be swapped and moved, so you aren’t stuck with a “forever” mistake. Staying organized also helps big time, and labeling each sample makes a future-you super grateful.
Try making a whole section just for swatches! Some quick ideas:
- Layer samples over sketches for texture magic
- Label each swatch clearly
- Swap samples using washi tape
Exploring Typography and Hand Lettering
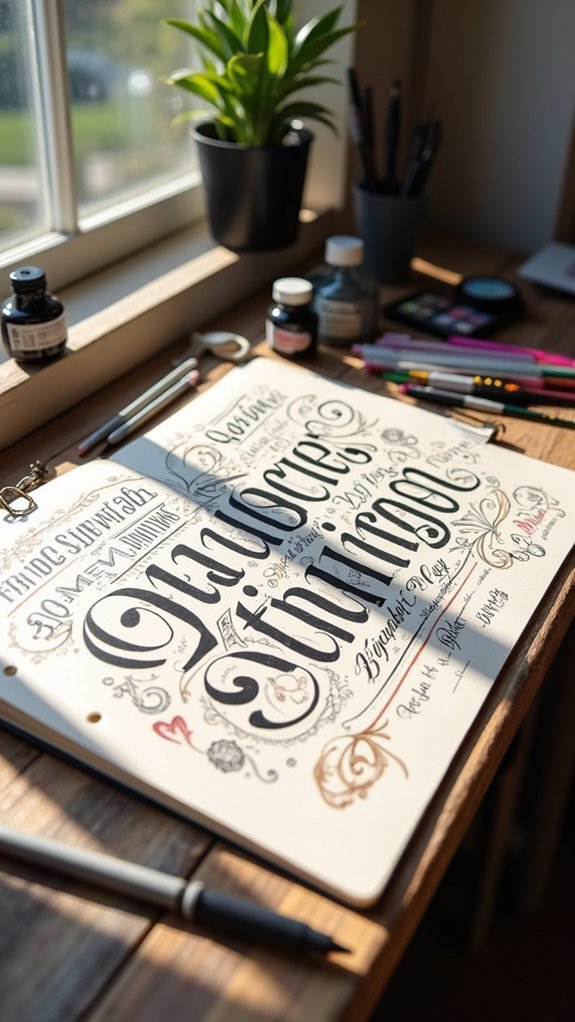
Typography brings a whole new vibe to sketchbooks, and it’s way more than just scribbling some words alongside your drawings. Trying out different fonts and hand lettering styles really jazzes things up—your sketchbook pages start showing off your personality big-time. Mixing in calligraphy or brush lettering can make titles and notes look extra fancy, almost like you’re stepping up your art game. Want your ideas to pop? Use bold or giant letters for big concepts and tiny ones for the little details. It’s cool how layering words and pics makes everything more dynamic, like a mini comic. Plus, the more you practice, the snazzier your handwriting gets! Here’s a table of ideas:
| Idea | How It Adds Style |
|---|---|
| Block Letters | Bold, attention-grabbing |
| Brush Hand Lettering | Fluid, artistic vibes |
| Calligraphy Titles | Fancy and formal look |
| Layered Text + Art | Dynamic, story-book feel |
| Contrasting Font Sizes | Highlights what matters most |
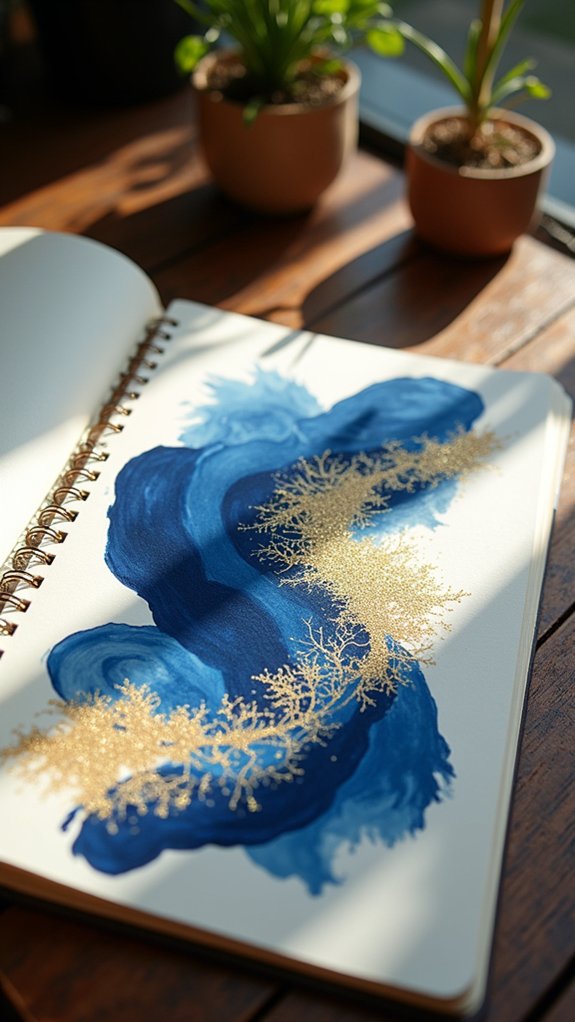
Highlighting With Reflective and Metallic Accents
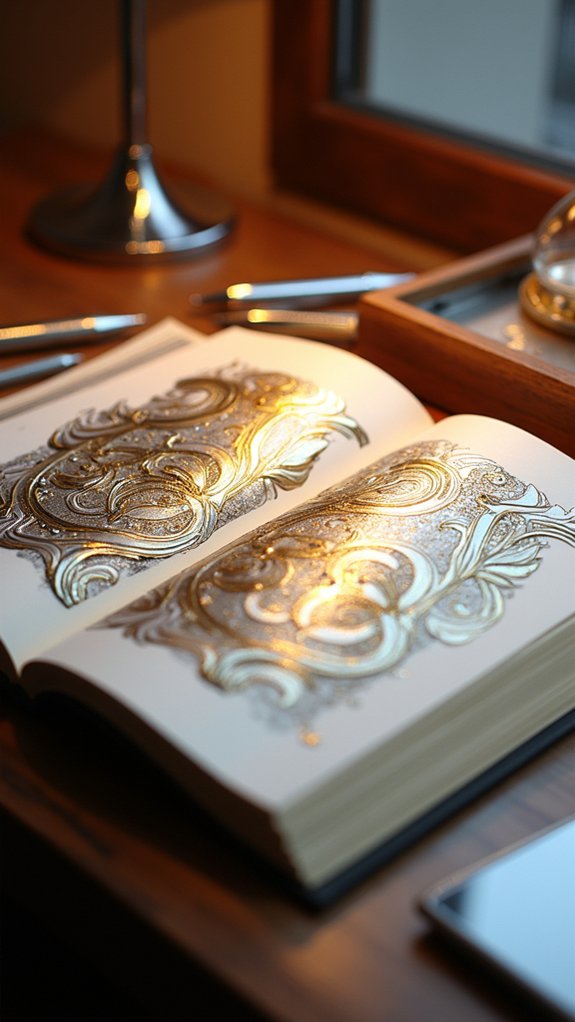
Metallic washi tape isn’t just for jazzing up your phone case; it makes sketchbook pages pop too, especially when used as shiny borders or section dividers that catch the light.
Layering on some reflective foil adds an eye-catching, almost magical effect, making parts of your design jump out and dare people not to stare.
If anyone says sketchbooks can’t have bling, they clearly haven’t tried these tricks yet!
Using Metallic Washi Tape
Out of all the tricks hiding in an artist’s toolkit, a shiny roll of washi tape can feel like a secret weapon just waiting for its big moment.
Metallic washi tape doesn’t just sit in your pencil case looking pretty—it turns otherwise ordinary sketches into sparkling masterpieces. The reflective shine grabs attention, making borders and highlights practically jump off the page.
Whether you’re framing notes so no one misses your thoughts, adding texture for some eye-popping layers, or using it to emphasize the coolest parts of your design, this tape brings your style to life while keeping things totally low-stress.
- Experiment with contrasting patterns and widths for unique accents.
- Use tape to draw eyes to annotations or important design doodles.
- Easily remove and reposition metallic washi tape without damaging paper.
Reflective Foil Layering
While a regular sketch might quietly tell its story on paper, adding reflective foil is like flipping on the spotlight—suddenly, everything pops.
With reflective foil layering, even a simple doodle can feel like it’s ready for center stage. It’s all about catching light where you want attention, whether that’s a dragon’s wing or the margin of a thoughtful quote.
Using metallic accents against plain, matte backgrounds creates bold contrast—think superhero shimmer versus everyday pencil.
Adhesive foil sheets or craft glue let you layer the reflective foil easily over your artwork for instant depth and texture. Silver, gold, or even holographic foil can match your mood, giving sketches an extra edge.
These shiny highlights pull the viewer in, making each page interactive—and just a little bit magical.
The Power of White Space

Every sketchbook artist knows that sometimes, the empty spaces say just as much as the drawings themselves—maybe even more!
White space is like the silent hero of a sketchbook page. It offers your eyes a place to chill, making the art pop even louder. When there’s enough blank space, it’s way easier to notice what matters most—like a spotlight for your ideas or cool designs.
Quality white space can make your sketchbook look way more organized, and it even gives your brain a chance to come up with new ideas later on.
Want to make the most of white space? Try these tricks:
- Let sketches breathe by avoiding cluttered layouts
- Use empty areas as spots for future notes or doodles
- Highlight main elements by surrounding them with clean space
Layered Transparent Pages
Layered transparent pages take things up a notch, especially when using cool materials like acrylic sheets for extra depth, or overlapping tracing paper for that secret peek-a-boo effect.
Imagine stacking sketches or notes so they appear and disappear as you flip—almost like your ideas are playing hide and seek!
With these tricks, every page turn turns into a little surprise, keeping both you and anyone looking through your sketchbook on their toes.
Acrylic Sheets for Depth
Some sketchbooks look pretty ordinary—until someone sneaks in acrylic sheets and turns every page into a mini adventure.
Adding acrylic sheets gives a little bit of mystery and a whole lot of depth. Each transparent layer acts like a secret window, showing off sketches, fabric scraps, or wild doodles underneath.
Suddenly, regular pages become interactive, almost like flipping through invisible doors where ideas peek through. These sheets are tough, so go ahead and slap on paint, ink, or stickers. They won’t freak out or warp one bit.
- Play with different acrylic thicknesses for overlays that range from soft whispers to loud, bold statements.
- Secure each sheet with washi tape for style points and easy flipping.
- Layer sketches, colors, and textures for a 3D story-in-a-book effect.
Overlapping Tracing Paper
Although tracing paper might look like something snatched from a math class, inside a sketchbook, it’s pure magic. Overlapping tracing paper gives artists superhero-level powers—it’s all about layering ideas without erasing what’s underneath. Imagine testing new outfits on a character drawing, or adding wild hair, with just a flip of a see-through page. Each sheet adds depth, kind of like turning your sketchbook into a comic strip with secret backgrounds. Using different weights amps up the fun, letting artists show off textures from silky fabrics to chunky knits. Plus, writing notes or sticking swatches on transparent pages keeps the creative process clear.
| Technique | Effect Created | Best For |
|---|---|---|
| Layering designs | Depth and complexity | Fashion, comics, doodles |
| Annotations | Easy brainstorming | Quick idea swaps |
| Opacity control | Texture simulation | Fabrics, materials studies |
| Swatch overlays | Instant samples | Fashion illustration |
| Adjusting layouts | Non-destructive edits | Iterative improvements |
Photograph Integration and Backgrounds
When a sketchbook starts to feel a little flat or maybe just too “same old, same old,” it’s time to shake things up by bringing in photographs.
Imagine layering a shot of city streets behind your latest fashion sketch, or blending a dreamy sunset into your character’s background. Photograph integration is like a magic ticket—it instantly adds depth, gives context, and makes your pages pop with personality.
Think about what happens when transparency is tweaked: the photos and sketches swirl together, creating an almost ghostly effect. Layering and placement matter, too. Photos can lead the viewer’s eye across the page, creating flow and movement.
Try these simple ideas:
- Use travel shots as inspiration for backgrounds
- Layer images behind favorite designs
- Adjust transparency for cool blending effects
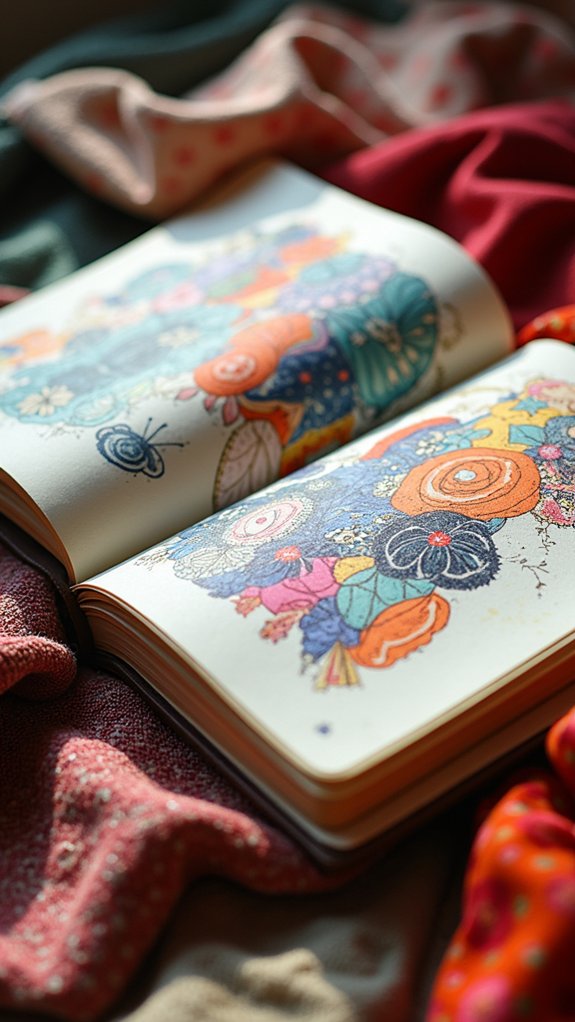
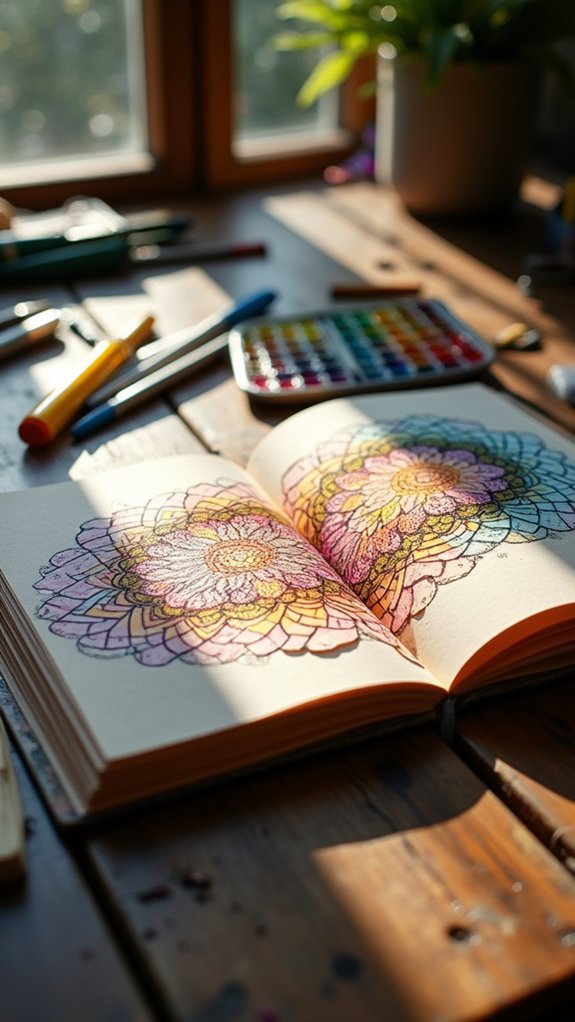
Personal Motifs and Pattern Exploration
Right after using photos to make those sketchbook pages come alive, there’s another way artists can crank up the originality—personal motifs and patterns.
Personal motifs could be anything: a favorite animal, that secret symbol you doodle everywhere, or even your favorite snack (pizza patterns, anyone?).
When artists explore patterns, they experiment with different fabric designs, shapes, and lines, pushing their style further each time. Using markers and watercolors adds texture and energy.
And let’s be honest, a splash of bold color never hurt anyone! Keeping those patterns in a similar color palette ties the entire page together, making everything pop in the best way.
Throw in some quick notes about what inspired each pattern—like a favorite shoe or a wild dream—and the page gets even more personal.
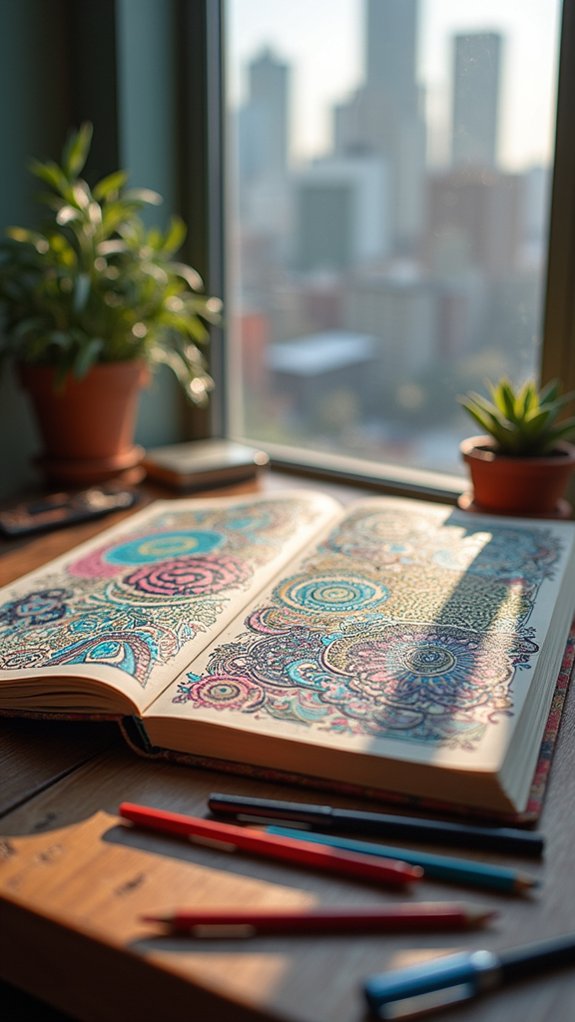
Themed Sections for Cohesion
Organization can work like magic in a sketchbook. Themed sections are a smart way to capture your creative ideas while keeping everything neat and easy to follow. Instead of tossing designs onto random pages, group them by concept—think “dreamy scenery,” “wacky creatures,” or “bold fashion.”
Each themed section tells its own story, and suddenly your sketchbook feels like an epic graphic novel about YOU.
To make themed sections shine:
- Sprinkle in fabric swatches or bumpy paper for texture—no one can resist a page you want to touch!
- Start each section with an inspirational spread to set the vibe (think mini mood board).
- Jot down notes or scribbles to explain your wild thinking—it adds soul, and it might even make future-you laugh!
Vertical and Horizontal Layout Dynamics

Layout magic isn’t just for fancy magazines—it can totally change how a sketchbook feels, too.
Playing with vertical and horizontal layout dynamics is like giving your pages secret powers! Vertical layouts shoot your eyes up and down, instantly making things look taller, more active, and even a little bit dramatic. Think skyscrapers or superhero jumps!
On the other hand, horizontal layouts chill things out—they make sketches seem grounded and balanced, kind of like a peaceful scenery or a group photo.
The real fun happens when both layout styles are mixed together. This combo guides the viewer’s eyes all around the page, keeps the mood interesting, and makes flipping through the sketchbook feel like a real adventure—no teleportation required, just clever layouts!
Sequential Process Spreads
Crack open a sketchbook and it’s almost like flipping through a comic strip of someone’s brain—especially when it comes to sequential process spreads.
These spreads aren’t just collections of random doodles or scattered thoughts; they actually show the story of an idea from that wild first spark to something ready for the spotlight. By making each step crystal clear and popping in helpful labels, anyone can track how a design takes shape.
Mix in rough sketches, cool color swatches, and lots of detailed notes. Don’t be afraid to mess with different layouts—it could be a neat grid or a loopy timeline.
To really level up, sneak in fabrics or textured pieces! Some ideas for memorable sequential process spreads include:
- Clearly labeled steps for tracking progress
- Playful mix of sketch styles and annotations
- Tactile elements like fabric or textured paper
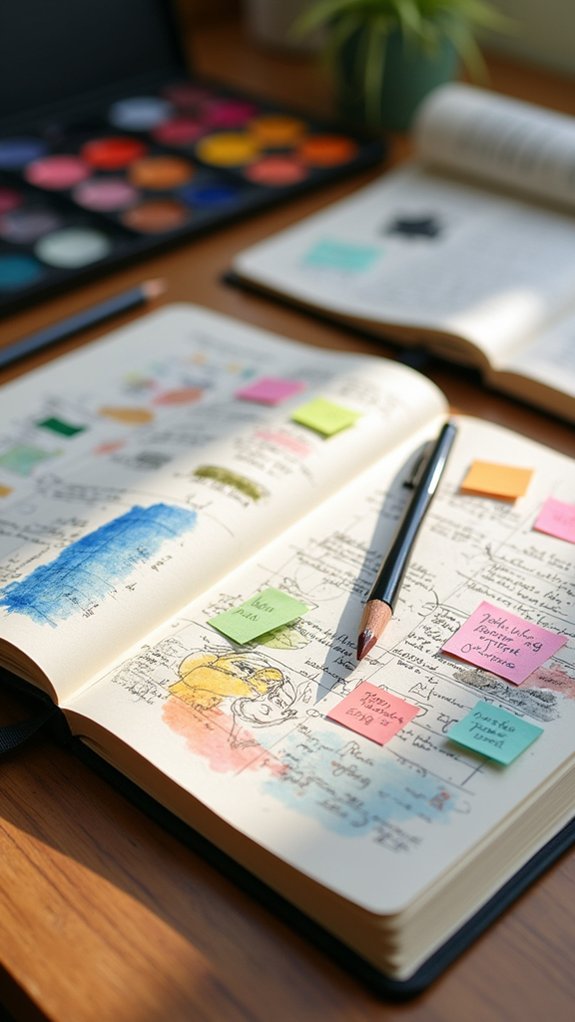
Incorporating Constructive Feedback Visually
Sometimes, even the coolest idea in a sketchbook needs a reality check—kind of like when someone points out you have spinach stuck in your teeth before a big presentation. That’s where constructive feedback comes in, turning awkward moments into awesome growth.
One clever hack is to glue in feedback notes from friends or teachers, making your sketchbook look like a visual conversation. Colored pens help show what’s original and what’s suggested, so nothing’s confusing.
Even cooler? Dedicating pages just for reflecting on critiques, where you can map out new ideas or changes you want to try. Toss in fabric swatches or inspiring pictures to directly show how feedback impacts your work.
Layer feedback right on sketches, or create flippable pages for fun interactivity!
Storyboard Techniques for Visual Flow
Flip open a sketchbook and suddenly it’s like stepping into an animated world where every scribble is part of a bigger adventure.
That’s what storyboard techniques are all about—making each page flow into the next, almost like you’re watching your ideas march toward the final project.
Think of your sketchbook as an action-packed comic strip with a few clever tricks hiding behind the paper! Interested in making your own masterpiece?
Try these fun hacks:
- Add flippable sections or tabs for surprise reveals and interactive storytelling.
- Layer sketches, cutouts, and materials to show movement or a dramatic scene change.
- Mix up page layouts—vertical, horizontal, even sideways—to keep viewers curious and moving through your story.
A little creativity goes a long way on your quest for visual flow!
Frequently Asked Questions
How to Make a Sketchbook Look Better?
To make a sketchbook look better, one could focus on Creative Covers, enhance visual appeal with diverse textures, incorporate varied materials, and maintain a unified color palette throughout, resulting in a more engaging, polished, and visually compelling presentation.
How to Make Your Sketchbook Not Boring?
To avoid a boring sketchbook, one might introduce Creative Covers, varied textures, and interactive elements such as pockets. Experimentation with diverse mediums and thoughtful annotations can further enhance engagement, making each page visually dynamic and personally meaningful.
How to Make a Fashion Sketchbook?
When creating a fashion sketchbook, one should gather fashion inspiration, organize themed sections, and utilize varied materials for texture. Incorporating mood boards and annotations effectively documents the design process and enhances the overall creative narrative.
How to Make Your Sketchbook More Interactive?
When considering how to make a sketchbook more interactive, one might utilize Interactive Pages by incorporating tactile materials, flippable components, transparent overlays, and embedded digital elements, inviting viewers to actively engage and explore layered content within the sketchbook.
Conclusion
With these 22 sketchbook hacks, anyone can turn a plain notebook into a playground for creativity and personal style. It’s not just about making pretty pages—it’s about experimenting, telling your story, and having a blast along the way. Try out some wild layering, secret pockets, or even a funny doodle on the cover. Remember, there are no sketchbook police, so go wild! Your sketchbook, your rules—now go make something awesome happen!
Leave a Reply