
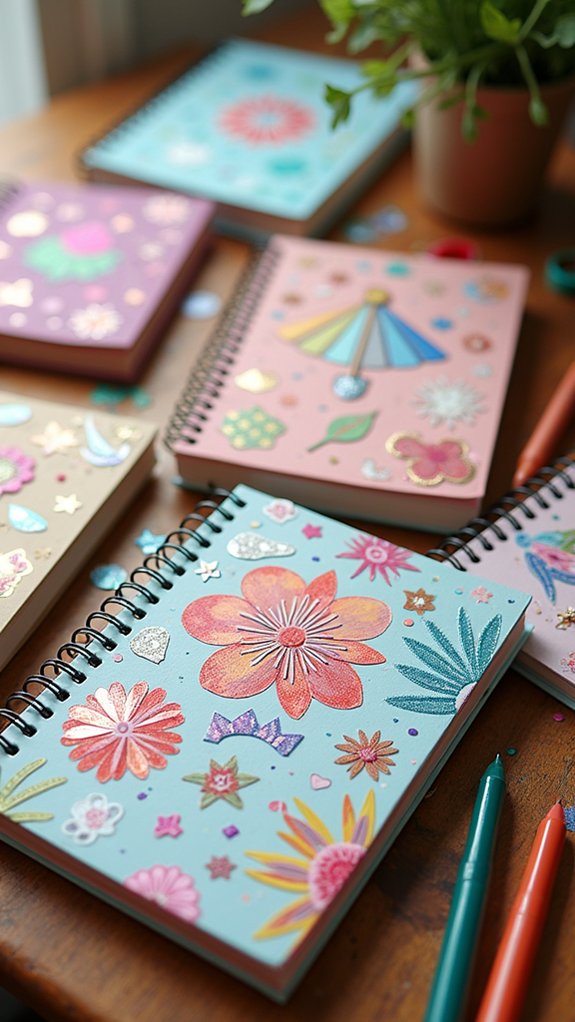
Decorating a sketchbook cover is a blast with so many cool techniques to try! Stickers and homemade decals add instant personality, while magazine scraps and patterned paper collages turn covers into wild art experiments. Acrylic paint brings bold color, and paint pens or doodles take it up another notch. Stamps, cut-outs, and even fabric scraps can create awesome textures, and everything stays put with a layer of varnish or Mod Podge. Want more wild ideas? Stick around—things get creative fast!
Key Takeaways
- Use custom stickers or homemade decals for a quick, personalized touch and seal with varnish to protect your design.
- Create patterned paper collages from magazine scraps or doodles and layer with paint or stickers for added texture.
- Paint bold designs with acrylics, layering colors for vibrancy, and finish with varnish to safeguard against wear.
- Stamp patterns or motifs onto the cover using acid-free ink, combining them with collages or paint for depth.
- Add texture by gluing felt, fabric, or embellishments, then seal with Mod Podge or varnish for durability.
Decorating With Stickers and Custom Prints
There’s something almost magical about giving a plain sketchbook a new personality with stickers and custom prints. Seriously, it’s like handing your notebook a new wardrobe and letting it strut down the hallway!
Stickers come in all shapes and sizes, so you can pick ones that totally match your style—or even your current mood. If nothing on the store shelves feels quite right, custom stickers are easy to create online through places like Society6 or Redbubble.
Prefer to get crafty? Grab some sticker paper or printable vinyl and design your own masterpieces. For something extra sturdy, acid-free scrapbooking stickers will keep your cover looking fresh.
Seal homemade stickers with varnish to help them survive backpack battles and lunchtime spills. Decorating your sketchbook has never been this fun!
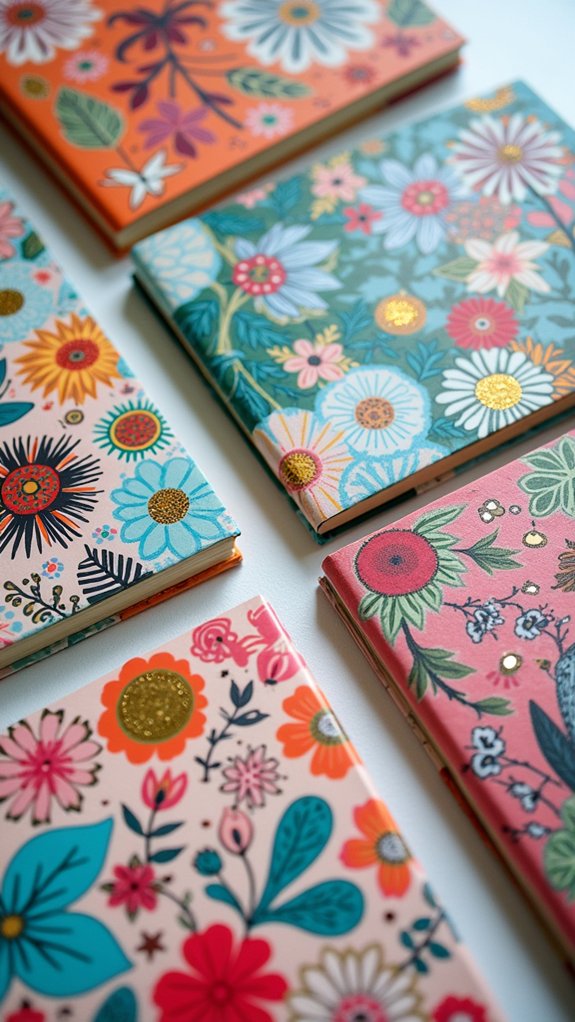
Creating Patterned Paper Collages
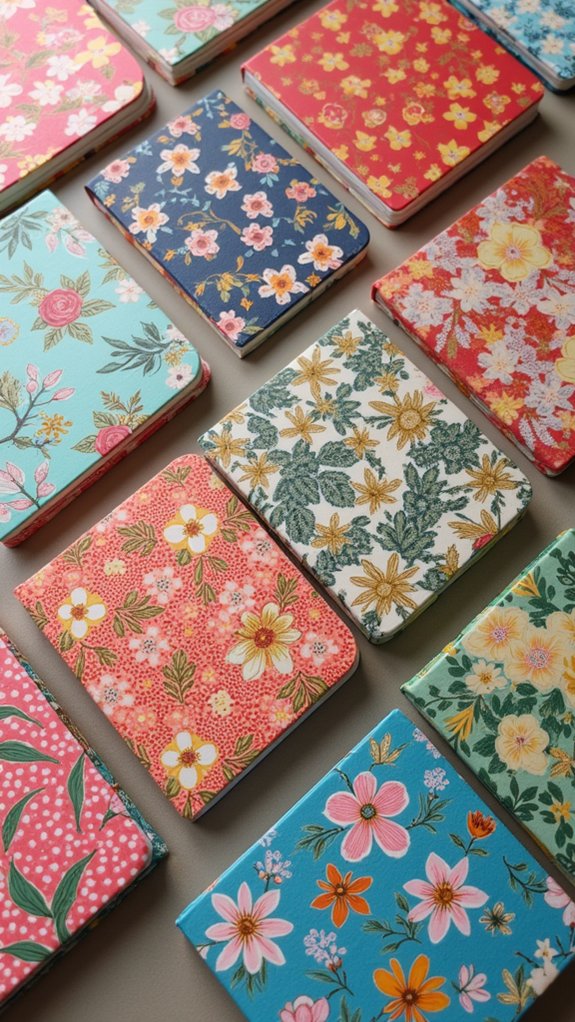
Some sketchbooks end up looking like total masterpieces just from the covers alone, and patterned paper collages are one wild way to make that happen. When making a collage cover, gather scraps from magazines, wrapping paper, or even random failed doodles. Tear them up—or cut them nicely if messy chaos isn’t your style—and get ready to create. Measure that sketchbook cover so your pieces fit perfectly and aren’t awkwardly hanging off the edge. Use glue on both the cover and on top of the patterned paper to stick stuff down tight. If you’re worried about your masterpiece taking damage, finish with a protective varnish. Here is a table to spark your creativity:
| Patterned Paper Types | Collage Ideas |
|---|---|
| Scrapbooking leftovers | Geometric patchwork |
| Newspaper clippings | Vintage journaling |
| Wrapping paper | Colorful tile mosaic |
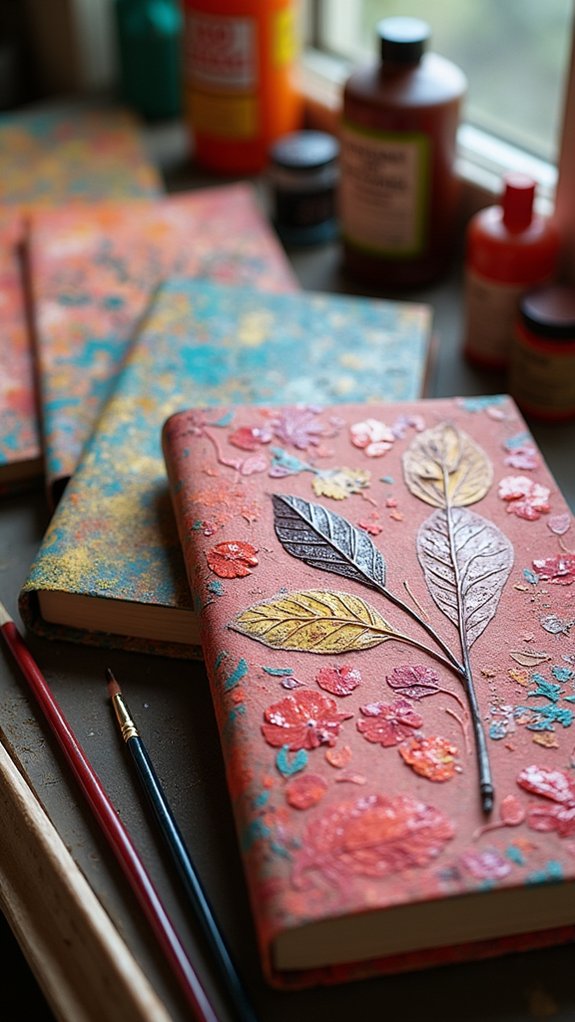
Painting With Acrylics for Bold Designs

Painting bold designs with acrylics means you get those super eye-catching colors, but sometimes it takes a few layers to really make them pop—nobody wants a see-through sun or a ghostly rainbow!
Once the paint looks solid, adding a coat of varnish is like putting a shield over your masterpiece, guarding it from smudges, scratches, and the random spills that life seems to throw at sketchbooks.
If you’re aiming for art that lasts through backpack adventures and the occasional snack attack, layering and varnishing are your new best friends.
Layering for Opacity
Dive straight into bold sketchbook decorating by learning the magic of layering with acrylic paint, especially when starting with a jet-black cover.
Getting that super-bright, eye-popping look is all about layering for opacity—one coat just won’t cut it when you’re going for a seriously cool cover design. Start with a solid base color; think of it as your blank canvas, but way more exciting.
Let that dry, then go wild with more colors and bold shapes—flowers, patterns, or whatever screams “you!” The hard cover of a sketchbook is perfect, staying flat while you layer and re-layer those rich colors.
Some types of acrylic paint dry permanent, others don’t, so picking the right kind is almost as important as your wildest paint ideas!
Varnish for Durability
After all those vibrant layers of acrylic paint have dried in wild patterns and colors, it feels almost impossible not to show off that bold sketchbook cover everywhere. But before tossing it in your backpack, think about adding a coat of varnish. Varnish acts like a superhero shield for durability, protecting those wild designs from scratches, spills, and even sunlight. Choosing between matte, satin, or glossy varnish lets you pick how shiny (or not) your art turns out. Just don’t rush—always let your acrylic paint dry completely first. Ever heard of spray varnish? It’s awesome for even coverage, zero brush marks! Here’s a handy comparison table to help you out:
| Type of Varnish | Finish & Use |
|---|---|
| Matte | No shine, subtle art |
| Satin | Light sheen, soft look |
| Gloss | Super shiny, bold |
| Spray | Even, fast, no streaks |
Enhancing Covers With Paint Pens
Picking the right surface is a huge deal when it comes to using paint pens—some sketchbooks just suck up the color like a sponge, while others let it float on top (which can get messy fast).
Once the right base is sorted, the real magic happens with layering: paint pens make it easy to stack bright colors and sneak in tiny details, especially if colored pencils join the party.
The best part is seeing the design come to life with every layer, turning an ordinary cover into something totally unique.
Choosing the Right Surface
The surface of a sketchbook cover can make or break your entire decoration plan—seriously, it’s that important! Next time you reach for a sketch book, consider this: the kind of cover you pick can really change how your paint pens perform. For example, I’ve been using craft colored sketchbooks because they soak up paint way better, so your lines stay crisp and smudge-free. Meanwhile, glossy black hardcover sketchbooks look cool, but paint sits on top and smears easily, unless you use a fixative afterward (it’s almost like magic). Here’s a quick breakdown:
| Surface Type | Paint Pen Performance |
|---|---|
| Craft Colored | Absorbs, less smearing |
| Smooth Black | Sits on top, smears |
| Textured | Rich, personalized |
| Glossy | Needs fixative |
Choose wisely!
Layering Colors and Details
When it comes to making a sketchbook cover totally pop, layering colors with paint pens is like performing a magic trick right under everyone’s nose.
With a few Posca paint pens and a little bit of patience, anyone can bring one design from “pretty cool” to “whoa, did you really draw that?” By carefully letting each layer dry—seriously, don’t rush unless you want a colorful mess—artists can stack bright colors or bold outlines for crisp, eye-grabbing results.
Mixing in colored pencils adds texture, giving depth so the artwork doesn’t look flat. Once everything’s dry, a good spray fixative is key; it locks in those details before they can smudge.
If I’m going for a wow factor, layering is the way!
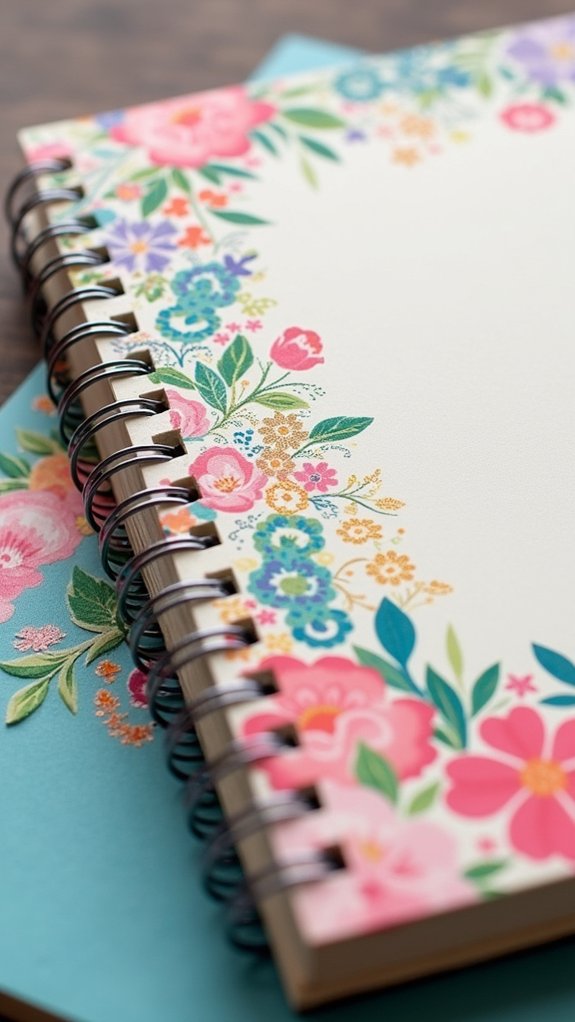
Personalizing With Doodles and Hand Lettering
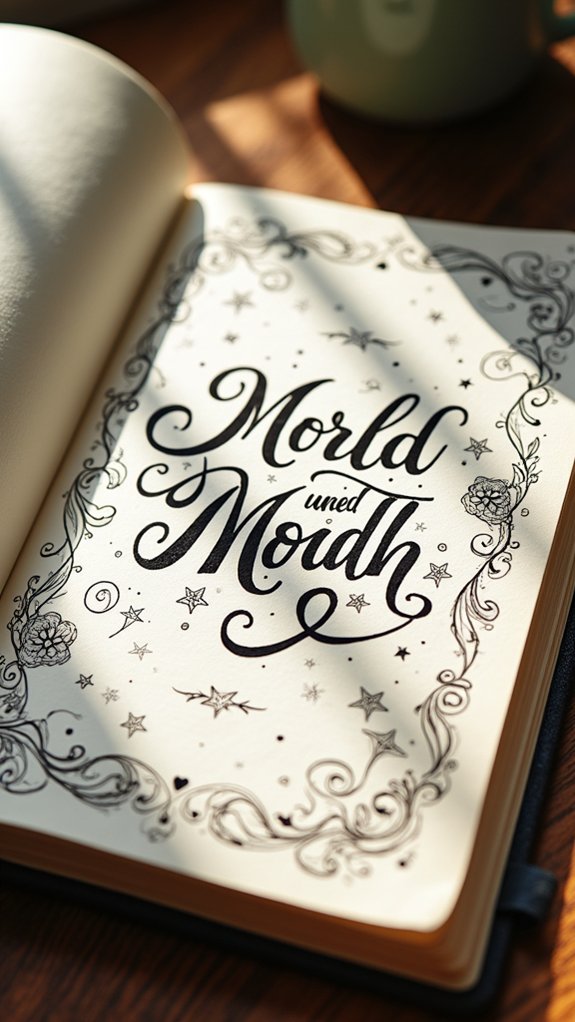
A blank sketchbook cover is like an open invitation to show off personality, and there’s serious fun to be had with doodles and hand lettering.
Every hand lettering style—whether bold bubble letters or twisty script—cranks up the “wow” factor on your cover, letting you splash your name, a favorite quote, or even a doodle-inspired mantra right on the front.
Doodle inspiration can come from anywhere: try smiley faces, stars, squiggles, or mysterious creatures nobody has seen before.
Mixing up color combinations—think neon on black or rainbow bursts around your hand lettering—makes everything pop, especially if you use paint pens and fine liners.
Bring doodles and letters together, filling every corner, and suddenly your sketchbook is the most “you” thing ever.
Using Stamps and Ink Pads
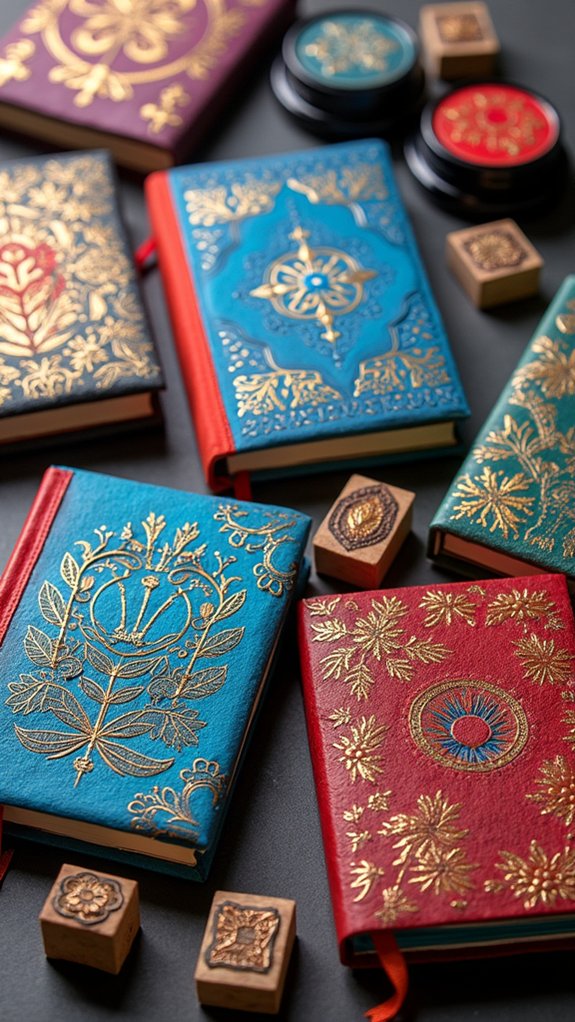
Ready to kick things up a notch? Stamps and ink pads open a whole new world for sketchbook cover decorating!
With so many stamp techniques, from adorable animal prints to swirling abstract shapes, there’s always a new pattern to try. Choosing the right ink pad matters—aim for high-quality, acid-free ones so your cover stays bold, not smeared.
Practice your stamp skills on scrap paper, applying even pressure to get a crisp, clear image every time. Feeling extra creative? Try making custom designs by carving your own stamps out of foam or rubber.
Plus, you can layer stamped designs over painted backgrounds or collages to build epic depth. Seriously, with stamps and ink pads, turning your sketchbook cover into art is super fun and easy!
Applying Washi Tape Borders and Patterns
Plenty of crafty creators know washi tape is like the secret weapon for sketchbook cover makeovers—it’s colorful, sticky, and basically begs to be played with.
With endless washi tape techniques out there, anyone can become a pattern-mixing pro in minutes. Before starting, always make sure the cover is clean and dry for the tape to stick its best.
Here are some tips for jazzing up borders and patterns:
- Test color combinations by lining up different tapes together—try bold clashes or mellow matches.
- Mix widths and patterns for a funky, layered look—the more, the merrier!
- Use a craft knife for super sharp corners and sleek lines around the edges.
- Seal your masterpiece with clear varnish to protect those vivid colors from fading or peeling.
Designing With Mixed Media Techniques
Mixing stickers, paint, and even scraps from old art projects can make any sketchbook cover pop with personality.
Imagine piling on paint, sticking on shiny stickers, then grabbing a paint pen to scribble wild designs or write your signature—suddenly, it’s a whole new level of fun.
When collage meets paint pens, creative surprises are everywhere, and boring sketchbooks don’t stand a chance.
Layering Stickers and Paint
Splashing bold acrylic paint across a sketchbook cover can instantly turn plain old cardboard into something that pops, but layering stickers on top cranks up the excitement even more.
Combining these two artsy moves means more color, more texture, and seriously fun results. Want to get the most out of your masterpiece? Try mixing up your sticker placement techniques with wild paint layering methods to make those stickers stand out like they’re practically dancing.
Create visual contrast strategies by pairing neon backgrounds with black-and-white stickers, or toss in different shapes. Here’s how to level up:
- Experiment with textured stickers over smooth, painted surfaces for a unique tactile feel.
- Use paint pens to outline stickers for extra definition.
- Play with sizes and shapes for playful variety.
- Apply varnish to protect and shine!
Collage Meets Paint Pens
Whenever collage teams up with paint pens, it’s like two creative superpowers joining forces to take sketchbook decoration to another level.
First, collage techniques get things rolling—ripping and layering patterned paper scraps makes the cover look wild and textured.
Mixed media experimentation kicks in when paint pen application begins: once the glue is totally dry (no cheating!), artists break out their trusty Posca paint pens and start doodling or outlining right on top of the collage.
The best part? These pens pop majorly on smooth surfaces or shiny paper bits, making everything feel extra bold.
To keep that awesome design safe from smudges and backpack disasters, a quick spray of fixative seals it all in.
Now, the cover is ready for anything!
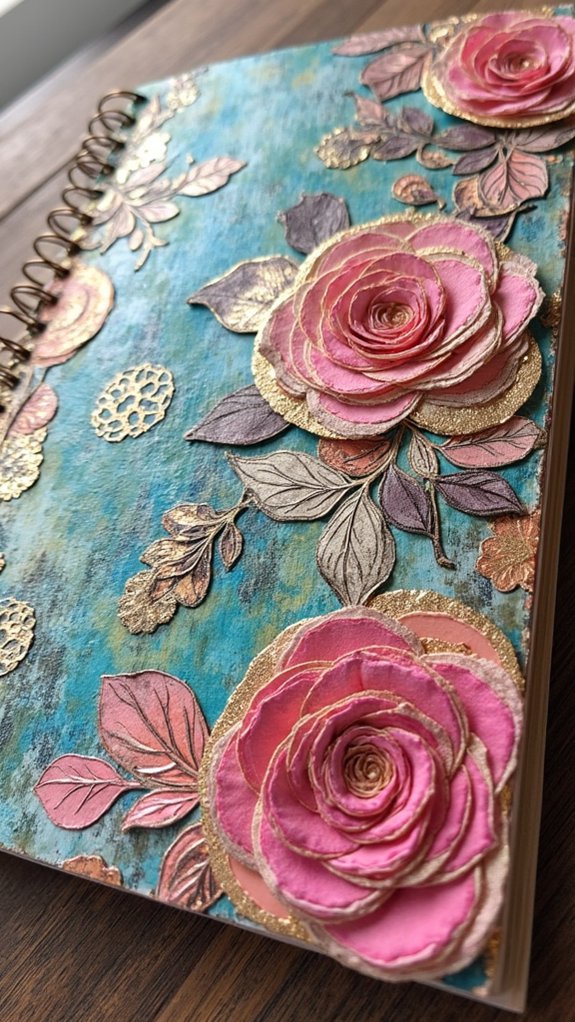
Adding Texture With Fabric or Felt
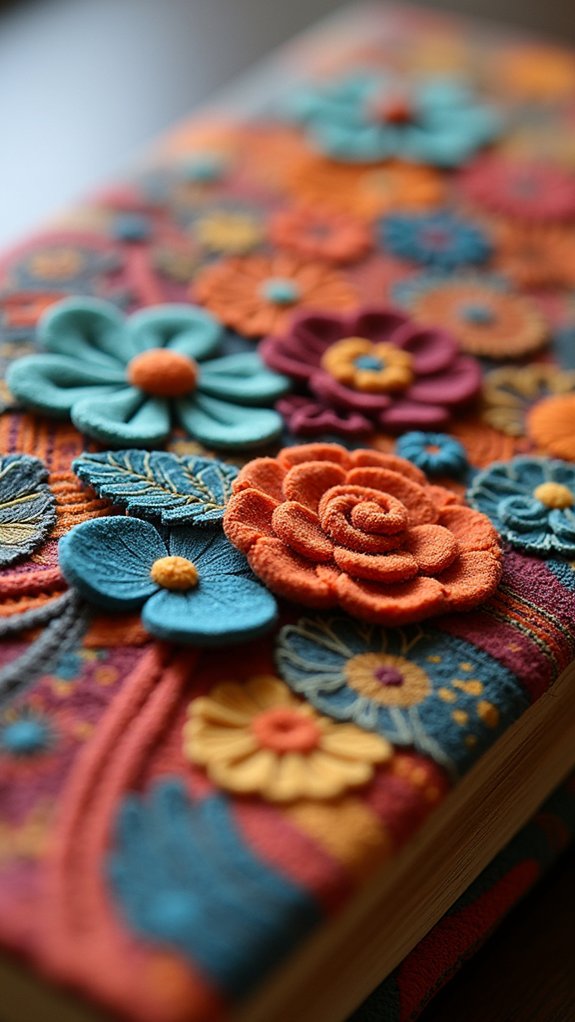
Plenty of artists love turning their plain sketchbook covers into eye-catching masterpieces, and fabric or felt is a super fun way to do it.
If anyone’s hunting for textured design inspiration, they’ll find that fabric layering techniques add instant dimension, making their sketchbook cover pop with personality.
Here are some ideas to try:
- Use fabric layering techniques: Stack pieces of denim, cotton, or lace for a cool, touchable look.
- Try felt embellishment ideas: Cut out shapes—like stars or hearts—and glue them onto the cover.
- Add extra details: Buttons, beads, or even a bit of embroidery really take textured designs to the next level.
- Choose wisely: Go for acid-free fabrics to keep sketchbook pages safe from damage.
Layer, glue, and get creative!
Sealing and Protecting With Varnish or Mod Podge
After adding those awesome fabric or felt textures, it’s time to make sure all that hard work actually lasts!
Nobody wants their masterpiece to peel, fade, or get wrecked by a rogue splash of water, so sealing is the ultimate final step. There are tons of ways to do this, but applying varnish techniques or using Mod Podge variations is super popular.
Varnish comes in options like matte, glossy, or satin, which can totally change the vibe of your cover. With Mod Podge, you get a smooth, even seal and it’s honestly fun to paint on.
Remember—the drying time importance is real. Wait for everything to dry before sealing, and let each coat dry before adding another. Rushing equals disaster!
Incorporating Cut-Outs From Magazines and Newspapers
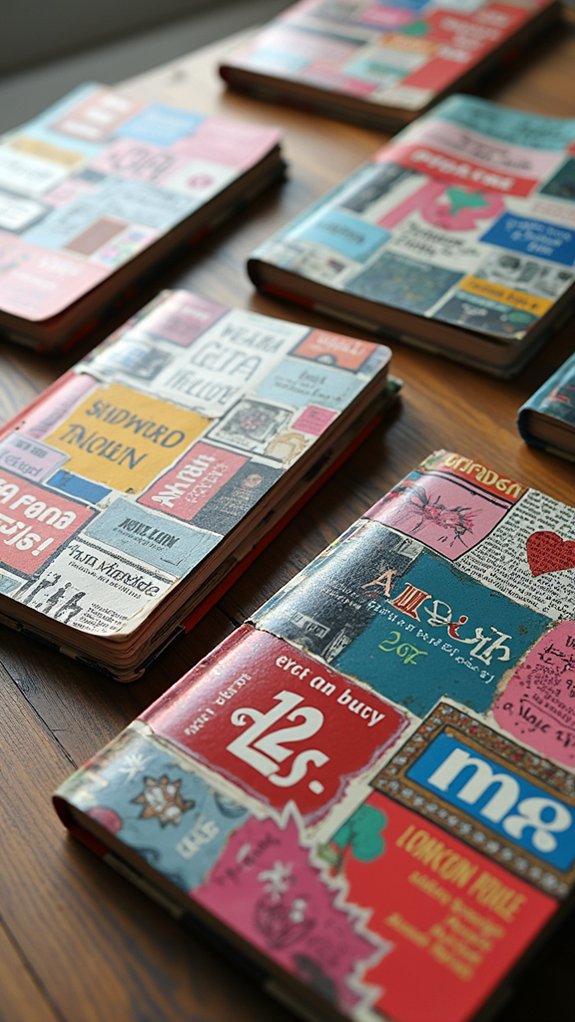
Collage magic makes any sketchbook pop, and using cut-outs from magazines or newspapers is a simple way to turn “blah” covers into personalized masterpieces.
Picking and tearing paper bits is fun—no two covers will look the same. Want to show off your creative themes, play with vibrant color palettes, or sneak in some personal narratives? Here’s what to do:
- Sort through magazines and newspapers for cool images, fonts, and colors that spark ideas.
- Tear (don’t snip!) your favorite pieces for that edgy, artsy texture—layer them as you like.
- Glue cut-outs to your cover, applying glue underneath and a gentle layer over the top for staying power.
- Seal everything with varnish to protect your colors and keep your story safe from rainy days!
Crafting DIY Stickers and Decals
Although anyone could settle for boring sticker packs from the store, nothing matches the thrill of making your own DIY stickers and decals. Seriously, with just sticker paper or printable vinyl, anyone can turn wild doodles into awesome decorations—even with vinyl cutting techniques if they feel fancy. Need some sticker design tips? Try creative color combinations and bold outlines to make each sticker pop! To keep colors bright, a quick layer of varnish or sealant works wonders (because nobody likes faded art). Not feeling crafty? Online services like Society6 or Redbubble will print designs, making anyone feel like a sticker pro. Remember, mixing different shapes and sizes is half the fun. Here are some ideas to get started:
| DIY Sticker Idea | Special Tip |
|---|---|
| Cartoon Animals | Use pastel + neon combo |
| Quote Bubbles | Bold, funky font suggested |
| Mini Sceneries | Try blending 3-4 shades |
| Emoji Faces | Experiment with glitter vinyl |
| Abstract Shapes | Cut with wavy-edge scissors |
Frequently Asked Questions
What Can You Decorate Your Sketchbook With?
One may decorate a sketchbook with various materials, including sticker collage for vibrant layering, fabric patches to introduce texture, and watercolor paints for soft, colorful backgrounds, creating a unique and personalized cover that reflects individual artistic style and interests.
How Can I Make My GCSE Art Sketchbook Better?
Improving a GCSE art sketchbook involves fostering creative inspiration by exploring diverse artistic styles and maintaining effective sketchbook organization. Regularly updating entries, reflecting on progress, and experimenting with new materials can further enhance both personal expression and presentation.
How to Protect Your Sketchbook Cover?
To protect a sketchbook cover, one should select durable sketchbook materials, apply protective coatings such as varnish or spray fixative, and consider using acid-free elements. These steps enhance cover durability and preserve the artwork from wear.
How to Decorate the Front Cover of a Sketchbook?
When decorating the front cover of a sketchbook, one might explore cover design ideas inspired by artistic themes and personalized embellishments, using techniques like collage, custom stickers, acrylic paint, or Posca pens to achieve a distinctive, expressive appearance.
Conclusion
Now that you’ve seen all these awesome ways to decorate a sketchbook cover, the real fun begins—picking what to try first! Whether it’s piling on the stickers, splashing paint, or raiding your mom’s magazine stash for cool cut-outs, remember: there are no rules, just creativity. It’s your sketchbook, so get a little wild, get a little messy, and make it something totally you. Who knows? Maybe your masterpiece will inspire your next epic drawing inside!
Leave a Reply