
Nailing your sketchbook cover design means picking tough materials and sketchbooks that won’t bleed through or smudge, then dreaming up cool, personal designs—maybe from nature, maybe from your own wild imagination. Test your colors and markers first on scraps to dodge any disasters. Trace your outlines right for sharp edges, and get bold with textures or shiny paint. Seal it all so your masterpiece doesn’t wipe off in your backpack—there’s a trick to fixing mistakes, too, which comes next.
Key Takeaways
- Choose durable and appropriate cover materials, and test all tools and media on scrap paper before starting your design.
- Brainstorm unique ideas by combining personal symbols, patterns, and experimenting with colors digitally or on paper before finalizing.
- Use digital sketches or templates and tracing techniques for clean, precise outlines on your sketchbook cover.
- Select bold, complementary colors, layer textures, and use cohesive embellishments to make your design visually engaging and polished.
- Always seal your finished artwork with a tested sealant, ensuring everything is dry, and be prepared to fix mistakes using permanent markers or overlays.
Choosing the Perfect Materials for Your Sketchbook Cover

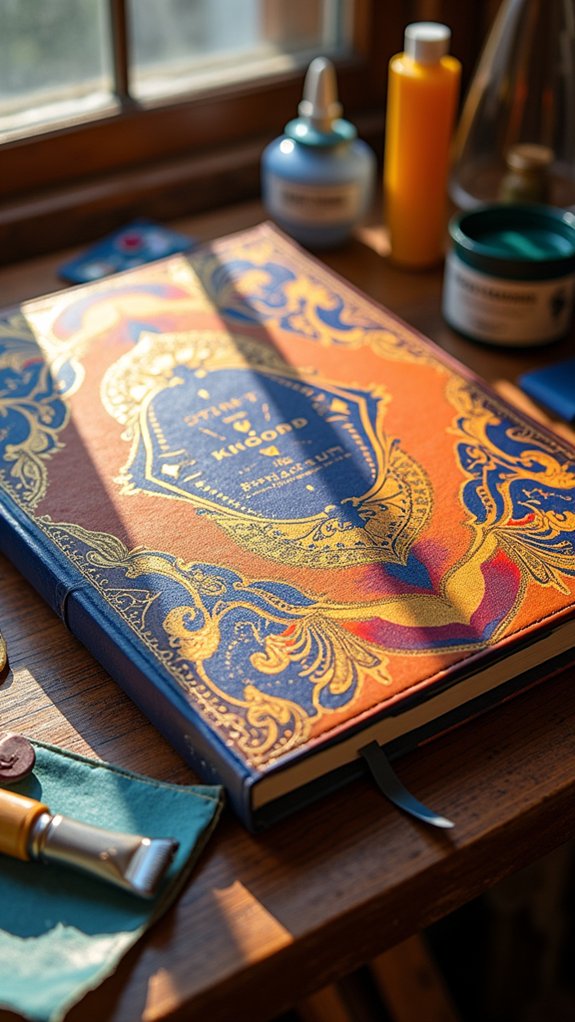
Materials matter—a lot. If you want your sketchbook cover to stand out and last, you have to make sure you pick the right supplies. Imagine you spend hours designing, only for your markers to bleed everywhere—total disaster!
Choosing a sketchbook made for watercolors, like that new Moleskine sketchbook, is a game changer. It can take on all sorts of media without puckering or falling apart. The teacher gave great advice: always test your tools on scrap paper first, even if you’re feeling brave.
For sharp designs, use a tracing method with a Stabilo crayon pen, then outline with permanent markers or acrylic paint to avoid melting or bleeding. If mistakes happen, a black permanent marker can save the day—phew!
Brainstorming and Developing Your Unique Design

Crack open that creativity vault—this is where the fun really starts! Brainstorming a sketchbook cover means giving yourself permission to get wild with ideas. Look everywhere—nature, funky patterns, doodles from last week. If you want to come up with something that’s totally you, mash up symbols that matter to your life or make something new nobody’s seen before. Don’t hesitate to try out different color markers or paints on scrap paper—sometimes the wrong combo makes the right surprise! Or play digital, sketching as many goofy-looking or epic ideas in Procreate as your heart desires. Keep an idea table handy:
| Inspiration Source | Why Try It? |
|---|---|
| Nature | Rich colors, organic shapes |
| Favorite symbols | Personal, meaningful |
| Digital sketches | Easy to edit, experiment |
| Random patterns | Trends, fresh style |
Sketching and Tracing Techniques for Flawless Outlines

Even if you’ve got a wild imagination and a solid plan, getting those epic designs down perfectly on your sketchbook cover is a whole new challenge.
Before you grab your new sketchbook and start sketching wild lines, try making your design digitally first—Procreate is awesome for this. You can test wild ideas, erase mistakes, and make it look really sharp before printing.
After printing, tape the design to your cover and use a Stabilo crayon pen or a similar tracing tool. Take it slow; you want those outlines flawless, not fuzzy.
For outlining, gold acrylic paint pops, but permanent markers work better if you want to avoid weird bleeding or melting when sealing. Always test everything first—it saves you from a “what have I done?” moment!
Mastering Color, Texture, and Embellishments
When it comes to making your sketchbook cover pop, picking the right color combo is key—think bold contrasts that catch the eye, not a muddy mishmash.
Throw in some cool textures by layering different materials, and suddenly your cover begs to be touched, not just seen.
Details and embellishments add that extra buzz, but they work best when everything fits together, like a band that actually practices before the big show.
Choosing Complementary Color Schemes
Although picking colors for a sketchbook cover might seem easy, choosing the right ones can actually make all the difference between “just okay” and “wow, I made that!”
Using the color wheel is like having a secret code; it helps anyone find complementary pairs—think blue and orange or purple and yellow—that practically jump off the page.
If you want your cover to stand out, a limited palette of three to five colors works much better than throwing in every color you like. Think that’s boring? Nope! It actually makes everything look more pulled together and pro.
And before anyone commits to those epic combos, it’s smart to test them on a scrap sheet. That way, there’s no surprise disaster—just awesome, eye-catching color.
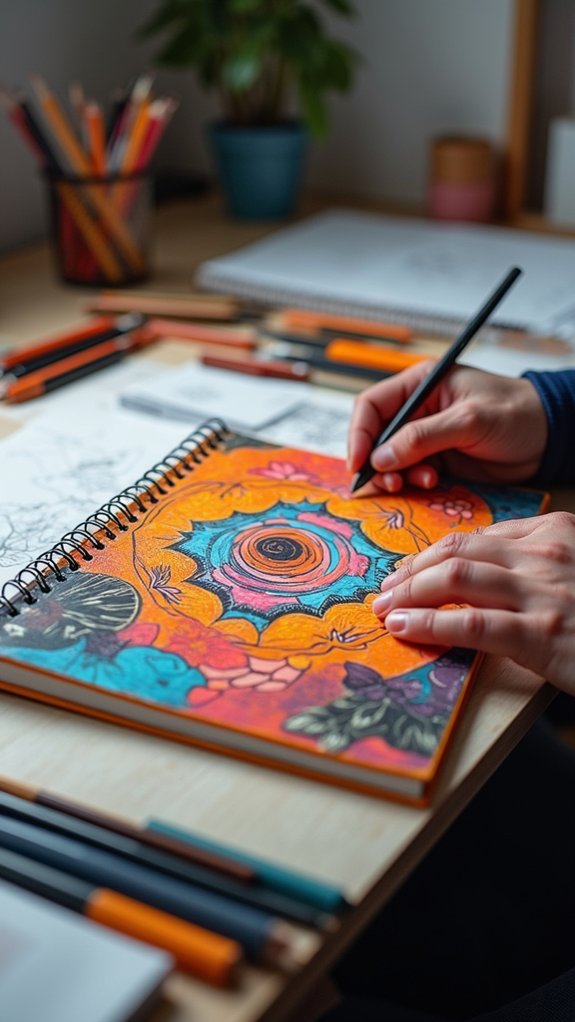
Layering Texture and Detail
Forget boring, flat sketchbook covers—layering texture and detail can seriously level up any design, transforming it from plain old “meh” to something you can’t stop showing off. Even though it might sound tricky, the key is to combine materials and techniques. Think gold acrylic outlines, dot art, mandala patterns, and embellishments like metallic stickers. Testing is super important—nobody wants a smudged masterpiece because a marker bled through. Transparent paper becomes your secret weapon: sketch your ideas, move them around, and check your vision before commitment. Check out how it all breaks down:
| Material/Technique | Why Use It? |
|---|---|
| Gold Acrylic Paint | Bold, shiny outlines |
| Permanent Markers | No bleeding, clear lines |
| Dot Art & Mandalas | Adds depth and movement |
| Metallic Stickers | Extra sparkle and uniqueness |
| Transparent Sketch Paper | Something to help visualize fast |
Sealing and Protecting Your Artwork Effectively

Sealing your sketchbook cover feels a bit like giving your art its own superhero shield—necessary if you want it to survive backpacks, lunch spills, or even your little brother’s mysterious sticky fingers.
Before you reach for that varnish or spray, always test it out on a scrap first. Some inks just can’t handle sealant and might bleed or melt, which is basically a villain attack on your masterpiece.
Outlining your art with permanent markers can help, since they usually stand up better to sealing. Apply a thin coat for protection; thick layers can mess with color and texture.
Make sure everything’s totally dry before you seal—trust me, soggy art isn’t cute.
Next time, if you need touch-ups, a trusty black marker saves the day.
Thank you so much!
Troubleshooting Common Design Mistakes and Solutions
Even the bravest artists run into trouble when designing a sketchbook cover—maybe the varnish turns colors into a blurry mess, or that bold red marker suddenly bleeds into places it absolutely shouldn’t be.
But don’t panic! Testing your varnish and materials on a spare piece of paper can save you from a meltdown (literally and emotionally). If something still goes wild—say, color bleeding—taking a black permanent marker and outlining lines again can make designs pop back to life.
When a part of the design feels wrong, focus on what bugs you. I’m glad there’s always a fix—trace adjustments on transparent paper, or digitally tweak things before you go all in.
Don’t fear mistakes; adjust, repaint, and experiment with confidence!
Frequently Asked Questions
How to Draw and Design a Book Cover?
To draw and design a book cover, one should brainstorm concepts, define a color palette, select suitable typography choices, and sketch layouts. Digital tools assist with iteration. Finalizing the cover design involves balancing imagery, text placement, and visual harmony.
How to Decorate the Front Cover of a Sketchbook?
To decorate the front cover of a sketchbook, one should select suitable cover materials and explore various artistic styles. Testing art supplies beforehand guarantees compatibility, while tracing digital designs allows for precision and personal expression throughout the creative process.
How to Make a Sketch Pad?
To make a sketch pad, one selects appropriate sketch pad materials such as preferred paper and sturdy cover. They cut the paper to chosen sketch pad dimensions, neatly stack the sheets, and secure them using a suitable binding method.
What Should I Draw in the First Page of My Sketchbook?
When considering ideas for the first page, sketchbook inspiration often includes self-portraits, abstract designs, mandalas, or quotes. Some artists collage, experiment with different media, or create a vision board to personalize and motivate continued creativity.
Conclusion
Designing a sketchbook cover isn’t just about looking cool—it’s about showing off your style and having fun. With the right tools, a bit of planning, and some epic creativity, anyone can build a cover that totally stands out. Mistakes? They’re just speed bumps on the road to awesome. Just remember, every artist starts somewhere (even if it’s with glitter glue stuck to their sleeve). So go grab your sketchbook, and turn it into something truly unforgettable!
Leave a Reply