
Looking for awesome sketchbook backgrounds? Grab your paints, paper scraps, even salt from the kitchen, and get creative with 16 wild techniques. Try watercolor washes for dreamy blends, collage with old magazines, give bubble wrap printing a go, or splatter ink like you’re making a mess on purpose. Stencils, masking tape, and brayers add sharp edges or surprise textures. Experiment with sgraffito scratch art or blend pencils ’til your fingers ache. There’s a background trick here for every wild idea—curious what’s next?
Key Takeaways
- Experiment with watercolor washes and textures using techniques like wet-on-wet, salt, and gradient blends for dynamic backgrounds.
- Create bold or subtle effects by using ink splatter, bubble wrap printing, and layering different ink colors.
- Build rich, layered backgrounds by collaging materials such as magazine cutouts, tissue paper, and patterned paper.
- Use stencils, masking tape, and liquid masks to produce crisp patterns and defined shapes in your background.
- Add depth and interest with dry brushing, brayer rolling, sgraffito (scratch-through), and pencil hatching or stippling techniques.
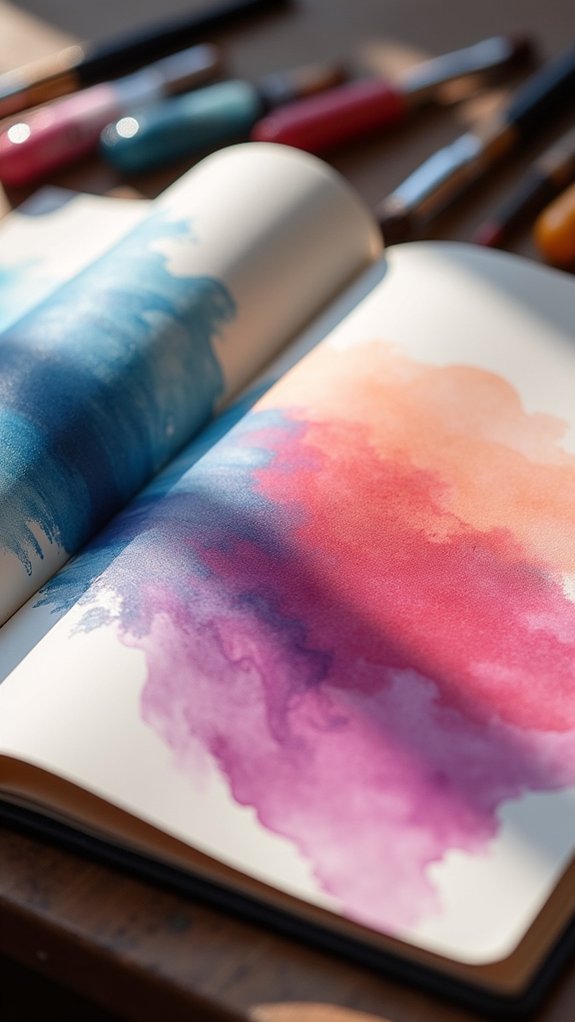
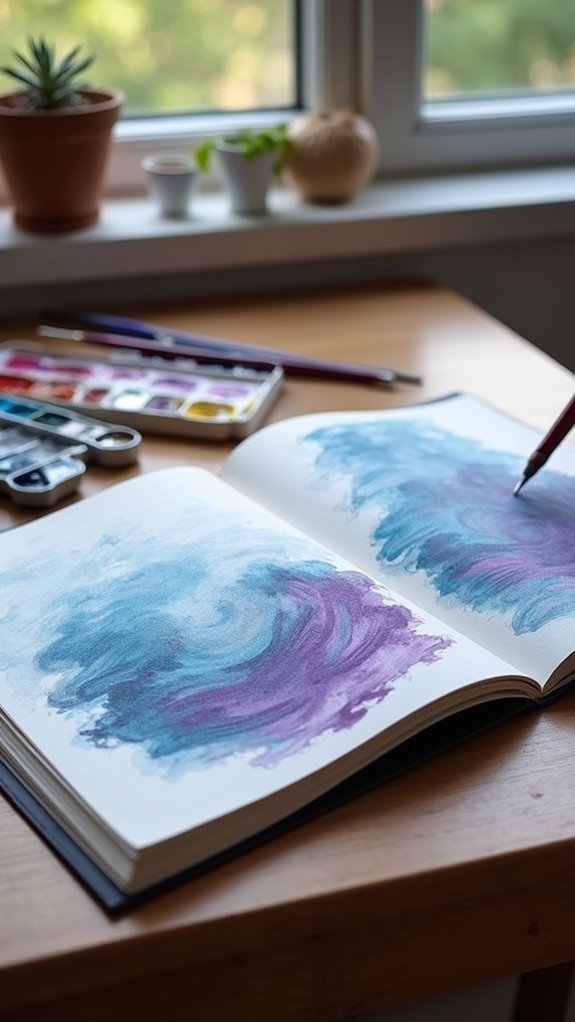
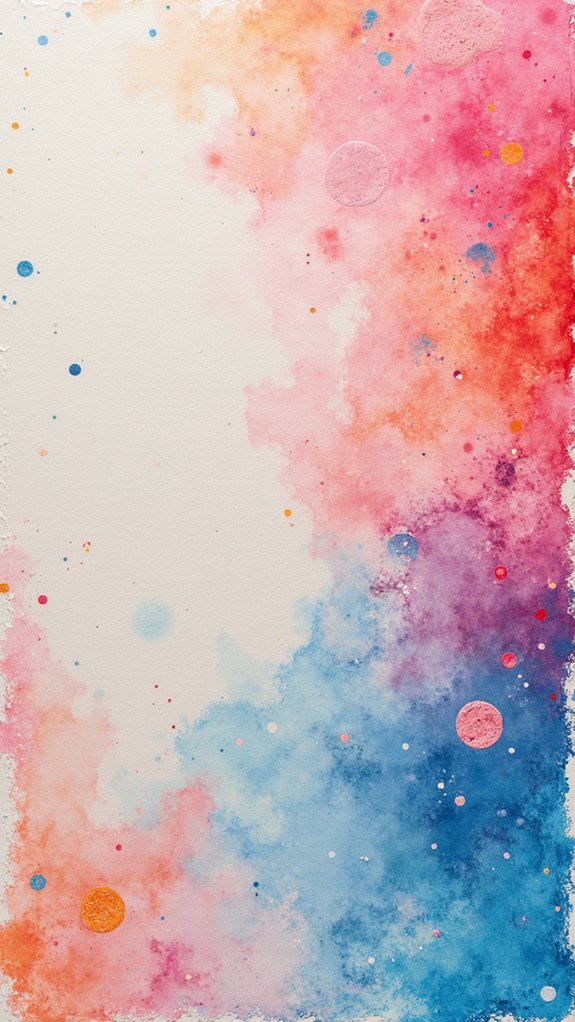
Watercolor Washes

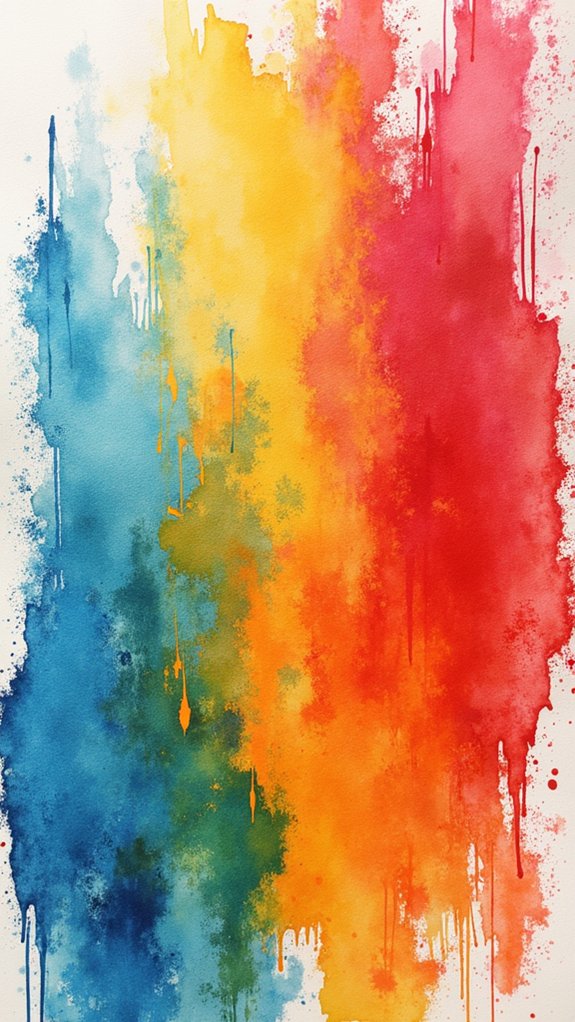
Even though watercolor washes might sound super fancy, they’re actually one of the coolest—and most forgiving—ways to start a sketchbook background. With just a little water and paint, artists can create see-through layers that let colors and even the texture of the paper peek out.
The secret trick? Playing with color intensity and wash consistency. Want soft edges? Use the wet-on-wet method and watch colors blend like magic clouds. Craving crisper shapes and popping contrast? Go for wet-on-dry, and edges stay sharp as a ninja’s blade.
Gradated washes are especially fun—they flow from one shade to another, getting lighter or morphing into a new color. Different brush sizes let artists switch between big, dramatic sweeps and tiny, sneaky details. Seriously, so cool!
Ink Splatter Effects
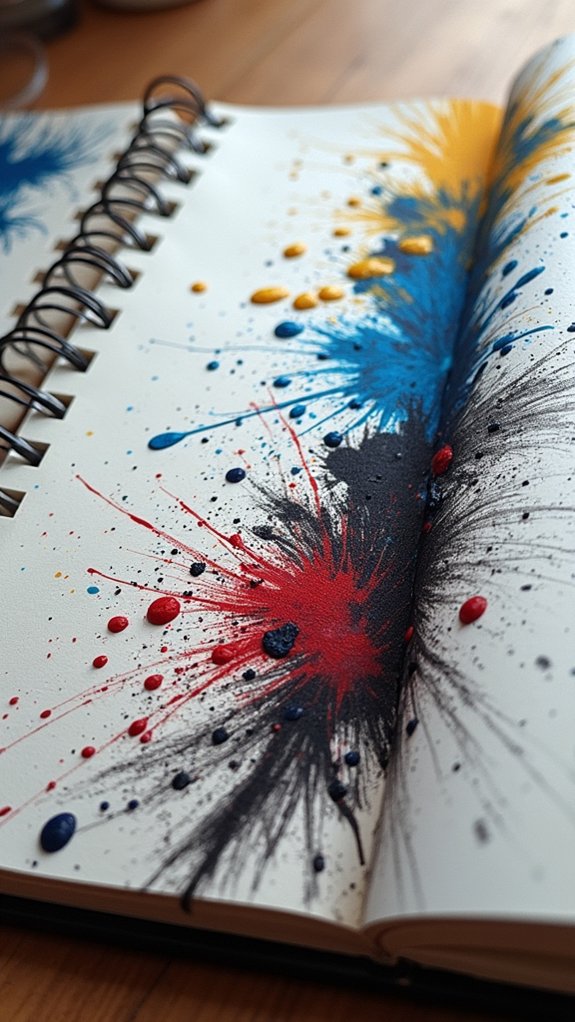
After the magic of watercolor washes, things get a bit wild with ink splatter effects.
These ink splash techniques are all about surprise—no two backgrounds ever look the same! To make things pop, artists load a brush with ink and flick it onto the sketchbook page, letting the chaos unfold.
The cool part? Color intensity variations happen when you use different inks or adjust how much you load onto your brush.
Want to get inspired? Check out these ideas:
- Try liquid watercolors or acrylic inks for totally different vibes.
- Splatter from high for big, splashy spots; go close for tiny dots.
- Experiment with both smooth and textured paper to see wild behaviors.
- Blow on wet splatters with a straw for wild, stringy effects.
- Layer colors for extra, colorful drama.
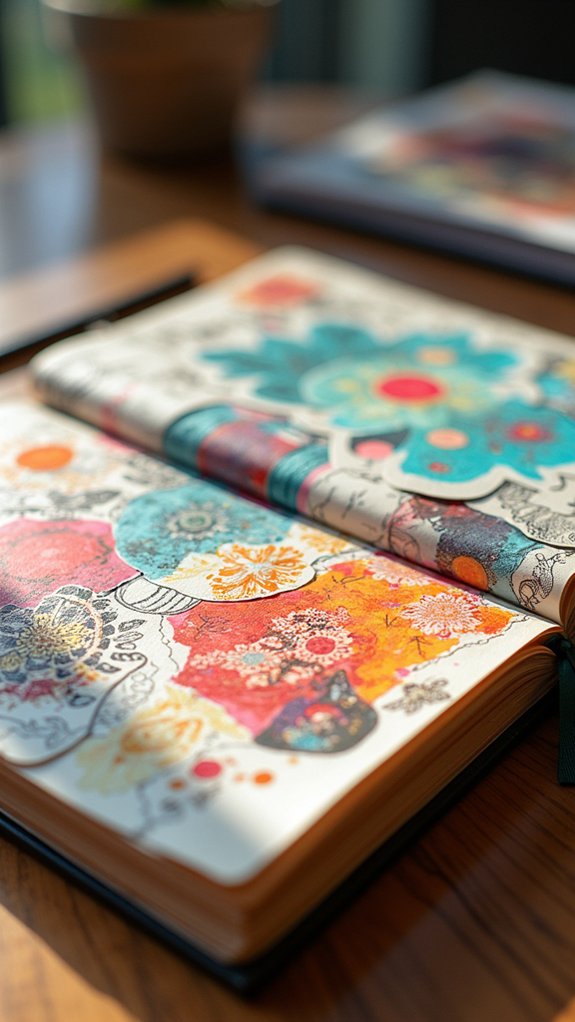
Layered Collage Backgrounds

Layered collage backgrounds are all about mixing things up—think rough scraps of newspaper, bits of patterned paper, or even a cool wrapper from your lunch.
Toss in found materials like magazine cutouts or ticket stubs, and then overlap them with soft color washes for a surprise every time you turn the page.
There’s zero pressure to keep things neat; the messier it gets, the more interesting and wild your background will look!
Mixing Paper Texture
A collage can be an adventure for your sketchbook, turning a plain background into a wild patchwork of color, texture, and surprise.
Mixing paper texture is like piecing together a secret code—each scrap adds a new layer of depth and excitement.
Try out texture combinations by layering different papers. Tissue paper, watercolor paper, even sturdy cardboard—each one brings a different feel to your art.
Use glue sticks or mod podge for secure paper layering, but let each layer dry before tossing on the next one or you’ll end up with a sticky mess!
Remember, the puzzle is in the details:
- Experiment with tissue, watercolor paper, and cardboard.
- Play with paper layering for surprising texture combinations.
- Use strong adhesives for lasting hold.
- Mix in bold colors and dramatic patterns.
- Always let layers dry before adding more!
Combining Found Materials
Grab inspiration from the world around you—combining found materials in your sketchbook background is like pulling off a magic trick with a pile of forgotten treasures.
Magazine cutouts, scraps of colorful fabric, or that oddly-perfect movie ticket stub all bring new life (and lots of stories) to a blank page!
Mix in some texture contrast by tearing the edges of paper, stacking buttons, or folding photographs. Experiment with organic elements too—leaves, flowers, or even a stray feather can add natural shapes with a wild, unpredictable flair.
Even the glue you use makes a difference; Mod Podge gives a glossy effect, while matte tape keeps things subtle.
Collage is all about playful layering, letting each piece peek through and surprise whoever opens your sketchbook next!
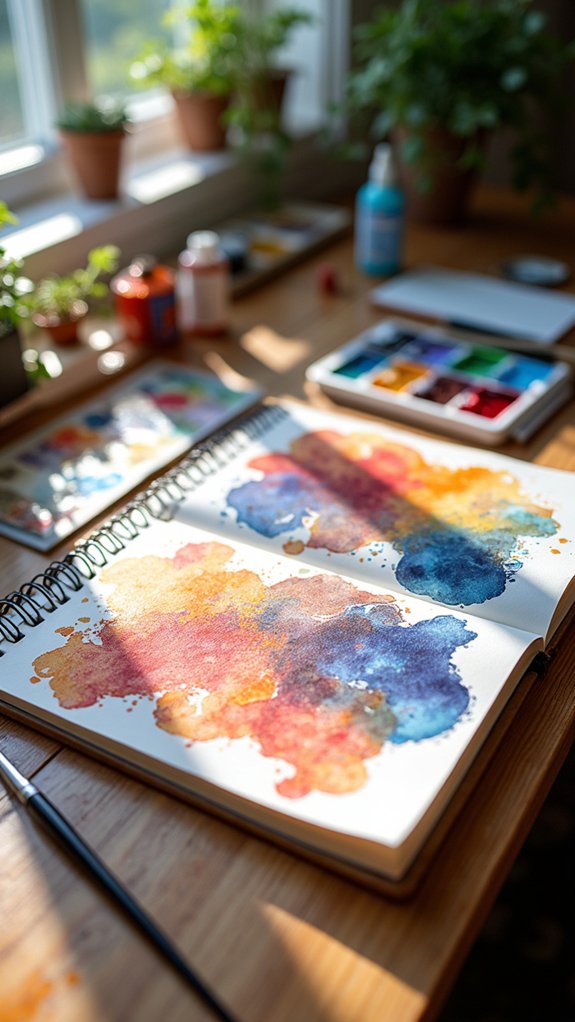
Overlapping Color Washes
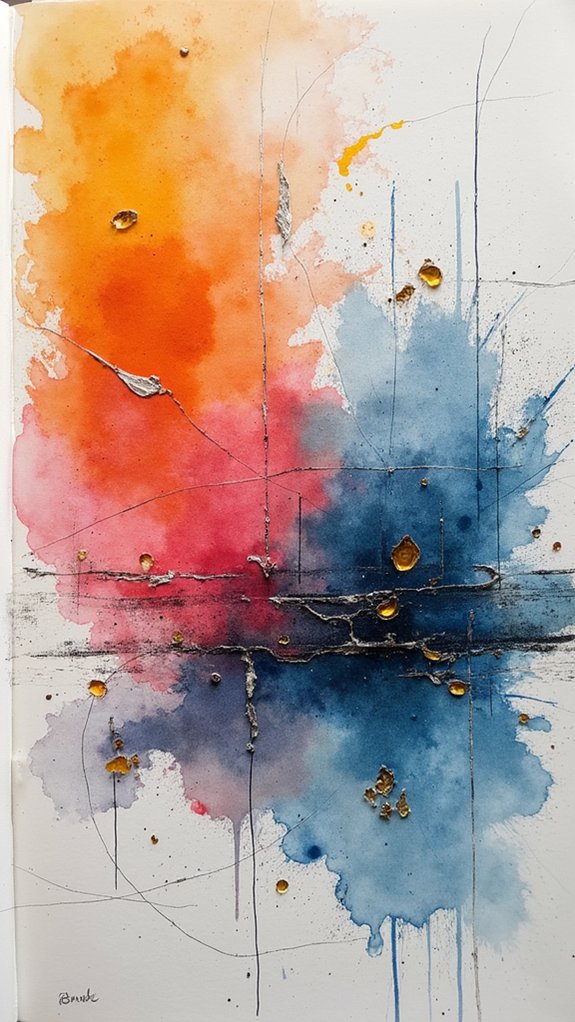
Imagine a rainstorm splashing down on a window—that’s kind of what overlapping color washes look like in a sketchbook. This background technique lets colors merge, mingle, and dance across the page, using wash techniques that make the colors blend in unexpected ways.
Simply put, you start with a wash of diluted paint or ink, wait for a bit, then add another layer on top. It’s all about experimentation and letting accidents happen!
For those enthusiastic to try, here are some fun ideas:
- Play with watercolor, acrylic, or ink for different effects.
- Use sponges, brushes, or fingers to make wild patterns.
- Let layers dry slightly to prevent color chaos.
- Sprinkle salt or drip alcohol for cool textures.
- Overlap light washes for depth and magical color blending.
Gradient Blending
When it comes to sketchbook magic, gradient blending is like revealing a secret button that makes your colors flow together in the smoothest, dreamiest way.
Imagine blending the soft blues of the sky into the warm gold of the sunrise—that’s the kind of color harmony you get when your blending techniques are on point. Start with a base color, then slowly mix in the next shade while using a brush or even your finger, if you’re bold, to smooth out any harsh lines.
Watercolors, markers, colored pencils—each gives a different texture, so it’s fun to experiment. If things start drying up, a quick mist from a spray bottle can save the day.
Don’t forget to check your color wheel—surprising combos can look amazing!
Stencil Patterns
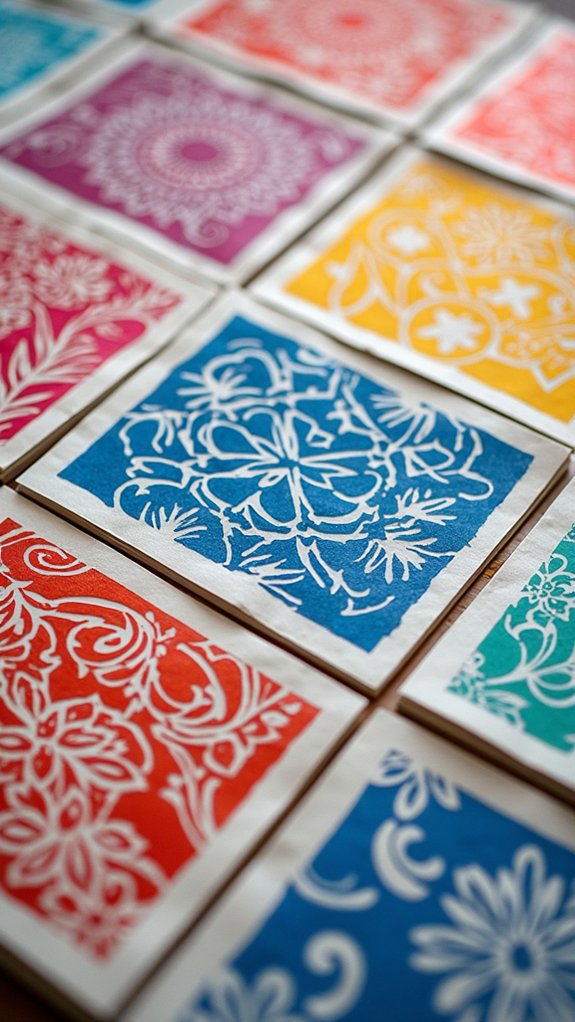
Even though sketchbooks are all about freedom, sometimes a cool stencil pattern is the secret ingredient that makes a page truly pop.
Stencil techniques let anyone create epic backgrounds with sharp designs—no advanced art skills needed! All it takes is a few trusty stencil materials, some tape, and your favorite colors.
Crafters can mix it up, trying out gritty cardboard shapes or sleek plastic sheets, and explore layering and new mediums for wild effects.
- Use stencil materials like plastic, cardboard, or metal for different textures.
- Secure stencils with masking tape or adhesive for clean, crisp edges.
- Try spray paint, ink, or sponge painting for different stencil techniques.
- Layer multiple stencils for cool, complex backgrounds.
- Remember to clean stencils right after use to keep them in awesome shape.
Stencil patterns? Total game changer.
Resist Techniques With Masking
Stencils bring structure and flair, but sometimes, artists want shapes and lines that look impossibly crisp—almost like magic. That’s where masking techniques and liquid masks step in.
Imagine putting down painter’s tape or washi tape, creating secret shapes, and then flooding your page with bold colors. When you peel the tape away, wow! Those areas are untouched, super defined, and absolutely stunning.
Liquid masks? Even cooler. Just brush them on for crazy-detailed designs, let them dry, go wild with paint, then peel them off like a super-satisfying sticker reveal.
Testing these masking techniques on scraps is key, though—nobody wants a sticky disaster. Play around with sharp geometric borders or wild zigzags.
Masking techniques keep your lines clean and your creativity unlimited!
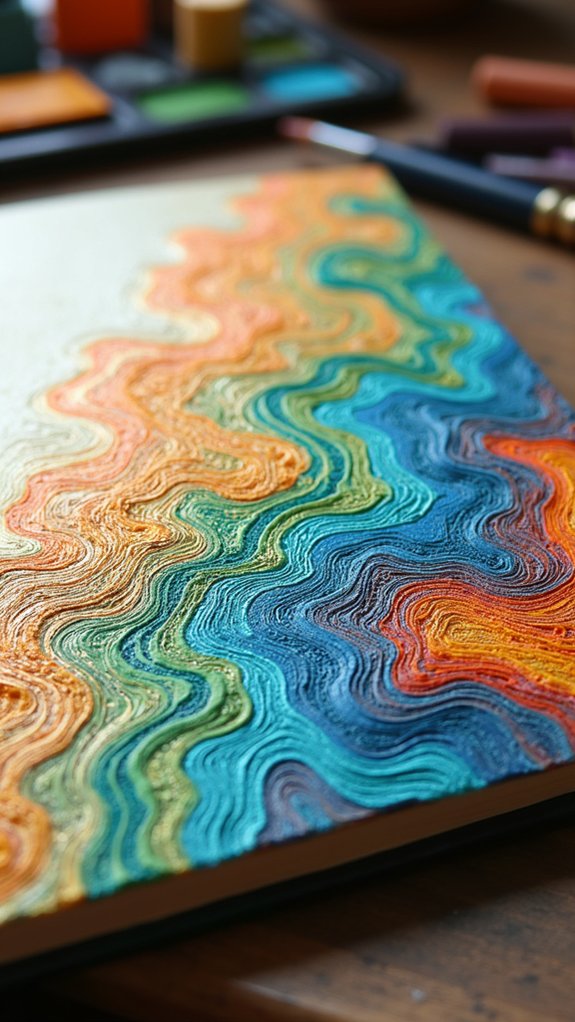
Textured Gesso Surfaces
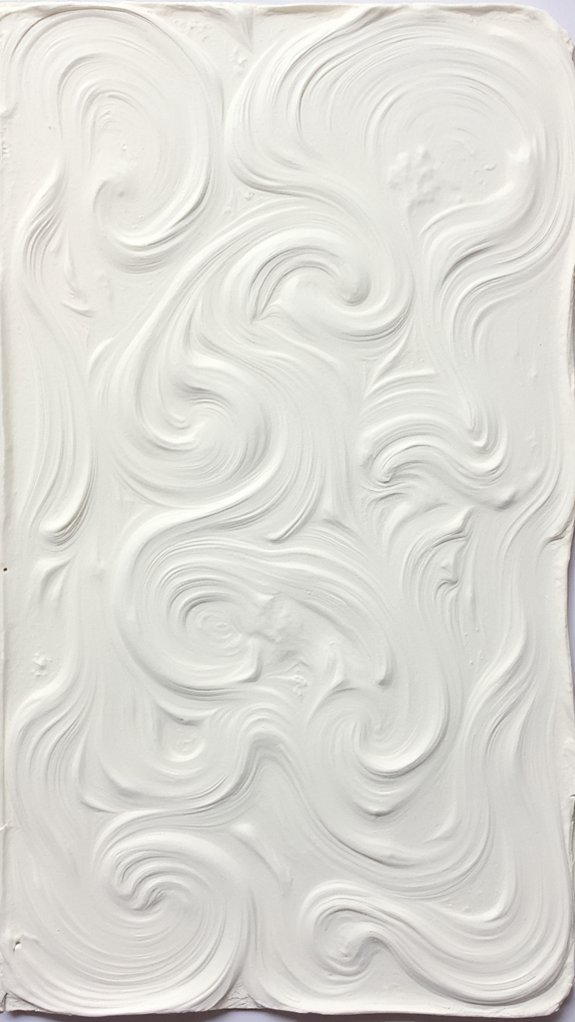
Texture lovers, rejoice! Textured gesso surfaces are your new best friends when it comes to boosting your sketchbook backgrounds.
By mixing different gesso types with cool stuff like sand, salt, or bits of fabric, anyone can create one-of-a-kind tactile effects.
Grab your favorite texture tools—palette knives, old brushes, or even a fork—and watch magic happen as you build unexpected patterns layer by layer.
Try these tips to experiment:
- Mix gesso with sand or salt for extra grit.
- Apply with texture tools like palette knives for raised designs.
- Let layers dry naturally or use a heat gun for surprise cracks.
- Try stippling or dragging techniques for wild patterns.
- Use textured gesso as a sturdy base for mixed media fun.
The possibilities are nearly endless!
Acrylic Dry Brushing
With acrylic dry brushing, choosing the right tools is half the fun—stiff-bristled brushes like fans or flats make the magic happen.
This technique is awesome for layering colors and building all sorts of interesting textures, from grassy fields to misty skies, and you can even play around with how much paint is on your brush for totally different effects.
It’s a little bit messy, a little bit unpredictable, and seriously cool for making your backgrounds look like mini masterpieces.
Tools for Dry Brushing
Choosing the right tools can make dry brushing with acrylics feel like magic—almost as if the paint just dances onto the page.
The brush types you pick matter a ton, because dry brushing is all about having just enough paint for awesome texture, not a sloppy mess. Paint application here is more about control than coverage.
If you’re looking to get creative, try mixing up your brushes and see what happens! Here’s what artists often keep handy for the best dry brushing experience:
- Stiff-bristled flat brushes, for bold strokes and edges
- Hog hair brushes, which are great for maximum texture
- Fan brushes, awesome for subtle, feathery effects
- A variety of brush sizes for switching up details
- Lots of paper towels to dab off extra paint before you start
Achieving Unique Textures
Once the perfect brush is in hand, the real fun begins—unlocking wild new textures with acrylic dry brushing.
Dry brushing with acrylic mediums is like giving your background a secret code that only your sketchbook understands. Start with a brush that’s clean and barely holding any paint. Fan brushes leap across the page, leaving wispy marks, while stiff bristle brush types scratch out bold, rugged textures.
Try dry brushing over a surface built with a palette knife or textured gesso—watch as paint skips and dances over every little bump. Acrylic dry brushing is great for sketchbook backgrounds because it lets the base peek through, creating depth and mystery.
Mistakes? Happy accidents, always. Play with surfaces, experiment, and see what oddball effects turn up!
Layering Acrylic Colors
Mastery of layering acrylic colors starts with a dash of patience and a sprinkle of curiosity—because this technique is all about building up magic, one brush swipe at a time.
Acrylic dry brushing lets artists play with color selection and brush techniques, making backgrounds pop without loads of fancy tools. It’s kind of like painting with just the crumbs of your palette, creating texture, depth, and little surprises where the paint barely kisses the page.
To nail this, artists follow a clever process:
- Pick a stiff-bristled brush for crisp effects
- Use minimal paint, wiping excess onto a paper towel
- Layer light colors over dark for cool highlights
- Try various brush sizes to mix up the textures
- Let each layer dry fully before adding more
Experiment, and watch backgrounds come alive!
Pencil Shading Techniques
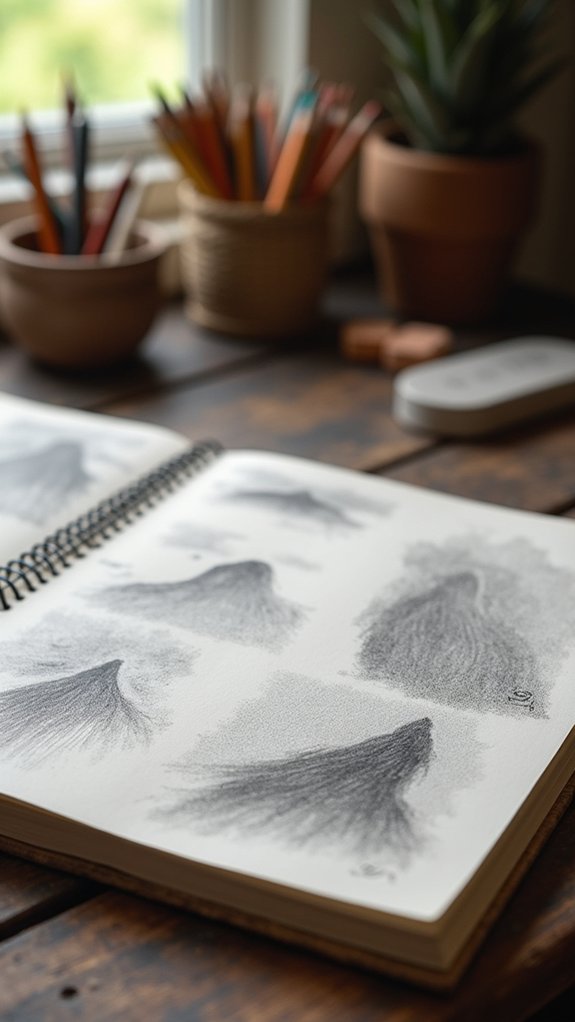
Dive right in—the world of pencil shading is where sketches truly come to life, turning flat shapes into awesome, eye-popping art.
Mastering pencil pressure techniques is like learning a secret code for tonal value variation—you press softly for light areas and harder for those inky, mysterious shadows.
Hatching methods and cross-hatching turn simple lines into texture creation techniques, building cool depth in any drawing.
Need even more drama? Add stippling details for a surprising pop of pattern and texture.
Blend it all together with blending tool usage; a tortillon, your finger, or even a tissue can work magic, smoothing rough spots.
Layering grades, from H to chunky B pencils, lets artists go all-in on shading depth exploration and dazzlingly realistic effects.
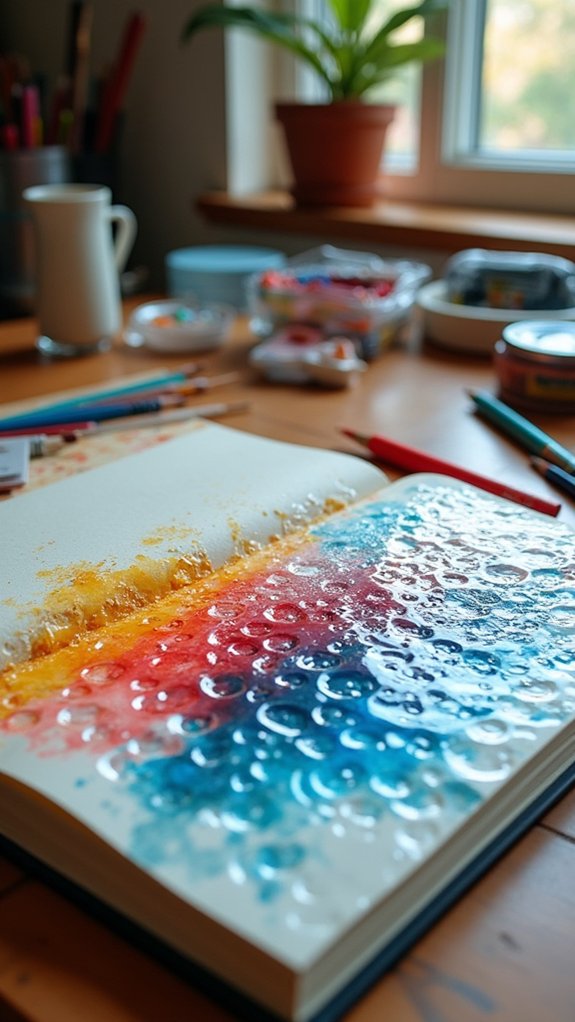
Salt and Watercolor Reactions
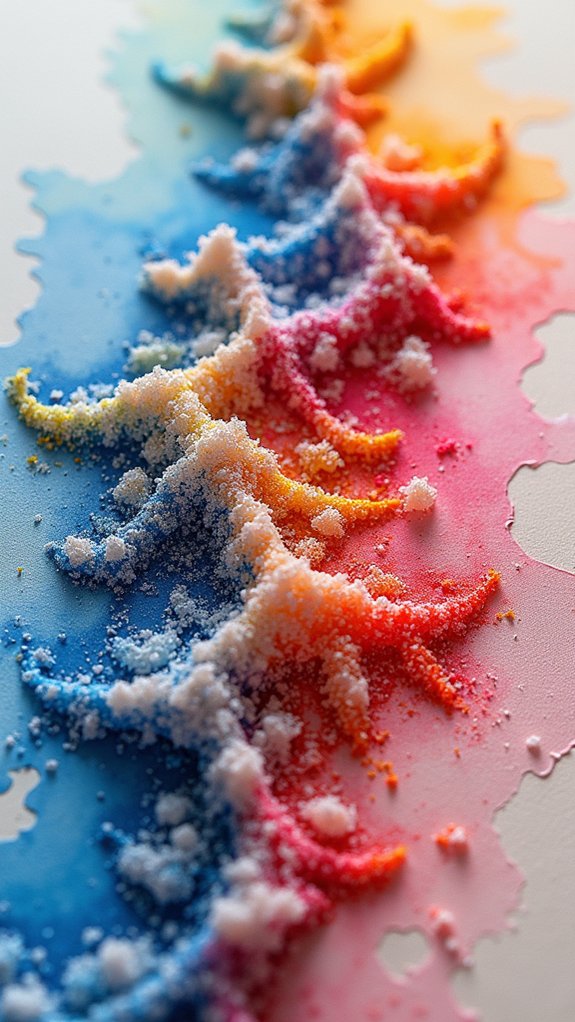
Not every art trick is as fun—or as surprising—as adding salt to watercolor.
Just picture it: you paint a super cool, wet background, and then sprinkle on some salt. Suddenly, magic happens as salt absorption kicks in, creating wild, textured effects that look totally unique.
Curious how it works? Here’s what every experimenter needs to know:
- Sprinkle salt onto wet watercolor for crazy patterns and crystal-like textures.
- The size of salt grains totally matters; big ones make bold spots, small ones make gentle texture.
- Try it with different watercolor techniques—wet-on-wet delivers splashy, dramatic reactions.
- Wait for the paint to dry fully before brushing off the salt to reveal the finished effect.
- Each try makes a new surprise—no two results are ever the same!
Printed Paper Integration
While salt and watercolor can make a background pop with unexpected patterns, there’s another way to crank up the personality—printed paper. Think old book pages, magazine cutouts, or scrapbook paper with wild designs.
Printed paper selection is half the fun—it’s like hunting for treasure in your recycling bin or craft drawer. Layering these finds as backgrounds adds instant texture, giving your sketchbook art a story even before you pick up a pencil.
Using visual contrast techniques, like placing bold drawings over delicate script or bright swatches over faded images, helps your artwork stand out and makes it super eye-catching. Collage a few pieces together for even more drama.
Mixing and matching printed paper lets every page become a brand-new adventure—no two backgrounds are ever the same!
Sponge Painting Methods
Forget boring old brushstrokes—grab a sponge and get ready to shake up your sketchbook backgrounds!
Sponge painting methods bring a playful twist to your art, perfect for anyone who loves texture exploration. Want cool backgrounds? Try all sorts of sponge shape variations. Cut them up, squish them, tear them apart—see what wild prints you can make!
Artists can experiment with acrylics or watercolors, and even layer colors for extra depth. Here are some creative ways to use sponges:
- Dab to make soft, cloud-like backgrounds
- Drag for wild, streaky effects
- Cut sponges into funky shapes for custom patterns
- Layer colors for awesome blended textures
- Mix big and small sponge pieces for variety
Sponge painting methods turn backgrounds into eye-catching, textured masterpieces!
Bubble Wrap Printing
Bubble wrap printing starts with gathering a few basics: bubble wrap, paint, and something to print on, plus maybe a roller if you’re feeling fancy.
The real fun begins when you press the painted bubbles onto your page—the circles can look like fizzy soda bubbles or a secret alien code!
Mixing colors and layering your prints just pumps up the cool factor, and every press creates a totally unique background.
Materials and Preparation
Materials really set the stage for any great art project, and bubble wrap printing is no exception—plus, who can resist the satisfying pop every now and then?
Before imagination takes the reins, a little planning goes a long way. Materials organization and smart tool selection help make every step smoother and way less messy.
Here’s what artists need to line up:
- A chunk of clean bubble wrap (try different sizes for unexpected results)
- Acrylic or watercolor paints that pop with color
- Brushes or paint rollers for spreading that paint nice and even
- Heavy paper or canvas, because flimsy paper just won’t cut it
- Paper towels and water for cleaning up splatters and keeping bubble wrap reusable
With everything prepped, creators are just a step away from transforming these simple supplies into textured backgrounds!
Creating Unique Patterns
There’s just something magical about turning ordinary bubble wrap into a pattern-making superstar.
Bubble wrap printing lets you transform boring sheets of plastic into exciting, textured backgrounds for your sketchbook. Start by picking your favorite paint types—maybe try acrylics for bold pops of color or watercolors for softer, dreamy effects.
Brush or dab paint right onto the bubble wrap, and don’t be afraid to mix colors on the wrap itself for wild blends or cool gradients. When you press the painted bubble wrap onto your page, experiment with different pressures.
Light pressure gives softer dots, while a good press makes those circles really pop! Layer prints or use bubble wrap of odd sizes and shapes to craft backgrounds that are anything but boring.
Sgraffito Scratch Art
Imagine dragging a toothpick across a thick layer of paint, revealing bright, unexpected colors hiding underneath—that’s the magic of sgraffito scratch art.
This playful technique lets artists create incredible backgrounds by scratching shapes and swirling lines into their work. Sgraffito techniques rely on layering contrasting colors, so a simple scratch can surprise you with an amazing pop of brightness.
Traditionally used on clay, artists now use it on paper or canvas with acrylics or oils. Tools can shape the textures and lines—anything from a palette knife to the back of a paintbrush works.
Want ideas to try on your next sketchbook page?
- Layer bold paints before scratching
- Try toothpicks, combs, or old pens
- Mix up color combos for surprises
- Go wild with patterns and doodles
- Experiment on different paper types
Brayer and Rolling Techniques
Some artists think a brayer looks like a tool you’d use to paint a giant hamster wheel, but in the art world, it’s actually way cooler—a hand-held roller that spreads beautiful layers of ink or paint across your page.
Brayer techniques are all about how you roll. Try rolling fast for a streaky effect, or slow, steady motions for smoothness. You can experiment with rolling pressure too; pressing hard gives a bolder, heavier layer, while a soft touch leaves gentle marks.
The material matters—rubber brayers create sleek lines, while hard plastic can give you funky, unexpected patterns. Layering light and dark colors can add amazing depth to your sketchbook backgrounds.
Just remember, always clean your brayer right away so it stays awesome!
Mixed Media Layering
A lot of artists know that mixed media layering is where the real magic in sketchbook backgrounds happens.
It’s like stacking all your favorite snacks—each one bringing something unique, but together they’re even better! By mixing paint, ink, textured mediums, and even unexpected bits like fabric or photographs, you get awesome outcomes full of depth.
Transparent materials add secret peeks and color fusion, while collage and stenciling let surprises pop up everywhere. For wild textural harmony, try switching up how thick or thin your layers are.
Not sure where to start? Give these ideas a try:
- Overlap tissue paper for subtle see-through effects
- Glue on fabric scraps for tactile interest
- Add photographs for a personal touch
- Layer stencils or prints for pattern play
- Use texture paste for instant raised designs
Frequently Asked Questions
How Do I Make My GCSE Art Sketchbook Look Good?
To enhance sketchbook presentation and visual organization, a student should curate pages with thoughtful layouts, clear annotations, and cohesive themes. Incorporating diverse media and materials while maintaining clarity helps the sketchbook appear both professional and visually engaging.
What Are Two Ways Artists Use Sketchbooks?
Artists use sketchbooks primarily for sketchbook purposes such as recording observations and refining drawing skills. Additionally, they employ sketchbooks for creative exploration, allowing experimentation with ideas, styles, and techniques in a personal, low-pressure environment.
How to Use a Sketchbook Effectively?
To use a sketchbook effectively, an individual should focus on sketchbook organization by dedicating pages to themes or mediums, regularly engaging with creative prompts, and maintaining consistency in practice to encourage steady artistic improvement and idea development.
What to Include in a Level Art Sketchbook?
A level art sketchbook should feature environment exploration through sketches, color palettes, and varied settings. Character design studies, atmospheric effects, and notes on conceptual inspiration help develop cohesive visual storytelling, supporting both artistic experimentation and final production planning.
Conclusion
So, there you have it—sixteen wild, messy, or totally chill ways to level up any sketchbook page. Seriously, backgrounds don’t have to be boring! Whether you’re a big fan of paint splatters, crazy textures, or top-secret collage missions with glue, there’s a technique here for every mood. Just grab your favorite tools, experiment a little, and don’t worry about making a mess. Remember, even the weirdest backgrounds can spark your coolest ideas. Get out there and create!
Leave a Reply