
DIY Posca window art is a blast—just grab bold Posca pens, clean your window until it squeaks, and let your creativity run wild. Test the markers in a corner, then sketch your design from top to bottom to dodge smudges (trust us, gravity isn’t your friend here). Messed up? No sweat! A razor blade fixes oopsies fast. Seal your masterpiece with clear acrylic spray for lasting color—double the coat, double the wow. Curious about making your window look extra epic?
Key Takeaways
- Thoroughly clean and dry the glass surface to ensure optimal paint adhesion and prevent smudging.
- Test your Posca paint pens on a small corner of the glass before starting your main design.
- Draw your design from top to bottom using bold Posca pens, correcting mistakes with a razor blade if necessary.
- Protect your finished artwork with two coats of crystal clear acrylic spray, holding the can 12 inches away for even coverage.
- Enhance durability and polish by sealing the backside and lightly scratching to test the adhesion of your design.
Gathering Your Materials and Setting Up
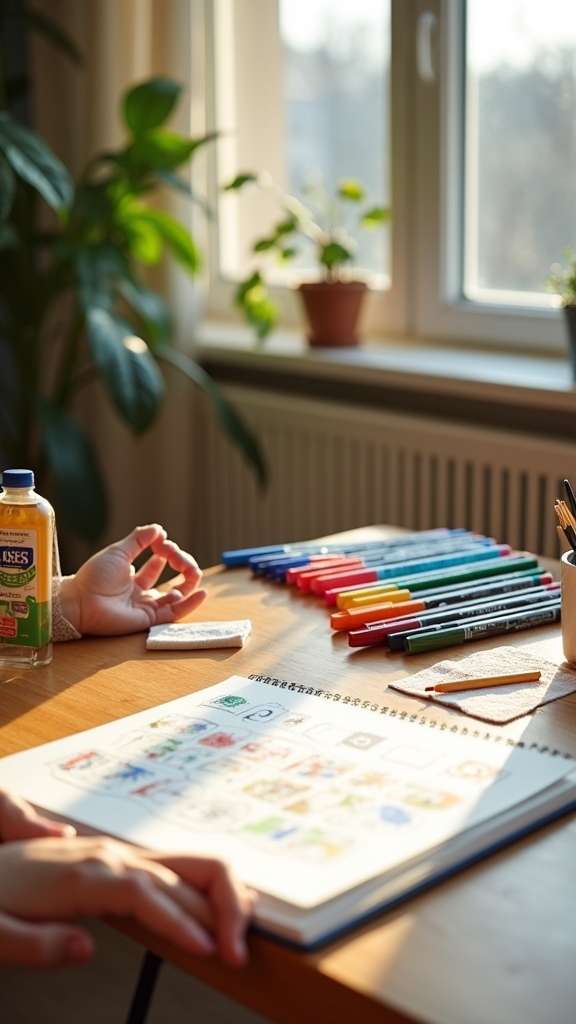
Supplies are the secret behind every awesome window art project, and Posca pens are basically the superheroes here. Gathering your materials is the first step—don’t skip it!
You’ll need Posca paint pens (maybe grab a few bold colors and some chunky ones for epic lines), a clean glass surface, Windex or water for wiping things down, and a razor blade for fixing any oops moments.
A super bright workspace helps you see every detail and makes your art pop. Before you go wild with your design, test your Posca paint on a small spot to make sure it sticks and shows up really well.
When you’re ready to start, double-check that your glass is spotless and totally dry—smooth moves only!
Prepping the Glass Surface for Drawing
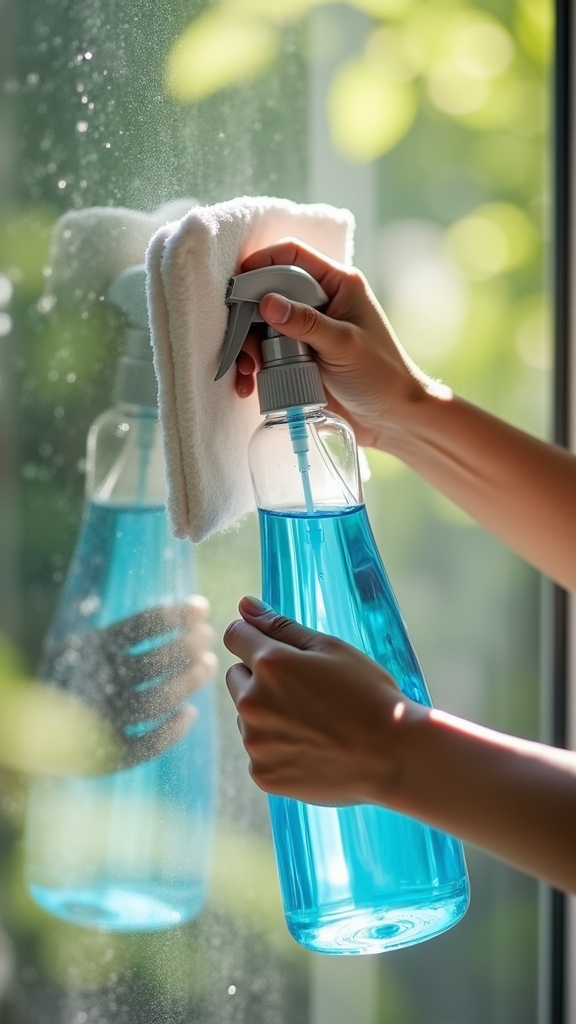
Before diving into the fun part—drawing—there’s one super important step that can’t be skipped: prepping the glass. Cleaning the glass might sound boring, but it’s the secret sauce for making sure your paint pens stick like magic. Start by grabbing some Windex or just plain water and wipe away any dust or fingerprints (ew!). After that, make sure the glass dries fully. Any leftover moisture can mess up your art by making the paint smudge or slide around. Test a tiny spot with a black paint pen to check if it sticks and shows up well. Oh, and watch out—scratches on glass can ruin your masterpiece! Here’s a quick checklist:
| Step | Why It Matters |
|---|---|
| Clean the glass | Removes dust and oils |
| Dry completely | Stops smudging and streaks |
| Test paint pens | Checks adhesion and visibility |
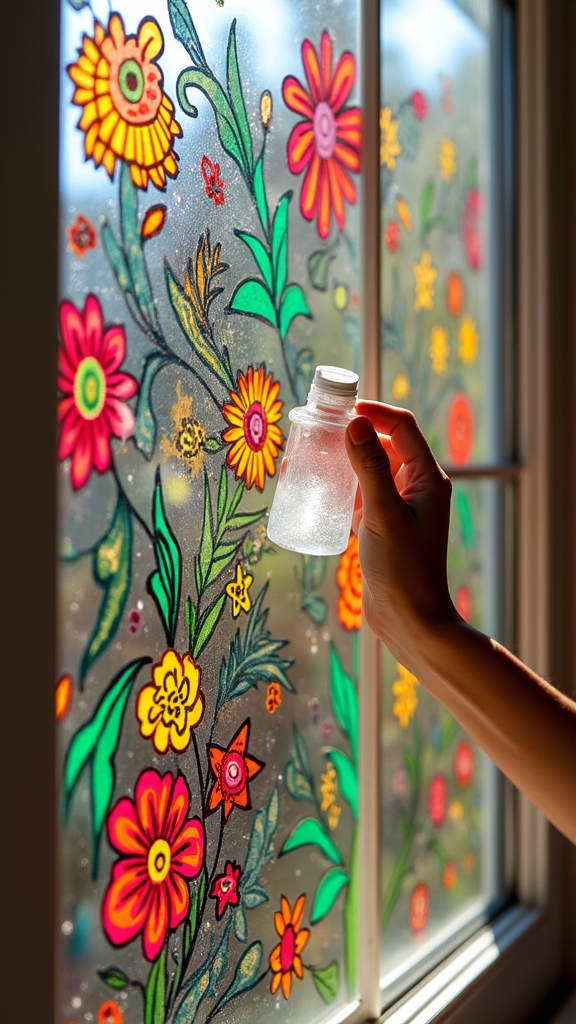
Drawing Your Design With Posca Paint Pens

Release your creativity—this is the moment where blank glass transforms into something awesome! When you draw with Posca, it’s like magic.
First, make sure the glass is totally clean and dry so the paint really sticks. I’m gonna let you in on a trick: test your Posca pen on a corner before going wild, just to be sure it works great.
Start at the top and work your way down, so you don’t end up smudging your masterpiece. Thick Posca pens are perfect for bold, vibrant colors, and layering is really easy—just go slow and let each color dry.
Messed up? No worries! Grab a razor blade and gently scrape off mistakes.
Now, step back and admire your awesome window art!
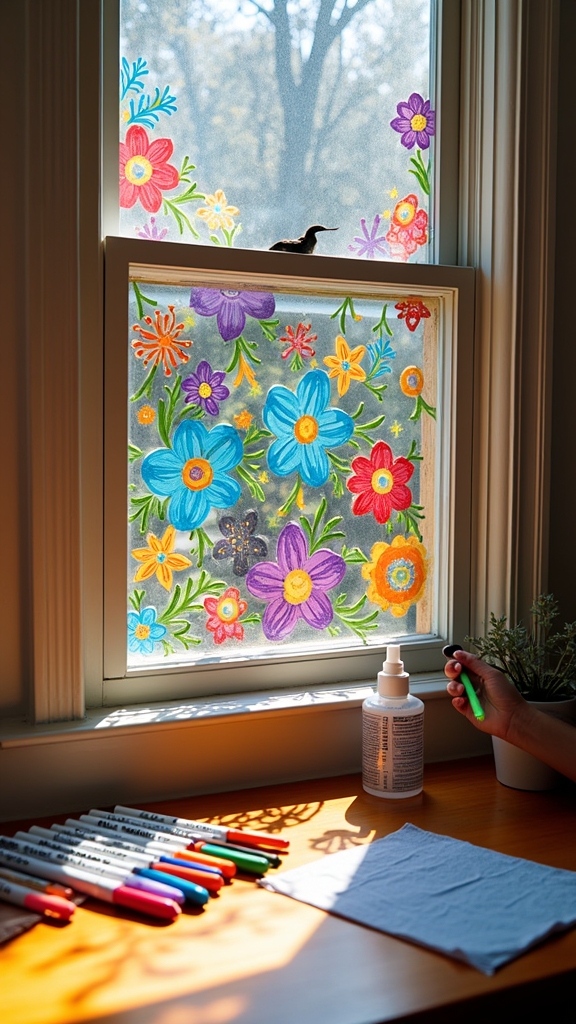
Sealing and Protecting Your Window Art
Once that window art is looking just how you want it, it’s time to make sure all your hard work actually lasts. You didn’t use Posca pens and focus really hard just to watch your masterpiece fade away, right?
Grab a crystal clear acrylic spray—this is the superhero cape for your art. Hold the spray about 12 inches away, and use smooth, even bursts so you don’t end up with weird drips. Go for two coats (I’m going to try that next time), because double the protection means less chance your art will get scratched or smudged.
When it’s dry, lightly scratch the surface. If the paint sticks, you did it! And don’t forget to seal the backside, too, so your window art shines from every angle.
Tips for Maintaining and Experimenting With Your Artwork
How can you keep that window masterpiece looking fresh and maybe even make it cooler next time? It’s all about a few smart moves to make your art last longer and look pretty good, even after weeks on display.
I’m sure you want your designs to pop and stay sharp, right? Here are some easy, awesome ways to maintain your artwork and experiment for even cooler results:
- Always spray on two coats of crystal clear acrylic for extra toughness—your art deserves armor!
- Test your work by gently scratching with your finger or a razor blade; it should hold up if you did it right.
- Layer colors lightly to make them stand out without pulling up what’s underneath.
- Fix mistakes using a razor blade—no need to panic!
- Share your creations and get feedback from the art community to keep improving.
Frequently Asked Questions
How to Do DIY Window Art?
For those seeking window decoration ideas, one may try DIY window art by incorporating seasonal designs or kids’ artwork using paint pens. Careful surface cleaning, layering, and protective spray guarantee vibrant, long-lasting results suitable for any creative project.
Do Posca Pens Work on Windows?
Posca pens work well on windows, offering strong durability for window art. Proper surface preparation, such as cleaning and drying the glass, improves adhesion. Window art techniques like layering colors and applying a protective coat further enhance results.
How Do You Draw With Posca Markers for Beginners?
When learning how to draw with Posca markers, beginners benefit from tips like cleaning surfaces first, practicing basic marker techniques, and exploring color blending. Using light layers and working top to bottom minimizes smudging and improves results.
How to Make POSCA Permanent on Glass?
To guarantee Posca durability on glass, thorough glass surface preparation is essential. After the paint dries, permanent sealing methods, such as applying two coats of clear acrylic spray, provide lasting protection and help prevent scratching or peeling.
Conclusion
With just some Posca pens and a clean window, anyone can turn plain glass into a personal masterpiece. It’s not rocket science—just a little prep, a steady hand, and maybe a playlist to keep things fun. The best part? If you mess up, just wipe it off and try again! So, don’t stress about perfection. Grab those pens, let your creativity run wild, and watch your windows pop with color and personality.
Leave a Reply