
With Posca pens, artists can layer colors for eye-popping effects, blend for super-smooth gradients, or use dotting and stippling to add fun textures—there’s even splatter techniques for wild, messy energy (parents, beware!). Outlines make designs crisp, while ombre and reverse coloring turn simple doodles into modern masterpieces. You can also cross-hatch for cool shadows, fill backgrounds fast, and experiment on everything from paper to fabric. Want to find out the rest of these awesome tricks? Keep going!
Key Takeaways
- Layer light and dark colors to create bold, vibrant effects and dynamic depth in your Posca pen artwork.
- Blend colors while wet for smooth gradients or ombre effects, using blending tools or a white Posca pen for seamless transitions.
- Add texture and detail with dotting, stippling, and cross-hatching techniques for unique patterns and shading.
- Use fine lines for intricate designs and broad strokes for quickly filling backgrounds or creating dramatic contrasts.
- Experiment with mixed media, splatter effects, and reverse coloring to expand creative possibilities and make your art stand out.
Layering Colors for Bold Impact

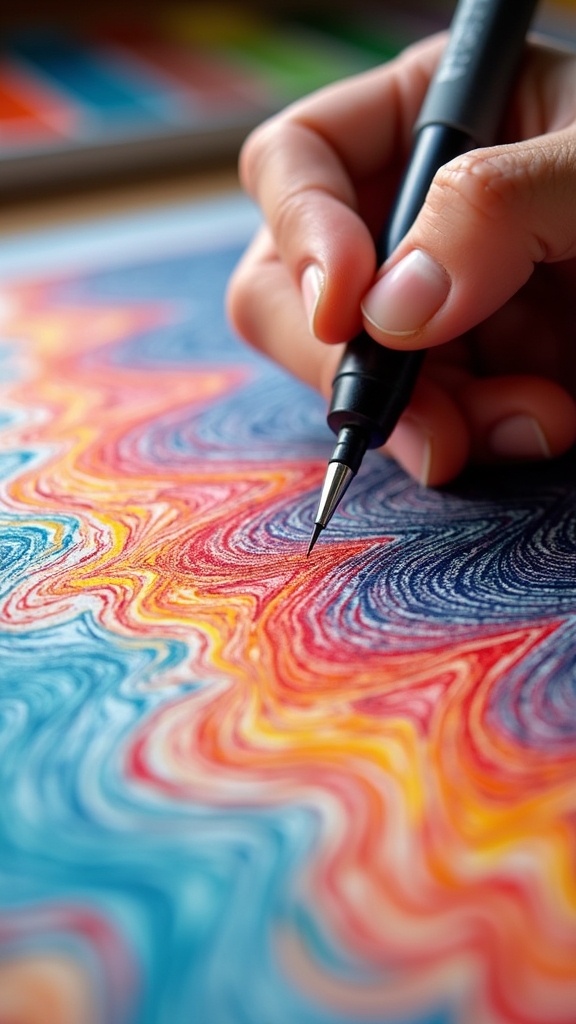
Jump right in—layering colors with Posca pens is where the real magic happens! When artists want their work to pop, layering techniques are key.
Start with lighter colors as your first layer, letting them dry (seriously, have some patience!) before adding darker shades on top. This amps up color contrast, making each hue stand out like it’s shouting, “Look at me!”
Lay down those light colors first, let them dry, then layer on the dark—watch your artwork come alive with contrast!
Use fine tips for details and broad tips to cover big spaces—it’s like having a toolbox of awesome. Trying lighter colors over dark ones? Sometimes it’s a wild card, but the surprise results are worth it.
Always wait for each layer to dry, unless you want a muddy mess. Layering with Posca pens? It’s bold, it’s fun, and it’s pure creative power.
Smooth Blending for Soft Transitions

After all that bold layering, sometimes an artist just wants things to mellow out a bit. That’s where smooth blending comes in—seriously, it’s like magic for color shifts.
With Posca pens, blending techniques start simple: put two colors side by side and let them overlap a little. While the ink is still wet, grab a damp brush or a blending sponge and gently mix those colors together. It’s kind of like making a smoothie, but for your art.
Working in small sections is the trick—no one wants their colors drying out before they blend! Want a softer look? Use lighter pressure for more delicate hues.
And don’t forget, layering is your friend for more defined shifts. Go on, mellow those colors!
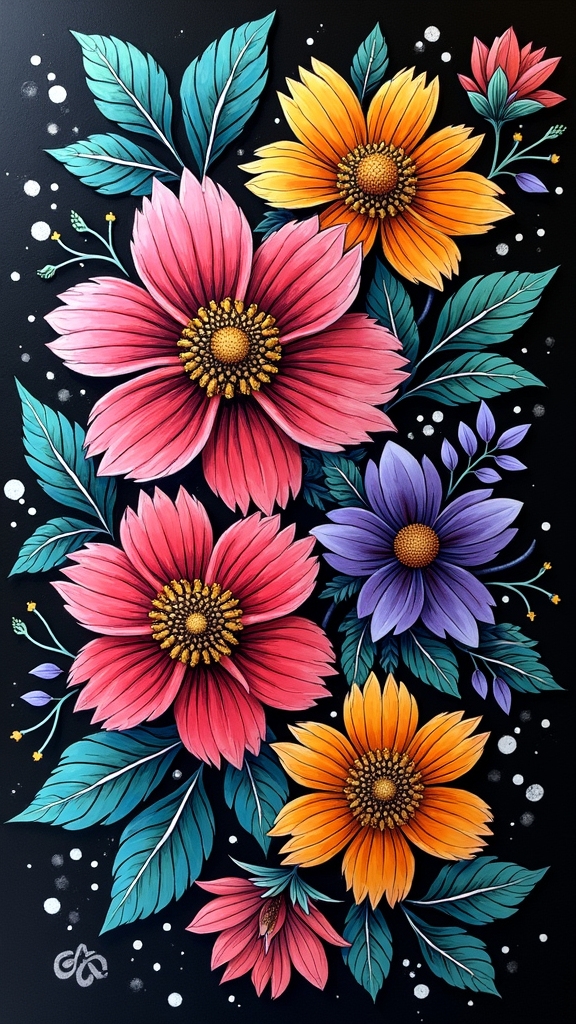
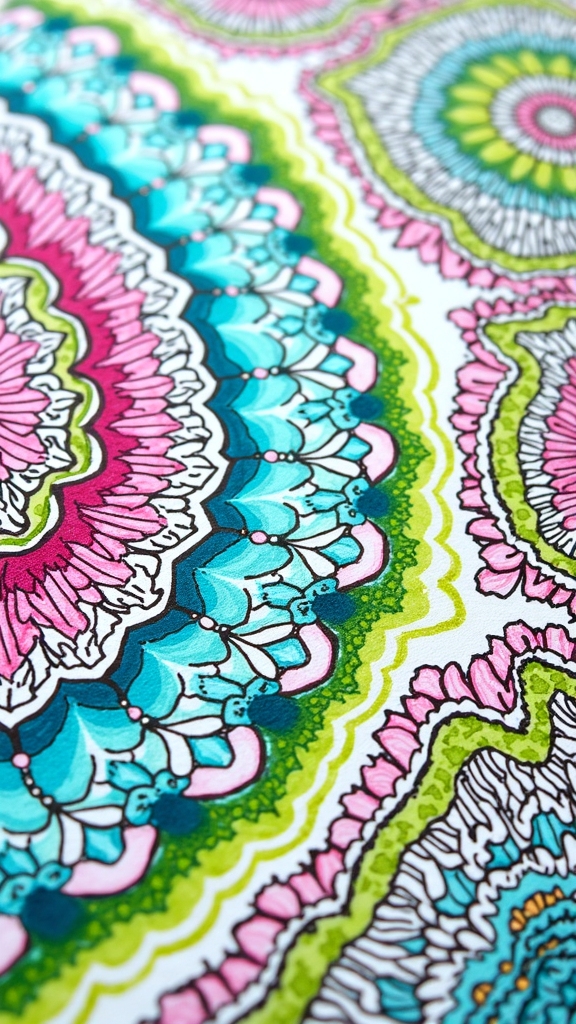
Dotting for Texture and Detail

Dotting with Posca pens is like giving your art a whole new personality—just a few tiny dots can make scales on a dragon or freckles on a face pop right out.
By playing around with dot size, spacing, and even stacking different colors, artists can create awesome textures, fine details, and eye-catching depth that make people want to reach out and touch the paper (please don’t, though—smudges are the enemy!).
Whether it’s a field of flowers or the fuzzy texture of a monster’s fur, dotting opens up tons of creative options that are fun to explore.
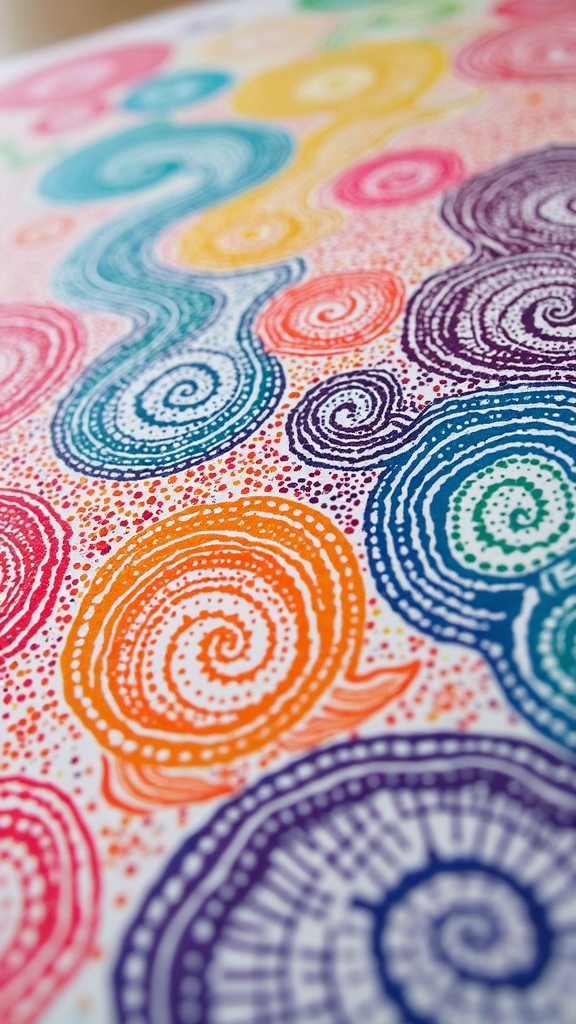
Creating Textured Patterns
Some artists swear that creating textured patterns with Posca pens feels a bit like magic—tiny dots can bring a flat surface to life with just a few taps of the pen.
Dot size variations are key: using different Posca pen tips lets creators mix big, bold dots with small, delicate ones, making patterns pop. Layering dots in cool color combinations adds depth, and letting each layer dry first keeps colors crisp instead of muddy.
Pressing gently or harder makes each dot unique, and combining this with other marks—like lines—really amps up the texture. It’s like turning a blank page into a party!
- Mix large and small dots for dynamic patterns
- Use bright and contrasting color combinations
- Layer dots for extra texture and dimension
- Experiment with different pen tip sizes
- Add dotted textures to backgrounds or main designs
Enhancing Fine Details
Once artists get the hang of making bold patterns and cool textures, the next big thrill is adding those tiny, eye-catching details that make a piece stand out.
Dotting with a Posca pen is like giving your art freckles—each dot adds personality! By switching up dot size variation, artists can create spots that really pop or blend smoothly into the background.
It all comes down to pressure control; a gentle tap makes a small, delicate dot, while a firmer press makes a bold, chunky one. Mixing dot sizes and colors is a game-changer for adding texture and detail, making fur look fuzzy or stars look like they’re twinkling.
Practicing consistent dot spacing will help designs look crisp and totally pro.
Layering Dots for Depth
When it comes to making artwork jump off the page, layering dots with Posca pens is like revealing a secret level in a video game.
By playing with dot density—packing dots tightly or letting them breathe—you can create wild textures and make your drawings pop. If you want to show depth, focus on foreground emphasis by starting with big, bold dots up front and shrinking them back as you move away.
Mixing colors, layering light dots over dark ones, can make your design look like it’s glowing. But don’t rush! Let each layer dry to keep things crisp and clean, not a smeared mess.
- Large dots in the foreground catch attention
- Small, spaced-out dots fade into the background
- Layering different colors adds contrast
- Tight clusters create intense texture
- Drying between layers prevents smudges
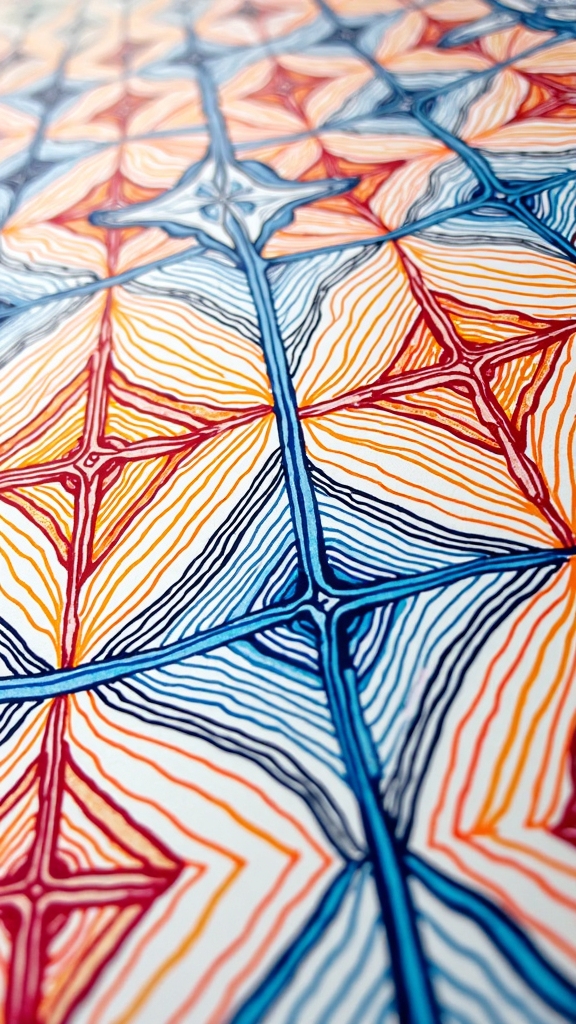
Cross-Hatching for Shading Effects
Dive right into the world of cross-hatching, and suddenly shading with Posca pens feels a whole lot more exciting.
Imagine this: you’re building shadows and depth just by playing with line direction and line density! Want a spot to look darker? Pack those lines in tight. Need a lighter area? Spread them out, easy-peasy.
Here’s where pressure variation comes in—press hard for bold lines or go soft for subtle shades. Don’t stop at black; color experimentation adds artistic depth and wild visual contrast that will wow anyone checking out your art.
Play with pressure for bold or subtle lines, and let color experiments bring striking contrast and artistic flair to your Posca pen shading.
Try layering lines in different directions for cool texture creation. It’s like stacking magic, only with pens.
Mastering these shading techniques makes your artwork pop, with every mark adding lively details.
Stippling for Unique Patterns
Stippling might look simple, but those tiny dots pack a punch when it comes to creating depth and eye-catching patterns with Posca pens.
By changing how close or far apart the dots are, artists can make shadows, highlights, or even wild textured backgrounds that almost jump off the page—no boring flat spaces here!
It’s a bit like magic, except instead of a wand, you’ve got a pen and a whole lot of patience.
Creating Depth With Dots
A bunch of tiny dots might not seem like much at first, but in the world of Posca pen art, they’re absolute game-changers. Stippling is all about using controlled dots to build up depth and texture.
By playing with dot density—packing them tight for shadows or spreading them out for highlights—artists can pull off some serious shadow play, making their drawings pop right off the page. Mixing up dot sizes and sneaking in different colors takes the effect even further.
It’s not just cool, it’s magic on paper, canvas, or even wood. With patience and a steady hand, anyone can master this technique and create eye-catching, three-dimensional art.
- Tight clusters for deep shadows
- Sparse dots for highlights
- Layered colors for dynamic depth
- Varying dot sizes for realism
- Practice for smoother, sharper details
Textured Background Effects
Once those dots start building up depth and shadows, artists quickly realize they can do way more with them than just add dimension.
Stippled techniques with Posca pens are perfect for crafting textured background effects that totally grab attention. By changing up the dot density—packing dots tightly or spacing them out—artists can create wild patterns and cool shading tricks that make the background come alive.
It’s not just about black and white, either. Mixing different colors in your stippling boosts the vibe and makes everything pop. Layering dots on top of each other adds even more complexity, kind of like stacking pancakes, but way less sticky.
For best results, practicing on scrap paper helps keep your dots controlled and your masterpiece drama-free.
Fine Line Work for Intricate Designs
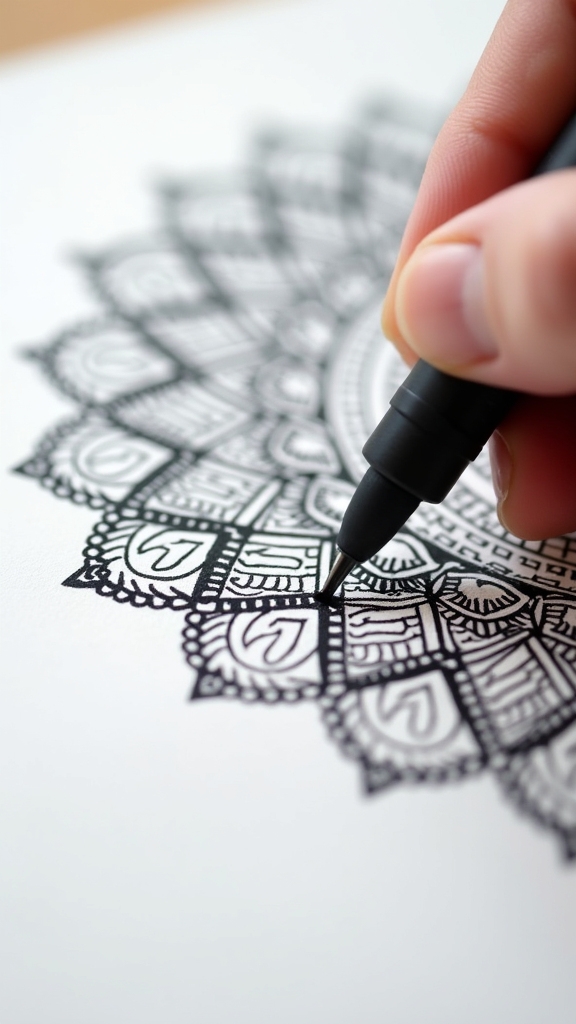
Precision is the name of the game when it comes to fine line work with Posca pens, and honestly, it can feel a bit like trying to draw on a trampoline—steady hands are a must!
Mastering fine lines with Posca pens is all about steady hands—think drawing on a trampoline and embracing the challenge!
For anyone looking to level up their intricate designs, fine line tips and precision techniques become your secret weapons. Start by picking a Posca pen with a nib size of 0.7mm or smaller.
Patience pays off, especially when you let each layer dry before adding details—no one likes a smeared masterpiece! Layering thin lines can add amazing depth, and yes, practice makes perfect.
So don’t stress about wobbly lines at first; everyone’s been there.
- Use ultra-fine nibs for sharp detail
- Work slowly for steady lines
- Let each layer dry completely
- Layer thin lines for depth
- Practice precision techniques regularly
Broad Strokes for Background Fills
After sweating over those tiny details and wobbly lines, it’s kind of a relief to pick up a Posca pen with a big, chunky nib and just go wild on the background.
This is where broad strokes really shine! For solid background techniques, using an 8mm or even a 15mm nib can cover large areas super quickly.
The trick is smooth, sweeping color application—keep your pressure steady and go for even, overlapping strokes so you don’t end up with weird streaks.
Want your background to pop? Let that first coat dry, then layer another color on top for extra depth.
Feeling bold? Try blending two colors while the ink’s still wet for a cool gradient effect.
Suddenly, backgrounds aren’t boring—they’re awesome!
Outlining for Crisp Definition
Outlining with Posca pens is like giving your artwork a superhero cape—it makes everything pop and look way more awesome.
Sharp, clean lines can separate colors and shapes, turning a good drawing into something eye-catching and bold. By adding these crisp borders, artists boost contrast, making every part of their piece stand out with confidence.
Achieving Sharp Clean Lines
Nothing grabs attention in Posca pen art quite like those sharp, clean lines that make a drawing look super professional—even if it was doodled during math class. Achieving that level of crispness takes a bit of practice and, honestly, a steady hand that doesn’t wiggle at the worst moment.
Precision control is key; keep your grip firm but not too tight, and use consistent pressure to maintain even line thickness throughout. Want those lines extra sharp? Try these tricks:
- Experiment with different Posca nib sizes for the perfect balance of detail and boldness.
- Use a ruler or painter’s tape to guide your pen for extra-straight lines.
- Let each layer dry before adding more—smudges are the enemy!
- Practice slow, steady strokes.
- Outline with a contrasting color for instant pop.
Enhancing Contrast With Borders
Sharp lines are awesome on their own, but sometimes a drawing needs that extra pop to really stand out from the page. That’s where border techniques come in!
Outlining your art with Posca pens—especially using contrasting colors—can totally boost the wow-factor. Imagine a bright yellow sun outlined with a deep purple: instant eye-catcher.
A fine tip Posca pen is your best friend for keeping those borders crisp and clean, but don’t be afraid to mix it up. Thicker borders can make things look bold, while thin lines can look delicate or sneaky.
Layering outlines with different colors? Now you’re adding serious style and even a three-dimensional effect.
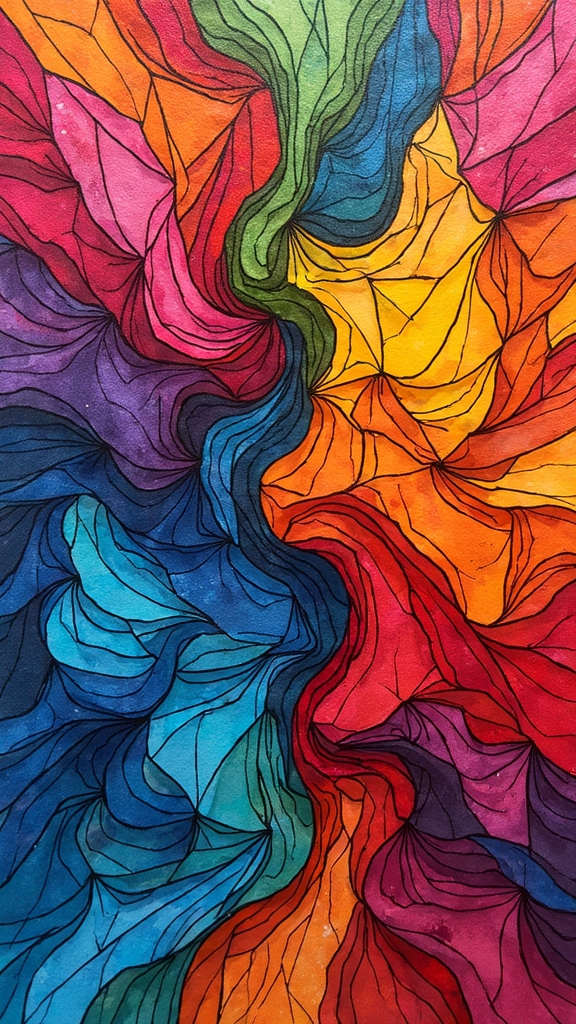
Gradient Techniques for Depth
Gradients are like magic tricks for your art—they turn flat shapes into eye-catching masterpieces with depth and energy.
Using Posca pens, artists can master gradient color changes to make their drawings pop off the page. With just a few depth enhancement techniques, even simple sketches can look like they have real dimension. The secret? Work fast while the ink is still damp, and don’t be afraid to experiment.
Whether you’re aiming for a soft blend or a bolder shift, practice makes perfect. Here’s how to get started:
- Layer colors quickly while they’re still wet for smooth blends.
- Use a white Posca pen to lighten and blend darker areas.
- Apply varying pressure for different opacity effects.
- Smudge gently with a blending tool or finger for control.
- Build up thin coats, evolving slowly between colors.
Highlighting With White Accents
White accents are like the secret ingredient that can make Posca pen art totally pop. When you add a dash of white to your artwork, suddenly everything looks brighter and more dramatic, almost like your drawing just got a spotlight.
Artists use white accent techniques to boost contrast and make colors look richer. If you want those striking visual effects, try applying white over darker backgrounds—it stands out in a major way!
Shake your Posca pen well, press gently, and let the ink flow. You can dot, dash, or draw lines for cool textures and patterns.
Just remember to let your white accents dry before adding more details, or you might end up with a smeary mess—nobody wants that drama!
Mixed Media Integration

A whole world of creative possibilities opens up when artists start mixing Posca pens with other materials. Mixed media is all about creative exploration, and Posca pens play nicely with tons of art supplies.
Imagine drawing bold lines over a splashy watercolor background or doodling on fabric to make a one-of-a-kind backpack. The key is to let each layer dry before jumping to the next—unless you’re feeling wild and want to try some blending tricks!
Bold lines over watercolor or doodles on fabric—layer, let it dry, or dive into blending for unique mixed media magic.
Artists can even work on crazy surfaces like glass or metal, as long as they clean them first. With so many materials to mix, the only limit is imagination.
- Layer Posca over dry acrylic or watercolor
- Add collage bits for extra texture
- Draw on fabric or clothing
- Blend with wet paint for cool gradients
- Decorate glass jars or metal tins
Masking for Clean Edges
Getting creative with mixed media is awesome, but sometimes artists want their lines to be sharp and their shapes to really pop. That’s where masking tape comes in like a superhero for edge protection!
By placing masking tape over areas you want to keep clean, it’s easy to block color from sneaking where it shouldn’t be. For the best results, it’s smart to press the tape down firmly—no one wants paint slipping underneath and ruining that crisp line.
Low-tack masking tape is best, too, because it peels off without tearing your masterpiece. If you want different line thicknesses or cool geometric shapes, experiment with tape widths.
And remember: let each Posca pen layer dry before removing the tape. Clean edges, happy artist!
Splatter Effects for Dynamic Energy
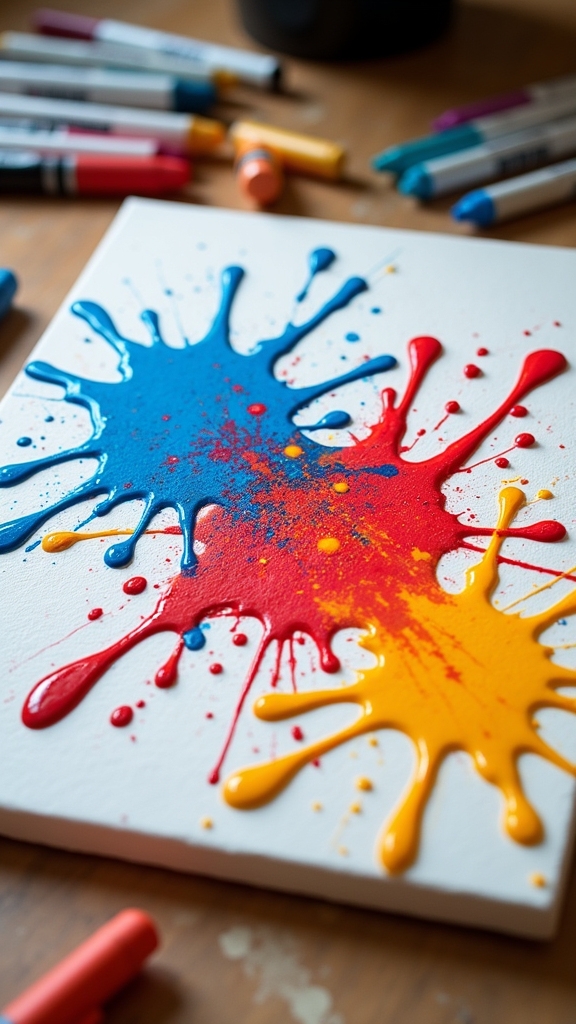
Blast some excitement onto the page with splatter effects—nothing says “dynamic energy” quite like a wild burst of color!
With Posca pens, splash techniques make every artwork feel alive and spontaneous. It’s as easy as holding the pen at a slight angle and giving the nib a quick flick—get ready for unexpected pops of paint!
Trying different pen sizes is like having a splash party; big nibs mean big splats, while fine tips deliver tiny bursts.
Remember, a smooth, non-porous surface keeps those colors bright and bold, not soaked and sad. For extra wow, layer different splatters and experiment with color variety.
And hey, don’t forget to protect your desk!
- Flick the nib for wild splatters
- Try multiple pen sizes
- Work on smooth surfaces
- Layer splatters for depth
- Use tape or templates for clean edges
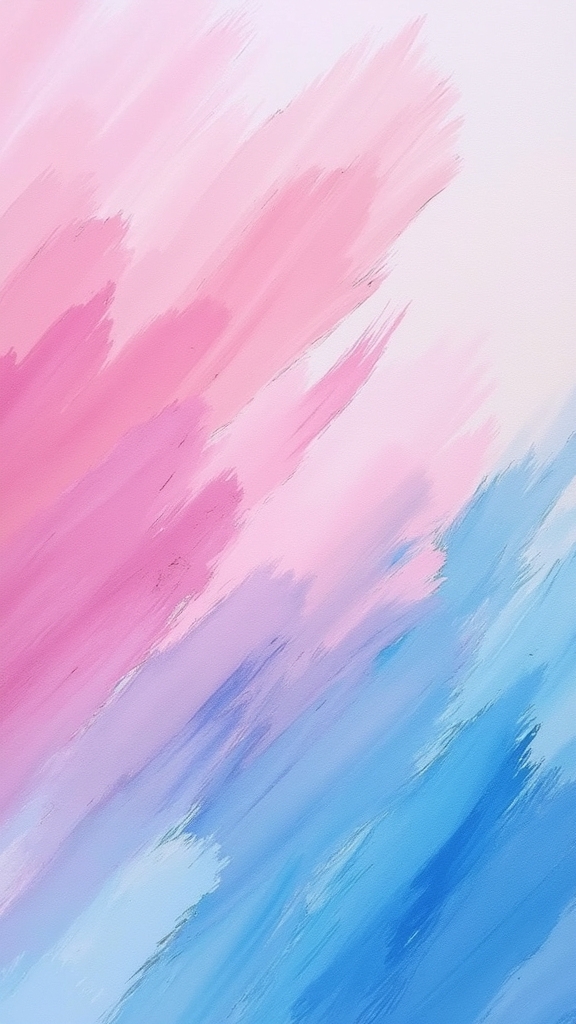
Ombre Coloring for Modern Looks
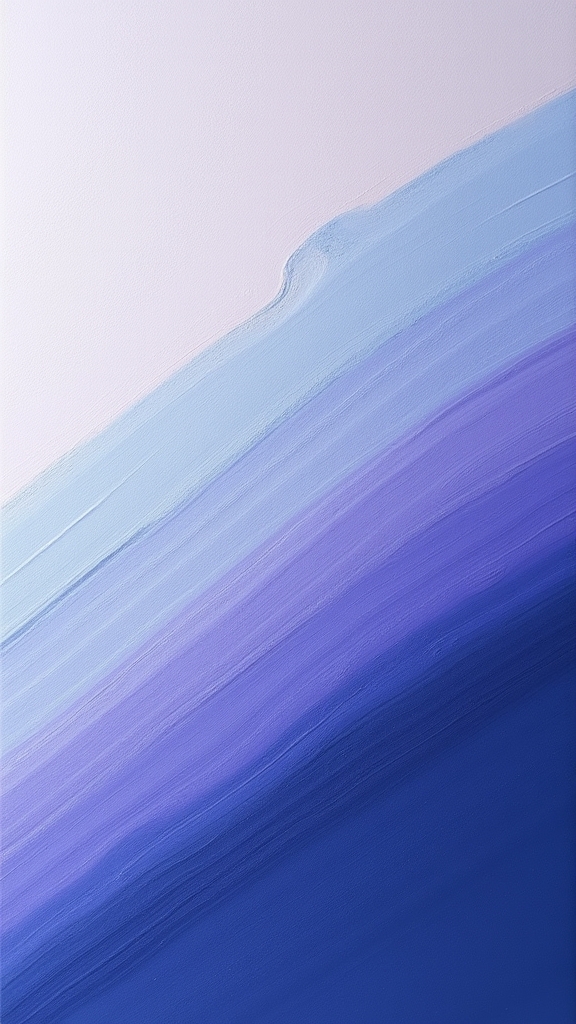
Ombre coloring with Posca pens is all about blending colors so smoothly that you can’t tell where one ends and the next begins—kind of like the world’s coolest sunset.
Artists love how easy it is to make bold gradients with these pens, and the results always look fresh and modern.
With the right technique, even a simple doodle can suddenly pop with that eye-catching ombre magic.
Blending Colors Seamlessly
Color magic happens when artists blend Posca pens to create a seamless ombre effect—think of a sunrise melting from soft yellow into bold pink, right on the page.
Achieving that smooth look is all about using the right color combinations and having a few blending tools up your sleeve. Start by laying down the lighter color, then gently add in the darker shade, letting the colors meet and mingle.
Sometimes, a damp paintbrush is your best sidekick, softening the border between hues for that dreamy shift. Don’t rush—let each layer dry a little before moving to the next.
- Layer light to dark for smooth blends
- Use a damp brush or blending tool
- Try bold or subtle strokes
- Test color combos on scrap paper
- Let layers dry for clear ombre magic
Gradient Effects With Posca
Even though some might think gradients are tricky, creating stunning ombre effects with Posca pens is totally doable—and way more fun than it looks.
The secret sauce? A little gradient color theory and some simple color blending techniques. Start by picking two (or more!) colors that get along, ideally in the same family—think blue to purple or yellow to orange.
Lay down the lighter color first, spreading it nice and even, then swoop in with the darker shade, blending where they meet using smooth, circular moves. For extra wow, dab on a damp brush or sponge while the paint’s still wet.
Try layering thin coats instead of one thick blob—patience pays off! Make sure everything dries before adding more, unless you like your gradients muddy and mysterious.
Reverse Coloring With Negative Space
There’s something seriously cool about reverse coloring with negative space—it’s like creating art by erasing rather than drawing!
This mind-bending method starts with a bold, colorful background, then uses white or light Posca pens to reveal designs. It’s all about those negative space techniques: the bits you leave untouched become just as important as what you add.
Planning designs is key here—sketch out which parts stay vibrant and which get “erased” with your pen. Layer different colors for extra punch, and don’t be afraid to mix tip sizes for wild detail.
The effect? Super eye-catching, like a secret message hidden in plain sight.
- Begin with a fully colored background
- Sketch out your design before adding pen
- Use white or light Posca pens for highlights
- Layer backgrounds for depth
- Mix pen tip sizes for texture
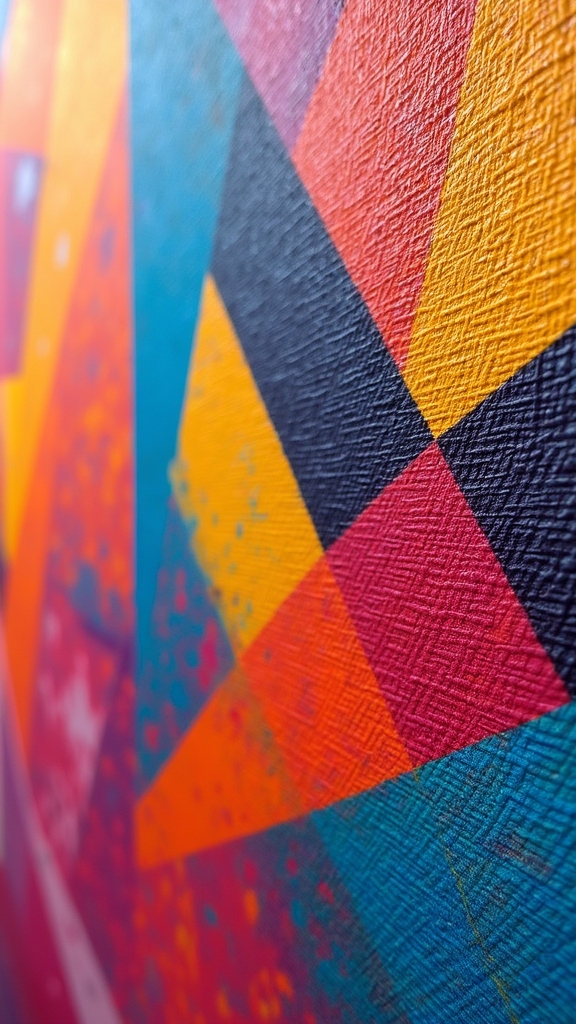
Layered Shapes for Dimensional Art
Stacking shapes like a boss is one of the coolest tricks Posca artists have up their sleeves. By overlapping geometric patterns—think circles, triangles, and rectangles—they build layered textures that pop with dimensional balance.
Start with a simple shape, let it dry, then add another on top using a lighter or darker shade for epic shape contrast. Want to make things even bolder? Switch up your pen thickness for lines that dance with visual rhythm.
Shadow play is key—add darker outlines or a bit of shading to make abstract forms stand out. Mixing colors carefully keeps color harmony in check, so your art doesn’t turn into a circus.
Frequently Asked Questions
What Easy Things Can You Do With Poscas?
When asked about easy things to do with Poscas, one might suggest creating creative doodles using their vibrant colors. These pens allow for simple patterns, playful illustrations, and quick designs on paper, wood, or even fabric surfaces.
What Is the Best POSCA Pen for Beginners?
When considering the best Posca pen for beginners, the PC-3M medium tip is often recommended, as it balances versatility and control. Basic sets featuring essential colors offer a straightforward introduction to different pen types and best colors.
Is POSCA Ok on Skin?
Regarding Posca safety and skin application, Posca pens are not intended for use on skin. Temporary use may be possible, but irritation or allergic reactions can occur. Products specifically designed for skin are recommended for body art.
How to Use Posca Pens for Beginners?
When learning how to use Posca pens for beginners, one should focus on basic techniques such as selecting suitable surfaces, practicing color blending, experimenting with nib sizes, and layering colors. Regular nib cleaning guarantees smooth paint flow and consistent results.
Conclusion
Posca pens make art super fun, right? With these sixteen awesome techniques, anyone can turn a boring piece of paper into something totally epic. There’s something for everyone—splatter if you’re feeling wild, ombre if you want to look fancy, or dotting if you’re just really into polka dots. Don’t stress about being perfect; just experiment, make mistakes, and laugh at the mess. Grab those pens and go create—your masterpiece is waiting (maybe with a few extra splatters)!
Leave a Reply