
Posca pens are super fun for beginners, and there are tons of easy ideas to try, like making simple nature doodles (think bright leaves or cartoony flowers), bold geometric shapes, colorful rainbows, or sunny beach scenes with flip-flops and sand buckets. Kids can layer colors, add cool details, or fix oopsies with a white pen—no need to stress! Test out blending, experiment with patterns, and don’t be afraid to get creative—there’s way more you can try next.
Key Takeaways
- Create easy geometric art using bold shapes and a limited palette for strong visual impact.
- Draw simple nature doodles like leaves and flowers with layered colors and white highlights.
- Illustrate cartoon animals with exaggerated features and bright, layered Posca colors.
- Make playful summer icons such as suns, waves, and ice creams using vibrant shades and thick outlines.
- Experiment with colorful abstract backgrounds by overlapping broad strokes and adding fine-line details.
Choosing the Right Posca Pens and Paper

Before diving into the world of Posca pen art, it’s super important to start with the right tools—think of it like gearing up for an epic quest, but with less dragon-slaying and more color-blending.
Choosing the right Posca pens is key. If your art ideas involve tiny details or sharp lines, grab a fine tip (0.7mm). For big, bold sections, a chunky 3.0mm nib is your best friend.
Pick a fine tip Posca for crisp details, or go bold with a 3.0mm nib for those statement-making color blocks.
Don’t forget, using posca paint pens works best with tough paper—watercolor or mixed media paper keeps your colors poppin’ and won’t bleed through. Keep lots of colors handy for blending magic.
Oh, and always activate your pens on scrap paper. Mistakes happen, so have a tissue or scraper ready for quick cleanups!
Prepping Your Workspace and Supplies
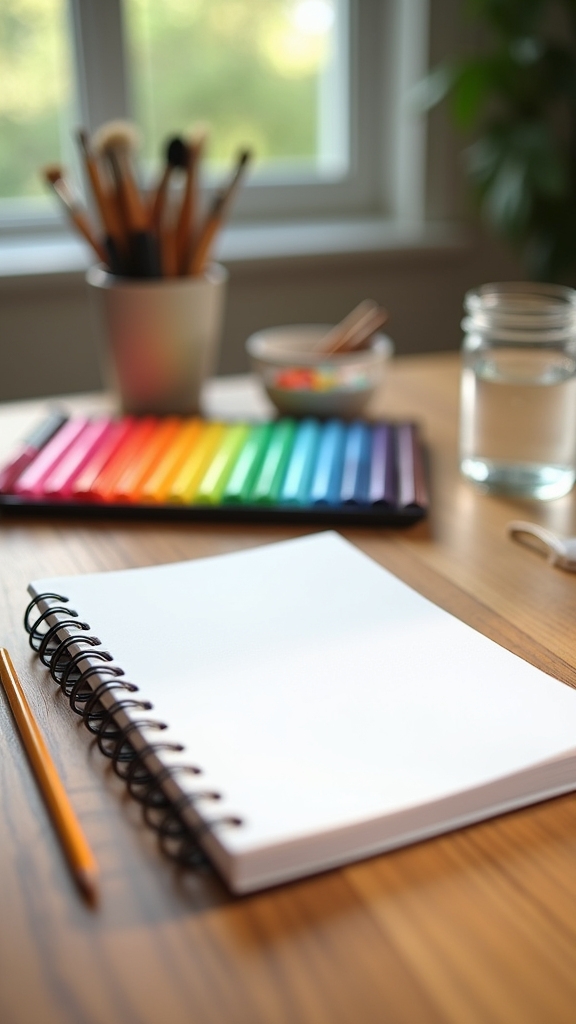
With the perfect Posca pens and paper ready to roll, it’s time for the next power move: getting the workspace set up like a true art wizard.
Prepping your workspace is all about making space for creativity and art inspiration to flow. First, gather your collection of Posca pens, some sturdy watercolor paper, and a scrap sheet for cleaning those messy nibs.
Make sure your markers are activated—press down on the scrap paper until the color pops out smoothly. A well-lit desk helps you spot every wild color and tiny detail.
Stay organized, keep a scraper nearby to deal with rogue paper fibers, and set up a palette for blending colors. With everything in its place, you’re primed for a burst of creative energy!
Creating a Colorful Abstract Background

Once those Posca pens are primed and ready, the real fun kicks off—think of the background as your playground, where every color gets to run wild.
For anyone starting with posca art, picking out which shades you’re going to use is almost as exciting as doodling itself! Start swiping broad strokes with a big brush tip Posca pen; that would be the best for covering space fast.
Let colors overlap for that awesome, vibrant mix, but don’t forget to leave some white space—like giving your colors a place to breathe. If you’re feeling brave, layer up! Just make sure each layer dries before adding the next, or things might get messy.
Finish by popping in some details or outlines with a fine-tipped pen for extra wow!
Drawing With Bold Color Blocks
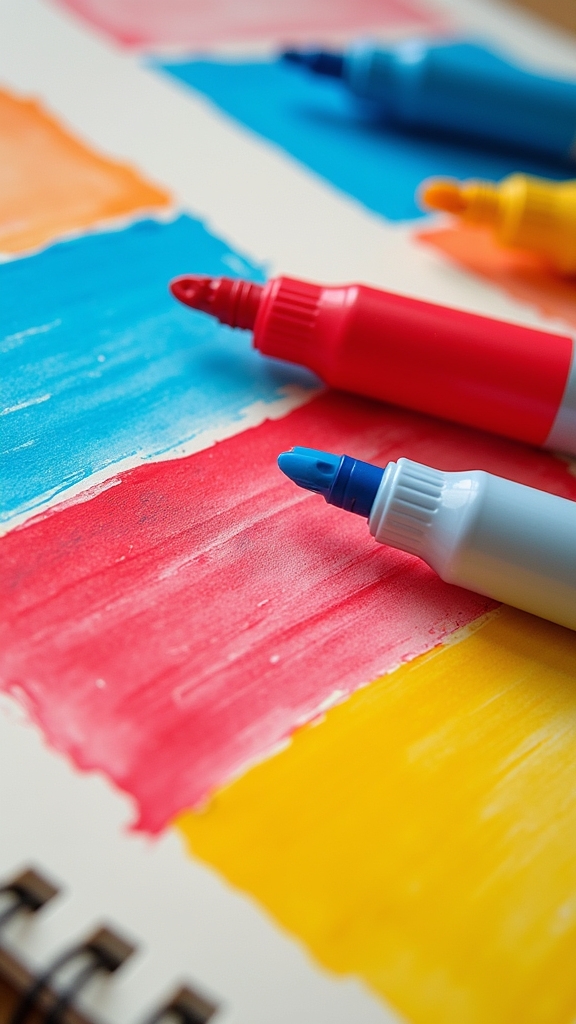
A splash of bold color blocks can totally transform any Posca pen drawing from “meh” to “wow!”—and it’s actually way easier than it looks.
When trying color block techniques, beginners should stick to a limited color palette. This keeps things looking fresh and not like a rainbow exploded all over the page. Knowing some color theory basics helps too—think about which colors look exciting together and which are more chill side by side.
White space is totally your friend here, making each bold shape pop. For effective layering strategies, start with lighter shades and layer darker ones on top for extra drama and depth.
Oh, and always clean your marker nibs between colors on scrap paper, or you might end up with some very “interesting” (a.k.a. muddy) results!
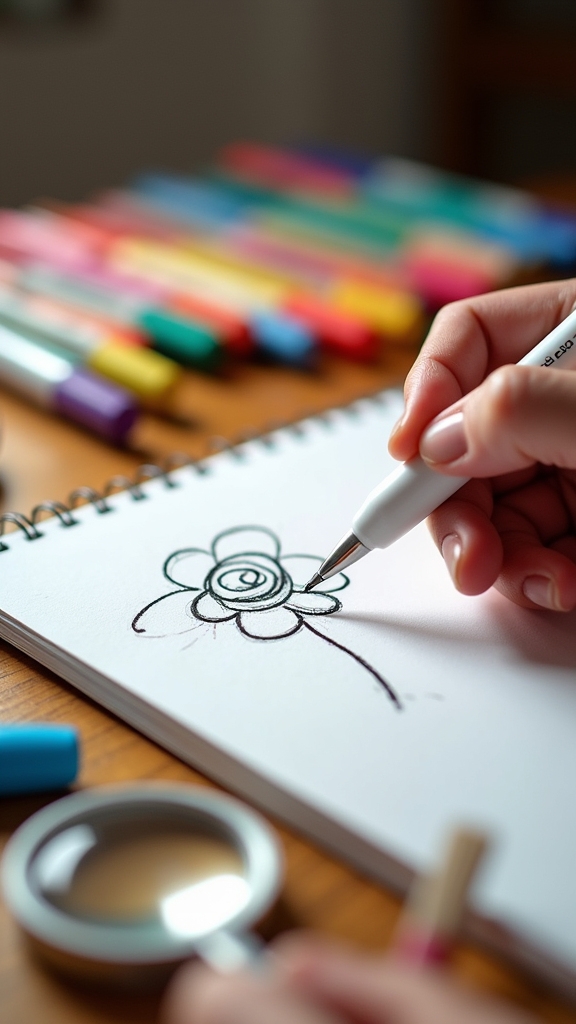
Simple Nature Doodles: Leaves and Flowers

When starting simple nature doodles, picking out different leaf shapes is a fun way to set the scene, from spiky to round and everything in between.
Layering petals can turn a basic flower into something that looks almost 3D, and it’s kind of amazing how a few white highlights can suddenly make everything stand out like magic.
With Posca pens, these small details make all the difference—plus, who knew drawing leaves and flowers could feel this cool?
Choosing Leaf Shapes
Leaves—it’s like nature’s version of doodling practice! When beginners start with Posca pens, choosing leaf shapes can be a blast. Think leaf variety exploration: round ovals, spiky teardrops, and even funky maple or oak designs. There’s more to it than just looks, too—every leaf shape has its own leaf shape symbolism. Some stand for strength, while others mean change or growth. Drawing different sizes and tilting leaves in new directions sparks some serious seasonal leaf inspiration, making a page feel like autumn one moment, spring the next. Check out the table below for creative ideas:
| Leaf Type | Symbolism | Seasonal Vibe |
|---|---|---|
| Maple | Change | Autumn |
| Oak | Strength | Summer |
| Simple Oval | Growth | Spring |
Layering Flower Petals
Even if someone’s never tried drawing flowers before, layering flower petals with Posca pens feels like revealing a secret level in doodling.
Start simple: sketch the flower’s shape with a light color so mistakes can vanish with a new layer—like a magic eraser!
For cool flower petal techniques, use color blending methods: lighter shades on the tips, darker ones in the center. Suddenly, your flower pops with serious depth, like you’re looking into a real blossom.
Drop a few leaves beneath the petals using totally different colors—trust this trick, it makes the flower stand out like a star.
Don’t cram everything together; leave some white space for a fresh, breezy vibe.
Add tiny details with black for outlines, and your nature doodle shines!
Adding White Highlights
Lighting up a nature doodle with white highlights feels like flipping on a secret switch—suddenly, leaves and flowers pop right off the page!
After sketching your simple shapes with Posca pens, the real magic happens with highlight techniques. Grab a white Posca pen and trace along the edges or veins of leaves and petals. This creates layering effects, making your doodle look more 3D and full of life.
Play around with texture variation by pressing harder or softer for thick or thin highlights—mix it up for extra pop! Want your doodles to stand out even more? Try these tricks:
- Add dots or tiny lines for texture and sparkle.
- Outline shapes in black for bold contrast.
- Leave some white spaces for a fresh, lively look.
Layering and Blending Colors for Depth
Layering and blending colors with Posca pens is where art starts to look seriously cool, adding real depth that makes your drawing pop.
By stacking colors and smoothing out the lines between them, you get those awesome shifts and contrast that bring your ideas to life—kind of like magic, but without needing a wand.
Ready to see how a few clever tricks can turn flat sketches into eye-catching masterpieces?
Building Depth With Layers
When it comes to making Posca pen art look extra cool and three-dimensional, building depth with layers is basically like giving your drawing a secret superpower.
Artists start by laying down a base layer, like white or a light color, which makes everything else pop. Then, using smart color layering techniques, they let each layer dry before adding more, which keeps colors bright and crisp (nobody wants muddy art, right?).
Here are some quick depth perception tips and effective blending methods to remember:
- Use lighter shades at the edges and darker colors in the center to create a 3D effect.
- Try overlapping colors lightly with a dry brush or sponge for smooth blending.
- Add highlights with white or pale colors to make certain spots stand out and grab attention.
Smooth Color Transitions
Nothing beats the wow factor of super smooth color shifts in Posca pen art—they make everything look professional, almost like magic!
One of the best color blending techniques is to start with a lighter color and slowly layer darker shades on top. This color layering tip creates awesome depth and makes your art pop. For even smoother blends, try overlapping colors while they’re still wet—goodbye, harsh lines!
Watercolor paper is your friend; it helps with blending and keeps your pen’s nib safe. Don’t forget to “wake up” your Posca pen on scrap paper for that buttery color flow.
If you’re nervous about messing up, use white paint as a base layer. It boosts vibrancy and helps with overcoming color anxiety—seriously, just go for it!
Enhancing Contrast Effects
Even if someone’s art looks a bit flat at first, they can totally make it jump off the page by playing with contrast—seriously, it’s like zapping your drawing with a lightning bolt of awesomeness!
Using contrast color theory and high contrast palettes with Posca pens is the secret sauce for eye-popping artwork. Try layering techniques: let the first layer dry, then add more color on top for that bold, vibrant vibe.
To really make colors explode, use white Posca paint as a base, especially on dark paper. Blending colors while they’re still a little wet also helps create smooth shifts and cool gradients.
Here are a few tricks:
- Layer different shades for depth and dimension
- Mix on a palette for better contrast control
- Use white bases to boost color pop
Exploring White Space in Your Designs
Although it might seem tempting to fill every inch of a drawing with color and detail, white space is actually one of the coolest tricks in an artist’s toolkit.
Think of white space as the “pause” button for your artwork—it gives your eyes a break and makes the main parts of your design stand out even more. Using white space can seriously boost the visual impact, making bright Posca pen colors pop like fireworks.
But there’s more! White space isn’t just about looks; it also creates an emotional response. It can make your art feel calm, clear, or even mysterious.
Beginners should play around with blank areas and see what happens. Sometimes, what you leave out is just as important as what you put in!
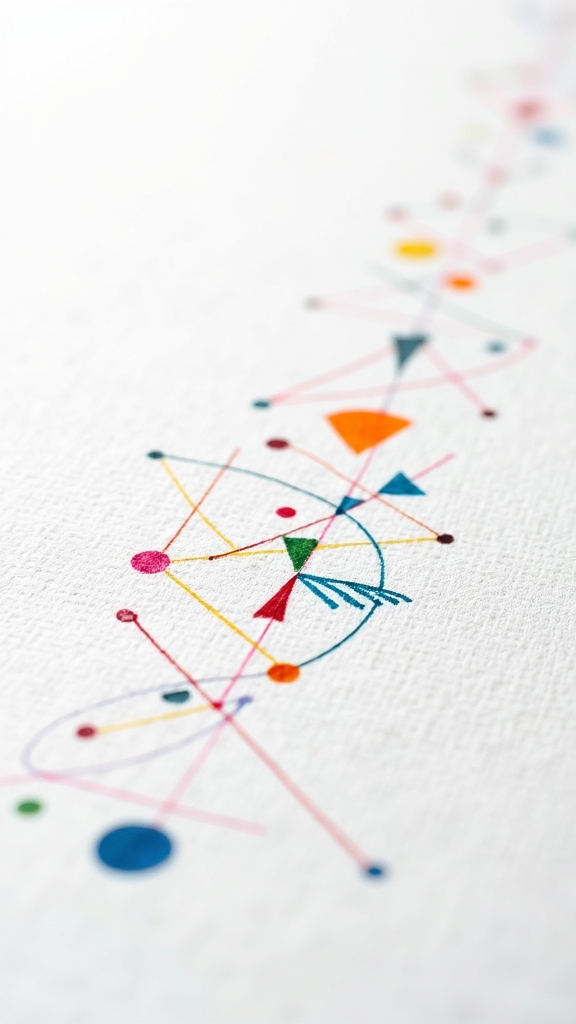
Easy Geometric Shape Art
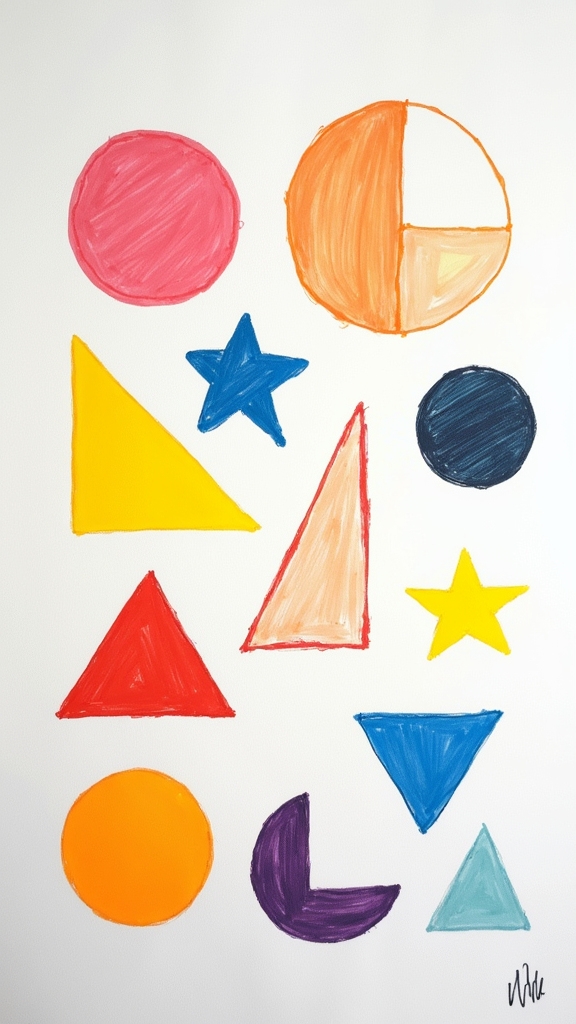
Geometric shape art with Posca pens is all about picking bold color combos that make your circles, squares, or triangles practically leap off the page—think hot pink with electric blue, or yellow next to deep purple.
Layering these shapes, maybe stacking a triangle halfway over a circle or overlapping squares, instantly adds cool depth and makes your art look way more interesting.
Plus, if your shapes start looking like they’re battling for space, that’s just the drama of great design!
Choosing Vibrant Color Combinations
A splash of vibrant color can turn simple shape art into something that pops right off the page—and with Posca pens, the possibilities are endless.
Picking the right colors is kind of like being a DJ, but for your eyes! Beginners should start with a limited palette of three to five bold colors; this makes it way easier to keep things looking organized and cool.
Using color theory basics helps you decide which shades will actually look good together. Complementary color schemes, like purple with yellow or blue with orange, make shapes look like they’re practically glowing.
Color harmony techniques are all about balance, so toss in some white space and your art will feel fresh, not crowded.
- Stick to 3–5 vibrant colors
- Pair complementary colors for contrast
- Use white space for balance
Layering for Depth
When it comes to making your art look like it has secret layers or hidden levels, layering with Posca pens is the ultimate cheat code. Start off by sketching out basic geometric shapes, leaving little gaps for that magical layered effect. Use a light color first, let it dry (seriously, patience is key!), then go back over with a darker shade or even try some slick color blending techniques. For extra pop, outline your shapes in a bold, contrasting color. Don’t forget to use white space—it’s like giving your art room to breathe. Here’s a quick table to compare some layering moves:
| Technique | What It Does | Level Up Tip |
|---|---|---|
| Color Blending | Smooth shifts | Use gentle strokes |
| Layering Mediums Comparison | Try pens vs. markers | Mix for unique texture |
| Depth Perception Tips | Adds 3D illusion | Overlap shapes slightly |
| White Space Placement | Visual breaks | Leave gaps between shapes |
Cartoon Animal Illustrations

Although some might think drawing animals is hard, cartoon animal illustrations with Posca pens are actually super fun and totally doable—even for beginners. The trick is to start with simple outlines in pencil, focusing on exaggerated features like big eyes, floppy ears, or tiny paws for that classic cartoon look.
Beginners can explore cartoon animal expressions, giving their creatures silly grins or surprised faces. Playful character designs shine when you fill in your outlines with those bold, bright Posca pen colors—don’t be afraid to layer and blend for extra flair! Whimsical animal poses, like a dancing cat or a frog doing yoga, make your art pop even more.
Here are some quick tips:
- Emphasize bold and bright colors for lively looks
- Use different nib sizes for cool textures
- Leave white space for clean, vibrant backgrounds
Space-Themed Art: Rockets and Planets
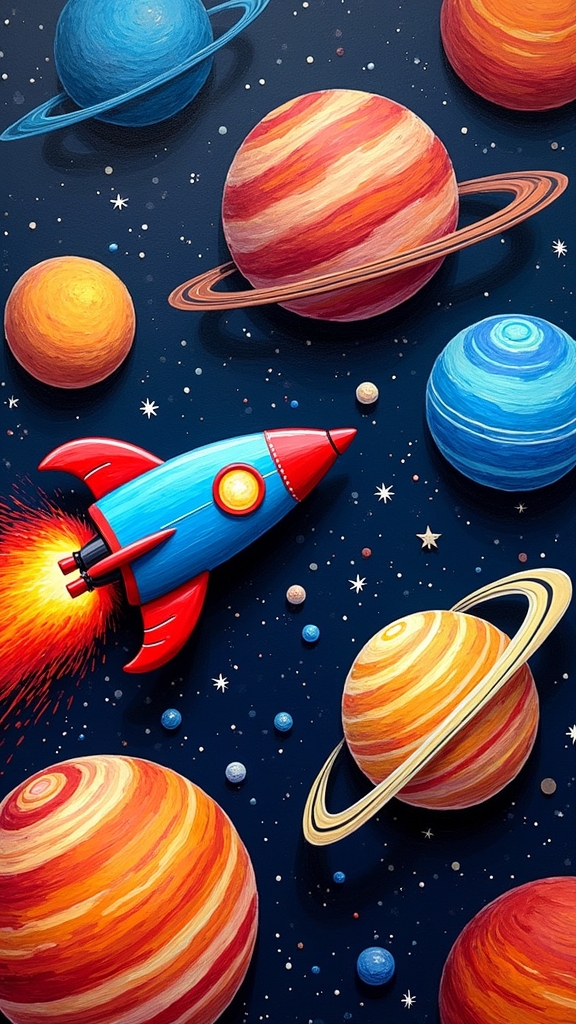
Outer space is like the ultimate canvas—totally wild, mysterious, and bursting with possibilities for Posca pen art.
To start, fill your whole background with a deep shade like navy blue or black; this sets the stage for a galaxy adventure. Once it’s dry, sketch out awesome rocket designs in the foreground. Use washi tape for crisp rocket windows and go wild with contrasting colors—think orange, red, or neon green!
For planets, don’t be shy; try out bold planet colors like yellow, red, or green, with white outlines for cool land and ocean effects. Blend purples, grays, and whites for moon space textures.
Want more drama? Add shooting stars and comets using bright, dynamic lines. Suddenly, your space scene looks out of this world!
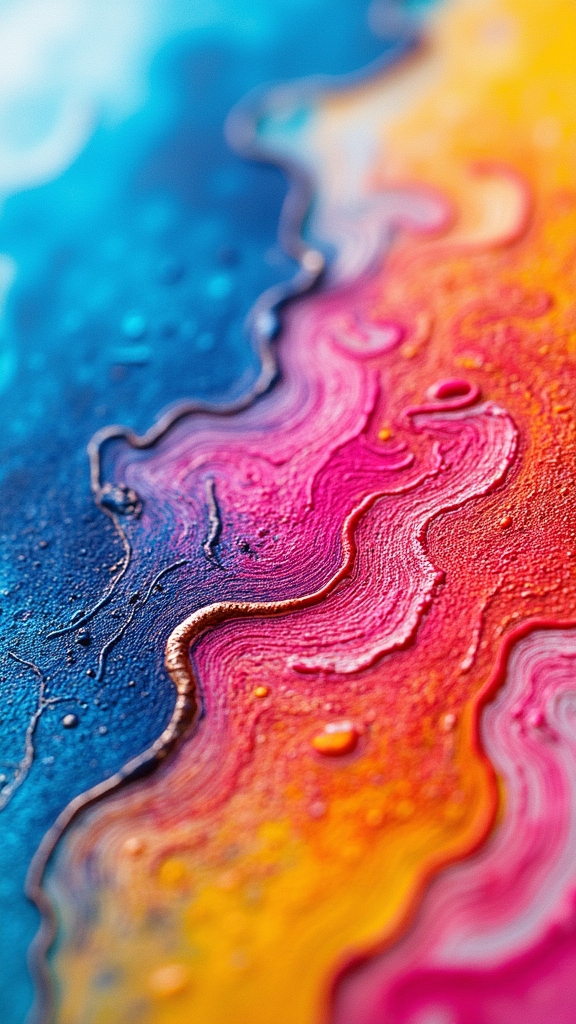
Tie-Dye Inspired Patterns
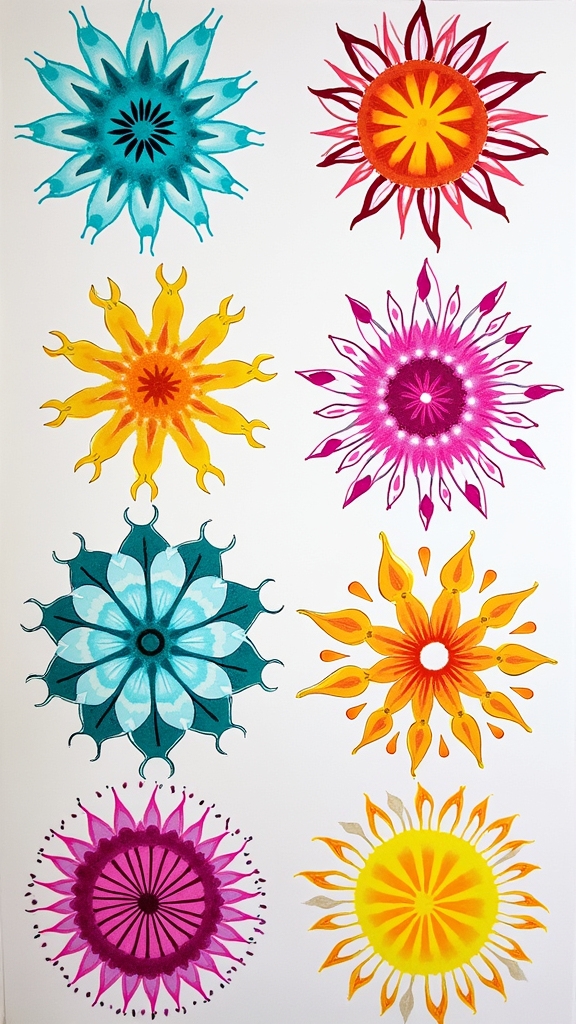
If there’s one way to make Posca pen art totally blast off with color, it’s by diving into tie-dye inspired patterns. These patterns are all about wild color blending and letting your creativity run loose!
Try classic tie dye techniques by swirling together pink, orange, yellow, and green—watch them melt into each other for that iconic look. For some pattern inspiration, grab a sponge or a scrap of fabric, trace out peace signs or yin yangs, and then outline your colorful shapes with thick black lines to really make them pop.
Don’t stress about mistakes—layer colors or use a white Posca pen for quick fixes. Want your tie-dye to stand out?
- Experiment with different shapes and sizes
- Add playful details like doodles
- Use bold outlines for contrast
Beach Vibes: Sand Buckets and Flip-Flops
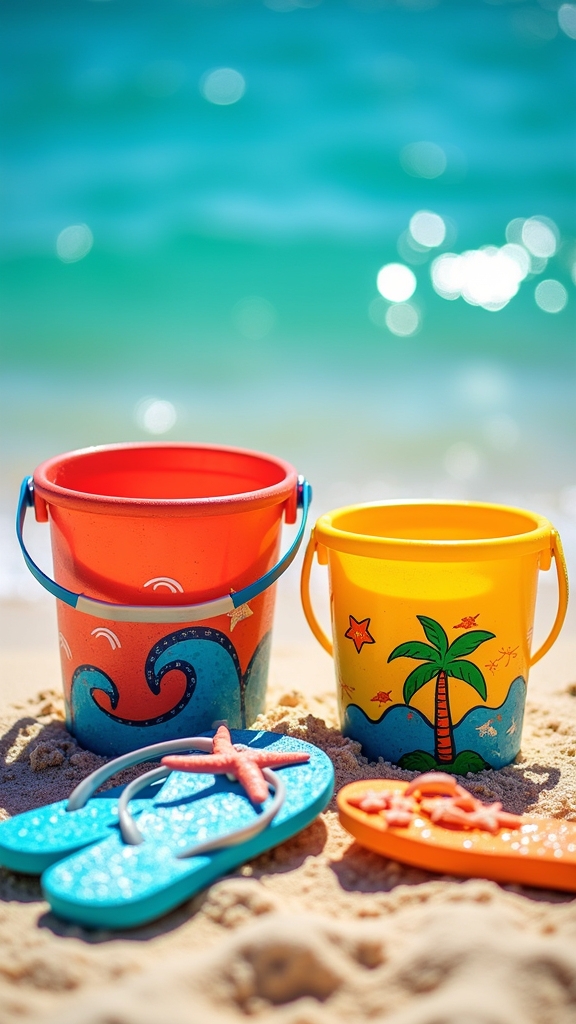
Nothing says summer like a bright sand bucket and a pair of funky flip-flops, so grab your favorite Posca pens and some basic supplies to get started.
Sketch out these playful beach icons with a pencil first, then go wild with neon colors and bold patterns that make the scene pop.
Don’t forget to throw in some fun details—maybe a towel, a smiling sun, or even a lost flip-flop for laughs!
Essential Beach-Themed Supplies
Buckets of creativity and a splash of color are all it takes to bring beach vibes to life with Posca pens! For any beginner, gathering the right beach item essentials is step one.
Start with Posca pens in vibrant color choices like yellow, blue, and pink—perfect for doodling sand buckets, flip-flops, and more. Use thick watercolor paper, because nobody wants their masterpiece to smudge or tear!
Want to make your artwork pop? Try adding textured effects. Dab a sponge or even a bottle cap in paint to mimic sandy beaches or gentle waves.
Here’s a quick supply checklist to kick off your beach-themed art:
- Posca pens in bright, beachy shades
- Thick watercolor paper
- Found objects (sponges, bottle caps) for textures
Drawing Playful Summer Icons
Summer icons like sand buckets and flip-flops practically shout “beach day!” and are super fun to draw with Posca pens.
To begin, sketch out the basic shapes lightly with a pencil—that way, you can plan your beach iconography before getting colorful. When you’re ready, grab summer color schemes like bright yellow, turquoise, and coral for that instant sunny vibe.
Outlining your icons with thicker black lines makes them pop right off the page! Don’t forget to add playful patterns—try stripes or polka dots on flip-flops, or decorate sand buckets with silly faces or starfish.
Experimenting with layering colors brings extra depth, and finishing with a white Posca pen adds cool highlights, making your summer icons look extra lively and ready for the beach.
Adding Vibrant Color Details
Immerse yourself in the world of bold colors by grabbing those Posca pens and bringing sand buckets and flip-flops to life!
With a splash of yellow and orange, cheerful sand buckets instantly stand out, especially when you outline them in crisp black for that awesome pop.
Flip-flops are the perfect excuse to play with color theory basics—think pink and turquoise stripes or silly polka dots for ultimate beach vibes.
Don’t forget to try color mixing techniques; layer pastels for a dreamy sunset background, pushing your contrast exploration skills to the next level.
- Use complementary colors for backgrounds, like blue towels behind orange buckets, to make the scene stand out.
- Mix and blend colors for unique shades.
- Highlight details with a white Posca pen for extra depth.
Rainbows and Clouds Sketches
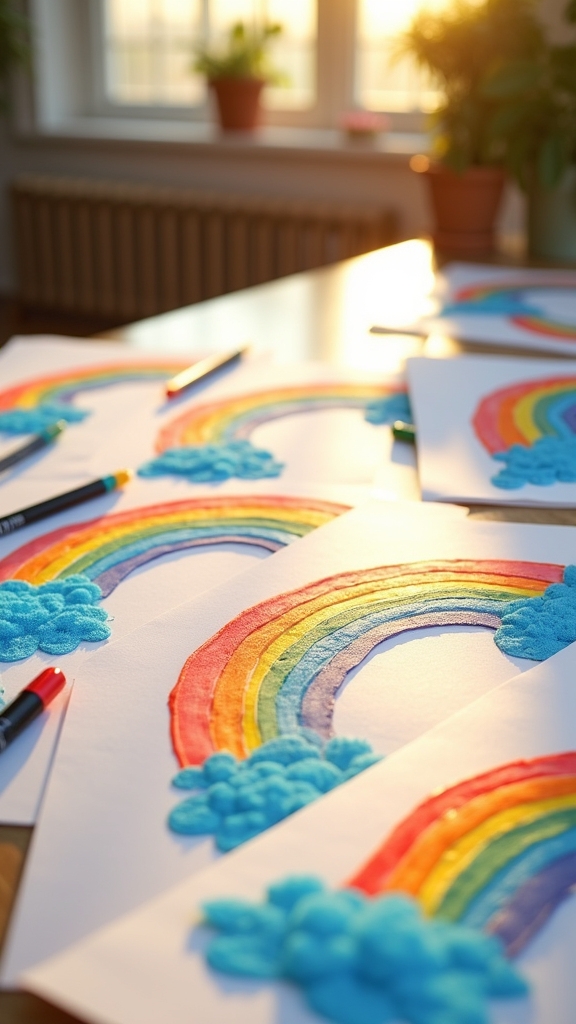
A rainy day might seem gloomy, but with a handful of Posca pens and a bit of imagination, even the grayest paper can burst into color. Beginners can immerse themselves in rainbows and clouds sketches by exploring simple cloud layering techniques—start with gentle, curved lines using a white Posca pen. Adding different shades of white and gray helps clouds look puffy and full of depth. For rainbows, experiment with rainbow blending methods by layering bright colors, letting a little white space peek through for a crisp finish. Want extra charm? Try whimsical doodle ideas like tiny sun rays or cheeky raindrops. Here’s a quick guide to spark creativity:
| Cloud Layering Techniques | Rainbow Blending Methods | Whimsical Doodle Ideas |
|---|---|---|
| Fluffy outlines | Soft gradients | Sun rays |
| Shaded textures | Crisp color blocks | Raindrops |
| Layered whites & grays | Overlapping hues | Smiling faces |
| Wavy curves | Fading shifts | Tiny hearts |
Fixing Mistakes and Cleaning Up Lines
Nobody likes making mistakes in their art, but guess what? Mistakes happen—even with Posca pens! The cool part is, fixing them can be super fun and creative.
First, try mistake incorporation techniques: if you draw a wrong line, see if you can turn it into a cloud, a squiggle, or even a funky pattern. For stubborn smudges, a white Posca pen is your secret weapon—dab it gently to cover errors, or blend it with other colors for cool effects.
Don’t forget effective cleanup methods; a scraper comes in handy for getting rid of paper fuzz or paint buildup. Always activate your marker on scrap paper before fixing lines, so you avoid messy blobs.
- Embrace mistakes as design opportunities
- Layer lighter colors for blending color strategies
- Always clean up with scrapers for crisp lines
Sharing and Displaying Your Finished Artwork
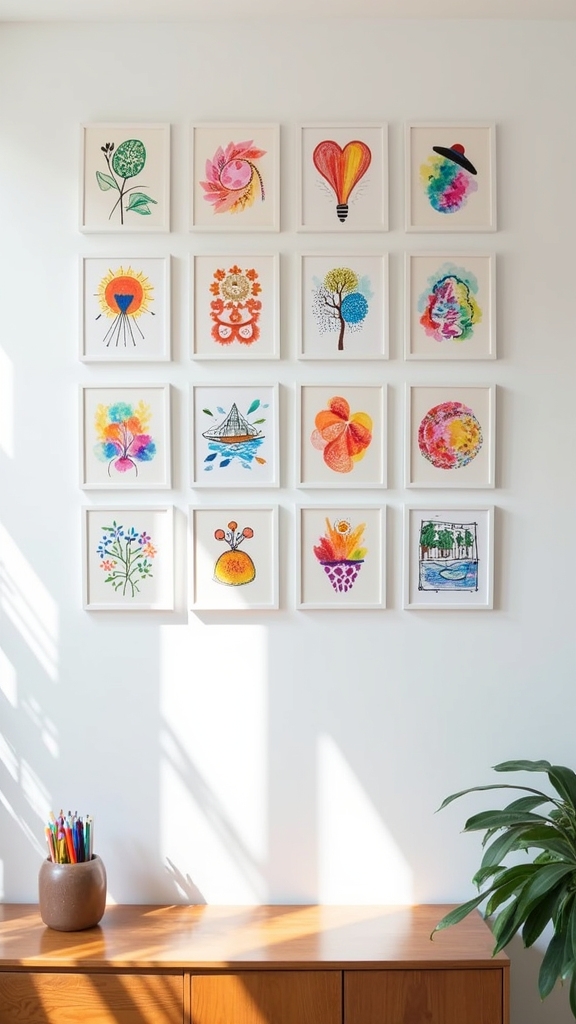
Once the last lines are crisp and the colors have popped just right, it’s time for the most exciting part—showing off that finished Posca pen masterpiece!
Jump into art community engagement by posting your work on social media with the right hashtags. You never know who might leave a cool comment, or who might become your next art buddy.
Feeling extra proud? Try online portfolio creation—make your own digital gallery and track your progress. Who knows, maybe your style will inspire someone else!
For a real-world thrill, get into local art exhibitions or pop-up shows. Standing next to your art and hearing live reactions is a blast.
Don’t forget to swap art or collaborate with others for even more creative fun!
Frequently Asked Questions
What Easy Things Can You Do With Poscas?
When considering what easy things can be done with Poscas, one might explore simple designs, utilize vibrant colors, and engage in creative projects such as playful doodles, abstract patterns, or cartoon scenery, making artistic expression accessible to beginners.
What Should I Draw With My Posca Markers?
When considering what to draw with Posca markers, one might explore simple doodle ideas, experiment with beginner drawing techniques like basic shapes and layering, or engage in fun art projects featuring everyday objects and vibrant backgrounds for creative expression.
How to Use Posca Pens for Beginners?
To use Posca pens for beginners, one should focus on proper surface preparation tips, such as choosing quality paper. Beginners should practice color blending techniques and layering effects to achieve vibrant art, experimenting with different combinations for depth and interest.
Is POSCA Ok on Skin?
When considering posca pen safety for temporary body art, it is noted that while POSCA pens are generally safe for brief skin contact, skin paint tips recommend patch testing due to possible irritation and using products specifically for body art.
Conclusion
With just a handful of Posca pens and a little imagination, anyone can create amazing art—even if their last stick figure looked like a spaghetti monster. These simple ideas make it easy to jump in, mess up, and try again (mistakes are just bonus art, right?). So grab your pens, pick your favorite design, and watch your creativity explode. Who knows? Your next masterpiece might end up taped to the fridge—or even better, framed on your wall!
Leave a Reply