
To create stunning Posca pen art, start by picking the right nib size for your project—small ones are perfect for details, while big chisel tips cover wide spaces with bold color. Prep your surface so the paint sticks and use layering and blending to make vibrant effects. Want awesome patterns? Try dots, lines, or swirls, and don’t forget highlights for drama. With some practice (and maybe a tiny mess), anyone can make eye-catching art, and there’s even more to discover next!
Key Takeaways
- Choose the right Posca pen nib sizes and colors to match your desired detail and style.
- Properly prepare and clean your surface to ensure smooth paint adhesion and vibrant colors.
- Shake pens well, test on scraps, and layer colors for depth and smooth blending.
- Experiment with different stroke techniques and nib sizes to create patterns, textures, and details.
- Protect finished artwork with a fixative spray and frame it to preserve colors and enhance presentation.
Choosing the Right Posca Pens and Supplies

When it comes to starting Posca pen art, a bunch of choices can really make or break your masterpiece.
Picking the right nib sizes is like choosing your magic wands—ultra-fine tips (0.7mm) help with tiny details, while broad ones (up to 15mm) are perfect for bold strokes or filling big spaces fast.
Next up: color selection. With over 50 shades to choose from, it’s almost impossible not to feel like a kid in a candy store. Grab a mix, so you’re ready for any wild idea.
Don’t forget the basics: water for blending, paper towels for cleaning up messes, and a palette for mixing if you’re feeling fancy.
Always test on scraps first—nobody likes surprise blobs or color fails!
Preparing Your Surface for Painting
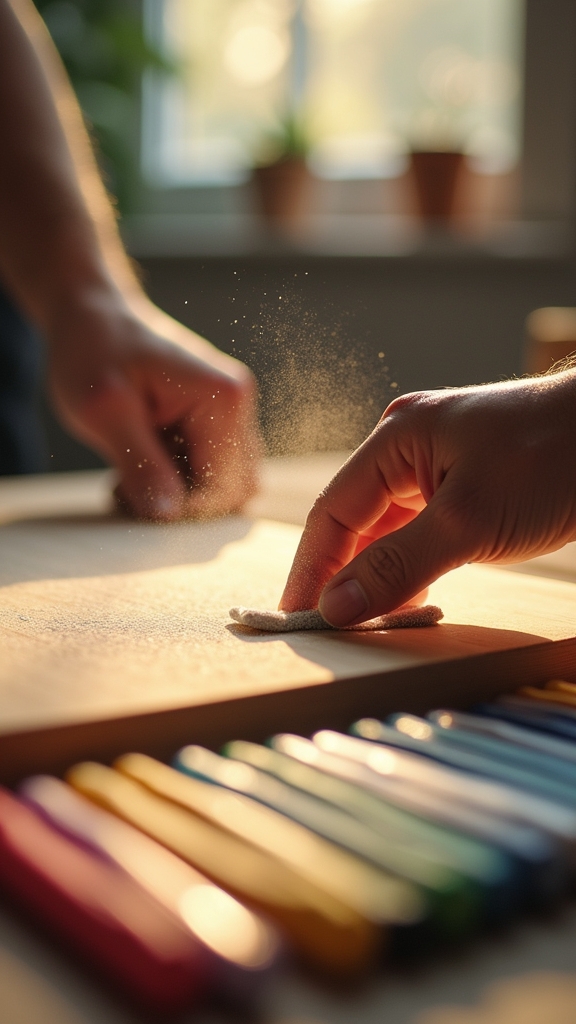
A blank surface is basically the launch pad for any awesome Posca pen creation, so getting it ready is a big deal—no pressure, right? Surface preparation is the secret ingredient to vibrant, long-lasting art. First, choose a smooth spot like canvas, wood, or paper. If things are a bit too shiny, grab some sandpaper and give it a gentle buff so the paint sticks better—just don’t go too wild! Porous surfaces? Seal them up with a clear acrylic spray to keep those colors loud and proud. Cleaning techniques matter, too: swipe away dust with a damp cloth, or risk your masterpiece having a weird lumpy texture. Before you commit, test your Posca pens on a small area. Check out this quick prep cheat sheet:
| Step | Quick Tip |
|---|---|
| Choose surface | Smooth canvas, wood, or paper |
| Sand glossy areas | Lightly sand for better grip |
| Seal porous spots | Use clear acrylic spray |
| Clean thoroughly | Wipe with a damp cloth |
| Test pens | Try on a small hidden section |
Mastering Basic Posca Pen Techniques

Release the power of Posca pens by getting to know their basic tricks—seriously, it’s where the magic begins!
Choosing the right tip size is huge: tiny 0.7mm tips are perfect for crisp details, while chunky 8mm ones fill big spaces fast (no more coloring for hours).
Before starting, shake the pen like you’re mixing a magic potion, then press the tip on scrap paper until the ink flows—pen maintenance is key, or you’ll end up with dry, sad lines.
Try color mixing by layering different shades, letting each one dry a bit before adding the next for awesome depth.
Don’t forget, Posca pens work on all sorts of surfaces, but always prep them first.
Practice and play—mistakes are just part of the fun!
Exploring Color Blending and Layering
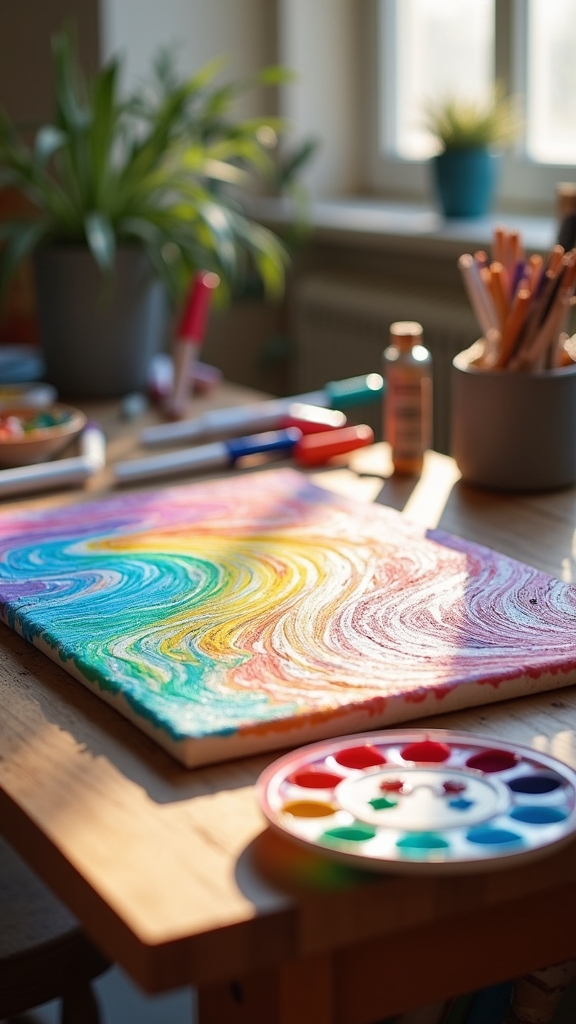
Blending colors with Posca pens can turn a simple drawing into something seriously eye-catching, and it all starts with learning a few clever tricks.
By layering colors and playing around with how wet or dry the ink is, artists can create smooth gradients that look almost magical—kind of like a sunset melting into the sea.
With the right techniques for blending and layering, even a doodle of a cat can look like it belongs in a fancy art gallery (or at least on your fridge).
Techniques for Smooth Blends
Color magic happens when artists master smooth blends with Posca pens. Blending isn’t just about scribbling two colors together—it’s about using smart tricks and a little patience.
Artists often use the flicking technique, gently flicking the pen tip to mix shades without making a muddy mess. Color mixing directly on the paper can create wild, new hues, especially if you catch the ink while it’s still wet.
Here’s how artists make those smooth blends pop:
- Start with a light base layer and let it dry before adding darker tones.
- Use the flicking technique to softly introduce new colors.
- Mix colors while they’re wet to create natural transitions.
- Use a cotton swab or finger to blend edges for a seamless finish.
Blending with Posca pens feels like magic!
Effective Layering Strategies
Stacking up colors like a pro takes Posca pen art to a whole new level. When using layering techniques, artists begin with lighter shades, letting each layer dry fully before adding the next. This keeps colors crisp, not muddy—nobody wants a mess!
For smooth color gradations, feathering or stippling comes in handy, blending shades together like magic. Want to level up? Mix in transparent colors or water-based mediums between layers, making everything pop without hiding the cool details underneath.
Different pen nib sizes help too: fine tips for tiny doodles, big tips for background blocks. Remember, patience is key. Rushing only leads to smears and disappointment.
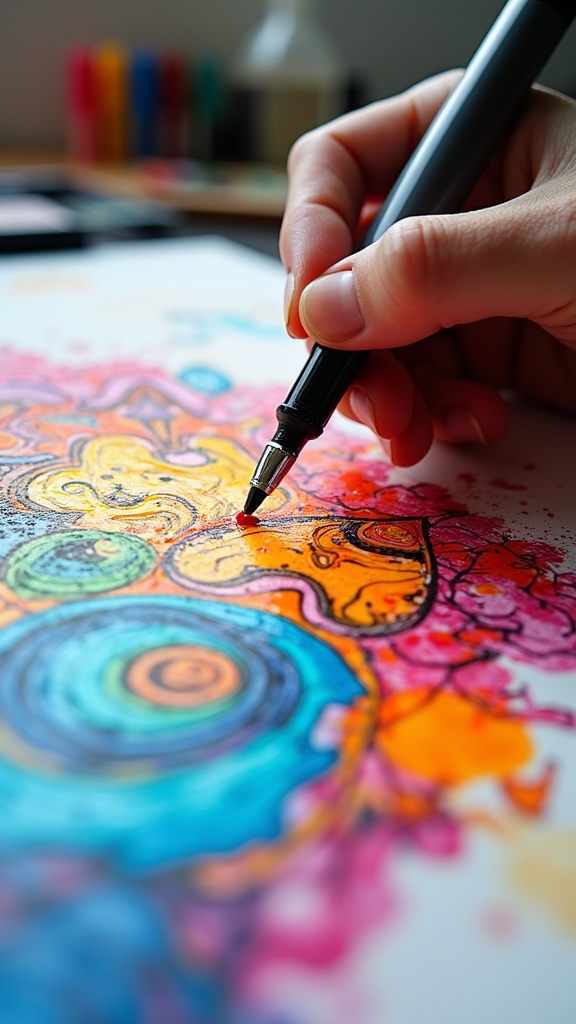
Creating Patterns and Textures
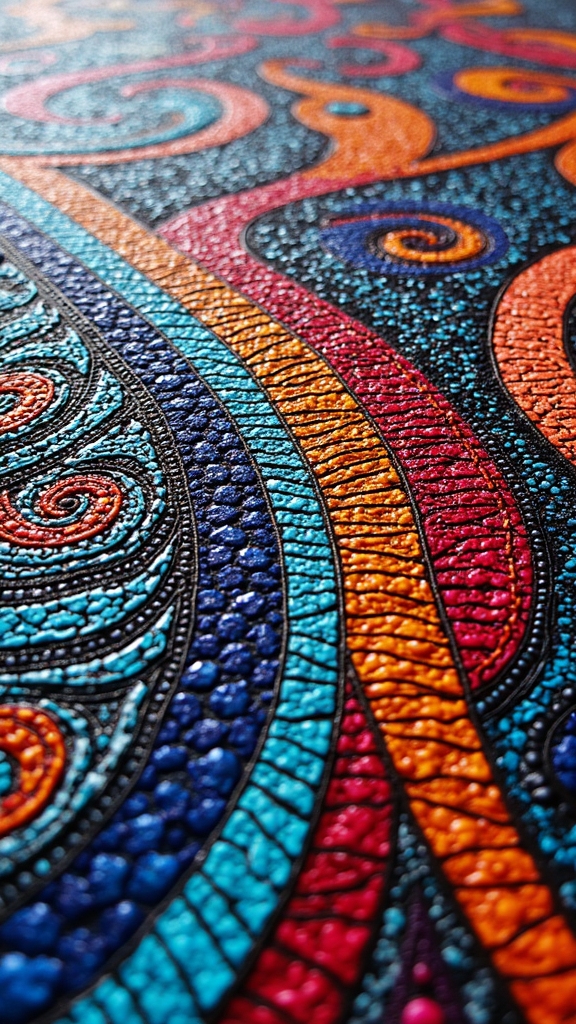
Dive right in—creating patterns and textures with Posca pens can totally transform a plain surface into something eye-popping and full of personality.
Think about it: even a boring old wooden board can become a wild explosion of color and pattern inspiration!
Want to make your art pop? Try these steps for awesome texture creation:
- Pick a smooth, non-porous surface like canvas or wood—this helps colors stay bold and bright.
- Play with stroke techniques: dots, lines, swirls—mix them up for cool effects!
- Layer colors, letting each dry before adding another, to build up texture and keep your colors from turning into a muddy mess.
- Switch up nib sizes for variety—thin for details, thick for big, bold areas.
Let your imagination run wild!
Using Stencils and Templates for Precision
Picking the right stencil is like finding the perfect teammate—it needs to be sturdy, flexible, and ready to handle those bold Posca colors without giving up mid-game.
Securing your stencil tightly means every line comes out sharp and clean, not wobbly or smudged like a rushed signature.
With the right setup, anyone can pull off crisp, pro-looking shapes that make people say, “Whoa, how’d you do that?”
Choosing the Right Stencil
Ever wonder why some Posca pen art looks extra crisp and clean, almost like it jumped out of a graphic novel? The secret’s often in the stencil!
Choosing the right stencil is a total game-changer, and with a few smart stencil selection tips, anyone can level up their artwork.
First, consider stencil material options—mylar and plastic are top picks because they’re tough and won’t fall apart after a couple of uses.
Second, match the design’s complexity to your skill level, so you don’t end up frustrated.
Third, pick stencils with different cut-out sizes for more creative options.
Fourth, use painter’s tape or repositionable adhesive to keep things steady—no one likes a slippery stencil!
- Choose durable materials
- Match skill level
- Look for varied cut-outs
- Secure with tape or spray
Achieving Crisp Clean Lines
Nothing ruins a killer Posca pen design faster than a wobbly line or accidental smudge, but there’s a surprisingly simple fix—stencils and templates. Stencil placement is like setting your art’s GPS; get it right, and your lines will be sharp as a laser. Using templates made from cardstock or plastic helps artists pull off repeatable magic, again and again. Secure those stencils with washi or painter’s tape so they don’t do the cha-cha while you’re working. And don’t rush—paint drying between layers is your secret weapon against messy smudges. Picking the right Posca pen tip also matters for tricky details.
| Tip | Why It Matters |
|---|---|
| Good stencil placement | Prevents wobbly edges |
| Use right pen tip | Matches design intricacy |
| Secure with tape | Stops stencil from shifting |
| Wait for paint drying | Avoids accidental smudging |
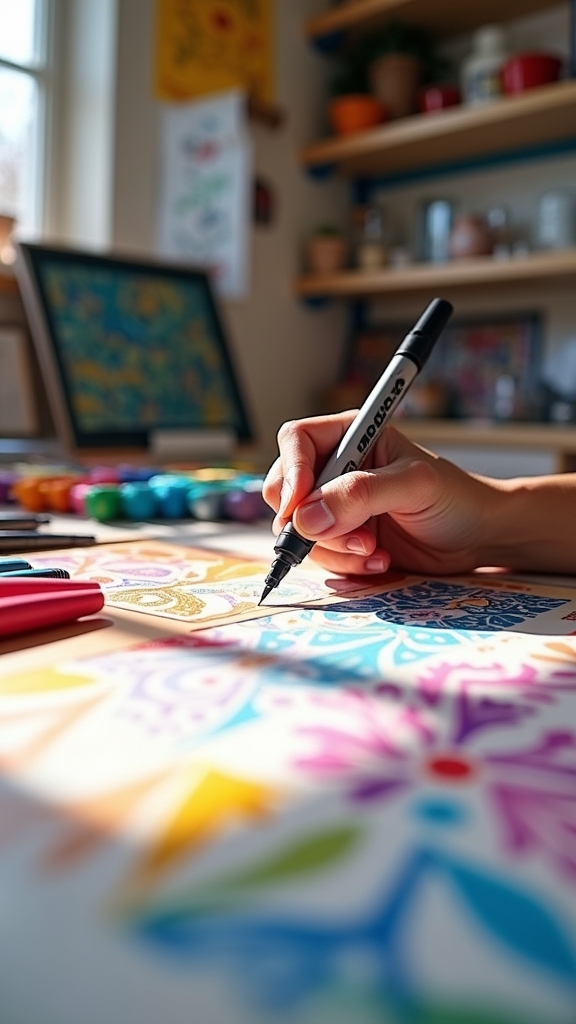
Adding Details and Finishing Touches
Once the main shapes and colors are down, it’s finally time for the most exciting part—adding those awesome details and finishing touches that really make Posca pen art stand out.
This is where detail enhancement and finishing techniques take your art from cool to totally jaw-dropping. Grab a fine-tipped pen and get ready to make your designs pop!
Here are some easy ways to make your artwork shine:
- Use a fine-tipped Posca pen for tiny lines and intricate patterns without overwhelming your main design.
- Layer lighter colors for highlights and darker shades for shadows to add depth and dimension.
- Let each layer dry completely—trust us, it prevents smudging and keeps your lines crisp.
- Try metallic or white pens for bold highlights and experiment with stippling or hatching for added texture!
Showcasing and Preserving Your Artwork
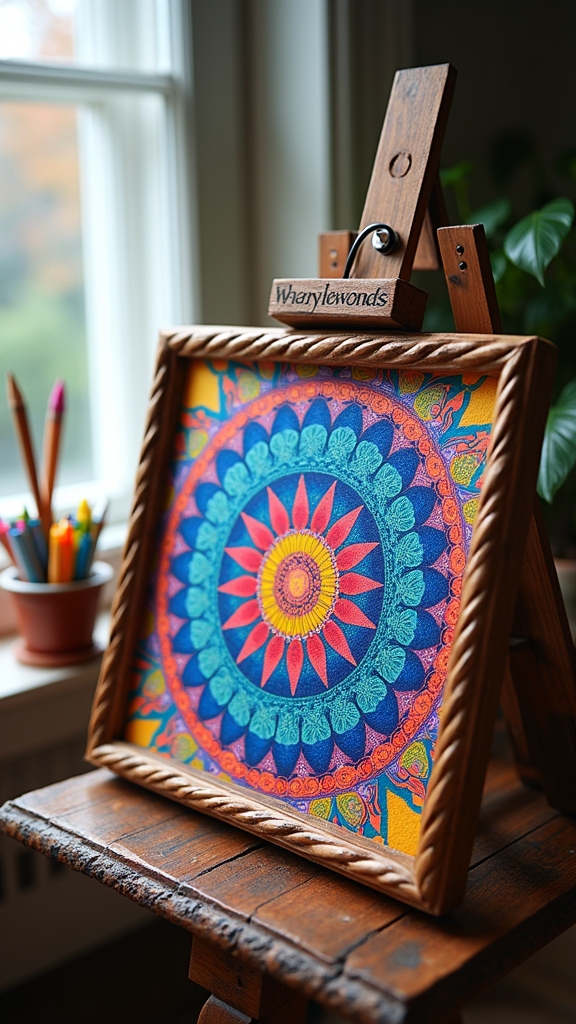
Finishing up those last bold lines and shiny highlights is always super satisfying, but the fun doesn’t stop there—showing off Posca pen art is a whole other adventure!
When it comes to framing options, picking a frame that matches your art’s vibe can really make those colors pop. Go for high-quality frames and don’t be afraid to experiment—sometimes a funky frame is just what your piece needs.
For display tips, hang your artwork in a bright spot so everyone can admire it, but keep it out of direct sunlight to avoid fading. A fixative spray helps lock in those awesome colors, and keeping your art away from moisture will stop any surprise marker drips.
Clean the glass often—dusty art is nobody’s favorite!
Frequently Asked Questions
How Do You Use Posca Pens for Beginners?
Beginners can explore posca pen techniques by selecting a clean surface, shaking the pen, and testing paint flow. They achieve posca color blending by layering dry colors, experimenting with nib sizes, and maintaining clean nibs for smooth, vibrant results.
Why Is POSCA so Expensive?
The higher price of Posca pens reflects their superior quality, rigorous production standards, and exceptional durability. Posca quality guarantees vibrant, long-lasting results across multiple surfaces, while Posca durability makes them a reliable investment for professional and hobbyist artists alike.
How to Make Posca Pens Work Better?
To make Posca pens work better, one should master Posca pen techniques such as shaking the pen thoroughly, layering thin coats, and allowing drying time, which enhances Posca color blending and results in smoother, more vibrant artwork.
What Cool Things Can You Do With POSCA?
Exploring creative possibilities, artists use Posca techniques like layering, blending, and stippling across various Posca mediums such as wood, canvas, fabric, and glass. These methods enable striking effects, detailed illustrations, and bold, colorful designs.
Conclusion
With Posca pens in hand, anyone can jump into art and create something amazing, no experience required. Sure, mistakes will happen—maybe even some wild color explosions—but that’s all part of the fun. With the right supplies, a bit of practice, and a sprinkle of patience, anyone’s art can really pop. So, go ahead, let your creativity run wild! Who knows? That next masterpiece might be just a doodle away.
Leave a Reply