
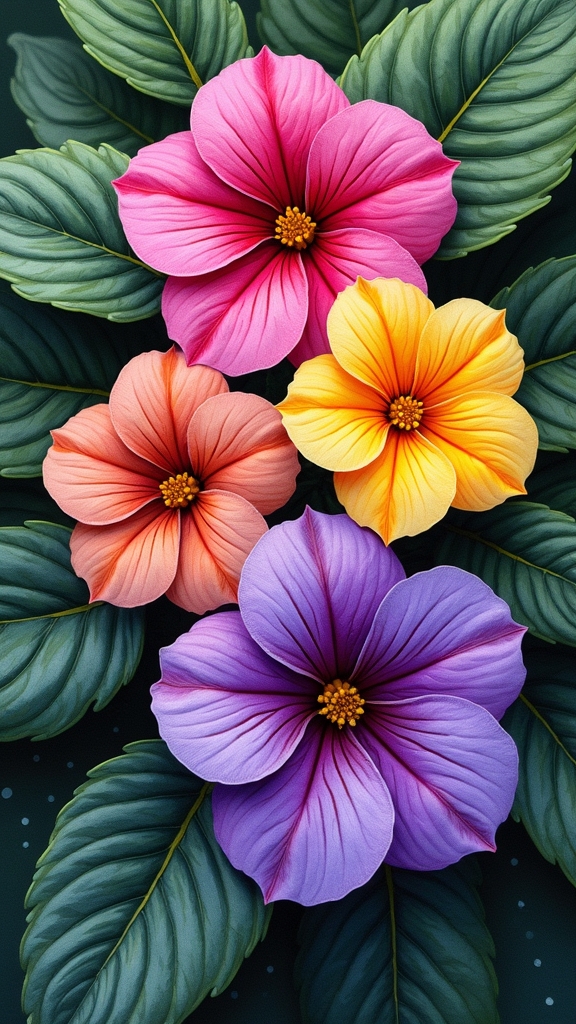
Looking for creative flower ideas with Posca pens? Try sketching funky wildflower doodles, vibrant daisies, blue sunflowers, or trendy cow parsley—each one bursts off the page with bold color and playful lines. Add a touch of glam with geometric roses or go tropical with Bird of Paradise. Mix in patterned florals, classic peonies, or cute little meadow bouquets. There are even more stunning designs—like lavender sprigs and abstract line art—waiting to inspire your next masterpiece.
Key Takeaways
- Sketch a variety of flowers like daisies, peonies, lavender, and wildflowers with Posca pens for vibrant and eye-catching results.
- Use layering and blending techniques with Posca pens to create dimension and natural shading in your floral sketches.
- Black paper backgrounds make Posca pen colors pop, especially for small, detailed flower art.
- Experiment with geometric and abstract floral designs, focusing on bold outlines, negative space, and line thickness for a modern look.
- Incorporate mixed media, dots, and cross-hatching to add texture and unique personality to each flower sketch.
Cow Parsley Posca Sketch

Cow parsley might sound like something cows would sprinkle on their salad, but it’s actually a wildflower that looks super cool when sketched with Posca pens.
Cow parsley isn’t cow food—it’s a wildflower that looks extra stylish when brought to life with Posca pens.
To start a cow parsley Posca pen sketch, draw a simple curved line for the stem—nothing fancy, just a gentle swoop. On top, add an upside-down semi-circle for the flower head.
Here’s where it gets fun: use thin lines inside that semi-circle to create texture and add tiny dots for those delicate, lacy details cow parsley is known for. Keep your shapes simple, but experiment with how big or close together the petals are.
Use light green for the stem and a creamy white for the flower head, and suddenly, your sketch pops with freshness and style!
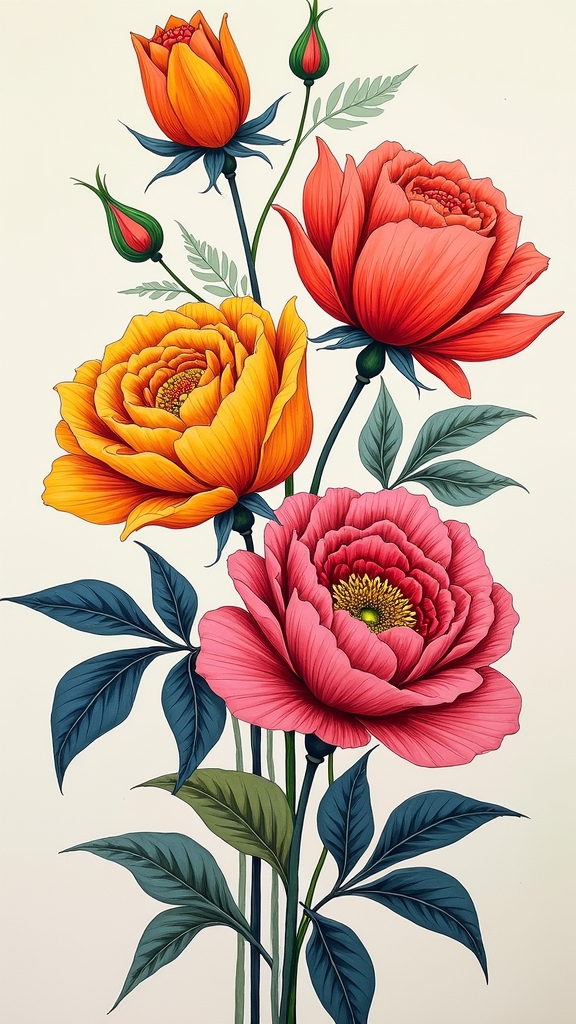
Pretty Peony Blooms
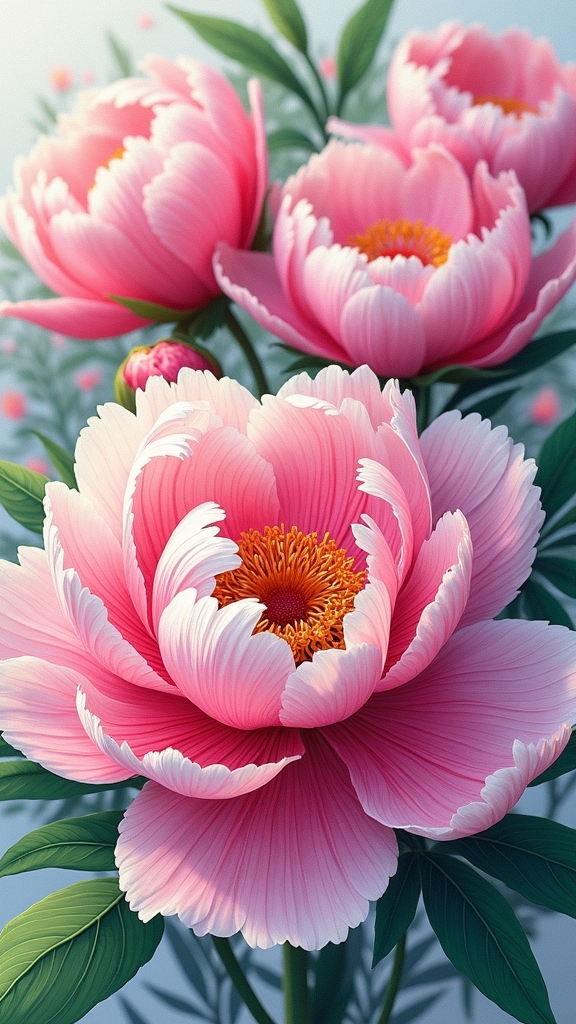
Pretty peony blooms are a blast to sketch with Posca pens, especially when you start with a simple circle and build those ruffled petals all around.
It’s fun to play with different petal shapes and stack on colors, making the flower look super soft and real—almost like it could pop right off the page and into your hand.
With each layer and shade, the peony goes from a flat doodle to a blooming masterpiece that’s anything but boring.
Step-by-Step Peony Drawing
Not everyone knows this, but drawing a peony can feel like revealing a secret level in art class—seriously, it’s that fun and just a little mysterious!
To start sketching a peony, artists begin with a simple circle for the flower’s core, which sets the stage for those lush, layered petals. The magic happens as you build on this base, adding detail, shading, and a hint of realism.
Here’s a quick breakdown:
- Draw a central circle, then sketch curvy petal shapes around it, letting them overlap for that classic peony fullness.
- Add a stem by placing a dot beneath the bloom, then extend a line downward and sketch long, leafy shapes at the base.
- Practice layering colors and gentle shading to make the peony bloom pop!
Adding Depth With Color
Once the basic peony sketch takes shape, it’s time for the real magic—color! Here’s where peony blooms truly come alive.
To build depth, artists start with soft pinks, adding gentle layers of white or ivory using downward strokes. This creates a dreamy blend of colors that look almost touchable.
Want more texture? Try varying the pressure of your Posca pens—light strokes give you subtle shades, but pressing down brings out bold, vibrant spots that make the petals pop.
For even richer blooms, mix in deeper hues like mauve and crimson, especially around the center or shadowy parts.
Leaves and branches aren’t just green—layer browns and dark reds, and use cross-hatching for texture. Suddenly, those flowers look lush and full of life!
Peony Petal Shape Variations
A garden of possibilities opens up when artists start playing with peony petal shapes. Each sketch turns into an adventure—will the peony bloom be bold and wide, or shy and tightly curled?
It’s all about experimenting with the curves and lengths of the petals. Some artists get wild and wavy, while others keep it neat and sweet.
Want to make your flowers look even more amazing? Try these tips:
- Start with a central circle, then layer curved lines for petals, switching up the direction and size for variety.
- Use lighter colors for the inner petals and deeper tones for the outer ones to add depth—almost like your peony is popping off the page.
- Add some filler shapes and long leaves to complete that lush, full peony look.
Blue Sunflower Art
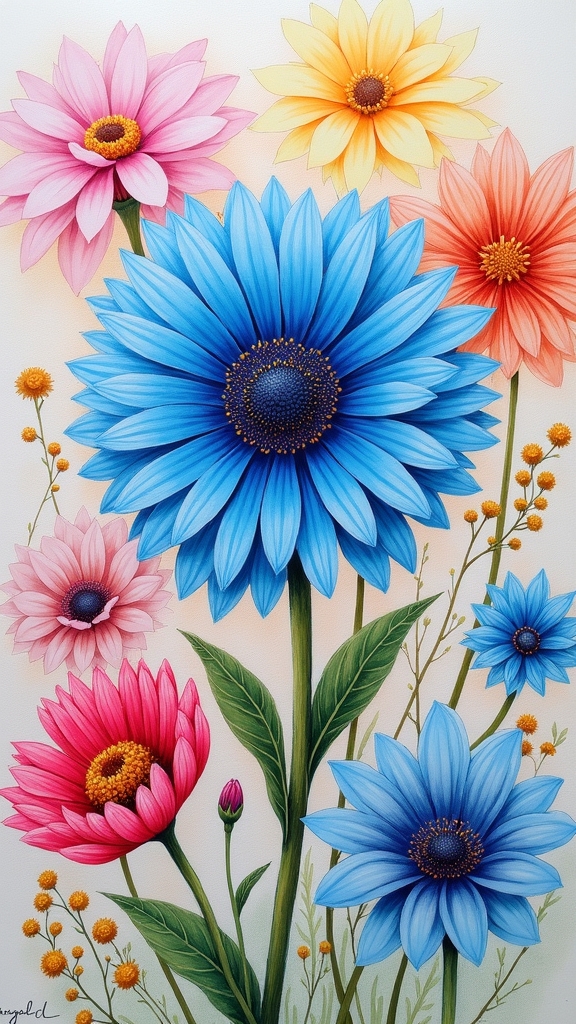
While most people picture sunflowers as super-bright and yellow, blue sunflower art is like a plot twist for your sketchbook. Who knew sunflowers could rock a cool blue vibe?
Using Posca pens, artists start by sketching that giant sunflower center, then draw out long petals—kind of like sun rays but way more dramatic.
With Posca pens, sketch a bold sunflower center and stretch out those dramatic, sunray-inspired petals for instant artistic flair.
Here’s where it gets fun: layering shades of blue, from deep navy at the edges to lighter blues at the tips, gives the petals serious depth. For extra flair, dots or lines in yellow or white make the center pop and add cool texture.
These sketching techniques let anyone put their own artistic style front and center. Blue sunflowers? They’re proof that art doesn’t follow the rules.
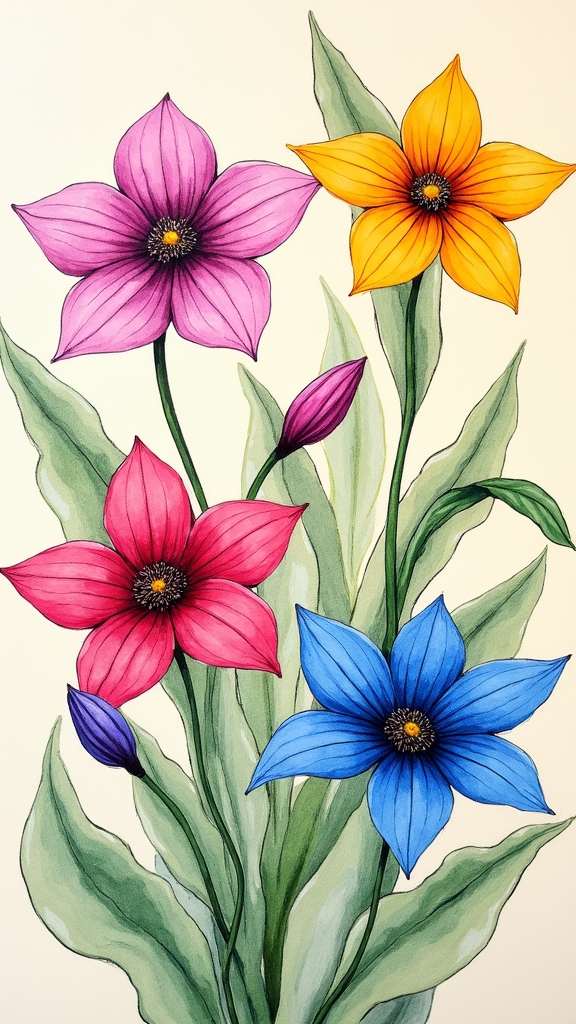
Funky Wildflower Doodles
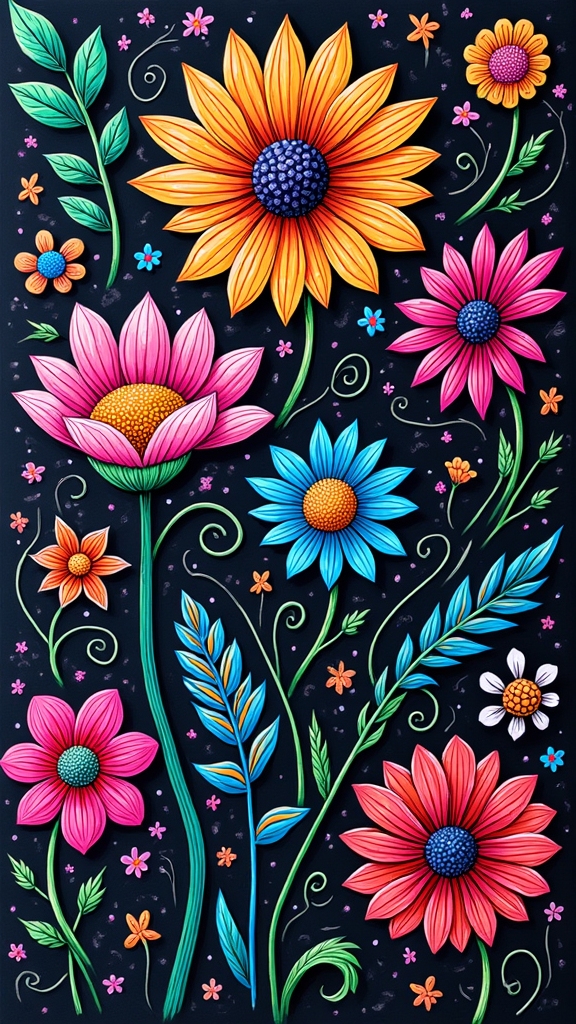
Funky wildflower doodles are all about letting loose with playful linework—think squiggly stems, wobbly petals, and circles that aren’t afraid to stand out.
When Posca pens come into play, mixing bold colors and layering shades turns even the simplest sketch into a wild, eye-catching scene.
With every swirl and dot, artists get to create flowers that look like they’ve just jumped out of a cartoon meadow, full of personality and color clashes that somehow work perfectly together.
Playful Botanical Linework
Sometimes, all it takes is a few bold lines and a splash of color to turn a blank page into a wildflower wonderland.
Playful botanical linework is all about letting your creativity run wild—think vibrant doodles that practically jump off the page! With Posca pens, artists start with simple shapes, then layer in petals, stems, and quirky leaves.
No two flowers ever look the same, which is half the fun. If you want your wildflower doodles to stand out, try these steps:
- Sketch basic flower shapes with loose, playful lines—don’t worry about being perfect!
- Add details like overlapping petals, curling stems, and funky leaves for a more botanical vibe.
- Use vibrant colors from your Posca pen collection to make each flower pop with personality!
Mixing Colors Creatively
After all that playful linework, it’s time for the real fun—mixing colors to make those wildflower doodles totally pop!
Mixing colors creatively with Posca pens means you get to layer different hues until your flowers look like something from a magical garden. Try using complementary colors: pair a bold orange with a cool blue, or a fierce pink with leafy green. That contrast makes the petals practically jump off the page!
Want extra dimension? Experiment with blending techniques. Lay down a lighter color first, then add a darker shade on top. Or, take a wet brush and drag the colors together for a dreamy, watercolor vibe.
Don’t forget to add patterns and textures—dots, stripes, maybe a wild cross-hatch—each one makes your wildflowers one-of-a-kind.
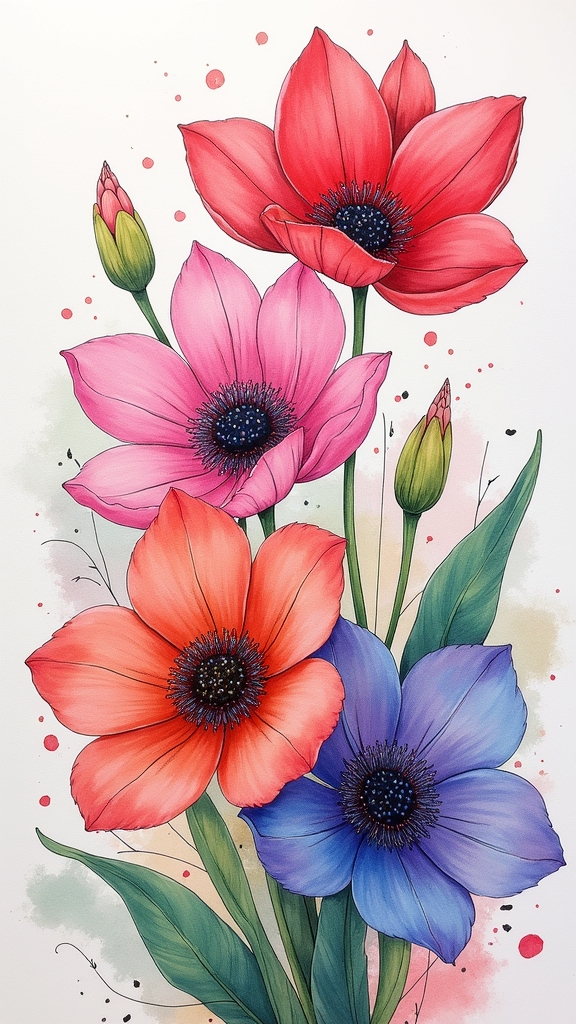
Simple Meadow Bouquet
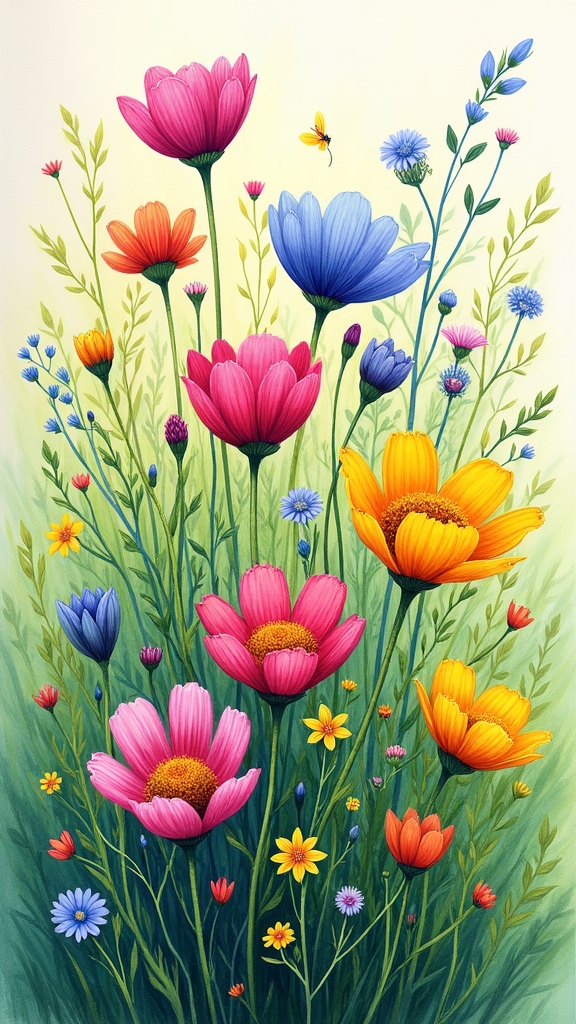
A meadow bouquet feels like a pocket-sized adventure—wild, colorful, and bursting with energy.
A meadow bouquet is a tiny, joyful adventure—full of wild color, energy, and the carefree spirit of summer fields.
Imagine sketching a bunch of cheerful flowers, each one with its own personality, packed together like best friends at a picnic. With Posca pens, artists can immerse themselves in a world of bright colors and playful lines.
Here’s how to create a simple meadow bouquet:
- Sketch basic flower shapes, like daisies or wildflowers, using light strokes for petals, stems, and leaves.
- Fill in the bouquet with vibrant colors—think yellows, pinks, and whites—layering shades for extra depth and fun.
- Add leaves and stems in greens, using downward strokes, then finish with a fine-tipped pen for details like dots and pollen.
It’s wild, messy, and totally fun!
Art Deco Rose Motif
When it comes to making a rose look super cool and stylish, nothing beats the Art Deco vibe. This motif loves geometric shapes, bold lines, and that sharp, modern attitude.
Grab your Posca pens and get ready to play with contrast—think deep reds, shiny metallics, and maybe even some black for extra drama.
Start by drawing tiny dashes in the center for the rose’s core, then layer bigger marks around them, building petals that twist and turn with crisp angles and sleek curves.
Use different Posca pen tip sizes for those sharp edges and smooth lines. The limited color palette and contrasting colors really make the rose pop, giving it that rich, glamorous feel only Art Deco can deliver.
Lovely Lavender Sprigs
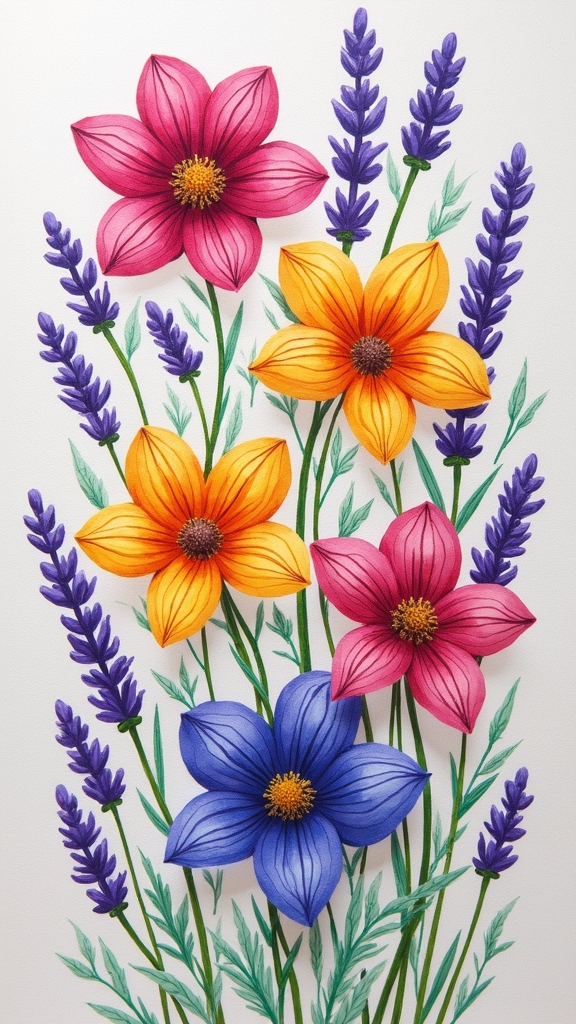
Lavender sprigs are like nature’s own magic wands—just a few strokes with Posca pens and suddenly, a plain page transforms into something elegant and fresh.
Sketching these flowers is both relaxing and exciting, especially when you realize how quickly a bunch of simple shapes can become a stunning lavender bouquet. To capture the unique charm of lavender, try this easy process:
- Sketch long, slightly curved stems with Posca pens, letting them twist a little for that wild, just-picked look.
- Add clusters of tiny ovals or teardrops in different shades of purple and violet to form the flower buds, layering for extra depth.
- Draw slender green leaves along the stems and highlight everything with fine white Posca pen details for a truly delicate finish.
Botanical Doodle Patterns
Even if someone’s only doodled in the margins of their notebook, they’ll find that botanical patterns are a total game-changer—suddenly, a blank page is buzzing with life.
Botanical doodle patterns don’t need to be complicated; just simple shapes and lines can turn into the coolest floral designs. With Posca pens, those sketches get a pop of vibrant color, and experimenting with different line weights makes everything stand out, almost like the flowers are jumping off the page!
Mixing up sizes and repeating little elements gives the doodles a natural, wild vibe. It’s like building your own secret garden, one sketch at a time.
The best part? The more someone practices, the more their style blossoms—no green thumb required.
Delicate Daisy Cluster
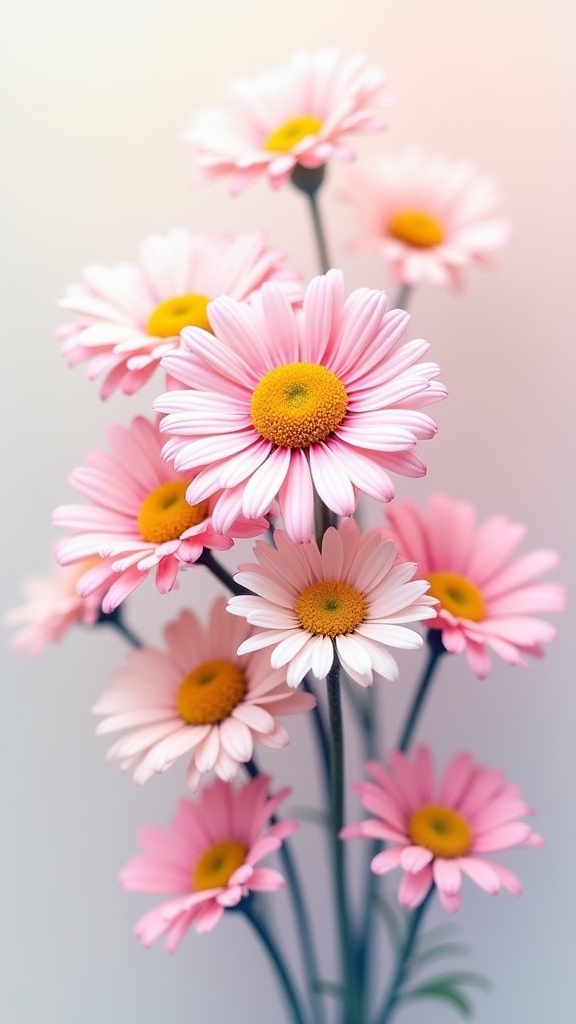
Sketching a cluster of delicate daisies with Posca pens starts with simple shapes—just a circle for the middle and a handful of skinny petals reaching out like sunbeams.
Layering petal colors can turn a flat bloom into something soft and lively, especially if you mix in some sneaky gradients.
Don’t forget the daisy’s center, where a few tiny dots can make it pop and look almost real—like it’s ready to jump right off your sketchbook and say hello.
Sketching Simple Daisy Shapes
A handful of daisies can totally brighten up any doodle, and drawing a delicate daisy cluster with Posca pens is way easier than it looks.
To sketch a simple daisy, start with a tiny circle for the flower’s center. Next, add five petals—don’t stress about making them perfect! In fact, petals that are a little uneven or curved look more natural and fun.
Using a Posca pen, keep your lines light and feathery to capture that soft, delicate texture daisies are known for. For extra detail, toss in a few dots or lines inside the center circle to mimic seeds.
Here’s a quick breakdown:
- Draw a small center circle.
- Sketch five gentle, curvy petals.
- Add dots or lines for texture.
Layering Petal Colors
Once those daisy shapes are down, it’s time for the real magic—color! Layering is where a simple flower sketch becomes something special.
Start by grabbing a white or ivory Posca pen and lay down gentle, downward strokes at the base of each petal. This first layer makes the petals look soft and fragile, just like real daisies.
Next, bring in some pink—seriously, don’t be shy! Use light pressure and blend pink shades over the white, dragging the color with a wet brush for that dreamy, painterly effect. The petals will start to pop, looking almost three-dimensional.
Don’t forget about the stems and leaves—layer some green and brown together for depth. Suddenly, your flower sketch isn’t just a drawing—it’s alive with color!
Adding Center Dot Details
Nothing brings a daisy cluster to life quite like that tiny, perfect center dot. When using a Posca pen, the magic really happens with just a gentle tap right in the middle of those soft petal shapes.
It may look simple, but that center dot cranks up the color intensity and gives every daisy a fun personality. Want your daisies to look even more delicate? Pick a bright yellow or a bold orange for the dot—those colors pop against white petals and make everything look fresh and lively.
- Start by drawing your petals first, making each cluster unique with different sizes and angles.
- Dab a Posca pen to add a colorful center dot.
- Layer petal strokes lightly to keep that soft, delicate look.
Bold Poppy Petals

Even though poppies might look delicate out in the wild, drawing their bold petals with Posca pens turns them into absolute showstoppers on paper. The trick starts with sketching the flower shape lightly in pencil, making sure to capture those big, round petals. Next, it’s time for vibrant red—grab your Posca pens and fill in each petal, leaving a few spots lighter for a lifelike touch. Layering for depth is key, so don’t be afraid to go back and add more color. Dark details make everything pop—use black or brown pens to outline the petal edges and add a dramatic seed pod center. Varying tip sizes and even blending with a wet brush can create awesome textures.
| Step | Pro Tip |
|---|---|
| Sketch outline | Focus on round petal shapes |
| Add vibrant red | Leave areas lighter for contrast |
| Layer for depth | Build up color in bold strokes |
| Outline details | Use black for dramatic edges |
| Blend for softness | Try a wet brush for painterly look |
Small Flower Art on Black Paper
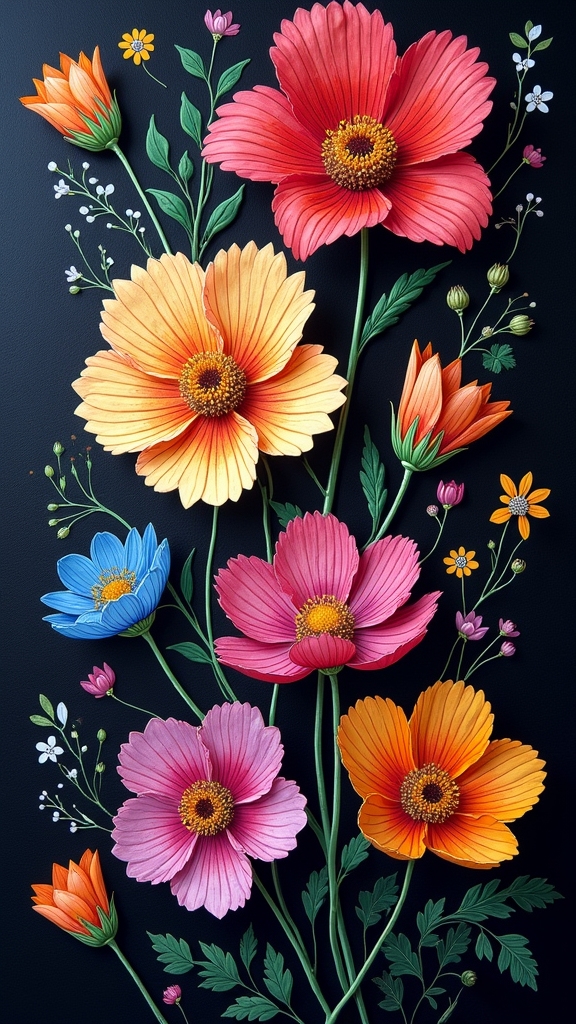
Black paper is like a secret weapon for small flower art, making every Posca pen color look extra bold and bright, almost as if the flowers are glowing in the dark.
With just a few circles and curved lines, anyone can sketch easy flower doodles that stand out, and adding tiny dots or lines gives them extra flair.
Picking the right paper, nailing those simple shapes, and playing with Posca’s wild colors turns even the tiniest flower into something totally eye-catching—almost like it’s showing off.
Choosing Black Paper Materials
One awesome way to make Posca pen flowers pop is by using dark paper as your canvas—seriously, the colors just explode off the page!
When it comes to small flower art, black paper is like magic. It creates instant contrast, which means every single Posca pen color you pick—whether it’s neon pink or soft ivory—looks super vibrant.
Plus, sketching floral motifs and detailed work becomes way easier because your lines stand out so much more.
Here are some tips for choosing the right black paper:
- Pick sturdy paper—Moleskine sketchbooks are a favorite for small flower art.
- Check for smoothness—Smooth black paper helps Posca pen colors glide on without skipping.
- Experiment with thickness—Thicker paper means less bleed-through and more confidence for detailed work!
Simple Flower Doodle Steps
Grab a black Moleskine page and get ready—Posca pen flower doodling is about to become your new favorite hobby.
Start by sketching basic shapes like circles or squiggly ovals for simple flower doodle outlines. Don’t worry about perfection; flowers in nature aren’t perfect either!
Use your Posca pens to draw flower petals, layering them in different directions and sizes. Try adding little details inside the petals—dots, lines, or even tiny zigzags—to make your flowers pop off the page.
Contrasting colors are your secret weapon, so pair light pink petals with bright green stems and leaves for extra wow-factor.
With every doodle, you’ll get better, and soon your black paper garden will be bursting with fun, colorful blooms.
Enhancing Colors With Posca
Although working on dark paper might sound tricky, Posca pens are basically magic wands for making colors explode off the page. When sketching small flower art on black paper, it’s all about enhancing colors and getting those petals to pop.
The secret? It’s in layering colors, picking the right shades, and letting your creativity bloom (pun intended). Here’s how to crank up the vibrancy in your floral compositions:
- Start with basic flower shapes using light Posca pen colors—think pink, lilac, or coral—so they stand out against the black paper.
- Layer colors gently, blending different shades for petals and leaves to add depth and glow.
- Use dashes and dots to create texture, making each flower look lively and full of personality!
House Plant Floral Drawing
House plants make awesome subjects for floral drawing, especially when Posca pens are involved—these pens bring colors to life like magic markers on a mission.
When sketching a house plant, it’s smart to start with the basic shapes of the leaves and flowers, letting their wild, natural forms lead the way.
Posca pens are perfect for layering techniques—start with light shades to block in big areas, then go bold with darker colors for dramatic highlights and shadow.
Don’t forget to add cool botanical elements like pots, soil, or even pebbles to make your floral drawing pop.
Mixing up contrasting colors or wild patterns gives each house plant its own personality.
Seriously, it’s like giving your indoor jungle a new, artsy attitude!
Watercolour-Style Floral Canvas
With Posca pens, artists can pull off a dreamy watercolour look by diluting the paint with a wet brush, letting colors melt together like magic.
Layering on those soft washes—starting light and building up with richer shades—brings real depth to each petal and leaf, almost like the flowers are popping off the canvas.
It’s a little messy, a lot of fun, and totally worth the extra napkins.
Diluting Posca for Softness
Sometimes, all it takes is a splash of water to totally change the vibe of your Posca pen flowers. By diluting Posca pens, artists can reveal dreamy, watercolour-style effects that make floral artwork feel light and delicate.
It’s like giving your flowers a magical, soft-focus filter. Here’s how the process usually unfolds:
- Start by brushing water over leaf shapes, then apply green Posca for a super vibrant color application that spreads like watercolor.
- For flower petals, use red or pink Posca with a wet brush—drag the color around to get those blended, painterly vibes.
- Try layering diluted Posca colors, letting each layer dry before adding more. This adds richness and mimics traditional watercolor magic—without ever picking up real paint!
Layering Colors for Depth
A little bit of layering can seriously transform a basic flower sketch into something that looks like it belongs in an artist’s fancy portfolio.
When layering colors for depth with Posca pens, it’s all about starting light—think pale yellows or pinks—using gentle strokes to give each petal a delicate appearance.
Want petals to look extra real? Try vertical strokes for shape, then slowly build up to deeper colors. It’s like giving your flowers a dramatic makeover, petal by petal.
For branches and leaves, blending colors works wonders, especially with a little cross-hatching for extra pop.
If you want your floral artwork to have soft gradations, try diluting your Posca colors with water. The result? A watercolour-style masterpiece that looks fresh, vibrant, and totally unique.
Geometric Flower of Life
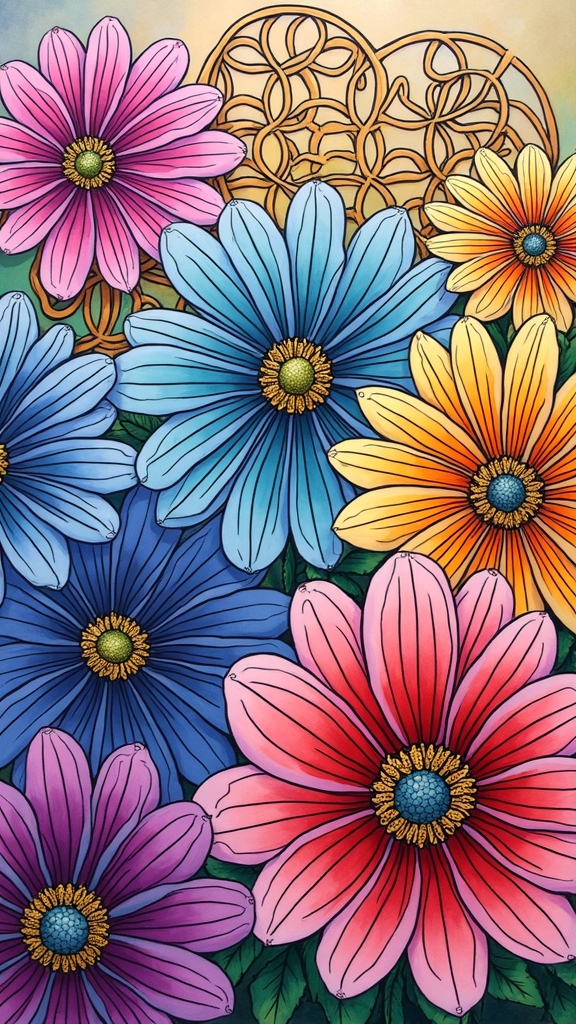
Countless artists get totally hooked on the Geometric Flower of Life because, honestly, it looks like pure magic once it’s finished.
This masterpiece starts with one simple circle, but soon, overlapping circles multiply, creating a pattern that feels almost hypnotic.
Posca pens are perfect for this design—they deliver vibrant colors, and the precise lines make the geometry pop.
Vibrant Posca pens make every line stand out, transforming geometric designs into mesmerizing, colorful masterpieces.
If you want your Flower of Life to look extra sharp, grab a ruler and keep those circles perfectly placed!
Here’s how to get started:
- Draw a central circle, then add overlapping circles around it, making sure each center touches its neighbor’s edge.
- Use Posca pens to layer on vibrant colors, creating eye-catching depth.
- Keep your lines super precise for maximum visual impact.
Forget-Me-Not Mini Florals
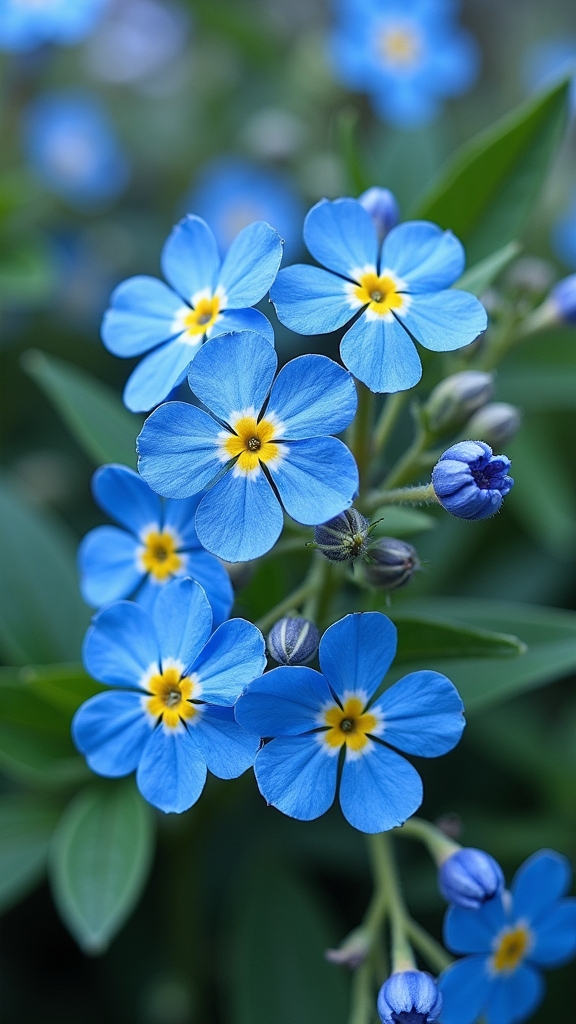
Petite bursts of blue, forget-me-nots are the tiny powerhouses of any floral sketchbook. These little guys may be small, but they totally steal the show with their bright blue petals and sunny yellow centers.
Using Posca pens, artists can easily bring forget-me-nots to life—just start by sketching a few five-petal flowers, making sure each petal stands out. Now for the fun part: layer different shades of blue to create highlights and shadows. Go wild with lighter tones for some sparkle, then add deeper blues for extra depth.
Don’t forget those tiny green leaves and skinny stems—they really make your floral sketch pop! Practice drawing forget-me-nots often, and soon your Posca pen skills will be next-level.
Colourful Begonia Maculata
Spots and splashes galore—Begonia Maculata is basically the rock star of the plant world. With its wild, polka-dotted leaves, this plant screams for attention and makes an awesome subject for a Posca pen sketch.
To capture its bold personality, artists focus on the unique shape and popping colors. Check this out:
- Those leaves? They’re long, pointy, and have wavy edges—no boring shapes here! Use a mix of greens for the top and add wild red or pink for the undersides.
- Start with lighter Posca pen shades and layer on darker colors to create depth, making the leaves look super real.
- Don’t forget details—add silver spots and fine veins for that extra wow factor.
Begonia Maculata: instant art superstar!
Tropical Bird of Paradise
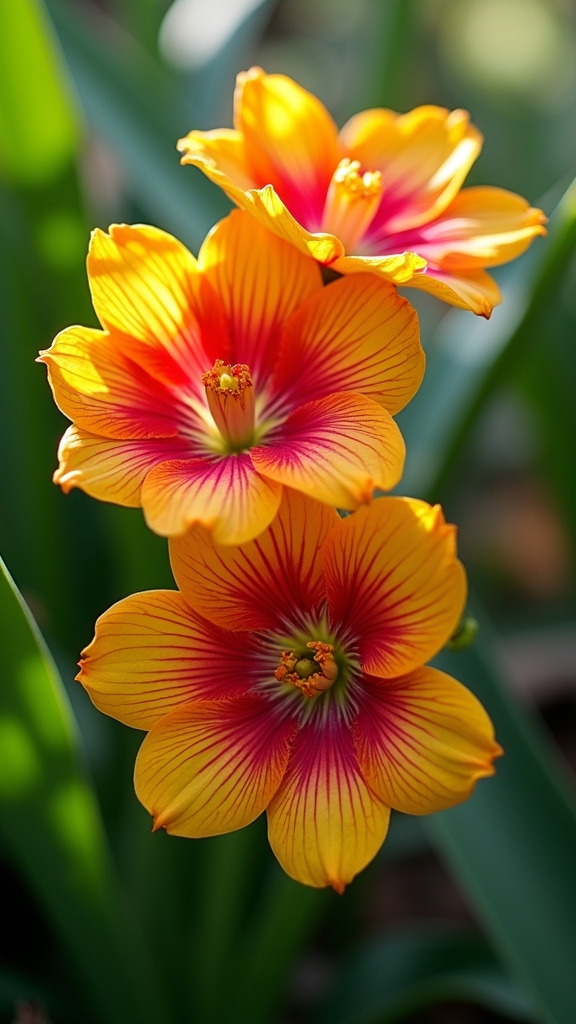
If the Begonia Maculata is the rock star, then the Bird of Paradise is definitely the superstar with a backstage pass. This flower is all about vibrant colors—fiery orange petals, pops of electric blue, and a splash of green that practically shouts “tropical vacation!”
In Posca pen art, capturing the wild shape of the Bird of Paradise is half the fun. Its petals shoot out like wings in flight, so outlining that unique form is a must. Layering different Posca shades adds awesome depth, turning flat sketches into real showstoppers.
Want a twist? Grab a wet brush and blend for a watercolor effect, which softens edges and makes the colors melt together. Add green leaves for balance, and you’ve got a masterpiece!
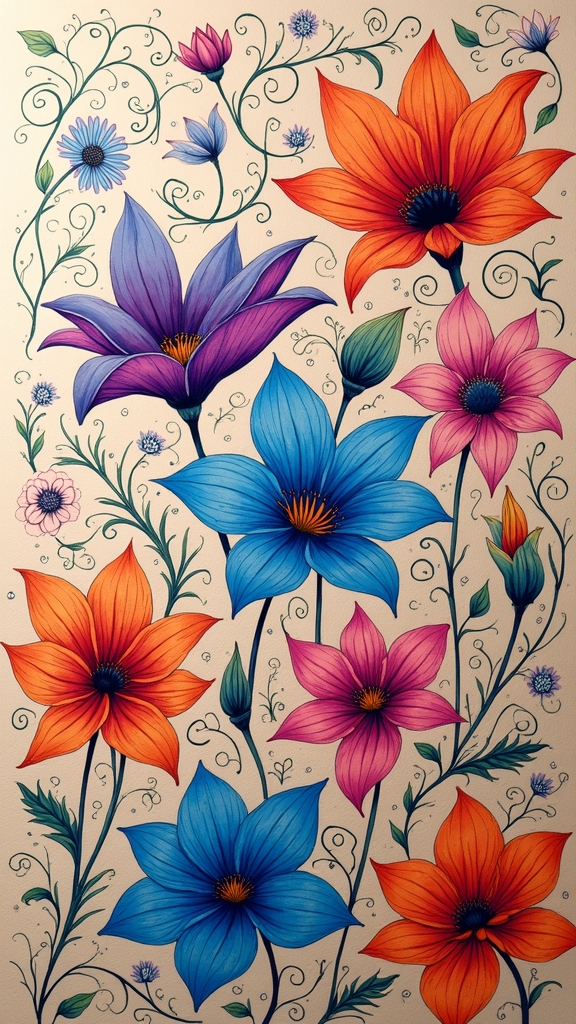
Abstract Floral Line Art
While some artists chase every petal and leaf, abstract floral line art throws the rulebook out the window and lets creativity take the driver’s seat. Instead of drawing realistic flowers, this style uses simple, flowing lines to capture the “vibe” of blooms.
With Posca pens, it gets even better—those vibrant colors seriously pop! Negative space isn’t just empty—it’s a superstar here, making the art look fresh and modern. Even beginners can jump in, because there’s no pressure to make things “perfect.”
Here’s how artists can amp up their abstract floral line art:
- Play with line thickness to add cool depth.
- Layer vibrant colors for extra pizzazz.
- Use negative space to make designs stand out.
Who knew breaking the rules could look so good?
Mixed Media Patterned Florals
Who says flower art has to stick to one style? Mixed media patterned florals take Posca pens to a whole new level by adding watercolor, ink, or even bits of paper and fabric. It’s like a floral party on your page! Start by sketching your floral designs lightly, then layer on Posca pens for bold colors and cool patterns. Want more excitement? Try cross-hatching and stippling to add awesome textures. Blending watercolors under Posca highlights makes petals pop like magic. You can even glue on paper cutouts for extra flair. Mixing materials and patterns gives every flower its own personality. Check out this table for mixed media ideas:
| Mixed Media Material | Pattern Technique | Texture Effect |
|---|---|---|
| Watercolor | Cross-hatching | Soft, layered look |
| Ink | Stippling | Dotted dimension |
| Fabric | Swirls | Tactile richness |
| Collage Paper | Zigzags | Visual contrast |
Frequently Asked Questions
What Paper Types Work Best With Posca Pens for Floral Sketches?
Choosing suitable paper for Posca pens involves considering paper weight, texture types, absorbency levels, and finish options. Heavier, smooth, low-absorbency papers maintain color vibrancy, while lightly textured surfaces add interest without sacrificing detail or ink performance.
How Do You Prevent Posca Pen Colors From Smudging or Mixing Unintentionally?
Preventing Posca pen color smudging involves careful drying time management, strategic color layering techniques, and exploration of blending methods. Artists utilize color chart organization and follow specific smudging prevention tips to maintain clean, distinct lines and vibrant compositions.
Are Posca Pens Safe for Children to Use in Art Projects?
When considering art safety guidelines, Posca pens are generally made from non toxic materials, supporting creative expression in children. However, age appropriate projects and parental supervision are recommended to guarantee safe, responsible use and ideal art experiences.
How Can I Clean Posca Pen Tips if They Become Clogged or Dirty?
When addressing clogged tip solutions for Posca pens, one may use cleaning techniques such as rinsing the tip with water or gently wiping with a damp cloth. Maintenance tips include regular use to prevent ink flow issues and restore functionality.
Can Posca Pen Artwork Be Sealed or Protected for Display?
When considering the preservation of Posca pen artwork, various sealing techniques and protective coatings are recommended. Display options include framing or varnishing. Employing longevity tips such as UV-resistant sprays guarantees ideal artwork preservation and lasting vibrant colors.
Conclusion
So, there you have it—19 awesome flower ideas to try with your Posca pens! Whether you’re sketching wild cow parsley or a funky blue sunflower, you get to make your art totally unique. Grab some markers, let your creativity explode, and don’t worry if your flower looks a bit wonky—sometimes those turn out the coolest. The only rule? Have fun and keep drawing. Who knows, maybe your next masterpiece is just a doodle away!
Leave a Reply