
Mastering Posca pens means getting those markers ready to flow, drawing killer fine lines, and filling big areas like a pro. Artists can blend colors for smooth fades, layer shades for bold effects, and even mix shades right on their surface. Want textures? Try dots, cross-hatching, or surprises on wood, glass, or even metal. Artists can protect their creations with sealant, keep smudges away, and revive dry pens for endless art fun. Stick around—this is only the start!
Key Takeaways
- Shake and prime Posca markers thoroughly to ensure smooth, consistent paint flow before starting any project.
- Use fine-tip nibs for detailed linework and bold markers for large, even color fills.
- Blend colors while they’re wet and use circular motions for seamless gradients or layered effects.
- Create depth and texture with techniques like stippling, dotting, and cross-hatching for visual interest.
- Always let layers dry completely and seal finished work with a fixative to prevent smudging and preserve colors.
Preparing Your Posca Marker for Optimal Flow

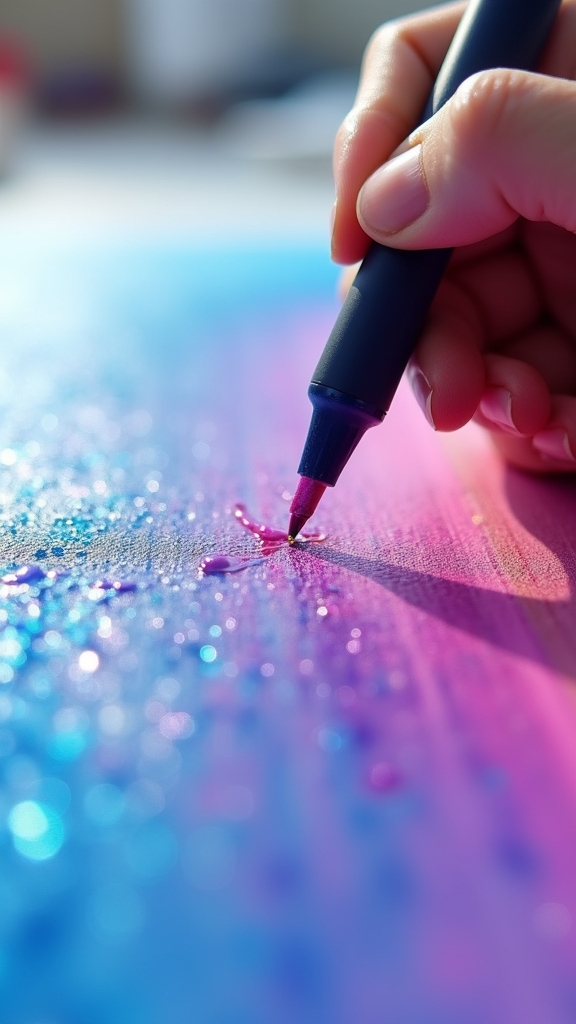
Jump right in—getting a Posca marker ready to use is a bit like waking up a sleepy dragon. It takes a little shaking, a little patience, and maybe a tiny bit of magic.
When preparing your Posca marker for ideal flow, always shake it with the cap on until you hear the rattle of the mixing ball. That click is your signal the paint inside is waking up and mixing well.
Shake your Posca marker with the cap on until you hear the rattle—that’s your sign the color magic is ready to flow.
Next, press the tip down on a scrap paper a few times, watching as the vibrant paint soaks through. Sometimes, it’s stubborn—give it a few extra pumps.
Keep a cloth nearby to catch any wild drips or to wipe off the tip. If your paint marker slows down, just shake and prime it again!
Creating Crisp Fine Lines and Intricate Details
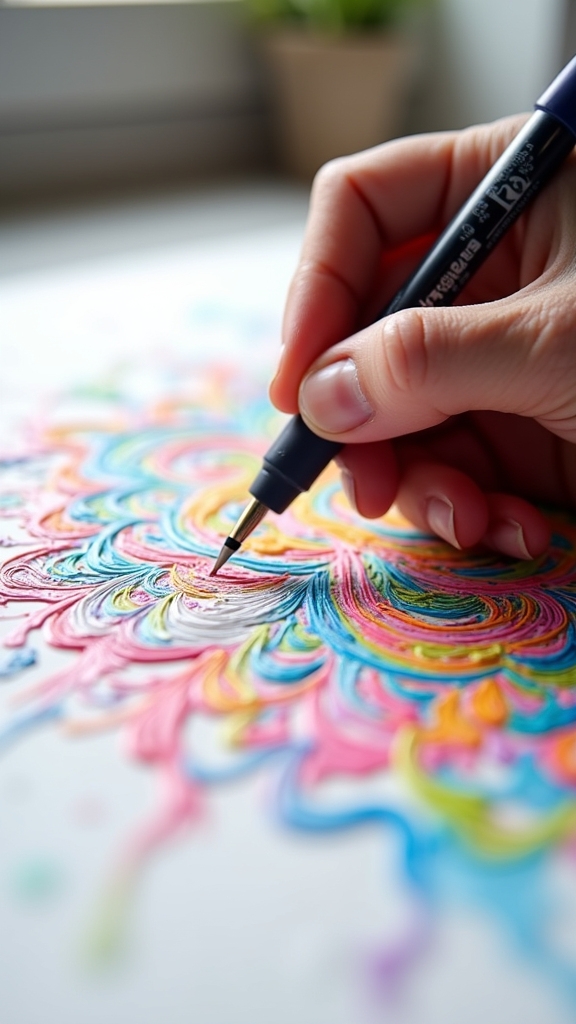
Getting those sharp, clean lines with Posca markers starts with picking the right nib—think skinny, like the PC-1MC, if you want your details to pop instead of blob.
Holding your hand steady can feel like a mini workout, but it’s the secret sauce for keeping your lines smooth and your design looking sharp (no wobbles allowed!).
With the right pen and a bit of focus, even the tiniest squiggles and dots can turn into epic details that totally steal the show.
Choosing the Right Nib
When it comes to nailing those crisp, fine lines and tiny details in Posca painting, picking the right nib is kind of a big deal—think of it like choosing the right sword for a knight’s quest.
Choosing the right nib can make or break your artwork, especially with a marker popular with artists for its bold, colorful results. For super precise lines, the thin PC-1MC or PC-3M nibs are the go-to picks, giving you loads of control.
The PC-5M is like the trusty sidekick—good for both details and wider areas. Always test your nib on scrap paper first; surprises are fun, but not in art.
Plus, keep your nib clean—paint buildup is a villain nobody wants. Mixing nib sizes? That’s how you make magic happen.
Steady Hand Techniques
Lock in those fine lines like a pro—steady hand techniques are the secret sauce for Posca artists chasing crisp detail and jaw-dropping precision. When wielding a paint marker popular for its bold color, it’s all about control.
Start with thinner Posca pens like the PC-1MC or PC-3M; they’re perfect for those tiny details and sharp lines. Want your lines to look less like a roller coaster and more like a racetrack? Rest your wrist on the surface, move slow, and let the paint flow. Don’t rush—steady wins this race!
Remember:
- Shake and activate the pen for smooth, even paint flow.
- Take breaks—nobody wants shaky, tired hands.
- Practice slow, controlled strokes for better precision.
With these tricks, your Posca art will pop!
Mastering Bold Fills and Large Area Coverage

Splashing bold colors across a big canvas with Posca pens feels a bit like being a superhero—except instead of saving the world, it’s about saving your art from boring, uneven patches.
When it comes to mastering bold fills, size really does matter. Thicker POSCA markers, like the PC-5M or PC-8K, are the secret weapons for large area coverage, letting artists lay down paint smoothly and quickly.
Thicker POSCA pens like the PC-5M or PC-8K make bold, smooth fills on big canvases effortless and fast.
Before launching into action, a vigorous shake guarantees the paint mixes up just right. Pressing down firmly on the nib keeps the paint flowing strong, while sweeping movements help cover big spaces fast, like painting with a magic wand.
And, patience counts—let the paint dry completely before adding more, unless you want accidental fingerprint art!
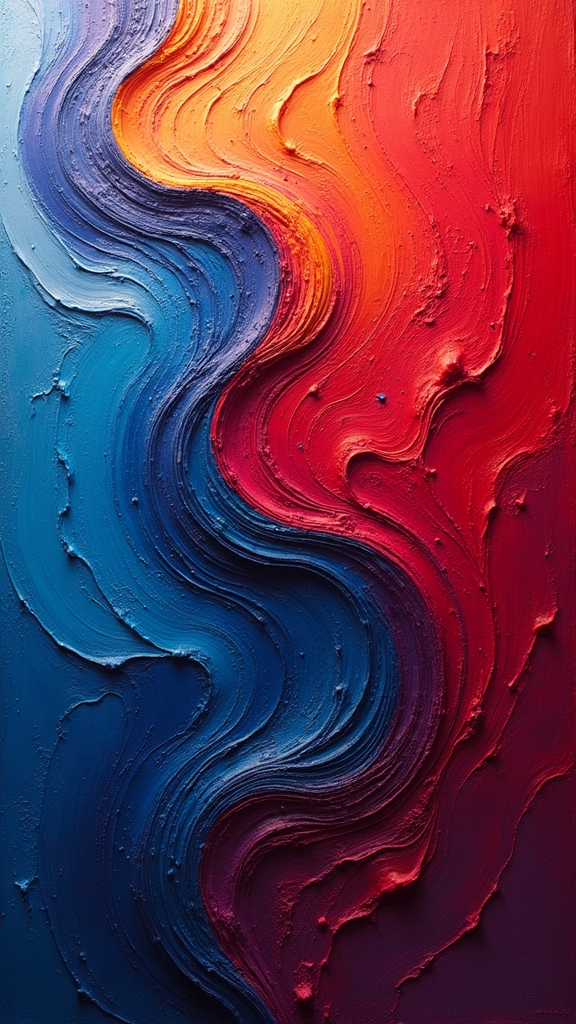
Achieving Smooth Color Blends and Gradient Effects
Blending colors with Posca pens turns a plain drawing into something that almost glows—like magic, but with markers. To get those smooth color blends and eye-catching gradient effects, it’s all about timing and touch.
While the paint is still wet, artists can layer two or more complementary colors, letting their edges melt together for a seamless look. Lighter pressure on the tip keeps things from getting too messy, and small circular motions help the shades mix where they meet.
Want to get it just right? Try this checklist:
- Practice on scrap paper before going to your final surface.
- Always start with the lighter color, then blend in the darker shade.
- Keep a damp cloth ready to clean the pen tips and keep colors fresh.
Blending really is that easy!
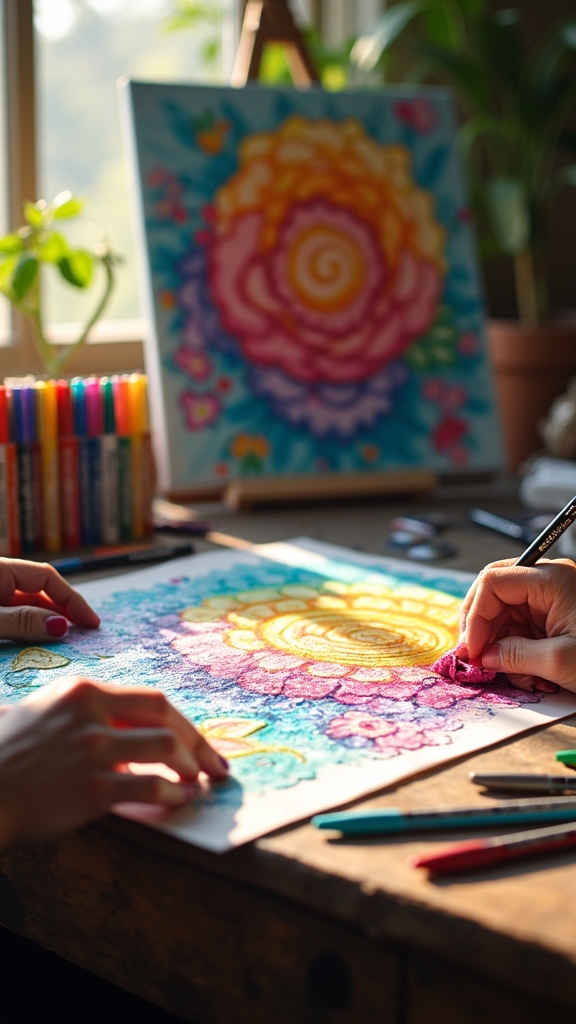
Layering Colors for Depth and Vibrancy
Once those awesome color blends are looking just right, it’s time to take things further and really make the artwork pop. Layering colors for depth isn’t just about stacking paint—it’s about giving your art that wow factor and making it feel alive! Start strong with a solid base layer, let it dry, and then build up more layers to add vibrancy. Want more contrast? Use lighter shades on top of darker ones. For cool effects, try adding a new layer while the last one’s still a bit wet! Check out this table for quick layering tips:
| Step | Technique | Pro Tip |
|---|---|---|
| 1. Base Layer | Solid Color | Let it dry fully |
| 2. Add Contrast | Light over Dark | Boosts vibrancy |
| 3. Wet Blending | Layer while damp | Smooth shifts |
| 4. Texture | Stipple/Crosshatch | Adds dimension |
| 5. Dry Time | Wait between layers | Prevents muddiness |
Even with all the information on current events, nothing beats making your art shine!
Exploring Shading and Highlighting Techniques
A flashlight shining on a drawing can totally change the way it looks—and that’s exactly what shading and highlighting with Posca pens is all about!
When artists want their creations to pop off the page, they use lighter shades for highlights where the “light” hits and darker tones for shadows where it doesn’t.
Layering techniques really come in handy here, letting artists build up smooth shifts between colors, almost like magic! The real trick is patience—let each layer dry before adding the next, or things might get a little messy.
Layering colors patiently creates those magical, smooth blends—just be sure each layer dries to keep your art looking crisp, not messy!
Here’s a quick breakdown:
- Use lighter shades to add highlights and make things look 3D.
- Add darker tones for shadows and extra depth.
- Layer colors for smooth, blended shifts—no harsh lines!
Adding Texture With Stippling and Cross-Hatching
When it comes to making your Posca paintings pop, stippling and cross-hatching are game-changers.
Stippling lets you build cool textures with tiny dots, while cross-hatching uses crisscrossed lines for awesome depth and shadow effects.
Mixing both can turn flat drawings into eye-catching masterpieces that practically jump off the page—no magic wand required!
Stippling for Unique Texture
There’s something seriously cool about creating texture with a Posca pen, and stippling is where the magic starts. Stippling for unique texture is like giving your art a secret handshake—tons of tiny dots, each one building up depth and character.
Artists and creative hobbyists love this technique because it transforms flat drawings into eye-catching masterpieces. The trick is all in the dots: how close or far apart they are, how much pressure you use, and how big or small you make them.
Here’s what you need to remember:
- Vary the distance between dots to control how dense or light your texture looks.
- Use a softer touch for gentle textures, firmer pressure for bold spots.
- Practice on scrap paper to perfect your dot size and spacing.
Cross-Hatching Depth Effects
Cross-hatching with a Posca pen is like giving your artwork a secret superpower—suddenly, flat drawings pop with depth and drama.
By layering lines that cross over each other, artists create amazing cross-hatching depth effects, making objects look three-dimensional, almost like they could leap off the page!
Want more texture? Try stippling, which uses tiny dots to shade and add detail. Mixing both techniques lets creators play with smooth gradients and wild patterns, turning a simple doodle into a masterpiece.
Change up your pressure on the Posca pen, and you’ll see lines get thicker or thinner, adding even more dimension.
Playing with colors, layering, and experimenting gives you endless ways to boost creation and self-expression—so let your imagination go wild!
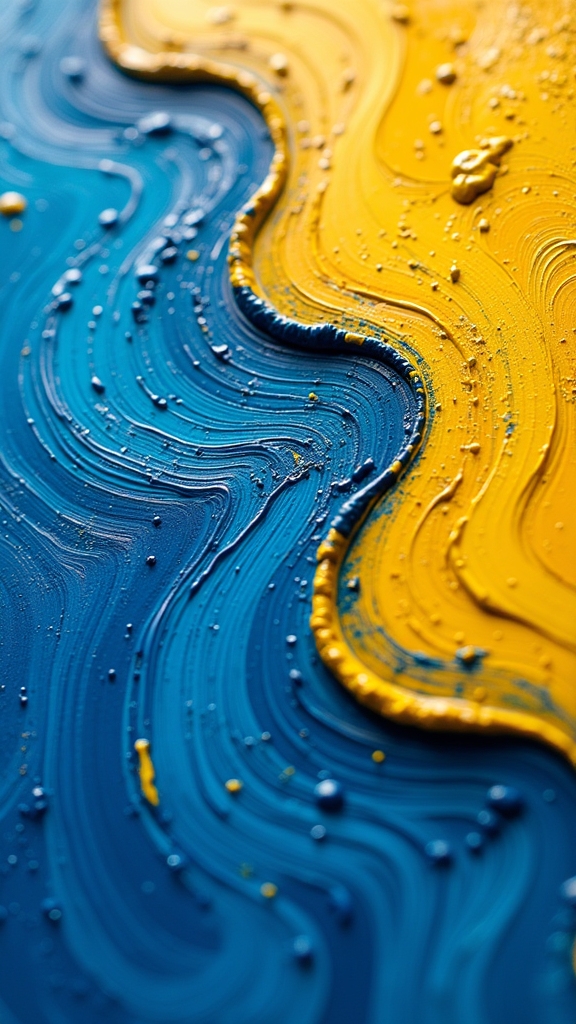
Mixing Colors Directly on the Surface
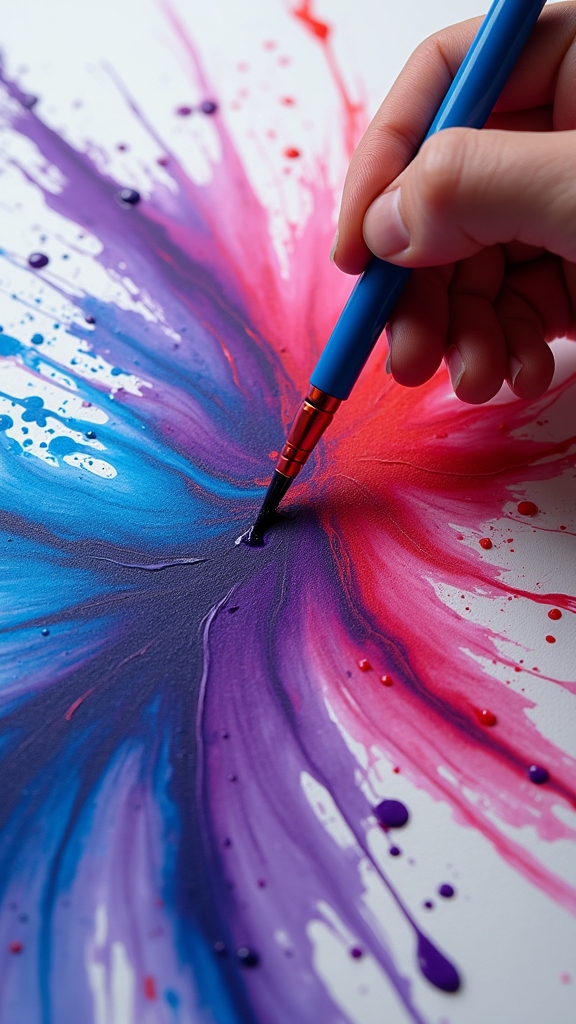
Dive right in—mixing colors directly on the surface with Posca pens is kind of like being a mad scientist in a super colorful lab. It’s all about experimenting boldly.
Mixing colors with Posca pens feels like wild experimentation—embrace the chaos and discover bold, unexpected blends right on your canvas.
To blend, artists apply two or more colors side by side, then use the tip to smudge and swirl them together. Layering different colors can add wild depth and texture, but patience is key—let each layer dry unless you want a muddy mess! Lighter shades on top really pop because Posca pens dry opaque, covering whatever’s underneath.
Here’s what to remember:
- Let one color dry before layering different colors to keep blends clean.
- Try different line thicknesses for sharper or softer blends.
- Always test your color mixes on spare paper first—surprises happen!
Working on Multiple Surfaces: Paper, Wood, Glass, and Metal
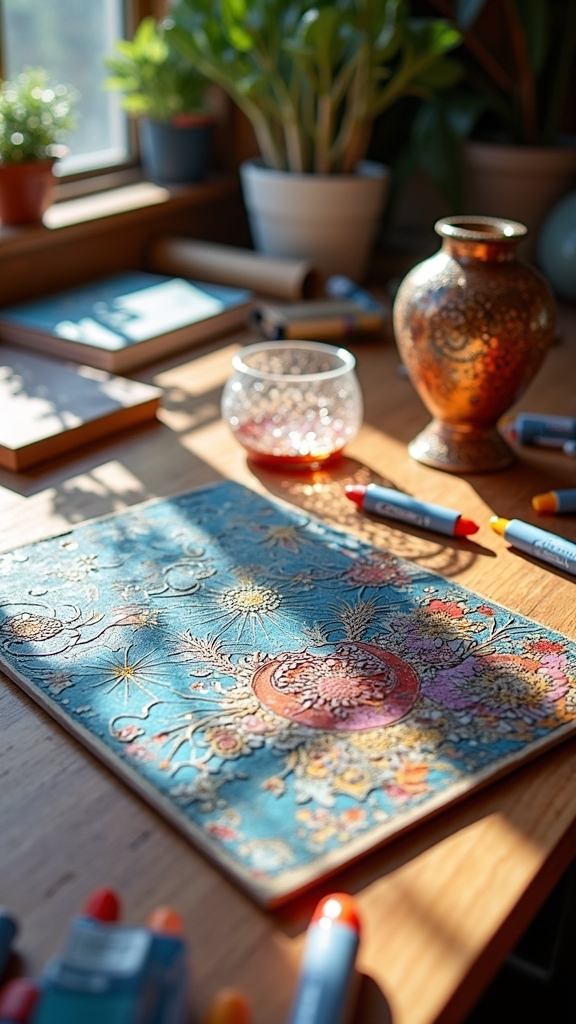
A true Posca adventure begins when artists realize these pens aren’t just for paper—they’re magic wands for almost any surface.
Amateurs and professionals every single one, grab Posca pens for projects on paper, wood, glass, and even shiny metal. The paint goes on opaque, popping with color over photos, doodles, or whatever you’re working on.
Here’s a hot tip: for glass or metal, always clean and dry the surface before starting—no one wants their masterpiece sliding off!
On wood or paper, the paint soaks in a bit, but those colors stay intense and bold. Experimenting with different textures gives art a special look, and that’s information on the processing you can’t ignore.
Who knew a pen could do so much?
Preventing Smudges and Preserving Your Artwork

Nobody wants to spend hours on a Posca masterpiece just to watch it smudge with a single swipe—talk about crushing!
Preventing smudges and preserving your artwork is all about patience and smart steps. First, make sure every layer underneath is bone dry before you even think about touching it with your Posca pen. The more patient you are, the better the result.
Next, seal the deal—literally—by using a fixative spray or sealant once your painting is totally dry. It’s like a raincoat for your art! And remember, smooth paint means happy colors.
Here are three quick ways to keep your art looking sharp:
- Only use Posca pens as the final layer.
- Let the paint dry completely before sealing.
- Apply an even coat of fixative or sealant.
Rejuvenating and Maintaining Your Posca Pens
Bring those tired Posca pens back to life—no magic wand required! If your marker’s tip dries out, just soak it in water overnight; it’s like a spa day, but for art supplies. When paint flow slows, shake the marker like you’re starting a dance party and re-prime it on scrap paper. Regular cleaning under running water helps keep clogs away. Damaged tip? No worries! Flip it around or swap it out—replacement tips are totally a thing. And here’s a pro tip: store your Posca pens flat, especially the brush ones, to keep the paint exceptional.
| Rejuvenating and Maintaining | Processing of My Personal Tips |
|---|---|
| Soak dry tips overnight | Clean under running water |
| Shake and re-prime frequently | Replace or flip damaged tips |
| Store horizontally for best results | Use compatible replacement tips |
Frequently Asked Questions
How to Make Posca Pens Work Better?
To make Posca pens work better, proper Posca pen maintenance is essential—regular shaking, priming, and tip cleaning guarantee smooth application. These practices also support effective Posca color blending, allowing artists to achieve vibrant, seamless shifts in their artwork.
What Not to Do With Poscas?
When considering Posca mistakes and common pitfalls, one should avoid shaking uncapped markers, neglecting to recap them, using them on unprepared surfaces, pressing excessively, or ignoring tip maintenance, as these actions compromise paint flow and marker longevity.
What Cool Things Can You Do With POSCA?
Exploring creative possibilities, one can achieve striking Posca effects such as vibrant layering, seamless blending, and intricate detailing in Posca art. Artists frequently personalize objects, customize surfaces, and experiment with unique color shifts across diverse materials using these pens.
How to Use Posca Pens Correctly?
Proper use of Posca pens involves shaking before use, priming the tip, and choosing appropriate pen sizes for different Posca techniques. Regularly cleaning Posca tips and securely capping markers guarantees consistent paint flow and extends marker lifespan.
Conclusion
Posca markers can turn any surface into a colorful adventure, as long as you know the tricks. With these eleven techniques, anyone can level up their art—whether it’s crisp lines, bold fills, or wild blends. Mistakes? Totally normal. That’s how masterpieces happen! So, grab some markers, shake them up, and let the creativity flow. Just remember, it’s not about perfection, it’s about having fun (and maybe making your backpack the coolest in school).
Leave a Reply