
Posca markers aren’t just for bold coloring—they’re awesome for layering colors, blending when wet, making smooth gradients, and even adding texture with cool stippling and dry brushing tricks. Artists try mixing paints, blowing on wet ink for wild effects, taping shapes for sharp lines, and combining Posca with pencils or watercolors. You can make patterns, splatters, and experiment on stuff like glass or wood. Want to pull off eye-popping designs and level up your art game? The next tips reveal more magic.
Key Takeaways
- Layer Posca markers over watercolor washes or acrylics to add vibrant, opaque details and highlights.
- Blend colors while wet with a damp brush for smooth gradients and soft transitions between shades.
- Use stippling and dry brushing to create rich, varied textures and surface interest in your artwork.
- Apply masking tape or stencils for crisp, clean edges and precise shapes in your designs.
- Experiment with mixing Posca on different surfaces, combining with colored pencils or gouache for unique, innovative effects.
Layering for Depth and Dimension
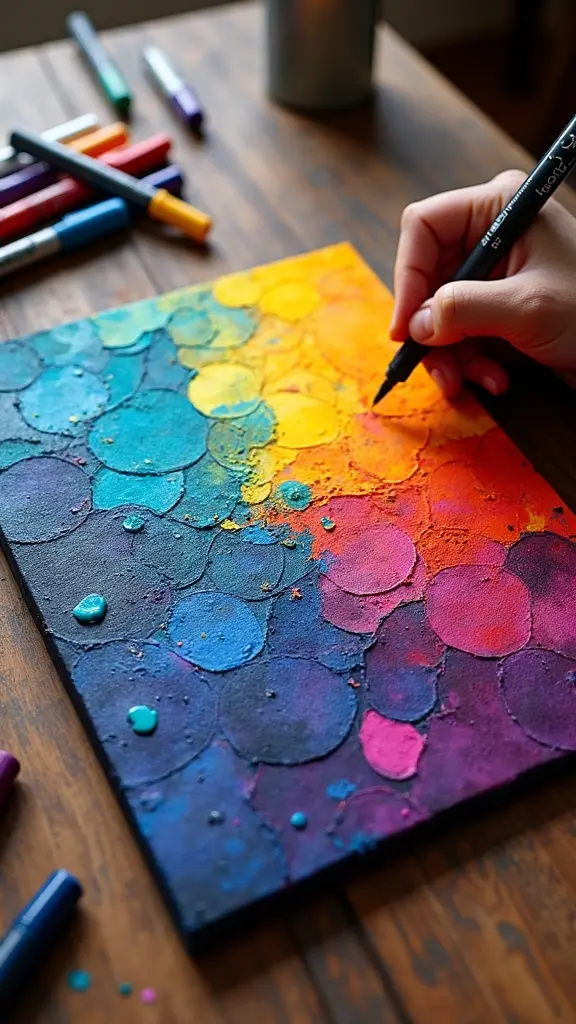
Dive right in—layering with Posca markers is where the magic really starts to happen.
Layering with Posca markers unlocks the magic, transforming simple sketches into vibrant, dimensional works of art.
With layering techniques, artists can turn flat drawings into eye-catching masterpieces bursting with depth and dimension. Want shadows or highlights? Stack dark colors over light ones, or flip it and layer brights on top of bold shades.
Because Posca paint dries so fast, there’s no awkward waiting or messy smudges. Grab a thick nib, like the PC-5M or PC-7M, to quickly cover big areas—perfect for backgrounds or dramatic color blocks.
For a softer, dreamy effect, try diluting your paint with a little water and layering on top. It’s like giving your artwork secret levels!
Just experiment and see how each layer adds something new and interesting.
Blending Colors While Wet
Blending colors while the paint is still wet is where Posca markers really start to feel like magic, letting artists create awesome, smooth shifts that look almost airbrushed.
To pull this off, tools like water-soaked brushes and the right nib sizes become absolute heroes, helping mix and push colors exactly where you want them.
Just remember, Posca paint dries super fast, so get ready to move quickly—no time for a snack break in the middle of blending!
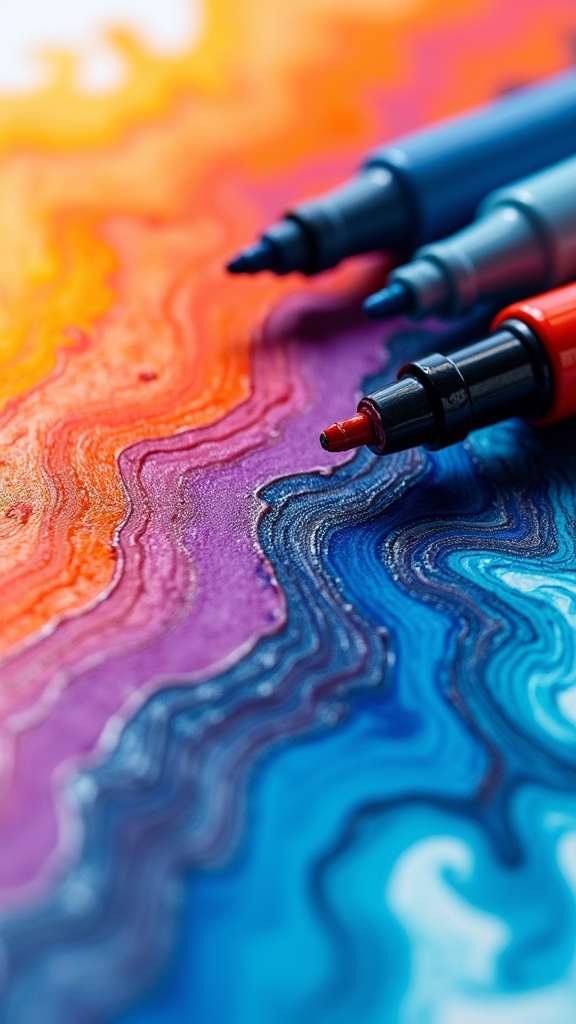
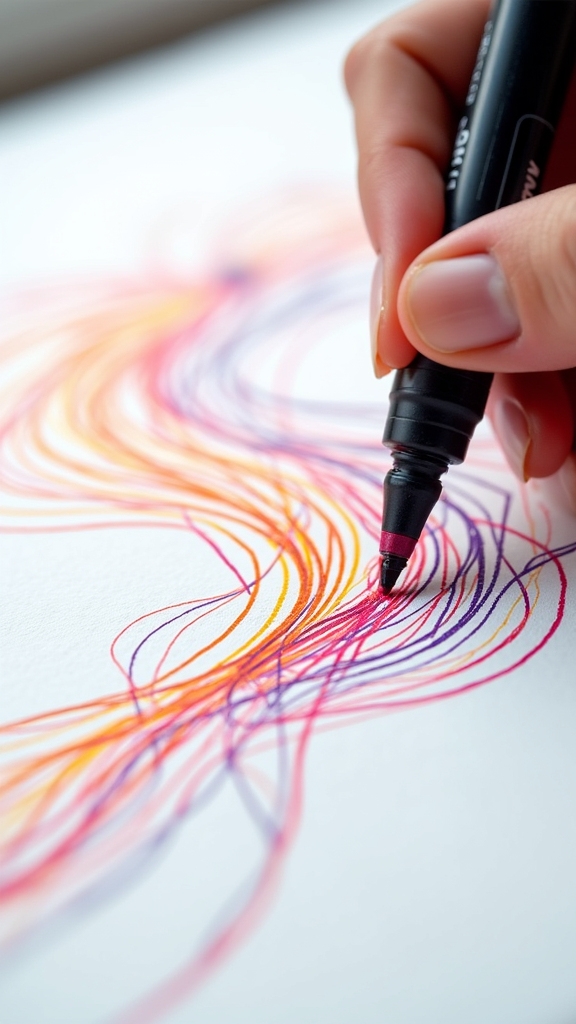
Achieving Smooth Color Transitions
Making colors melt into each other like magic is one of the coolest tricks you can pull off with Posca markers. Achieving smooth color shifts with these paint markers isn’t hard, but it does take a little practice—and maybe a deep breath or two.
The big secret? You want to blend colors while they’re still wet, letting them glide together for that awesome gradient look. It’s like watching a science experiment in art class, but way more colorful.
Here are some tips to get those colors blending like pros:
- Use broad-tip markers (like the PC-5M or PC-7M) for wider, smoother blends.
- Layer colors quickly, before they dry out.
- Gently blow on wet paint for cool, soft edges.
- Clean your marker tip often to keep colors bright!
Essential Tools for Blending
No magic trick is complete without the right set of tools, and blending colors with Posca markers is no different. To pull off a smooth blend, a clean brush dipped in water is an essential tool for creation—think of it as your secret wand!
Gently brushing wet marker colors helps them flow together, creating amazing gradients. Broad tip markers like the PC-5M or PC-7M make this even easier, giving you a bigger playground for mixing.
Layering wet colors adds depth, while “blowing” on the ink can make soft, dreamy effects—kind of like you’re using invisible spray paint.
Don’t forget a trusty paper towel! Wiping brushes or marker tips between colors keeps everything crisp, not muddy.
Blending magic, revealed!
Creating Gradient Effects
Creating awesome gradient effects with Posca markers is like a magic trick—there’s more than one way to pull it off, and each one has its own wow factor.
Wet blending lets colors melt into each other, while blowing on the paint gives you that smooth, spray-paint look, and layering colors takes your shifts to the next level.
Whether you want a sunset sky or a neon glow, these tricks make gradients easy and seriously fun.
Wet Blending Methods
Even though Posca markers are famous for their bright, solid colors, some of the coolest effects come from blending those colors together while they’re still wet.
Wet blending methods really show off the blending capabilities of these markers, letting artists create awesome gradients and dreamy shifts. If you work quickly, you can mix two or more colors right on your paper, and watch them melt into each other like magic.
For even smoother blends, try using a brush dipped in water to gently pull and mix the colors. Remember, the faster you work, the better the results—Posca paint dries pretty fast! Don’t be afraid to experiment.
- Mix colors directly while wet for custom shades
- Use a wet brush for extra soft blends
- Apply lighter colors first for smooth shifts
- Adjust pressure for different blending effects
Blowing for Gradients
While some might think Posca markers are just for coloring inside the lines, artists in the know have a secret weapon for next-level gradients—the blowing technique. Here’s how it works: you add a bit of paint from your Posca marker onto your surface, then grab a straw (or just use your mouth, if you’re feeling brave) and blow air across the paint. Instantly, you get this awesome, swirling gradient effect! Bigger tips like the PC-5M or PC-8K are your best friends here for an even blend. It’s smart to practice on scrap paper first—controlling paint and airflow is trickier than it looks and can get a bit wild. Water and a brush can also help with blending. Check out the table below:
| Tool | Benefit | Difficulty |
|---|---|---|
| Straw | Smooth gradients | Medium |
| Broad tip | Even coverage | Easy |
| Brush+water | Extra blending | Hard |
Layering Color Transitions
After mastering the wild world of blowing paint around with a straw, some artists might wonder, “Okay, but what if I want a gradient that looks a bit more controlled?”
That’s where layering color shifts comes into play! Layering color changes with Posca markers is like being the boss of your own rainbow. Start by laying down your first color while it’s still wet, then quickly add your second color right next to it.
Blend the edge with a water-soaked brush for a smooth, dreamy change. Because Posca paint is so opaque and dries fast, you can layer light over dark or dark over light—no sweat.
Here’s how to make the magic happen:
- Build up gradients in small sections
- Use a damp brush for softer blends
- Layer colors while wet for seamless changes
- Experiment with both light and dark shades
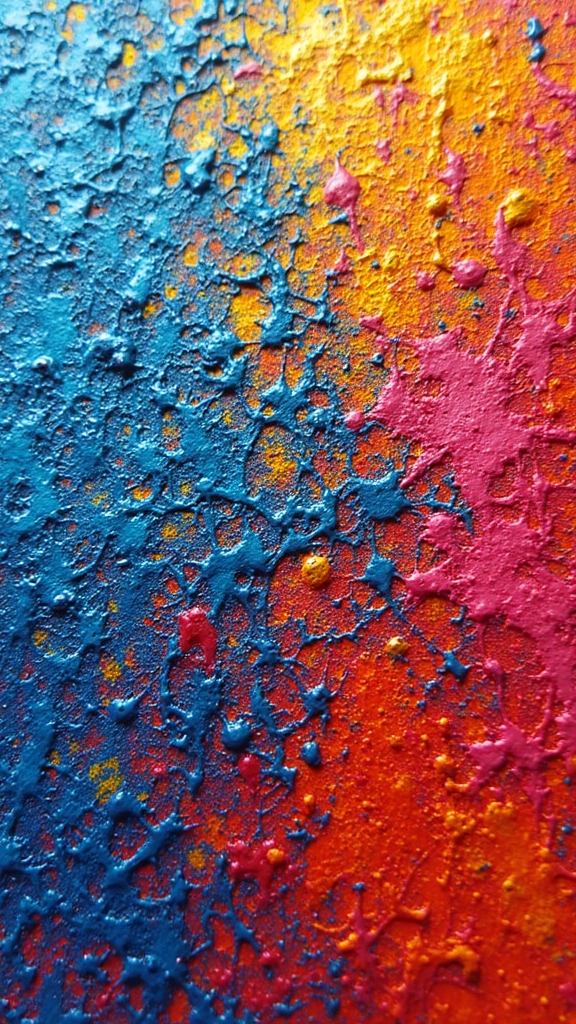
Stippling and Dotting for Texture

Sometimes, the coolest textures in art come from the tiniest details—like dots! With Posca Paint markers, stippling and dotting can totally transform a drawing from flat to amazing.
It’s pretty simple: just use the very tip of a medium or fine tip marker, like the PC-3M or PC-5M, and tap out lots of little dots. Want bigger dots? Press a bit harder. For tiny, delicate specks, go super light. You can even layer colors while the paint’s still wet—hello, magical blended effects!
Stippling works especially well on textured surfaces like wood or canvas, where dots kind of bounce out visually. It’s a bit like pointillism, just with cooler tools.
Warning: once you start dotting, it’s weirdly hard to stop!
Dry Brushing Techniques
Dotting and stippling can seriously level up a drawing, but there’s another trick Posca artists love: dry brushing.
Dry brushing techniques use a just-barely-there amount of paint on a dry marker tip, letting artists create scratchy, textured marks that add depth and character. By gently dragging the tip—think of it like barely skating over ice—artists can highlight raised surfaces or bring out subtle details.
It’s perfect for making weathered wood, fuzzy textures, or even soft highlights pop. Experimenting with different nib sizes, like the PC-3M for tiny details or the chunky PC-7M for big, bold strokes, lets you discover cool new effects.
Just remember, clean that tip often to keep your lines fresh!
- Try layering dry brush strokes for extra dimension
- Use textured paper for dramatic effects
- Blend dry brushing with other Posca techniques
- Play with pressure for different line strengths
Sgraffito (Scratching Through Layers)
Sgraffito with Posca markers is like magic—layer on thick, colorful paint, let it dry, and then scratch away to reveal wild textures and surprises underneath.
Using different tools, from craft knives to toothpicks, artists can carve out lines, squiggles, or even secret messages, each one popping with bold, contrasting colors.
The real trick is all in the layering, because the more you stack and scratch, the cooler and more dramatic the results.
Layering for Texture
When artists grab a handful of Posca markers and start layering colors, things can get seriously cool—especially when they try out the sgraffito technique.
Layering for texture means stacking up different shades so you can scratch through the top color and reveal the magic hiding underneath. It’s like digging for treasure, but way less messy!
First, slap down a light base color, let it dry, then go wild with a darker layer on top. Once everything’s dry, you can scratch away with the marker tip or another tool to reveal the colors below.
The best part? You get awesome, textured designs that really pop!
- Try different color combos for surprising results
- Use thick or thin layers for varied effects
- Create detailed patterns with fine tips
- Mix up textures by scratching lightly or deeply
Tools for Scratching
Piling up layers of bold Posca colors is awesome, but what really takes things up a notch is scratching through those layers to reveal secret shades below.
This sgraffito technique feels a bit like uncovering buried treasure—except you’re the one hiding it in the first place! To get those crisp, clean lines, artists grab tools like a craft knife or a fine-pointed stylus.
Using a POSCA marker with a thick, opaque layer means your scratches will show up super bright and clear. Mixing different marker nib sizes, like the PC-5M or PC-7M, adds even more flair, letting you make thin scratches or bold grooves.
Just remember, the right tool can turn a simple scratch into a masterpiece!
Revealing Contrasting Colors
Although it might look like magic, revealing bold, hidden colors with Posca markers is actually all about smart layering and scratching. The sgraffito technique starts with a base layer of a light color. Once that’s dry, a darker, contrasting color goes on top.
When that layer is totally dry (no shortcuts, sorry!), grab a scratching tool and etch away. As you scratch, the lighter, bright color underneath pops through the dark paint, exposing contrasting colors in cool, unexpected designs. It’s like uncovering a secret message with every scratch, and each tool leaves a different mark.
Want to try it yourself? Here’s what makes sgraffito with paint markers exciting:
- Reveal hidden colors with every scratch
- Create sharp, dramatic patterns
- Mix and match textures with different tools
- Experiment with bold color combos
Using Masking Tape for Clean Edges
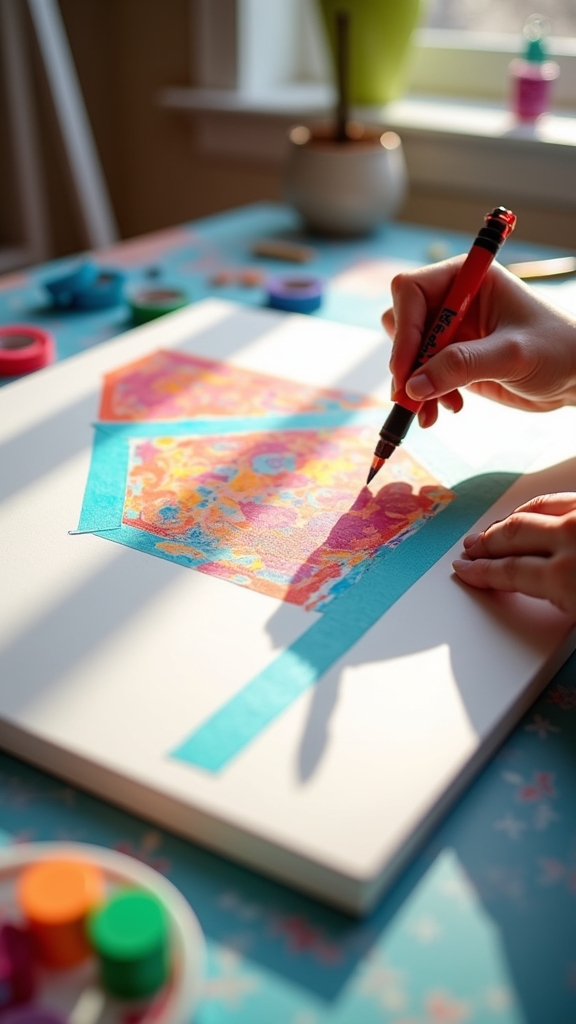
If you’ve ever tried to draw a perfectly straight line with a Posca marker, you know it can feel like trying to walk a tightrope with jelly legs.
That’s where using masking tape comes to the rescue! To get sharp, clean edges when using Posca, start by outlining the area you want to color with low-tack masking tape. Press the tape down hard, especially along the edge, so paint doesn’t sneak underneath and ruin your masterpiece.
When you lay down the Posca paint, keep it thin so the tape stays put and your line stays crisp. Let the paint dry all the way, then gently peel the tape off—voilà!
Try experimenting with different tape widths for cool effects that make your artwork pop.
Outlining and Line Work
Snap a Posca marker cap off and it’s like releasing a whole new world of lines just waiting to be drawn. Outlining with Posca markers is seriously fun—almost like having a magic wand for your art!
For those razor-sharp, detailed outlines, the fine tip PC-3M is your best friend. Need bolder, thicker outlines? Grab the PC-5M or PC-7M and watch your lines come alive. Keeping your hand steady and pressure even will give you smooth, consistent lines, but don’t be afraid to mix it up for cool effects.
Always outline from left to right if you’re right-handed (reverse for lefties!) to dodge those annoying smudges.
- Choose the right tip size for your project
- Keep pressure steady for even lines
- Layer colors for dramatic outlines
- Work directionally to avoid smudging
Working With Stencils
Stencils can make your Posca marker art look super sharp, but only if you choose the right kind and keep that paint from sneaking underneath.
Low-tack or repositionable stencils are the secret weapon here—they stick just enough to stay put, but not so much that they mess up your masterpiece or leave sticky gunk behind.
Nobody wants a blurry blob instead of a cool shape, so making smart choices with stencil materials and keeping those edges clean is a total game changer.
Choosing Stencil Materials
When it comes to picking the perfect stencil material for Posca marker projects, the options can honestly feel a bit overwhelming—kind of like trying to choose a favorite pizza topping when you’re starving.
There’s a lot to reflect on! Mylar and plastic are super popular stencil materials because they last long and keep those edges sharp.
But if you just want a quick, one-time design, thick paper or cardstock might do the trick (as long as you don’t mind if it gets a little soggy). Non-porous surfaces work best with Posca markers, making cleanup a breeze.
Want your stencil to stay put? Adhesive-backed options are a game changer.
Here are some cool stencil material choices to try:
- Mylar sheets
- Plastic stencils
- Cardstock or thick paper
- Adhesive-backed stencil films
Preventing Paint Bleed
Nobody wants to pull up a stencil and find their masterpiece ruined by paint that’s snuck under the edges—talk about a creative disaster! Preventing paint bleed is a must when working with Posca markers and stencils. First, low-tack adhesive stencils are game-changers for clean edges, letting artists avoid sticky residue. A quick, light mist of spray adhesive on the back of the stencil can help keep it locked down, so paint doesn’t escape. Start with thin layers, slowly building color instead of flooding the edges. Holding the stencil firmly and using gentle marker pressure are key. And here’s a pro move: let the paint dry a bit before the big stencil reveal.
| Technique | Why it Works |
|---|---|
| Low-tack adhesive stencil | Secure, clean edges |
| Spray adhesive mist | Prevents paint seepage |
| Thin paint layers | Controls paint, avoids bleeding |
Color Mixing Directly on Surface
A splash of color can turn a plain doodle into something totally eye-catching, and that’s where mixing colors directly on your surface with Posca markers comes in.
Instead of just coloring in the lines, artists can blend wet marker pigments right on their artwork for some seriously cool gradient effects. Using broad-tipped markers like the PC-5M or PC-7M makes it way easier to layer and blend colors without making a muddy mess.
Want to add depth? Try adding a darker shade over a lighter one, or flip it for a lighter highlight. Be sure to clean marker tips between colors, unless you’re going for surprise brown (yikes!).
- Blend colors while wet for smooth gradients
- Layer for added depth and dimension
- Use broad tips for easier coverage
- Experiment with drying times for different looks
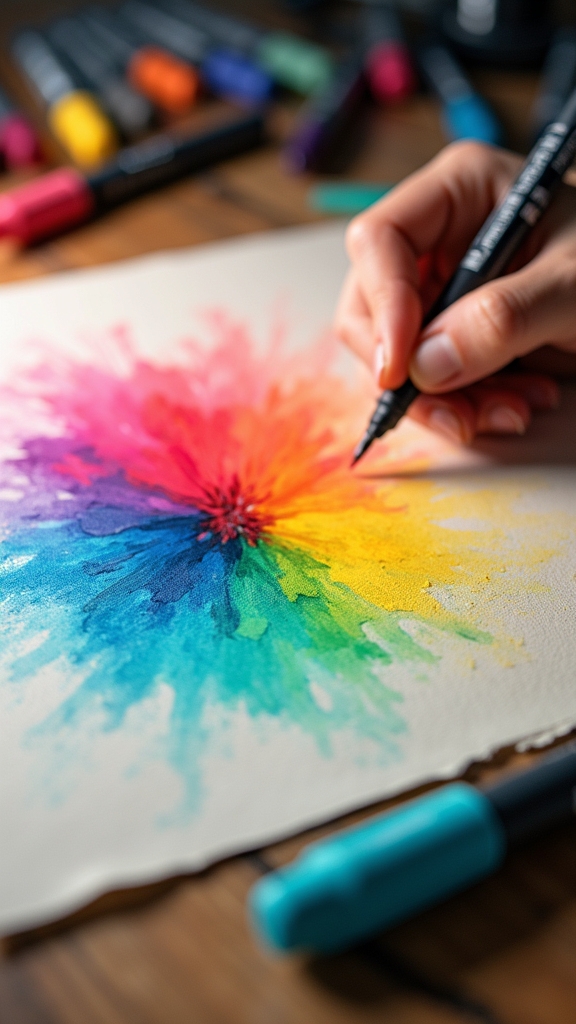
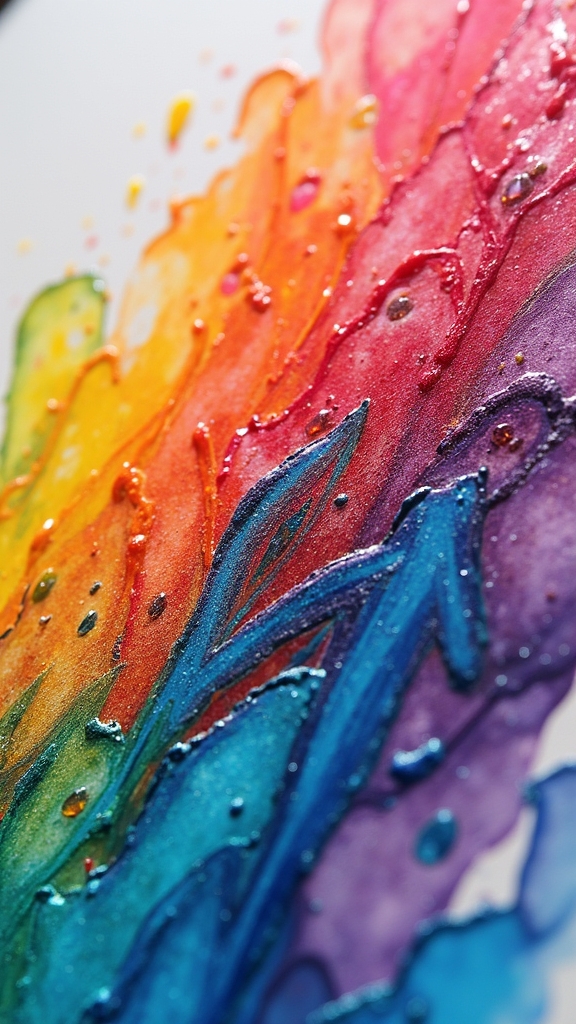
Water Dilution for Wash Effects
Water dilution with Posca markers is like magic for anyone wanting soft color gradients and gentle blends—think of it as watercolor’s cool cousin.
With just a splash of water, colors can be nudged together, faded out, or stacked in light layers for awesome depth (and zero stress about harsh lines).
The real fun comes from playing around with how much water you use, so every wash effect feels like a mini experiment—sometimes surprising, always satisfying.
Achieving Subtle Color Gradients
Sometimes, getting those super smooth color gradients with Posca markers feels like chasing a rainbow—just when you think you’ve got it, it slips away!
But there’s a trick: using water to dilute paint markers can turn harsh lines into dreamy, soft washes. Artists start with lighter shades, then layer on darker colors slowly, so things don’t get muddy. A damp brush helps blend colors while they’re wet, making transitions look effortless.
Patience is key—thin layers and letting each one dry stops your paper from becoming a soggy mess. Altering brush sizes also creates different gradient vibes, so experimenting is half the fun.
- Start with light colors and add darks gradually
- Use a wet brush for blending
- Apply thin, even layers
- Try different brush shapes for cool effects
Blending Techniques With Water
Dive right into the magic of blending with water, and Posca markers suddenly become watercolor wizards. Grab your paint pens, splash a little water, and watch the colors flow! By using a wet brush on fresh Posca ink, artists can create dreamy gradients and mix colors like pros. Lighter shades are easy—just add more water before you lay down the color. The more water you use, the more transparent your wash gets, turning bold colors into soft, gentle tones. Here’s a quick table to help you remember:
| Water Amount | Color Effect | Surface Type |
|---|---|---|
| Low | Bold, opaque | Paper |
| Medium | Soft gradient | Plastic |
| High | Transparent | Glass |
Experiment and laugh at the happy accidents—mistakes are easy to fix on plastic or glass!
Layering Washes for Depth
After getting the hang of blending Posca markers with a splash of water, artists can crank up the wow factor by layering washes for even more depth.
This technique is like building a sandwich—with each layer, the colors get richer and the artwork pops even more. Diluting Posca paint with water creates soft, see-through washes that let you stack colors for a cool, 3D look.
Here’s how you can engage:
- Start light: Lay down pale washes first, then add darker shades for awesome depth.
- Use a wet brush: It helps spread the diluted color, making silky gradients and smooth blends.
- Let it dry: Patience pays off—dry layers stop colors from turning into a muddy mess.
- Mix it up: Try different water levels for new, surprising effects!
Achieving Opaque Coverage
Getting that super bold, opaque look with Posca markers can feel like revealing a secret power—one that makes your art seriously pop off the page.
To nail opaque coverage, start by making sure your surface is clean and totally dry. Grab a broad-tipped marker like the PC-5M or PC-7M if you’re working on big areas—these tips lay down more paint and help you get that rich, even layer.
Start with a clean, dry surface and use a broad Posca tip for bold, super-smooth coverage every time.
For the best punchy color, apply paint in layers, letting each one dry before going in with the next. This keeps the color solid and vibrant.
Want to mix colors or make custom shades? Do it while the paint’s still wet, but keep an eye on coverage. Non-porous surfaces work best for a flawless, opaque finish.
Highlighting and Shadowing
When it comes to making Posca marker art really stand out, highlights and shadows are like the secret sauce—suddenly, a flat drawing pops into 3D and looks way more alive.
Highlighting and shadowing are all about tricking the eye with smart color moves. To create highlights, grab a white or lighter Posca marker and hit the spots where light would naturally shine. For shadowing, swap in a darker version of your base color and shade in the areas that would be hiding from the light.
Layering matters—let each layer dry before going again for that awesome depth. Blending is smooth when you use a clean brush or marker tip. And don’t forget, pressure changes everything!
- Layer highlights and shadows for depth
- Blend edges for a smooth shift
- Experiment with marker pressure
- Use lighter or darker colors strategically
Mark Making With Different Nib Sizes
Highlights and shadows can make any drawing pop, but the real magic often comes down to the kind of marks an artist makes.
With Posca markers, choosing from different nib sizes totally changes the game. Fine nibs, like the tiny PC-1MC or slim PC-3M, let artists draw sharp, crisp lines—perfect for hair-thin details or doodles that need a steady hand.
Switching up Posca marker nib sizes unlocks everything from razor-sharp lines to delicate details, giving your artwork next-level precision.
On the flip side, broad nib sizes such as the PC-7M or chunky PC-8K are your best friends for giant, bold strokes or fast coloring.
Artists love switching between bullet and chisel tips to create wild textures or smooth blends. By blending colors while the ink is still wet, they can even pull off some jaw-dropping gradients or shaded effects.
Painting on Glass and Ceramics
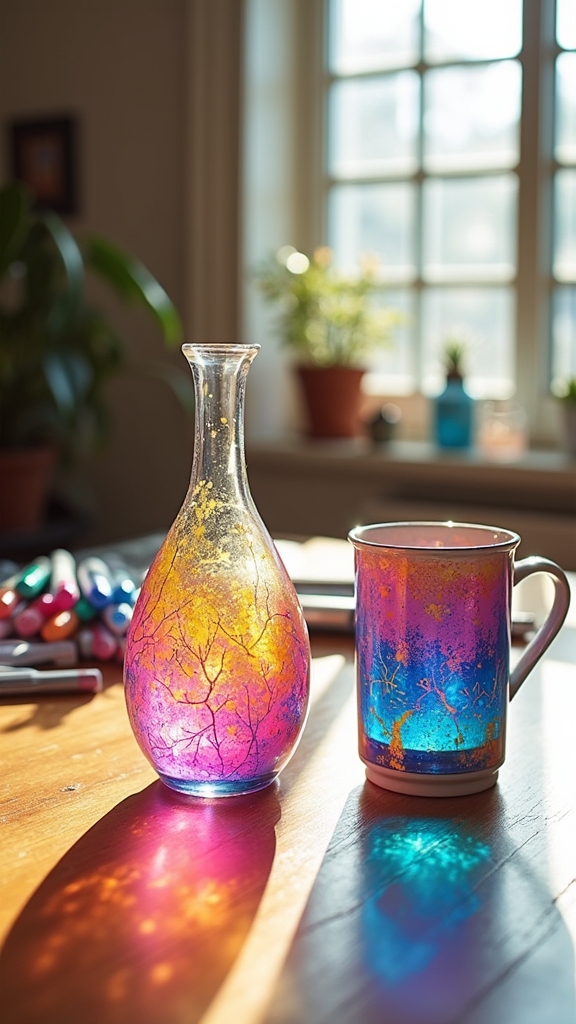
Plenty of artists love the thrill of turning ordinary mugs and glass jars into one-of-a-kind masterpieces, and Posca markers make the process way less intimidating than it sounds.
Painting on glass and ceramics is all about prepping your surface and letting your creativity take over. These markers stick well to non-porous surfaces, giving bright, bold colors that really pop—even on slippery glass.
Before starting, artists should wipe down the item with rubbing alcohol, making sure nothing gets between their art and the surface. Layering is easy too, since Posca paint dries fast.
Want your design to last? Bake it at 160°C (320°F) for 30 minutes and always hand wash.
- Clean surfaces with rubbing alcohol before painting
- Layer colors for added depth
- Bake finished pieces to set the design
- Hand wash only for lasting results
Reverse Painting on Transparent Surfaces
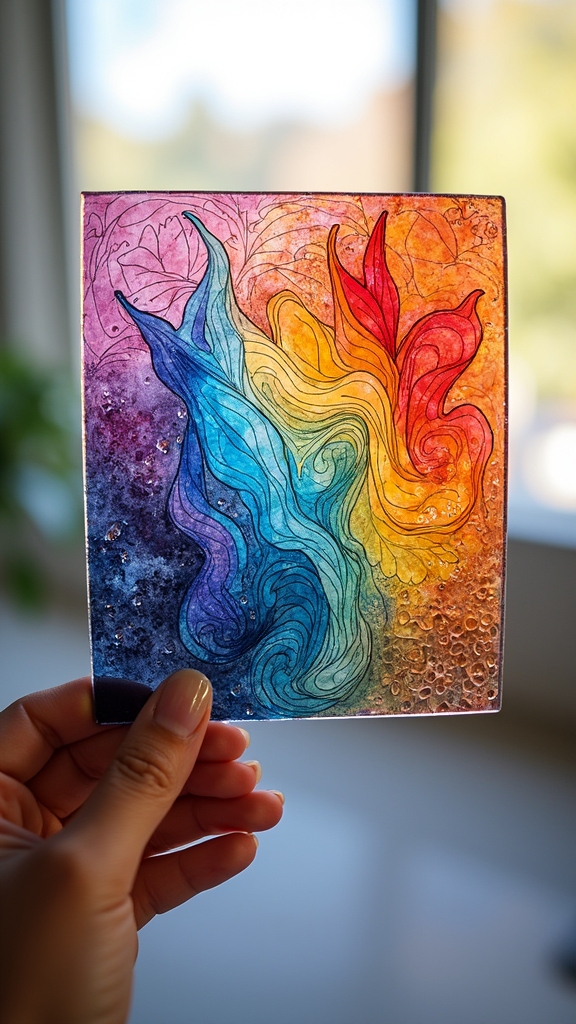
Ever wonder how artists make those cool, layered designs that seem to float inside glass? Reverse painting is the secret trick! With Posca markers, artists sketch a design lightly on the front of glass or acrylic, but all the real action happens on the back. The design is built up in layers, starting with light colors first—because in reverse painting, what you draw first is what shows up in front. Patience is key; let each layer dry to keep those lines crisp, not blurry. Different nibs can fill big spaces or add tiny details. Here’s how it plays out:
| Step | Why It Matters |
|---|---|
| Light sketch front | Guides your reverse painting |
| Start with lights | Lighter colors pop in the final image |
| Add darks | Creates depth and contrast |
| Let layers dry | Prevents smudging and keeps things sharp |
| Use various nibs | Achieves both bold and fine details |
Combining With Other Mediums
Mixing things up with other art supplies can take Posca marker creations to the next level.
Combining with other mediums lets artists explore wild new textures, colors, and effects—like a mad scientist in an art lab! Layering Posca over watercolors creates bold, eye-catching details on soft backgrounds, while drawing on top of dry acrylic paint lets those lines pop.
Colored pencils can add subtle shading and intricate patterns, with Posca’s opaque ink shining right through. And for those who love experimenting, blending Posca with other paint mediums like gouache (while still wet!) can form one-of-a-kind gradients.
Here are some ideas to try:
- Layer Posca over dry watercolor washes
- Add highlights to acrylic paintings
- Combine with colored pencils for cool details
- Mix wet Posca and gouache for unique blends
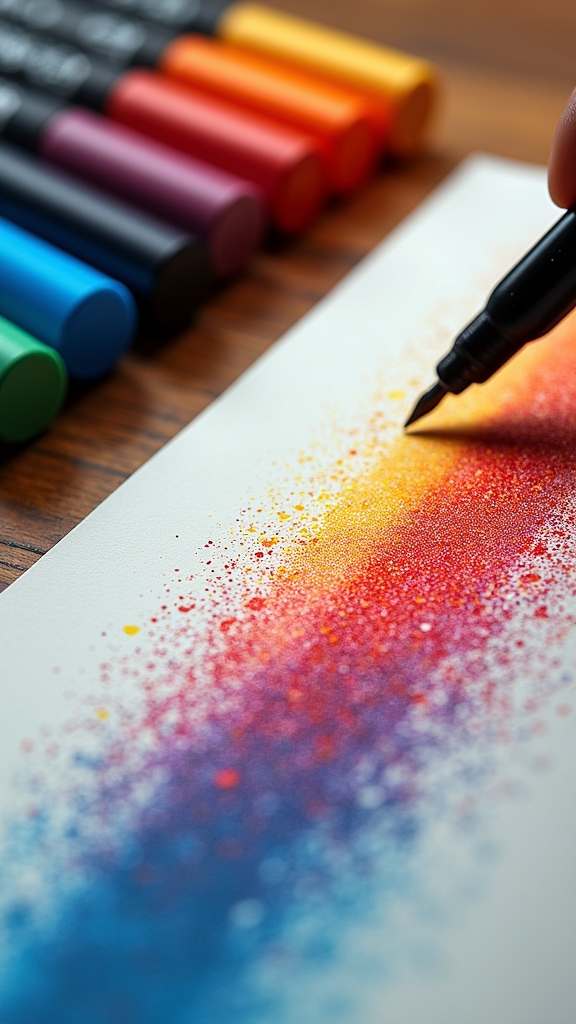
Splatter Effects
Get ready to make a mess—in the best way possible! Splatter effects with Posca markers are all about controlled chaos.
To get started, hold your marker horizontally and tap it gently against your finger or another surface. This releases bursts of paint in cool, random patterns. For a wilder look, thin the paint with a water-soaked brush before tapping—watch how the splatter gets even more dramatic!
Different tip sizes change the game: big tips like the PC-5M or PC-7M make chunky splats, while skinny tips like the PC-3M give you tiny, neat dots. Keep your distance from the paper consistent for even splatter effects.
Try layering: let each layer dry before adding another for awesome depth and texture. Messy? Absolutely—totally worth it!
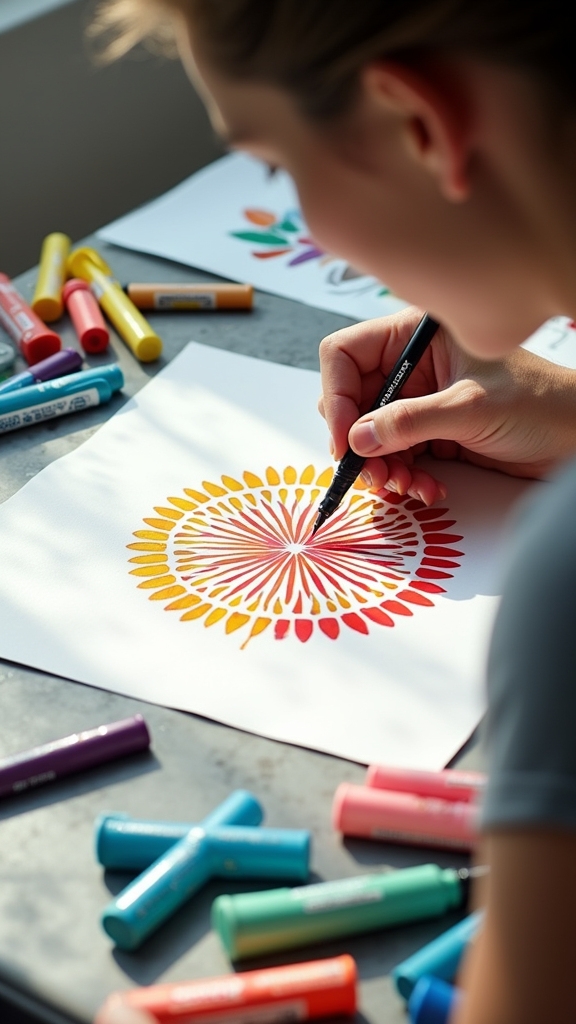
Creating Patterns and Repetitive Designs
Patterns can turn any Posca marker project from basic to mind-blowing in just a few strokes. Mixing up patterns is like giving your art a cool secret code—repeat shapes, lines, or colors and suddenly, everything pops!
Using a mix of nib sizes, like the PC-3M for tiny dots and the PC-7M for bold stripes, makes your repetitive designs jump off the page. Layering colors while they’re still wet creates wild gradients and extra depth.
Mix up nib sizes and layer wet colors—your patterns will burst with bold texture and eye-catching depth!
Want some pro tips for epic patterns? Check these out:
- Try stencils or masking tape for super-sharp, clean edges.
- Blow gently on wet paint for soft, dreamy pattern backgrounds.
- Always wipe your marker tips for crisp, precise lines.
- Switch up nib sizes to add texture and variety.
Patterns make everything more awesome!
Frequently Asked Questions
What Cool Things Can You Do With POSCA?
Exploring what cool things one can do with Posca, individuals often engage in creative projects such as blending gradients, layering colors, and stenciling. The markers’ versatility lets artists customize various surfaces, expanding possibilities for unique artistic expression.
What Are the Different Tips of Posca Markers?
Marker variations in Posca markers include bullet and chisel tips, each available in multiple sizes. Thin nibs suit detailed illustration, while broad tips aid murals. Some models offer reversible or replaceable tips, enhancing marker versatility and longevity.
What Posca Markers Are Good for Beginners?
For Beginner Projects, the PC-5M (medium tip) offers versatility, while the PC-3M (fine tip) is suited for detailed work. Starter sets with mixed nib sizes allow beginners to experiment and discover their preferred artistic approach.
How to Make Posca Pens Work Better?
To improve Posca pen performance, proper marker maintenance is essential. Users should shake thoroughly, prime the tip before use, re-shake as needed, store markers horizontally, and replace clogged or worn tips to guarantee peak paint flow and longevity.
Conclusion
So, there you have it—nineteen awesome Posca marker techniques just waiting for you to try. Whether you’re layering colors, splattering paint, or making wild patterns, there’s no limit to what you can create. Don’t worry if your first try looks banana-level weird; that’s part of the fun! Grab your markers, get creative, and see where your imagination takes you. Who knows? Your next masterpiece might start with just one bold, colorful line.
Leave a Reply