
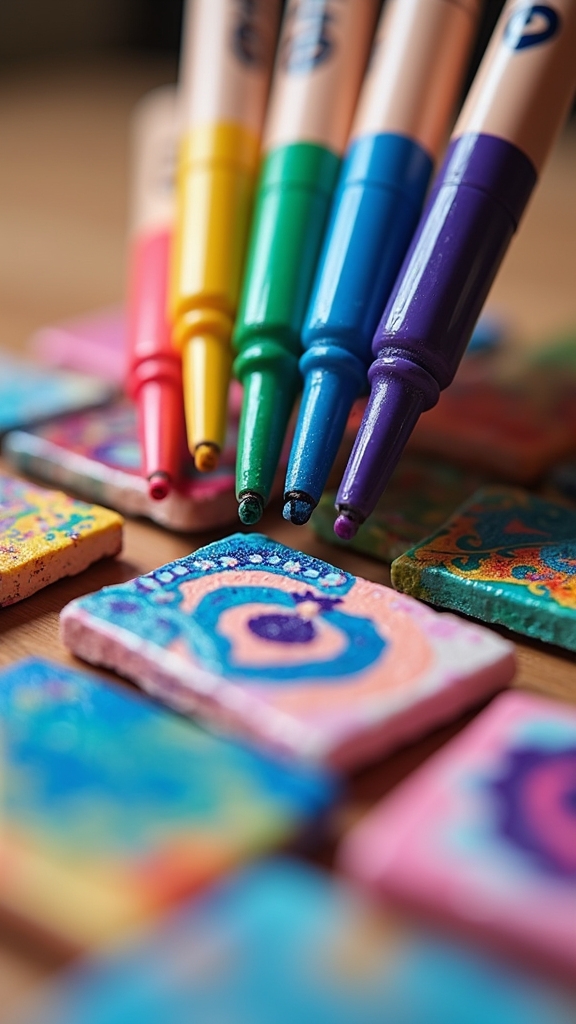
Posca markers are perfect for turning boring stuff into bold masterpieces! People use them to jazz up tote bags, draw wild animal doodles, and deck out plant pots with geometric designs. Abstract art on canvas pops with their colors, and you can personalize skateboard decks, glass jars, or even make tiny art for fridge magnets and custom keychains. Some folks even create wall hangings or colorful notebook covers—so many wild ideas, it’s almost silly. There’s a lot more creativity ahead, too!
Key Takeaways
- Customize everyday items like tote bags, phone cases, and bookmarks with bold patterns and playful characters using Posca markers.
- Create vibrant animal illustrations and abstract art by layering, blending, and mixing colors with various Posca marker tip sizes.
- Design mandalas, greeting cards, and mini fridge magnet artworks for personalized gifts or home décor.
- Enhance home accessories such as plant pots, wall hangings, and keychains with geometric or whimsical Posca marker designs.
- Paint shoes and t-shirts with unique wearable art, ensuring proper surface preparation and sealing for durability.
Customizing Tote Bags With Bold Patterns

Even though plain tote bags might look kind of boring at first, they can actually be turned into amazing works of art with just a few Posca markers and some imagination.
Customizing tote bags with bold patterns is a super fun way to show off your style. Whether you doodle zigzags, polka dots, or wild graffiti, Paint Pen Art with Posca Pens lets you make every bag totally unique.
Add bold patterns to tote bags with Posca Pens and turn every bag into a unique work of art that shows off your style.
The best part? These markers come in all sorts of tip sizes, so you can draw thick lines or tiny details, whatever you like. Plus, they’re water-based and non-toxic, so even your little brother could join in!
A quick spray of varnish afterward keeps your masterpieces looking bright, even after lots of adventures.
Painting Vibrant Animal Illustrations
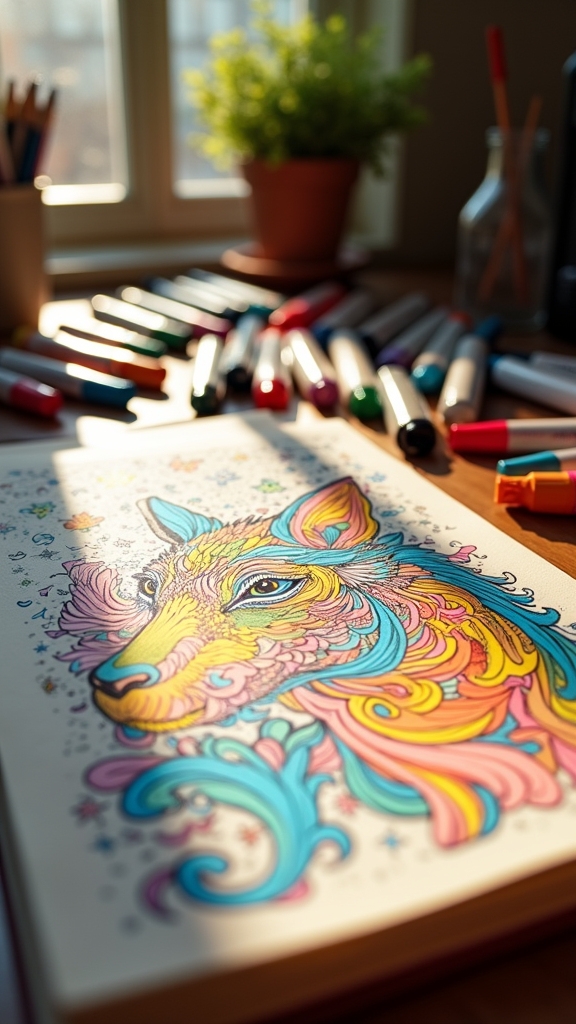
There’s something totally magical about turning a blank page into a jungle full of colorful creatures, and Posca markers are the perfect sidekick for this kind of adventure.
With Posca Pen Drawing, artists can go wild with vibrant color applications—think tropical parrots, neon tigers, or even bright blue frogs! The secret is in the markers’ bold, opaque ink, which pops on both paper and canvas.
Layering colors not only makes animals stand out, but also lets artists create realistic textures, like soft fox fur or scaly lizard skin. Switching between different Posca tip sizes is like having a whole zoo of tools for details.
Blending colors adds extra dimension, making those animals almost leap off the page. Just don’t let the lions escape!
Decorating Plant Pots With Geometric Designs

Plenty of plain plant pots are just begging for a makeover, and Posca markers are basically their fairy godmothers. With a handful of colors and a dash of imagination, anyone can turn a boring pot into a vibrant artwork bursting with geometric designs.
Start by picking a pot with a smooth, clean surface—no one wants their masterpiece flaking off! Using Posca markers in different tip sizes, artists can create sharp triangles, bold squares, or swirling circles, layering colors for extra pop.
Playing around with patterns and color combos lets each pot show off its own personality. Once the masterpiece is done, a quick spray of clear varnish keeps everything fresh, even outside.
Who knew plant pots could look this cool?
Creating Abstract Art on Canvas

Splashing bold colors onto a blank canvas with Posca markers can turn an ordinary day into an explosion of creativity.
Abstract art really shines when you let Posca Paint Markers do their magic. With their vibrant colors, these markers make each stroke pop—no boring blobs here! The water-based, non-toxic formula means artists can go wild with their ideas, layering and blending colors without worrying about fumes.
Want smooth lines or tiny details? Switching between fine and broad tips lets artists create all kinds of effects. Some like to splatter, others layer, and some even doodle wild patterns—there’s no wrong way to explore abstract art.
For a lasting masterpiece, a quick spray varnish seals those bold designs, keeping the colors fresh and lively for years.
Personalizing Skateboard Decks With Street Art

How cool is it to roll down the street on a skateboard that’s totally your own creation?
With Posca Pen Art Ideas, artists can turn any plain deck into a one-of-a-kind masterpiece.
Posca Pen Art Ideas let you transform a blank skateboard deck into a bold, custom masterpiece that truly stands out.
Marker art on skateboards lets personalities shine, with Paint Pens offering bold colors and crazy details that pop.
It’s not just about looking awesome—Posca’s water-based acrylic paint is bleed-proof and stays bright, even after some serious skating sessions.
Using different marker tip sizes, creators can draw tiny doodles or fill big spaces fast.
The trick is to sand and clean the board first, so the colors stick better.
And don’t forget a clear spray varnish on top, or all that hard work might end up as sidewalk confetti!
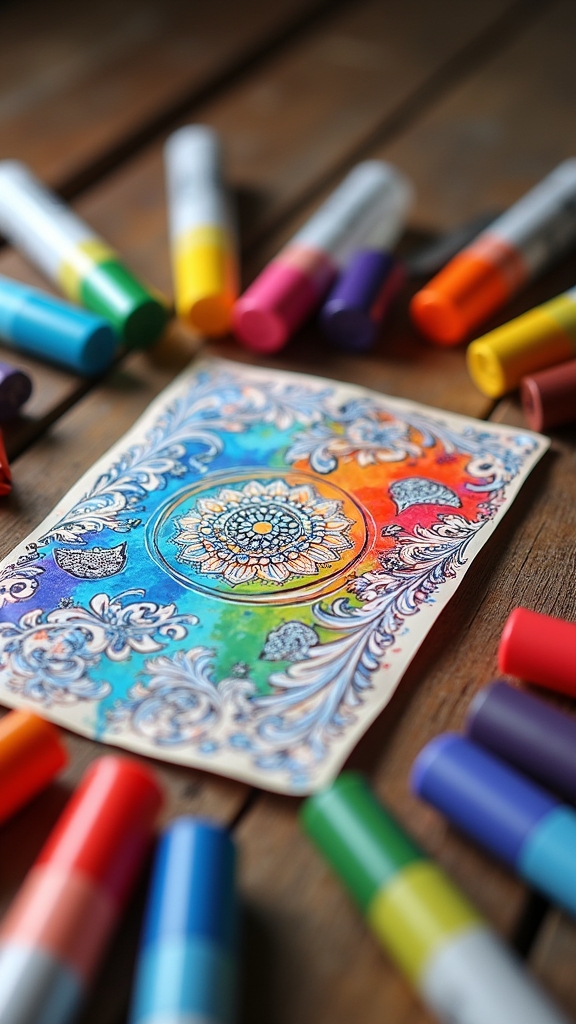
Designing Colorful Mandalas on Paper
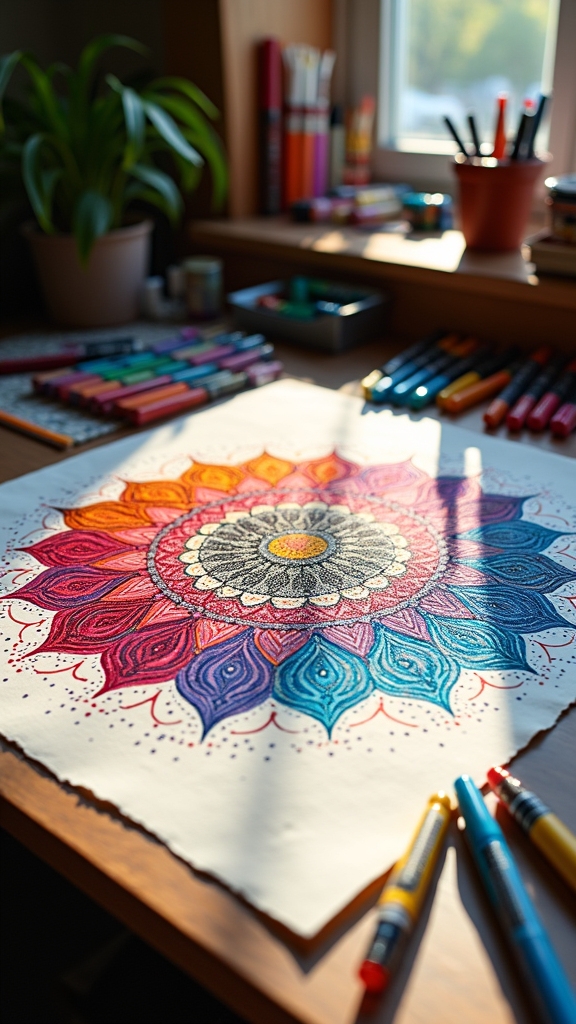
Creating mandalas with Posca markers is all about cool pattern tricks and picking wild color combos that make your eyes pop.
Artists can play with repeating shapes, wavy lines, or even throw in a surprise zigzag, and suddenly a simple circle turns into a masterpiece.
Choosing the right colors is like picking a team for a big game—get it right, and your mandala can totally steal the show.
Mandala Pattern Techniques
There’s something almost magical about watching a blank piece of paper transform into a colorful mandala, especially when Posca markers are involved.
To create stunning mandalas, it all starts with a simple pencil outline—think of it as using a pen, but with an eraser as your safety net! This helps achieve that perfect symmetry every Posca art lover dreams of.
Grab different tip sizes of Posca markers to switch up your line thickness; thin lines for delicate details, thick ones for bold shapes.
Let each color layer dry before adding another, so your colors pop and don’t turn into a muddy mess.
Want even more visual magic? Try blending colors while they’re still wet for smooth, eye-catching gradients.
Finish with clear varnish for lasting brilliance!
Color Palette Selection
Picking the right colors for a mandala can feel a bit like choosing ice cream flavors at a shop with a hundred options—exciting, but slightly overwhelming!
When building a color palette for mandalas using Posca markers, it helps to mix contrasting and complementary colors for extra pop and balance. Start with a light pencil outline; this way, every Posca color lands exactly where you want it—no color chaos.
Try using different tip sizes for super sharp lines or bold fills. Don’t be afraid to experiment with layering colors. Let each layer dry before adding another, and suddenly—bam!—your mandala has depth and vibrancy.
Toss in a metallic or neon Posca marker for that wow-factor sparkle. Your mandala will practically jump off the page!
Rock Painting With Bright Insect Doodles
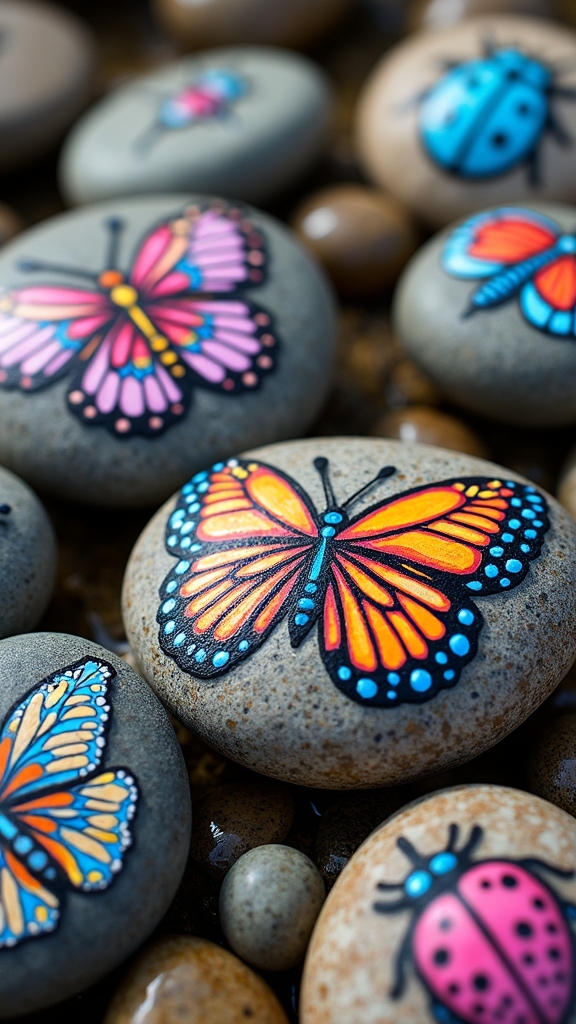
Smooth stones become tiny canvases just waiting for a splash of color and a dash of imagination. With Posca markers, rock painting turns into an art adventure, since these markers are a versatile paint tool that works on a range of surfaces—even bumpy stones you find outside.
For the cleanest results, it’s smart to start with smoother rocks. Some artists paint a base layer with craft paint, making their bug doodles pop against a bold background. Layering Posca colors ramps up the vibrancy, especially on thirsty, porous rocks.
People love drawing all sorts of playful insects—think ladybugs with tiny spots or bright butterflies with wild wings. When the masterpiece is done, two coats of spray varnish keep those cheerful bugs shining, rain or shine!
Transforming Ceramic Plates With Modern Motifs
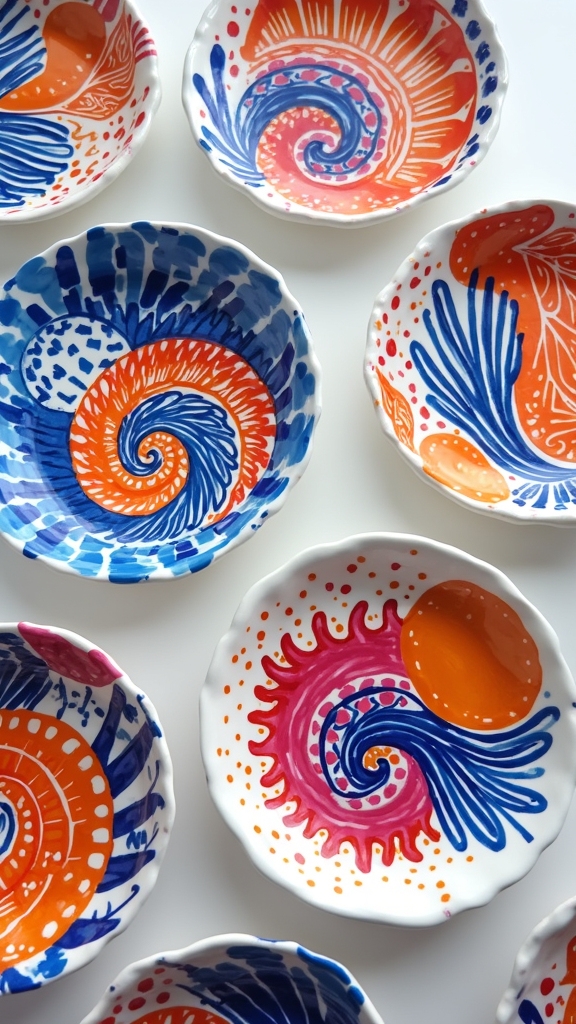
Even an ordinary ceramic plate can turn into a masterpiece with just a handful of Posca markers and a dash of imagination.
Transform a simple ceramic plate into a dazzling work of art with Posca markers and a spark of creativity.
Grab a plate, make sure it’s squeaky clean and dry, then immerse yourself with vibrant paint straight from your markers. Drawing bold geometric shapes or funky modern motifs is a breeze—no need to be a pro. The colors pop, and the markers glide smoothly, making it fun for both newbies and seasoned artists.
Once your design is done, spray on two coats of varnish to lock in all that color and protect it from chips or washing mishaps.
Since Posca markers are non-toxic and water-based, everyone can join in—perfect for group projects or a wild family art night!
Upcycling Old Phone Cases With Unique Patterns
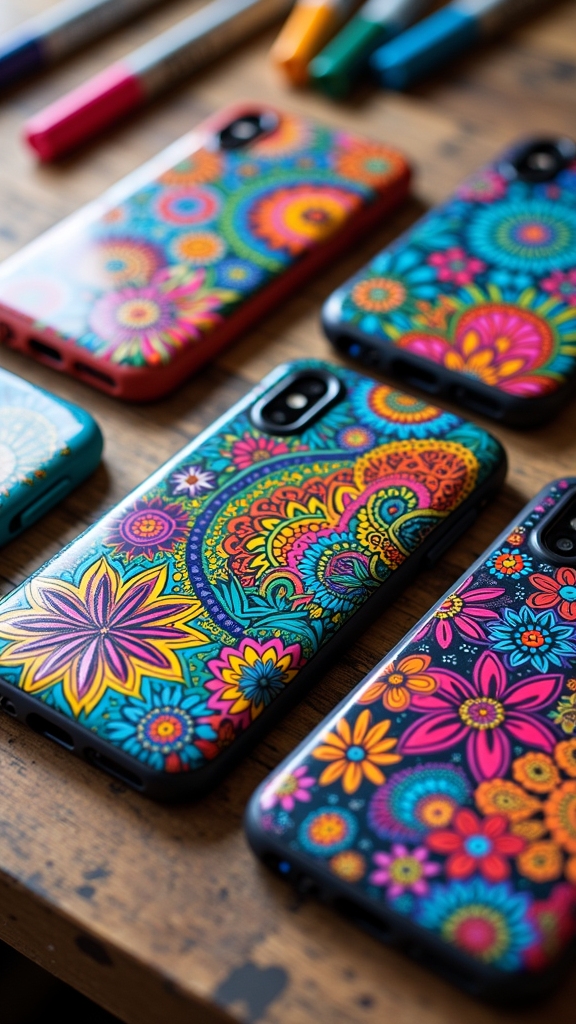
There’s something seriously cool about turning a boring old phone case into a one-of-a-kind masterpiece, and Posca markers are totally up for the challenge.
Anyone tired of their plain phone case—no worries, these pens have got you covered! Start by cleaning the case, because nobody wants their awesome patterns flaking off mid-text.
With different Posca tip sizes, it’s easy to create wild patterns, doodles, or even tiny cartoons, making each case as unique as its owner.
Once the artwork is complete, a coat of clear spray varnish helps keep those bright colors safe from scratches and smudges.
Upcycling old phone cases with Posca markers is not just fun—it’s also a cool way to help the planet by reducing waste and reusing what you have!
Designing DIY Greeting Cards
Making your own greeting cards with Posca markers is honestly kind of epic—just grab some sturdy cardstock so your colors stay bold, not soggy.
Layering different shades and adding cool details makes each card pop, and switching marker tip sizes means you can go from tiny doodles to giant, shouty words.
Don’t forget to add your own hand lettering for a personal touch—because nothing says “happy birthday” like your own slightly wonky, but totally awesome, handwriting.
Choosing Cardstock and Surfaces
Cardstock might not be the most glamorous part of making a DIY greeting card, but wow—choosing the right one can totally make or break your masterpiece.
There are so many cardstock types out there, and each one has its own vibe. Heavyweight cardstock is a must for Posca markers because it stands strong and doesn’t get soggy or warped from the marker’s moisture.
If you love smooth, bold color application, glossy or ultra-smooth surfaces let your colors pop and your marker glide like a figure skater.
But hey, if you’re feeling adventurous, try textured surfaces—they’re fun to touch, but heads up: they might mess with your fine details. Always test before diving in, to avoid any “oops!” surprises.
Layering Colors and Details
Once that perfect cardstock is picked out, it’s time for the real fun—layering colors and adding details with Posca markers. Start with lighter shades as a base; this layering technique creates depth and makes your designs look more dynamic.
Want your colors to blend smoothly? Try color blending by overlapping shades while the ink is still wet. The result: gradients that look so cool, your friends will think you printed them!
For detailed illustrations, grab those fine-tipped Posca markers. Tiny dots, swirls, and doodles—nothing is off-limits. Don’t forget to use contrasting colors to make certain parts pop, like a sunburst or a funky border.
When you’re finished, seal your masterpiece with clear varnish so your vibrant artwork lasts.
Personalizing With Hand Lettering
A splash of personality can turn any greeting card into something unforgettable, and that’s where hand lettering with Posca markers totally shines.
These markers offer bold, vibrant colors that pop on almost any paper, making every message feel special. By playing around with different hand lettering techniques, anyone can create creative typography styles—think curly script, block letters, or wild expressive letterforms that jump right off the card.
Mixing tip sizes lets artists add fine details or go big and bold. The water-based, non-toxic ink means no smudges or bleed-through, which is a relief for perfectionists everywhere.
Add in some quirky doodles or fun illustrations, and the card just gets cooler. A quick spray varnish seals the deal, keeping everything bright and gift-ready!
Crafting Inspiring Quote Posters
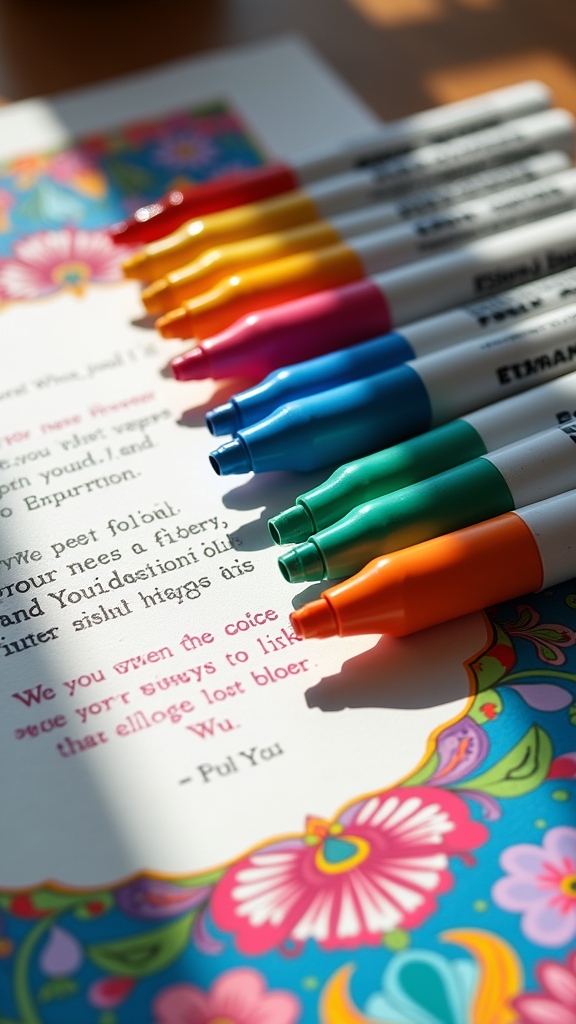
Even when the world feels a little gray, crafting inspiring quote posters with Posca markers can totally brighten things up—literally and emotionally.
Picking the right inspirational quote selection is key, whether it’s something classic like “Dream Big” or your own personal motto. Next, experimenting with typography styles—like bold block letters or curvy script—makes each word pop.
Color psychology also plays a huge part; warm colors like red or yellow can make a quote feel energetic, while cool blues and greens bring calm. Using different Posca tip sizes helps create snazzy lettering and tiny doodle details.
Adding borders, patterns, or illustrations around the quote amps up the fun. For a finishing touch, sealing the poster keeps those vibrant colors looking fresh!
Making Bookmarks With Playful Characters
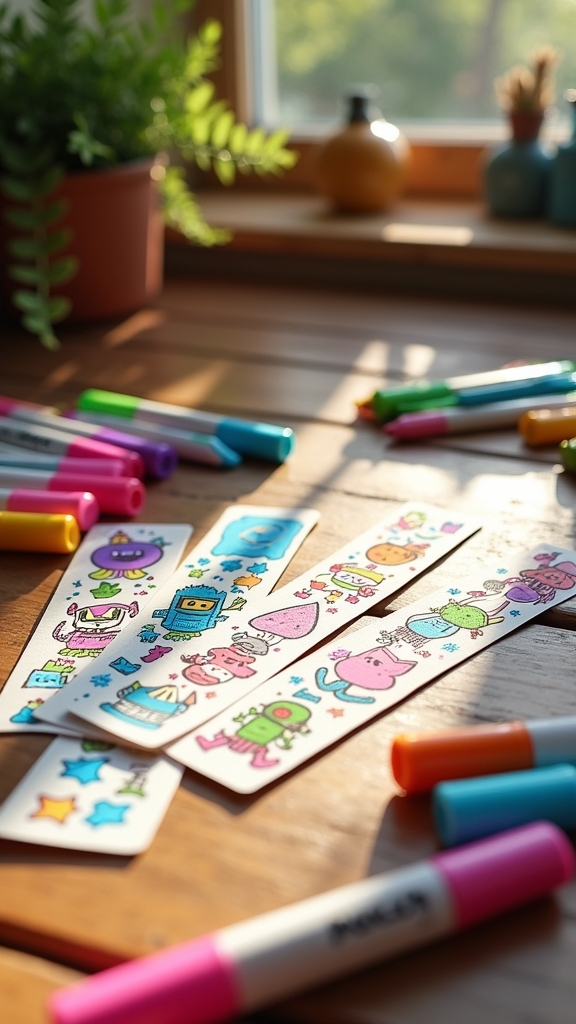
Jumping straight into the world of bookmarks, Posca markers turn an ordinary strip of paper into a mini masterpiece bursting with playful characters.
Imagine doodling a bunch of quirky penguins, or maybe a superhero cat, right onto a sturdy cardstock base—talk about leveling up your reading game!
By switching between thick and thin marker tips, artists can play around with different character styles and add awesome little details, like funny hats or epic mustaches.
Bookmark themes can match your favorite book or even pop culture trends, so every time you open a novel, you’re greeted by your own custom creation.
Don’t forget about sealing techniques—a quick spray varnish keeps those vibrant colors safe from smudges, making sure your artwork lasts through every chapter.
Painting Shoes With Whimsical Art
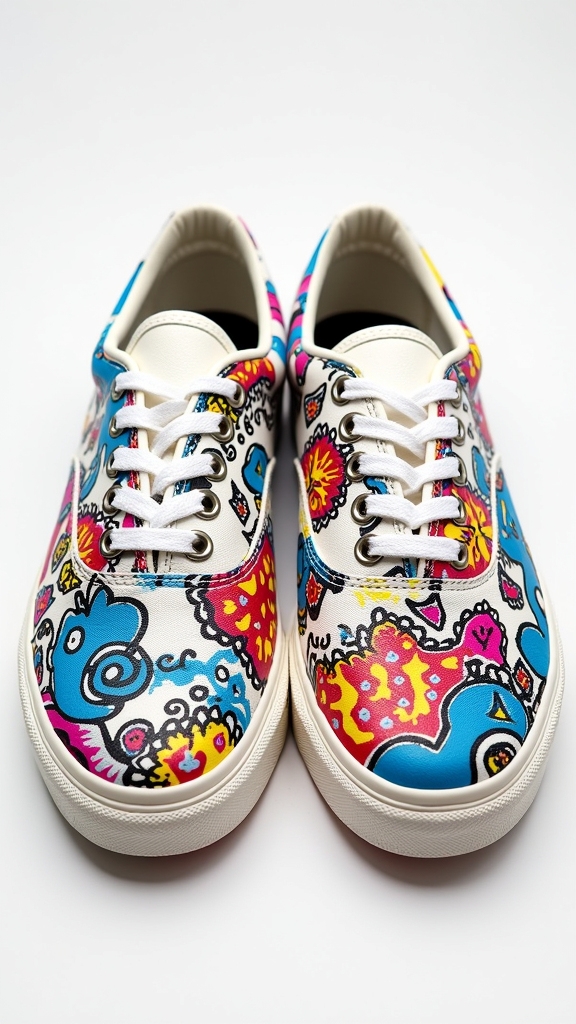
Before any wild doodles or magical creatures appear on a pair of shoes, getting the surfaces squeaky clean is a must—think of it as giving your sneakers a spa day.
Once the art is finished and looking awesome, a quick spray of varnish locks in those colors and keeps everything safe from scuffs and rainy days.
It’s kind of like giving your shoes a superpower shield, so your whimsical designs can keep turning heads wherever you go.
Preparing Shoes for Painting
A pair of plain sneakers might look boring at first, but they’re basically a blank canvas just begging for some wild and whimsical art.
Before a single Posca marker touches the surface, solid sneaker cleaning techniques are a must—think soap, water, and a soft brush to wipe away every speck of dirt or grease. This isn’t just about cleanliness; it’s one of the best paint adhesion tips out there.
Next up, fabric primer options come into play. A light layer of primer made for fabric or leather helps colors pop and keeps designs crisp.
Want flawless results? Choose medium or fine tip Posca markers for those tiny, magical details.
With the right prep, sneakers are ready to transform into wearable masterpieces.
Sealing and Finishing Designs
Once the last dazzling doodle is in place and every color is popping just right, it’s time for the magic move—sealing up those shoe masterpieces so they can survive the real world.
With all that hard work using clever design techniques, nobody wants their art to fade or smudge after one rainy recess! That’s where color sealing and protective finishes step in. A clear acrylic sealer or spray varnish works like a superhero shield, keeping the colors bold and bright.
Each layer of Posca needs to be dry before sealing, so patience pays off—no one wants a smudgy unicorn!
If the shoes are fabric, adding a fabric medium or textile mix gives extra durability, so those whimsical kicks can handle anything, from puddles to playgrounds.
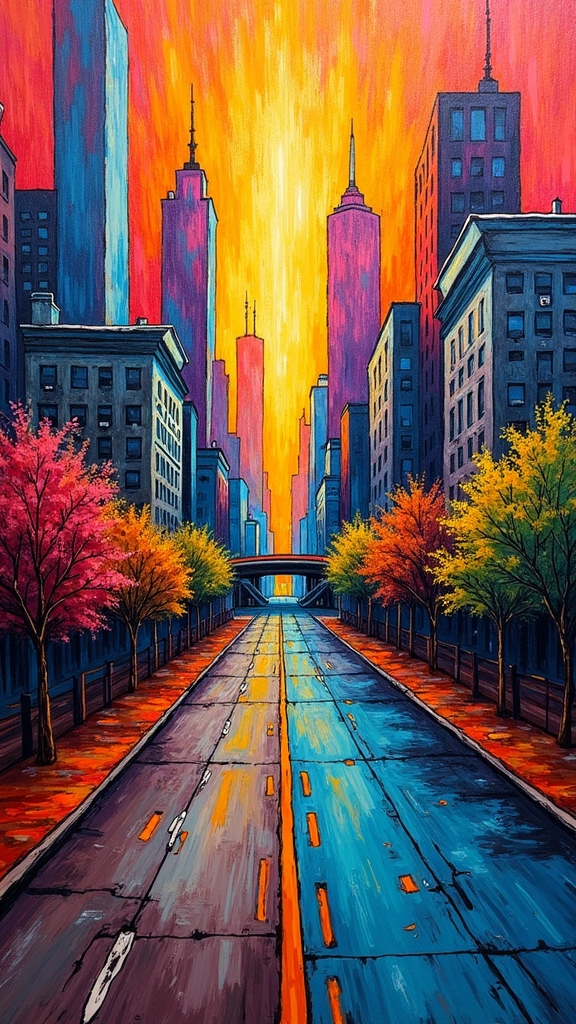
Illustrating Cityscapes on Wood Panels
Cityscapes always have a way of making art feel alive, and when Posca markers meet wood panels, things get even more exciting. The rich grain of wood gives urban textures a cool, gritty vibe, perfect for skyscrapers and city lights. To start, artists should sand their panel and lay down a base coat, making sure those vibrant colors pop. Color blending with Posca markers lets anyone create moody skies or glowing windows, while perspective techniques turn flat boards into bustling streets. Switching up tip sizes captures both tiny windows and bold outlines. For extra drama, layering shadows and highlights adds serious depth. Don’t forget—sealing the finished piece keeps it looking sharp and safe from random pizza sauce splatters!
| Urban Textures | Perspective Techniques |
|---|---|
| Gritty brick walls | Vanishing points |
| Reflective windows | Building angles |
| Street patterns | Overlapping skylines |
Customizing Fabric T-Shirts With Iconic Waves
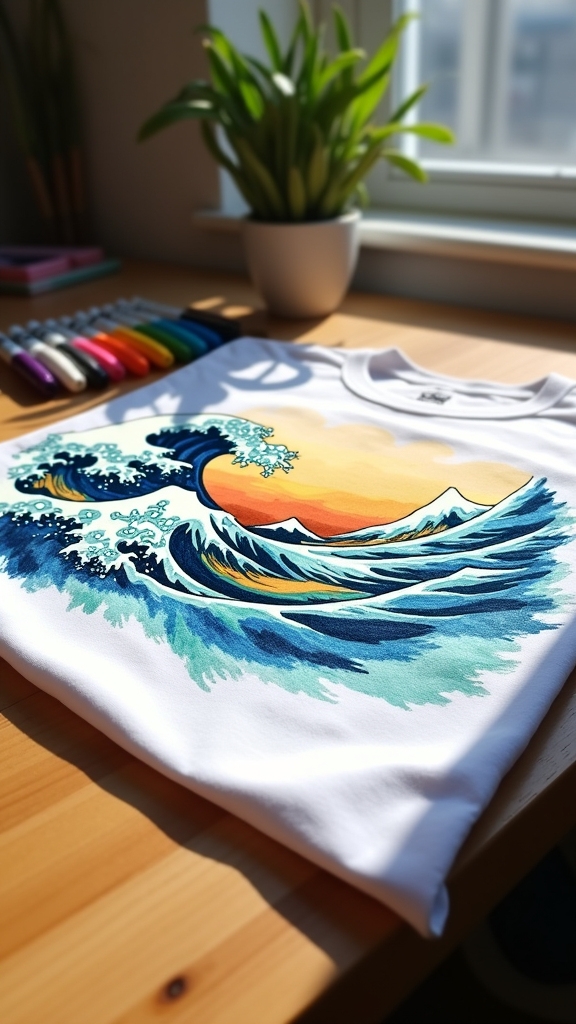
Nothing says “one-of-a-kind” like wearing a t-shirt covered in your own Posca-drawn waves, especially if you pick famous designs like The Great Wave off Kanagawa for inspiration.
Start by making sure your shirt is clean and ready, because you don’t want your epic artwork to fade after just one wash—nobody wants a sad, blurry wave.
Once your masterpiece is done, don’t forget to seal it with a quick press of the iron, so those bright colors survive laundry day and your wave keeps making a splash!
Choosing Wave Design Inspiration
Ever wondered how a simple t-shirt could turn into a wearable masterpiece? When it comes to choosing wave design inspiration, it’s hard to beat the drama and style of iconic waves like The Great Wave off Kanagawa.
Artists love this classic because its bold lines and swirling shapes look amazing on fabric and really pop with Posca markers. Using clever wave design techniques, you can play with color blending methods to add depth and make those waves look like they’re about to splash right off your shirt.
Before you even start drawing, remember some quick fabric preparation tips: always wash and iron the shirt for a smooth workspace.
With just a little creativity and prep, your t-shirt could become the next great wave everyone’s talking about!
Preparing T-Shirts for Painting
Before those Posca markers hit the fabric, getting a t-shirt ready for painting is like prepping a blank canvas for a wild art adventure.
First things first—pick a 100% cotton or cotton-blend shirt, because that’s where markers shine best. One of the top fabric preparation techniques is pre-washing; it gets rid of those sneaky chemicals that can make your artwork slide right off.
Next, slide a piece of cardboard or a fabric stabilizer inside the shirt. This stops the colors from bleeding through and gives you a flat surface to work on.
For design planning strategies, lightly sketch out your iconic waves—think The Great Wave off Kanagawa—with pencil.
Want solid paint adhesion tips? Make sure everything’s dry before you start painting, and keep those lines crisp!
Sealing and Washing Tips
All that careful sketching and paint layering on a t-shirt pays off big time—until laundry day comes rolling in like a rogue wave.
But don’t panic! With the right fabric care techniques, your Posca masterpiece can ride out the wash again and again. The secret? As soon as your paint is totally dry, seal the design with a fabric-safe spray varnish. This keeps those iconic waves safe from fading.
Washing precautions matter: always turn the shirt inside out, use cold water, and steer clear of bleach or harsh detergents.
When it’s time to iron, flip the shirt and use a cloth for extra protection—never let the heat touch the art directly.
For bonus paint maintenance tips, let each paint layer dry before adding more.
Drawing Funky Portraits With Layered Colors
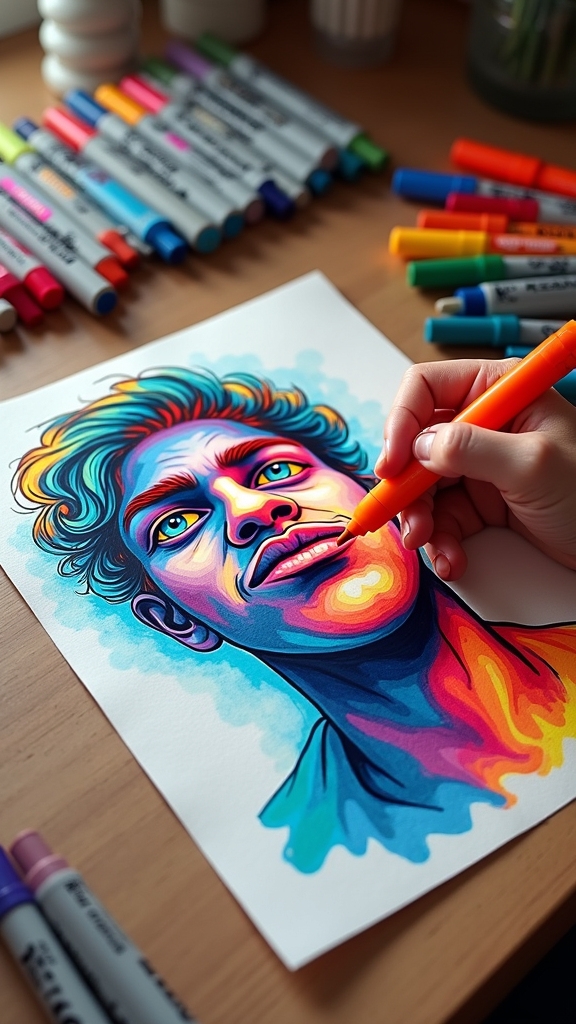
While some artists might play it safe with just one or two colors, drawing funky portraits with layered colors using Posca markers is like turning up the volume on creativity.
The magic starts with portrait sketching—a simple outline of the face and features gives artists a roadmap.
Next comes the real fun: color blending techniques. Using lighter shades first, then stacking darker colors on top, artists can make faces pop with energy and mood.
Layer depth exploration is key; adding bold lines, playful dots, or zippy stripes creates texture and makes the portrait look alive (and maybe a little wild!).
Switching up marker tip sizes helps with details, too.
Once finished, sealing the portrait with varnish locks in those vibrant, funky colors for good.
Creating Storybook Scenes for Kids
Dragons, pirates, princesses, and talking dogs—storybook scenes made with Posca markers can turn any wild idea into a colorful adventure. With the right storytelling techniques, kids can dream up imaginative settings and bring their characters to life. These markers make it easy to add wild details: maybe a pirate with a flamingo sidekick, or a castle floating on jellybeans! Character development becomes a blast when everyone pitches in, adding silly hats or mysterious clues. Using step-by-step guides, even beginners can create scenes worth showing off. Whether on paper or canvas, these illustrations spark creativity and teamwork.
| Character | Setting | Plot Twist |
|---|---|---|
| Pirate Parrot | Candy Mountain | Treasure turns into cake |
| Dragon Detective | Enchanted Library | Books come alive |
| Princess Skateboarder | Neon City Rooftops | Magic skateboard talks |
| Robot Dog | Underwater Castle | Finds a golden bone |
| Wizard Cat | Rainbow Forest | Spells go backwards |
Enhancing Notebooks With Mixed Media Collages
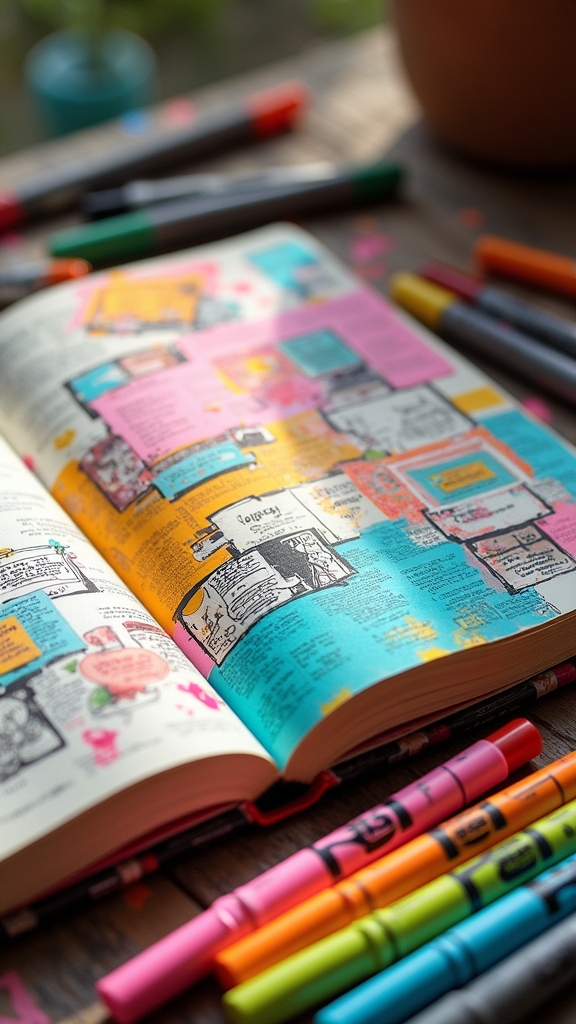
Some notebooks are just begging for a makeover, and mixed media collages with Posca markers are like the ultimate glow-up.
Imagine flipping open a dull cover and seeing a burst of magazine cutouts, bits of fabric, and shiny Posca doodles layered together. Creative layering techniques come into play here—stacking patterned papers, sketching bold lines, and maybe even sneaking in some watercolor splashes for texture.
Choosing the right glue is a big deal, too! Adhesive selection tips include picking something strong enough for fabric but gentle on notebook pages.
When it’s time for collage composition ideas, experiment with balance—group shapes, overlap colors, or make a wild border.
Don’t forget: sealing the whole masterpiece with clear varnish keeps colors bright and pages protected.
Decorating Glass Jars With Floral Designs
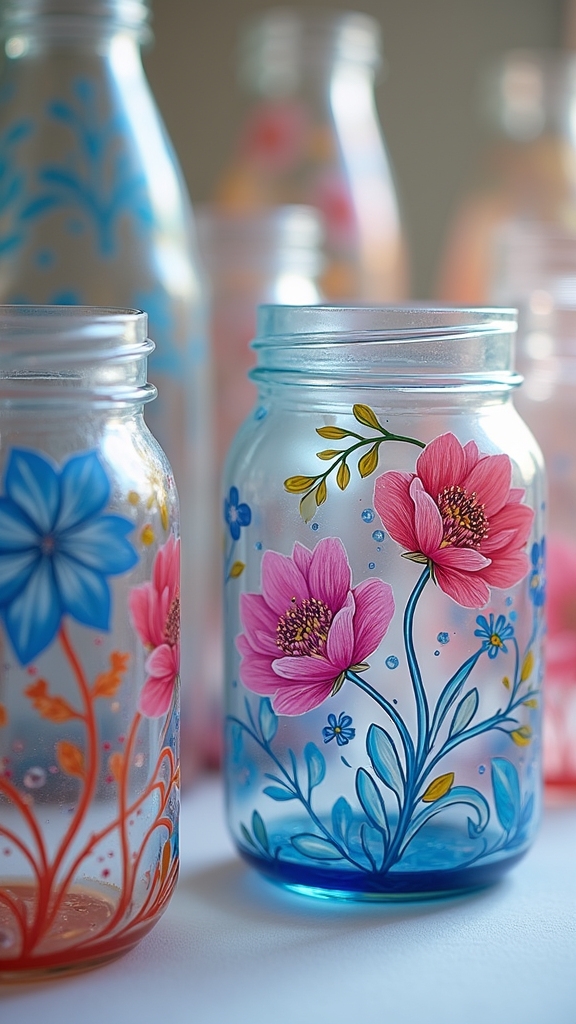
A plain glass jar can turn into a total showstopper with just a handful of Posca markers and a splash of creativity.
Clean the jar first—nobody wants a smudge ruining their masterpiece! When picking your floral color combinations, think bold: bright yellows, rich blues, or even neon pinks really pop against clear glass.
Start with a spotless jar, then go bold—vivid colors like yellow, blue, or neon pink look stunning on clear glass.
For cool jar design techniques, try layering petals by using different marker tip sizes, or mix thick and thin strokes for a wildflower vibe.
Once your garden blooms across the glass, let it dry—seriously, patience is key unless you want a mess. To keep your art safe, check out protective finishes options like clear spray varnish.
Your jars can now be vases, storage, or just super fancy shelf bling!
Designing Personalized Keychains
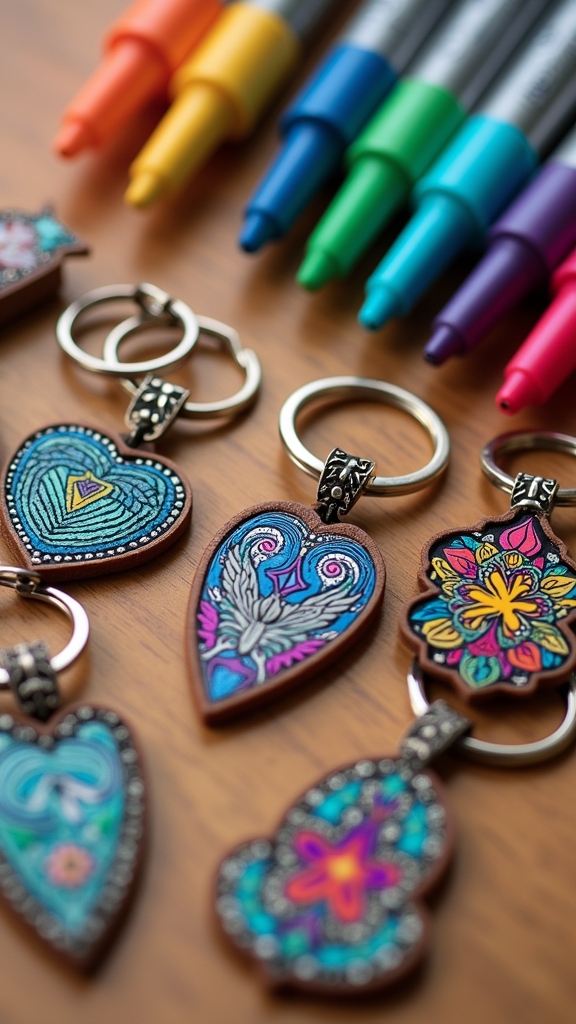
Now that glass jars are looking fancy and floral, it’s time to shrink that creativity down to pocket size.
Personalized keychains are the next big thing, and Posca markers make them pop with color and character. Start with a smooth blank—acrylic or wood works best—so your markers glide on like a dream.
Explore keychain themes that match your mood: cosmic galaxies, wild animals, or even a pizza slice with googly eyes. For extra flair, try initial designs—nothing says “this is mine” like a bold letter surrounded by doodles.
Use different marker tips to add tiny details or chunky outlines. When your masterpiece is done, give it a coat of protective varnish. That way, your artwork stays bright, even in a messy backpack.
Painting Miniature Artworks for Fridge Magnets
Tiny masterpieces can turn an ordinary fridge into the coolest art gallery in the neighborhood. Painting miniature artworks for fridge magnets is where creativity explodes in a tiny space! With Posca markers, artists can use vibrant colors and precise lines for eye-popping miniature designs. Start with smooth wood or acrylic bases—these help the colors pop and stick better. Sketching out the design lightly first is smart, making mistakes less scary. Layering and blending the markers brings extra depth, so each magnet stands out. When your mini-masterpiece is finished, sealing techniques like a clear varnish keep it bright and safe from sticky fingers and kitchen messes. Check out this table for quick tips:
| Step | Pro Tip |
|---|---|
| Choose base | Smooth wood or acrylic works best |
| Sketch design | Use pencil for easy changes |
| Add color | Layer for depth, blend for fun |
| Seal artwork | Varnish protects and shines |
Crafting Decorative Wall Hangings With Posca Patterns
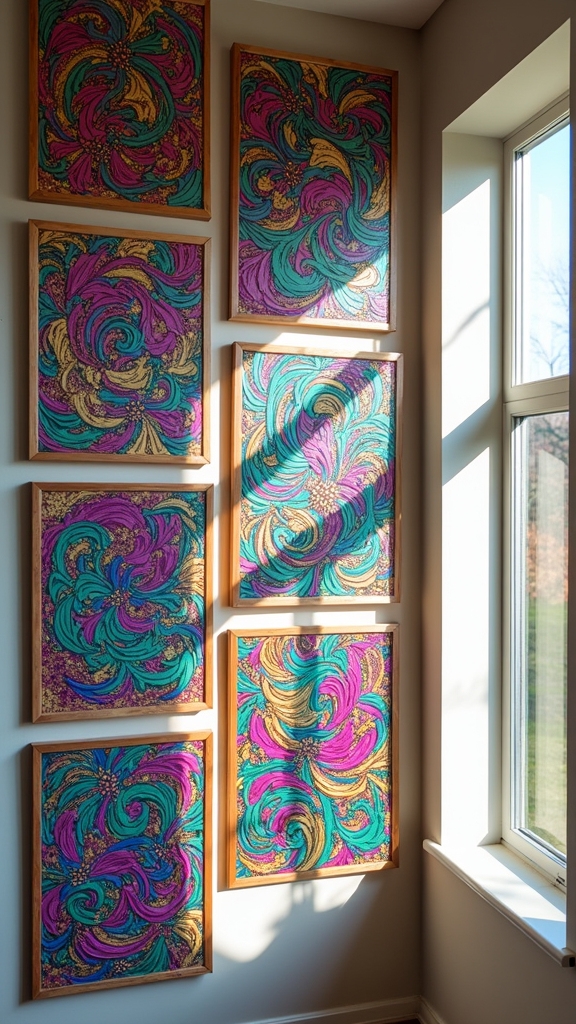
Making decorative wall hangings with Posca markers is a blast, but picking the right surface—like a smooth canvas or a cool piece of wood—can totally change your results.
It’s all about getting inspired by fun patterns, whether that means wild zigzags, bold geometric shapes, or doodles that look like they belong in a secret club.
Different marker tips and layering tricks let anyone turn a blank space into a wall-worthy masterpiece, and let’s be honest, who wouldn’t want their room to look that awesome?
Choosing Materials and Surfaces
Surfaces are like the secret heroes in the world of Posca marker art—pick the right one, and your wall hanging could become legendary.
Canvas, wood, and thick paper are top choices, each offering a solid base for bold colors and cool patterns.
But before you release your inner artist, don’t skip those essential surface preparation techniques: wipe away dust, and consider priming wood or fabric to help the markers stick better.
This isn’t just about neatness—it actually boosts marker durability factors, so your art won’t fade fast.
Want to make colors pop even more? Try layering and experimenting with color blending methods.
When you’re finished, a clear varnish seals in all your hard work, protecting every inch of your masterpiece.
Pattern Inspiration and Techniques
Even before a single Posca marker touches the surface, the real magic of decorative wall hangings starts with pattern inspiration. Imagination runs wild, but having a game plan helps!
Pattern exploration techniques are key—think about repeating shapes, funky zigzags, or even swirling spirals. And don’t forget color mixing strategies; blending shades with Posca markers can make your patterns pop.
For design layout inspiration, sketch outlines lightly first, so you can experiment without stress. Here’s a quick guide to keep things moving:
- Try different pattern styles: dots, stripes, or waves.
- Mix and layer colors for depth—Posca markers are perfect for this.
- Use various tip sizes for both bold and tiny details.
- Always seal your artwork to protect those vibrant masterpieces!
Frequently Asked Questions
What Is the Best Thing to Draw on With Posca Markers?
When considering the best surface for Posca markers, many artists favor canvas art for smooth blending, wood projects for rustic appeal, and fabric designs for personalized fashion, as each medium showcases the vibrant, opaque colors these markers provide.
Is POSCA Ok on Skin?
When considering Posca safety concerns for skin art techniques, it is noted that Posca markers are not intended for skin use. Individuals should explore alternative skin markers specifically designed for body art to guarantee safety and minimize irritation.
Why Are Poscas so Expensive?
Posca marker pricing reflects their superior non-toxic acrylic formula, fade resistance, and versatile use. Through marker quality comparison and cost benefit analysis, many artists find the higher investment justified by long-lasting performance, vibrant colors, and multi-surface functionality.
How Do You Draw Glow Effect POSCA?
To create a glow effect with Posca markers, one can utilize glow techniques by layering colors strategically. Neon effects are achieved by applying light bases, vibrant edges, and white highlights, with contrasting backgrounds for enhanced luminosity and depth.
Conclusion
With Posca markers, the only real limit is your imagination—seriously, who knew a plain tote or a boring old jar could look so cool? Whether you’re doodling wild animals or jazzing up your skateboard, these markers turn everyday stuff into mini-masterpieces. So grab your Poscas, pick an idea that makes you excited, and let loose. Who cares if you get a little paint on your hands? That’s just proof you’re having fun.
Leave a Reply