
With Posca markers, capturing epic vistas is actually a blast—think mountain sunrises glowing with layers of color, sparkly lakes that mirror clouds, or twisty forest paths shrouded in mist. There’s so much you can try: sunlit hills, golden fields, sharp ocean cliffs, and wildflower meadows buzzing with life. Even snow-tipped pines, cozy rivers, and city parks at dusk come alive with color contrasts, rim lighting, and pop-out textures. Get ready—each idea just gets more beautiful and fun.
Key Takeaways
- Layer vibrant Posca colors to create glowing mountain sunrises and dynamic skies.
- Use smooth, symmetrical reflections and rim lighting to capture tranquil lakes and enhance light effects.
- Blend earthy tones and gradients for rolling hills, sunlit fields, and realistic forest textures.
- Experiment with seasonal palettes, twilight gradients, and wildflower meadows to add variety and atmosphere.
- Emphasize artistic creativity by mixing deep shadows, glowing highlights, and movement to evoke emotion and storytelling.
Mountain Sunrise With Layered Colors

There’s something seriously magical about a mountain sunrise, and capturing that magic with Posca markers is both a challenge and a thrill.
First up, sketching the mountain range with a light HB pencil is like mapping out a secret world—every peak and valley needs balance for a killer composition.
Next comes the real fun: using a wide range of Posca colors to layer the sunrise. Start with deep hues at the base, then blend up into warm oranges and yellows. If you add rim lighting—lighter shades along the mountain and cloud edges—it gives the whole scene that glowing, “the sun just showed up” vibe.
Don’t forget the foreground! Greens in all shades can make foliage pop, especially with sunlight kissing the tops.
Reflections on a Tranquil Lake
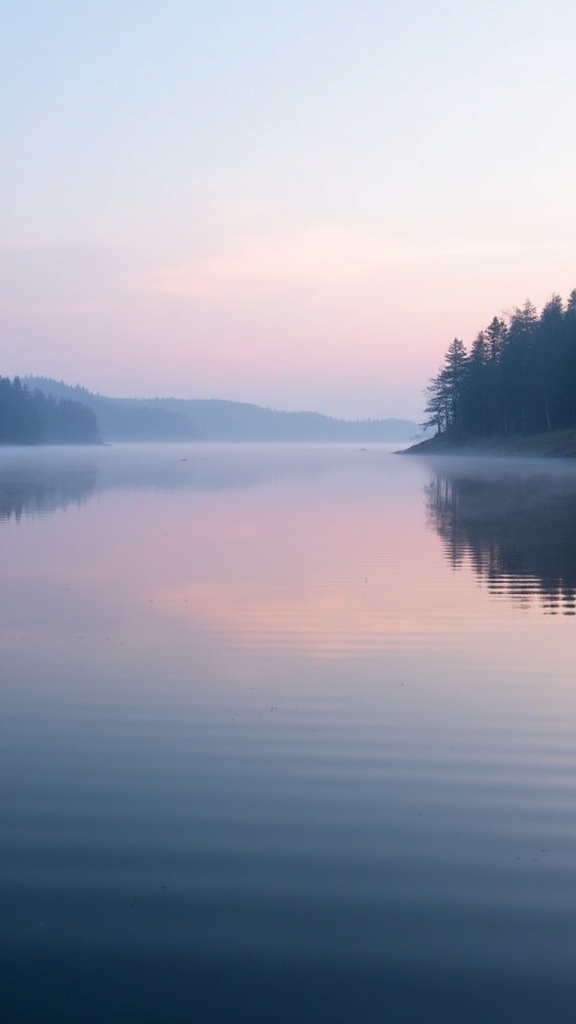
Reflections on a tranquil lake are like nature’s own magic trick, making everything above look twice as beautiful below.
With the right colors and some clever marker moves, sunlight seems to shimmer and bounce, turning boring water into a glowing mirror.
Even better, keeping the shapes simple lets the eye spot that cool symmetry right away—no need for a magnifying glass or a math degree.
Capturing Water’s Mirror Magic
Even when the world above the water is calm, the lake below can feel like a secret universe, flipping everything upside down in a perfect, glassy mirror.
Capturing this water’s mirror magic with Posca markers is a real adventure! Artists use smooth water surface techniques—no wild scribbling, just calm, steady lines. They make sure the reflection symmetry is spot-on, so trees and rocks line up like twins meeting for the first time.
To make the scene pop, warm yellows and greens fill the scenery above, while cooler blues and purples echo below, creating striking color contrast effects. Layering marker strokes lets ripples sneak in without ruining the clarity of those reflections.
It’s like painting two worlds, but only using one canvas!
Enhancing Light With Color
While reflections bring a lake scene to life, the real magic happens when an artist starts playing with light and color. By using warm contrasts—like sunny yellows and grassy greens—artists can make sunlight bounce off the water, creating a vibe that feels both peaceful and inviting.
According to color psychology, these warm tones actually make people feel happier and calmer, so it’s a win-win! Light dynamics come into play when artists use rim lighting, outlining trees or rocks with lighter colors so they pop against the shimmering lake.
Acrylic markers are perfect for showing those distorted shapes and colors in the water’s reflection. Add pops of white for highlights, like glistening ripples or birds, and suddenly, your whole scene sparkles with energy and life.
Simplifying Natural Symmetry
How do artists make a calm lake scene feel both exciting and totally peaceful at the same time? It boils down to capturing natural balance with symmetrical patterns and simplified shapes.
When artists look at a tranquil lake, they often divide the scene in half—sky above, reflection below—to create a mirror effect. Warm colors like greens and yellows make those reflections pop, while rim lighting adds a magical glow around trees or mountains.
Want to keep things interesting but not overwhelming? Add tiny white birds or leaves with a marker for just the right touch of life.
Even using only shades of one color can make the light and shadow stand out, making everything feel super calm yet totally alive.
- Focus on symmetrical patterns.
- Use simplified shapes for harmony.
- Add subtle details for interest.
Rolling Hills and Golden Fields
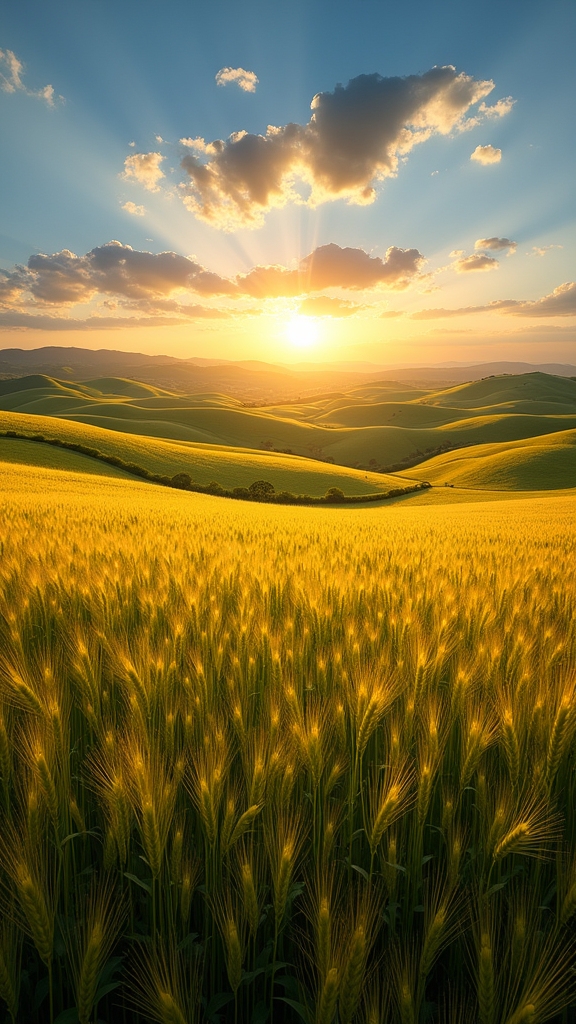
Rolling hills and golden fields are like nature’s way of showing off, and getting those soft layers just right takes a bit of magic with Posca markers.
Layering earthy tones helps each hill stand out, while capturing gentle gradients makes the fields look sun-kissed and alive.
It’s almost like painting a scenery straight from a storybook, only with brighter pens and way less waiting for paint to dry.
Layering Earthy Tones
There’s something seriously magical about seeing a vista come together, especially when layering earthy tones to capture rolling hills and golden fields.
Using Posca markers, artists start by laying down a base of earthy gradients—think rich browns and lush greens—for the hills.
Texture layering kicks in with a mix of vibrant greens in the foreground and more muted tones as you move back, giving that awesome sense of depth.
Sunlit fields pop with golden yellows and soft ochres, blended to look super natural, like real crops waving in the breeze.
And don’t forget, the direction of light totally matters—warm shades for sunny spots, cooler ones for shadow.
- Build depth using earthy gradients and texture layering.
- Blend golden and green hues for realistic fields.
- Use light and shadow for a dynamic vista.
Capturing Gentle Gradients
Plenty of artists know the real magic happens when those gentle gradients start to appear on the page, turning plain paper into sweeping hills and glowing fields.
With Posca markers, capturing gradient shifts in rolling hills or golden fields means color blending is your best friend. Start with light yellows and golds, layering them softly—almost like you’re buttering toast, but less messy.
For the hills, darker greens at the base and lighter greens up top create that awesome sense of depth. Pay attention to your stroke techniques; following the curve of the terrain makes hills look super real, almost like you could roll down them.
Don’t forget fun finishing touches: wildflowers and tall grasses, popping with contrast, make your scenery totally come alive!
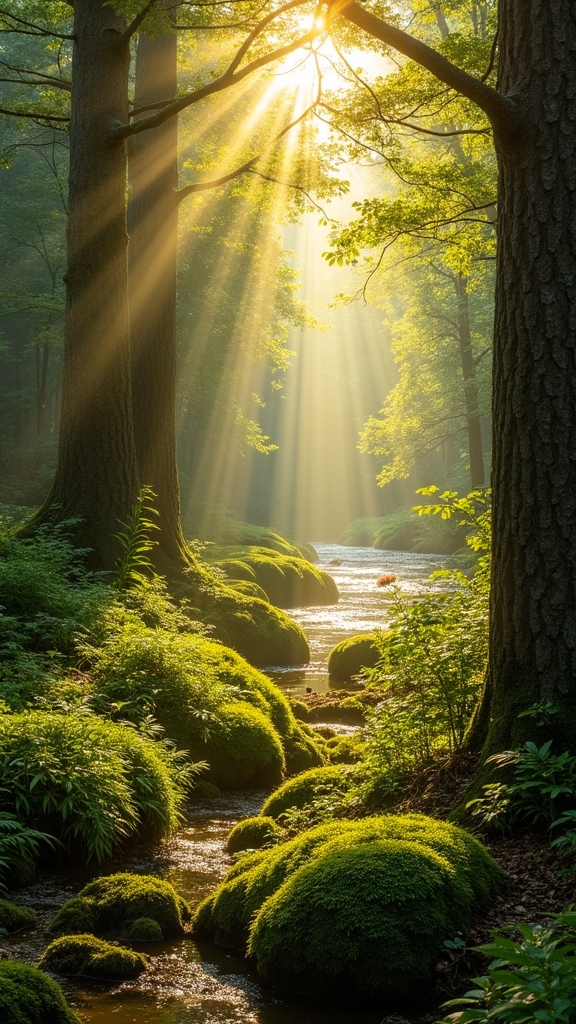
Misty Forest Pathways
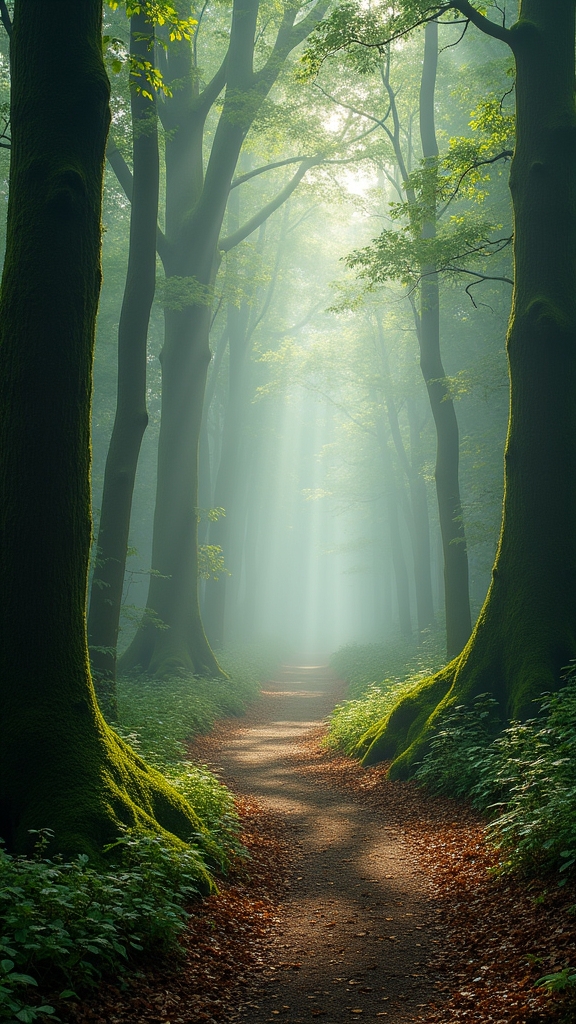
Even when the world seems loud and busy, there’s something magical about wandering down a misty forest pathway. The air feels cool, the trees rise up like silent guardians, and the mist wraps everything in a mystical ambiance.
With Posca markers, artists can capture that dreamy feeling by using layering techniques—blending soft greens, grays, and a touch of white to create depth. The trick is to let the background fade into hazy mist while bringing details like winding paths or scattered leaves into the foreground. This draws viewers into the scene, giving them a strong sense of nature immersion.
Want to try it yourself? Here are three tips:
- Layer muted greens and grays for softness.
- Blur edges for dreamy mist.
- Add winding paths for adventure!
Dramatic Coastal Cliffs

There’s something wild and awesome about capturing the rough, jagged textures of coastal cliffs, where the rock faces almost seem to roar above the crashing waves.
Artists can really crank up the drama by showing the spray of the ocean and playing with bold lighting—think golden highlights at sunset or deep shadows under stormy clouds.
With Posca markers, every layer brings those cliffs and waves to life, almost like you can feel the wind in your hair!
Capturing Rugged Cliff Textures
Jagged cliffs jutting out over wild, crashing waves are nothing short of dramatic—like nature showing off its most powerful side.
To capture those rugged cliff textures with Posca markers, artists can use layering techniques for amazing texture depth. By stacking different shades—think browns, grays, and greens—they mimic the cliffs’ natural color variations. Mixing fine and broad tip markers makes it easy to show off tiny cracks or bold rocky shapes.
And hey, pressing harder or softer with the marker? It’s a total game-changer for rough, gritty lines versus smoother spots.
Here’s a quick guide:
- Layer colors to build dimension and realistic texture depth.
- Switch marker tips for detailed cracks and larger cliff faces.
- Experiment with pressure for bold or subtle marks.
Ocean Spray and Lighting
Once those rocky cliffs are packed with rough textures, it’s time to crank up the drama with ocean spray and lighting. Think wild waves crashing, salty mist flying, and the sun throwing wild shadows everywhere. To show off ocean dynamics, artists layer different blues and grays for water that looks deep and restless. Lighting contrasts really pop when you blend in oranges and yellows for a blazing sunrise, or maybe a moody sunset. With acrylic markers, dabbing bright highlights on wet rocks makes them glisten—like they’re winking at you! Rim lighting is a cool trick too, making those cliffs stand out against the sea like silent giants. Check out the table below for quick tips:
| Ocean Dynamics | Lighting Contrasts | Texture Techniques |
|---|---|---|
| Layer cool blues | Warm/cool blending | Acrylic marker dots |
| Splashy brushwork | Silhouette effects | Layered shadows |
| Misty highlights | Sunset/sunrise hues | Rim light accents |
Vibrant Wildflower Meadows

Wonder fills the air in vibrant wildflower meadows, where color seems to explode in every direction like confetti at a party.
These meadows are living rainbows, bursting with wildflower color palettes—from fiery poppies to cheerful daisies and cool bluebells.
Wildflower meadows dazzle the eye, blooming with vibrant hues—fiery poppies, sunny daisies, and gentle bluebells mingle in a living rainbow.
Artists love capturing these scenes, not just for the wild colors, but also for the buzzing pollinator interactions.
Bees and butterflies dart from bloom to bloom, keeping the whole place lively and full of action.
Plus, seasonal changes bring new surprises every month, with spring’s bold reds and yellows shifting to softer summer pastels.
To really nail a wildflower meadow with Posca markers, try these tips:
- Experiment with layered brush strokes for depth.
- Blend colors for smooth changes.
- Add tiny pollinators for movement.
Twilight Skies Over Open Plains
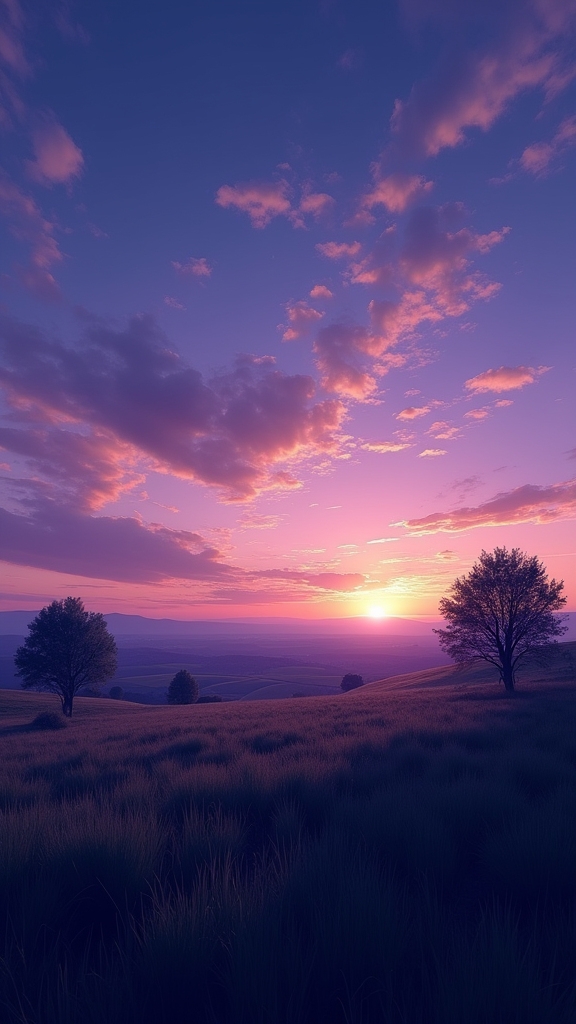
How is it that twilight can turn a plain old field into something totally magical? There’s just something about those twilight color gradients, right? One minute, the sky is a deep, mysterious blue, then it melts into electric pinks and oranges—almost like someone spilled a giant box of Posca markers across the horizon.
Open plains are perfect for this, since nothing blocks the view, making the whole sky look endless. Atmospheric effects, like a bit of mist or even pollution, can kick those colors up a notch, scattering the light and making everything look more intense.
For extra drama, try silhouette compositions: outline some tall grass, a lonely tree, or distant hills in black. Suddenly, your painting pops with contrast and emotion.
Sunlit Woodland Scenes
After the wild drama of twilight skies, stepping into a sunlit woodland feels like entering a secret, glowing world. Bright beams filter through leafy branches, scattering dappled light across mossy paths and tangled roots.
Using Posca markers, artists can blend earthy greens and browns for forest textures, then layer in warm yellows and oranges to show sunlight dancing on the leaves. It’s like painting with sunshine! Adding rim lighting on tree trunks and foliage makes everything glow, almost as if woodland wildlife might peek out at any moment.
To make these scenes pop, try:
- Layering colors for depth and shadows.
- Drawing detailed tree bark and leafy textures.
- Including streams with reflections and hints of hidden critters.
Every stroke brings the forest to life!
Rainy Day Countryside
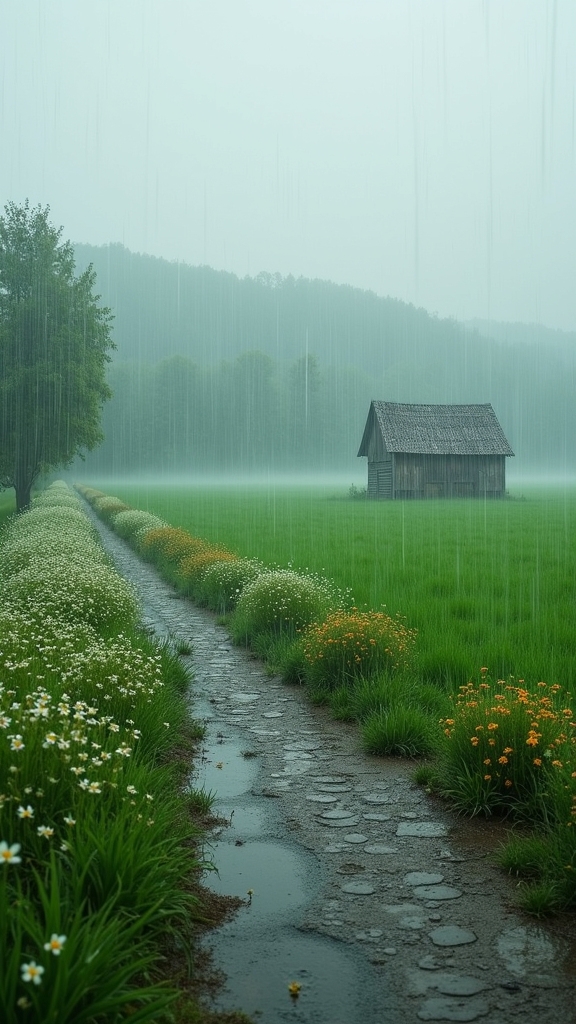
Even when the clouds roll in and everything gets soaked, the countryside doesn’t lose its magic—it just puts on a different show.
Rainy days turn every field and hill into a painting of moody colors. With Posca markers, artists can play with muted greens and browns, layering darker shades first, then adding lighter hues to show that soft, diffused light.
Want to make things more dramatic? Try adding rainy reflections in puddles or highlighting wet textures on grass, using white markers for those shiny, water-soaked spots.
Place trees, fields, and distant hills in just the right spots to lead the viewer’s eye around the scene. Rim lighting on the edges of objects adds atmospheric depth—almost like the rain is hugging everything.
Autumn Foliage by the River
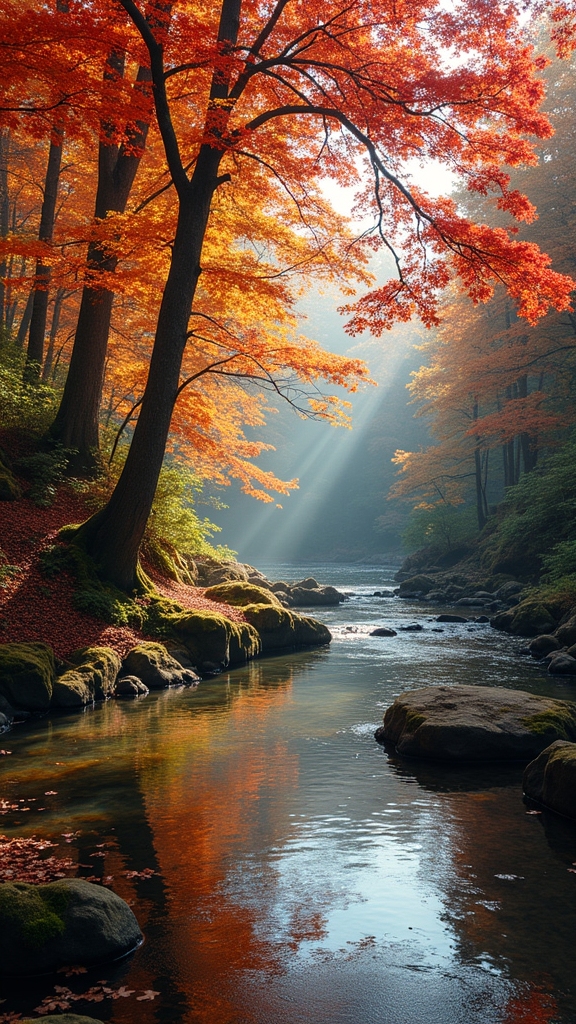
A burst of autumn colors along a riverbank can turn any scenery into a showstopper.
Imagine trees dressed in fiery reds, bright oranges, and golden yellows, all showing off against the cool blue river.
With Posca markers, artists can create vibrant color contrasts that capture the wild energy of fall.
Don’t forget the tiny riverbank details—like fallen leaves floating by or the way light hits the water’s edge.
And those seasonal reflections? They double the magic, making the scene look twice as colorful.
It’s like nature’s own mirror, but with a pumpkin spice twist.
- Experiment with warm shades to make the foliage pop.
- Add riverbank details like rocks and scattered leaves for realism.
- Capture seasonal reflections to amplify the scene’s beauty.
Snowy Pine Landscape
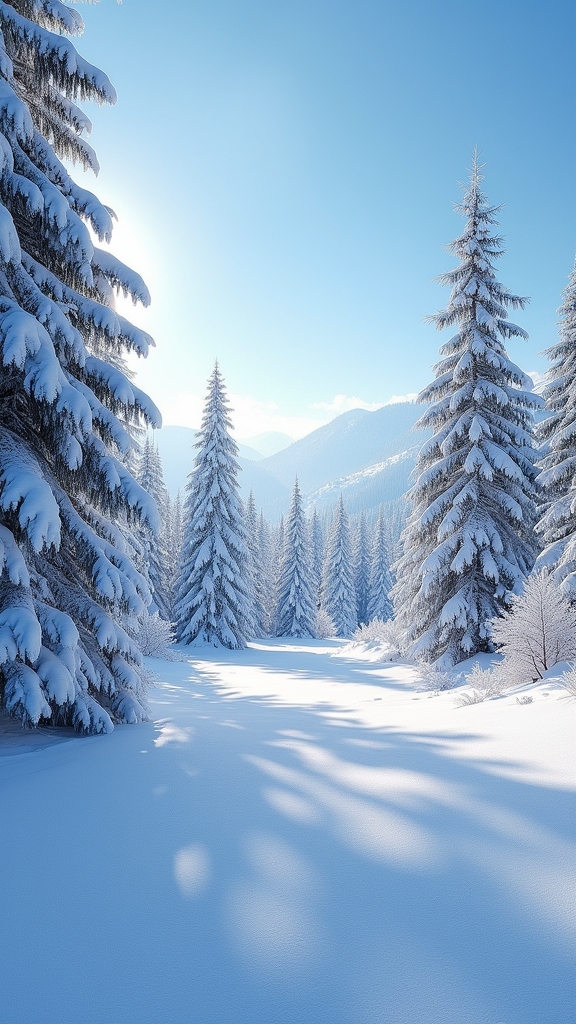
Winter magic comes alive in a snowy pine setting, where everything feels crisp, quiet, and full of hidden surprises.
Picture a scenery painted with cool blues, soft whites, and gentle grays—so cold, even penguins would need scarves!
To create this winter wonderland with Posca markers, artists start with a base of frosty colors.
Snowy texture techniques use layers of white over green pine branches, letting bits of green peek out for a fluffy, realistic look.
Pine branch layering adds depth, making some branches pop while others fade into the background.
Shadows in light gray help ground the trees, so they don’t look like they’re floating in a snowstorm.
Finally, winter light effects—like a glowing sun or distant mountains—make everything sparkle with frosty charm.
Desert Vistas With Bold Shadows
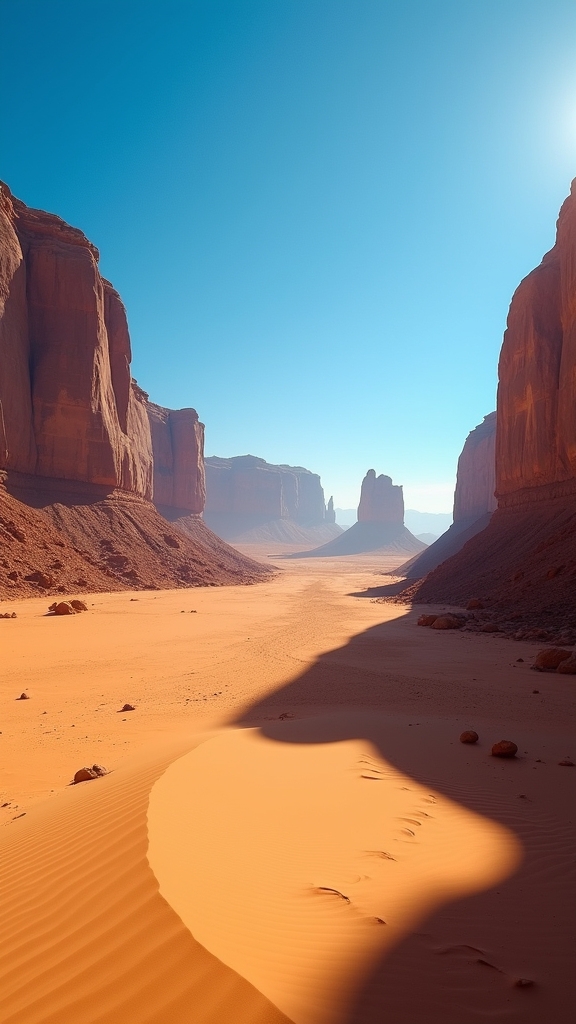
When the sun blazes over a desert terrain, it doesn’t just light things up—it turns every rock, cactus, and sandy hill into a dramatic showdown between light and shadow.
Artists who want to capture this epic scene with Posca markers need to focus on desert textures, using shadow contrasts to make every dip and rise pop out. The trick is mixing vibrant hues—think fiery oranges and reds for sun-baked earth, with cool purples and blues to make those shadows feel deep and mysterious.
Bring desert scenes to life with Posca markers by blending bold textures and dramatic shadow contrasts in fiery oranges, reds, purples, and blues.
With a little practice, even the flattest sketchbook page can feel as wide as the desert horizon.
- Choose warm colors for sunlight and cool tones for shadow contrasts.
- Use layering to build up rich desert textures.
- Highlight unique shapes like mesas and buttes for bold focal points.
City Park at Dusk

After feeling the blazing heat and wild shadows of the desert, it’s a total mood switch to sketch a city park at dusk. Suddenly, the world is quieter, softer, with dusky colors melting across the sky.
There’s something magical about those park silhouettes—tall trees, empty benches, maybe a lamppost flickering on. The warm sunset clashes with cool blues and purples, and Posca markers are perfect for layering these colors.
Kids might laugh in the distance, but everything feels peaceful. Twilight reflections shimmer in a pond, like the park is holding onto the last bits of daylight.
For artists, it’s fun to experiment, mixing deep shadows with glowing highlights. The whole scene feels dreamy, like a secret only you get to capture.
Frequently Asked Questions
What Are the Best Posca Pen Tips for Detailing Landscape Art?
Selecting the best Posca pen tips for scenery detailing involves choosing fine and extra-fine nibs. These tips excel in fine line precision, support intricate color layering techniques, and enable effective texture creation methods for enhanced artistic expression.
How Do You Prevent Posca Pens From Drying Out During Long Sessions?
Preventing Posca pens from drying out during extended use involves proper Posca pen storage, such as capping pens immediately. Moisture retention techniques like occasional tip moistening and session timing strategies, including scheduled breaks, further help maintain ink flow.
Can You Blend Posca Colors Effectively on Canvas or Only on Paper?
The current question explores whether blending techniques with Posca pens are effective on canvas or limited to paper. Success depends on proper surface preparation and color layering; smoother surfaces and quick blending enhance results on both materials.
How Do You Fix Mistakes Made With Posca Pens in Landscape Paintings?
Addressing mistakes with Posca pens involves mistake correction techniques such as blotting wet ink, letting layers dry for color layering strategies, and using opaque colors to cover errors. Regular pen maintenance tips guarantee consistent ink flow for precise corrections.
What Surfaces Work Best for Posca Landscape Projects Besides Paper and Canvas?
Exploring suitable surfaces expands creative possibilities. Wood surfaces provide a textured, natural base for vibrant color application. Fabric applications allow for flexible, wearable art, while ceramic tiles offer a glossy, durable foundation for detailed Posca pen sceneries.
Conclusion
With these posca scenery ideas, anyone can turn a blank page into a window to the world. Whether it’s misty forests or sunny deserts, each scene is a chance to play with color, mood, and a little bit of magic. Grab those markers, let your imagination run wild, and don’t stress about perfection—happy accidents make the best art. So, what are you waiting for? The next masterpiece could be just a doodle away!
Leave a Reply