
A great pencil art journey for beginners starts with fun doodles—think zig-zags, dots, and wild little circles to warm up those hands. Try sketching basic shapes like wobbly cubes and ovals; don’t stress about perfection! Gesture drawing comes next, helping capture movement with loose, speedy lines. Sharpen up those sketches with solid outlines, measure for accuracy, then experiment with shading to make things pop. Sticking to daily practice brings real progress, and there’s even more to discover just ahead.
Key Takeaways
- Start with warm-up doodles and mark-making to loosen your hand and build confidence.
- Practice sketching basic shapes lightly, focusing on circles, squares, and triangles as drawing foundations.
- Use gesture drawing to capture the movement and energy of your subject quickly and expressively.
- Refine the sketch with solid lines, accurate proportions, and careful observation of real objects.
- Add shading gradually using techniques like hatching and blending to create depth and realism.
Warming up and Getting Comfortable With Your Tools

Grab a pencil and just start doodling—because before any masterpiece starts, every artist needs to loosen up. Warming up is like stretching before a big game; it gets your hand muscles moving and your brain into creative gear.
Don’t worry if your first lines look wild—everyone has squiggles at the start. Try fast zig-zags or slow hatching. Swirl circles, cross lines, zig, and zag. This way, you learn to draw with your tools, turning stiff lines into smooth, confident strokes.
Mix up your mark-making: tiny dots, bumpy dashes, even wild spirals. It’s not about neatness—it’s about finding your groove. Keep your sketches light and loose, enjoying the process.
After several short, fun warm-ups, you’ll feel ready for anything.
Building the Foundation: Sketching Basic Shapes

Before diving into complicated drawings, every beginner artist needs to get friendly with the basics—circles, squares, and triangles aren’t just shapes you learned in kindergarten; they’re the secret sauce behind nearly everything you’ll ever sketch.
Want to draw realistic art? It all starts here, step by step. Grab a pencil and fill a page with loose circles, wobbly squares, and weird triangles—messy is totally fine! Use light lines so you can easily fix mistakes or try new shapes without sweating it.
Start with loose circles, wobbly squares, and weird triangles—embrace the mess as you lay the foundation for realistic art.
When you practice, use different pressure: press softly for shadows, harder for outlines. Look at objects around you and break them down into these shapes—it’s like building with LEGOs but with more erasers.
Practice this foundation and everything becomes easier!
Creating Gesture Drawings to Capture Movement

Once the building blocks of basic shapes feel comfortable, it’s time to get those lines moving! Gesture drawing is where art gets lively—think of it as the quick, dance-like warmups before the real performance.
Artists learn to capture the spirit and energy of a pose, not just the outline. Drawing since ancient times has included gestures, letting artists scribble, swoop, and sketch with wild abandon. Use your whole arm (not just stiff little fingers) for broad, sweeping lines.
Try out scribbles, dots, and fast marks to show movement. Each drawing is a race: aim for 30 seconds to 2 minutes! Don’t stress about details; this is about energy and excitement.
The more you practice, the better your observation and confidence will become.
Refining Sketches With Solid Lines and Accurate Proportions
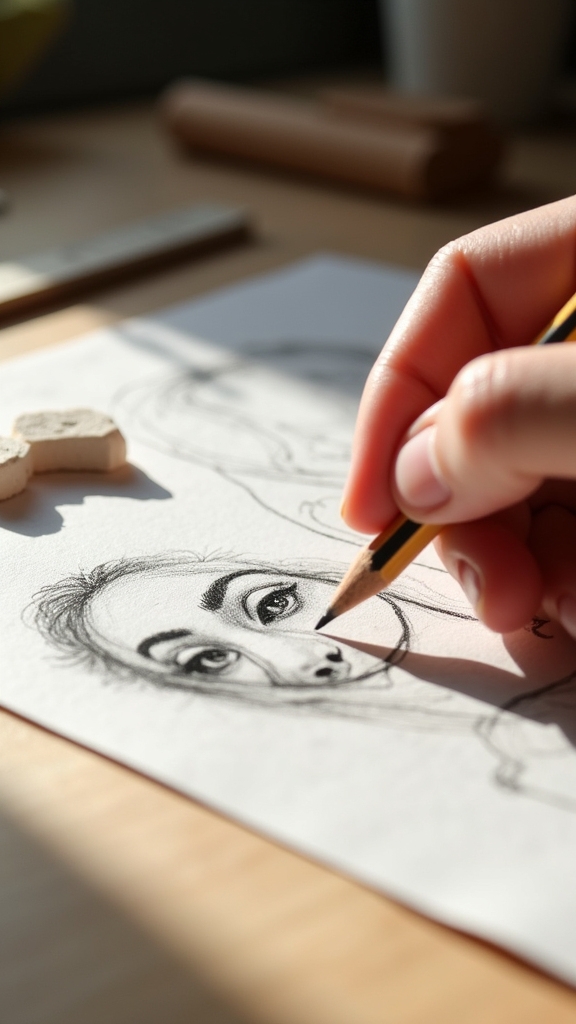
Lock in those lines and sharpen those eyes—this is where sketching takes a serious turn! After getting the movement down, it’s time for refining sketches with real focus.
Want accurate proportions? Well, the pencil isn’t just for drawing—it’s your secret ruler. Hold it up, squint a little, and compare angles or lengths. See something off? Don’t panic! Just erase, tweak, and check again.
Your pencil is more than a tool—it’s your undercover ruler for nailing those tricky proportions with confidence.
Those solid outlines need to hug the true edges of your subject, capturing the shapes exactly as you see them. Get picky with details, but not afraid to redo a line or two.
Repeated observation and small adjustments are your new best friends. Soon, your drawing will look like what’s in front of you, just with more graphite and less chaos!
Shading Techniques for Depth and Realism

Dive right into the world of shading—this is where pencil sketches start to look seriously cool and almost pop off the page!
Shading techniques are like magic tricks for pencils. Try out hatching, cross-hatching, and stippling; these let you stack up lines and dots, turning simple scribbles into realistic shadows and textures.
Want super-smooth shadows? Grab blending tools like blending stumps or even a tissue—these soften harsh marks and make shifts buttery.
Don’t forget about layering! Start light, add more layers, and go darker as you need—think of it like building a really good sandwich, one bite at a time.
Remember, softer pencils (B grades) give rich, dark shades and harder ones (H grades) keep things finer and lighter.
Shadows wait for no one!
Developing Consistency and Advancing Your Drawing Skills
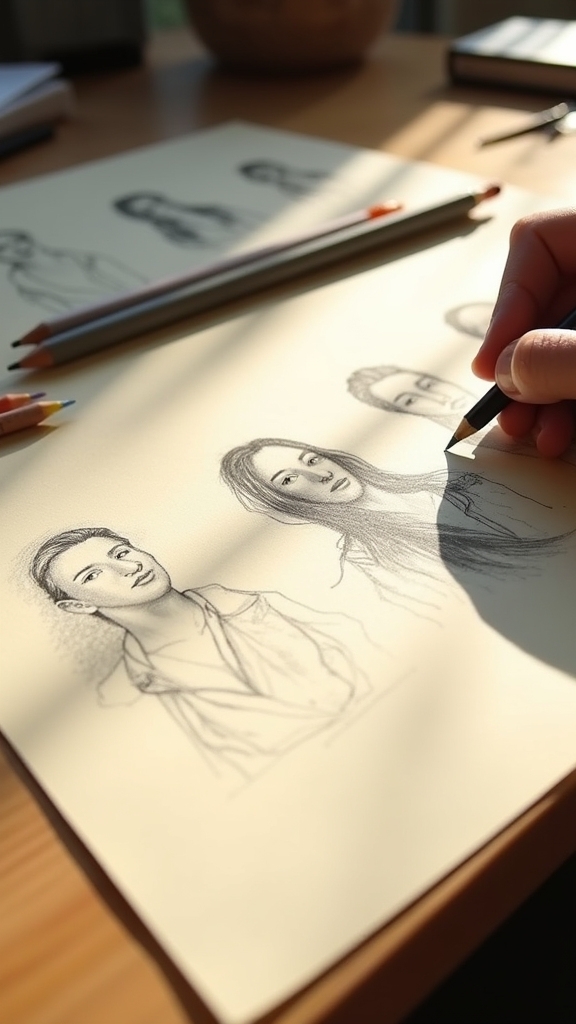
After experimenting with shading and bringing sketches to life, it’s time to tackle consistency—the not-so-secret recipe all great artists swear by.
Practice is everything! Setting aside 15-30 minutes a day to draw does more than fill your sketchbook; it helps you learn, strengthening hand-eye coordination and muscle memory. A warm-up with simple shapes—circles, lines, maybe a wonky square or two—primes your hand and mind for action.
As confidence builds, ramp up to trickier subjects, but always break them into smaller parts. That keeps overwhelm away! Don’t forget to check your progress by flipping back through your old sketches; see how you’ve improved.
And hey, feedback matters—sharing your art and listening to suggestions can help you spot new ways to level up, too.
Frequently Asked Questions
How to Learn Pencil Drawing Art Step by Step?
To learn pencil drawing art step by step, individuals start with basic techniques, such as practicing shapes and lines. Gradually, they progress to shading methods, exploring light and shadow, and refine their skills through structured exercises and consistent practice.
Is a 0.5 or 0.7 Pencil Better for Drawing?
When choosing between 0.5 and 0.7 pencil thickness for drawing, the decision hinges on desired drawing precision. A 0.5 pencil offers greater precision for fine details, while 0.7 allows broader strokes and easier shading.
What Is the Easiest Thing to Sketch for Beginners?
When considering the easiest thing to sketch for beginners, basic shapes such as circles and squares are often recommended. Simple objects like fruits or cups, based on these forms, provide accessible subjects for practicing proportion and shading.
How to Use HB 2B 4B 6B Pencils?
When considering how to use HB, 2B, 4B, and 6B pencils, understanding pencil hardness and shading techniques is essential. Artists layer various grades to create contrasts, shifting from light outlines to deep shadows for realistic drawings.
Conclusion
So, after all the sketching, shading, and maybe a little eraser drama, anyone can see how far pencil art can take them. It’s not just about copying what you see—it’s about adding your own twist, having fun, and messing up (a lot) along the way. With each drawing, skills get better, mistakes become lessons, and that blank page stops looking so scary. Just keep practicing, laugh at your wobbly lines, and watch your art grow!
Leave a Reply