
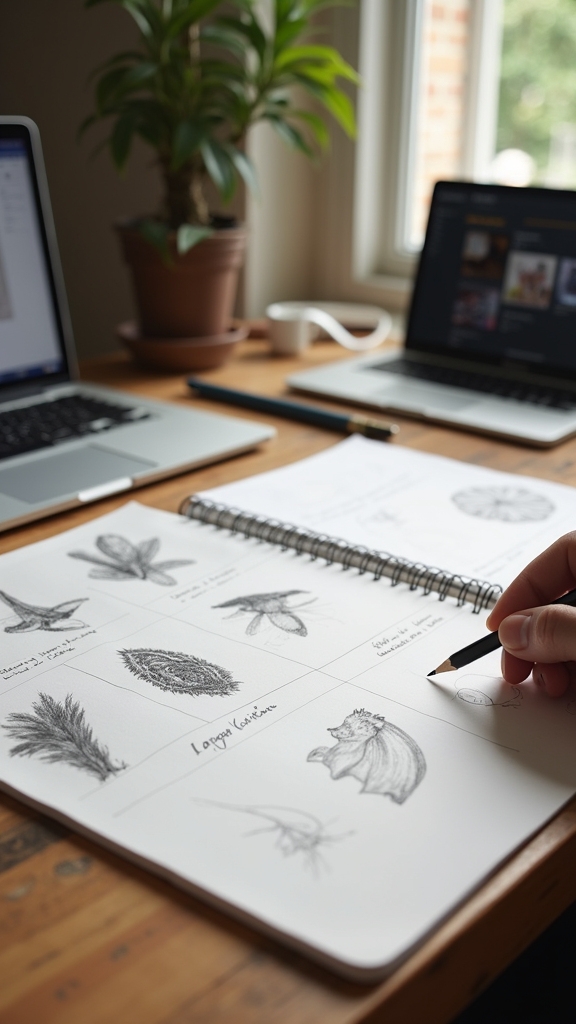
Pencil art references are like secret weapons for beginners—they help you see shapes, light, and shadows, not just colors. Picking clear, sharp photos lets you spot those tricky details and avoid weird angles that make your drawing look wonky. It’s okay to combine photos or adjust details for your own style, but always use images you’re allowed to use—no art heists! With the right reference, your drawing confidence can skyrocket, and there’s a lot more cool stuff to discover ahead.
Key Takeaways
- Choose clear, well-lit reference photos to understand shapes, proportions, and shadows accurately.
- Lightly sketch basic shapes first to plan your drawing’s composition and structure.
- Focus on identifying and reproducing a range of values for realistic depth and form.
- Use references for learning, but add your creative interpretation rather than directly copying.
- Practice regularly with a variety of reference images to build skill and artistic confidence.
Why Pencil Art References Matter for Beginners

Even though some people think drawing is all about inspiration and talent, most beginners quickly realize they need help figuring things out.
Pencil drawings can seem tricky at first—how do people get those soft blends and perfect shadows? That’s where a good reference photo can save the day. By looking at a finished drawing, beginners learn drawing techniques faster. There’s no guessing about where the shadows go or which details matter.
Using references takes away the confusion about colors, letting new artists focus on shapes, shading, and texture. It’s kind of like training wheels for learning to draw. With less pressure and more guidance, artists can practice, mess up, try again, and watch their confidence grow as they build solid skills for pencil art.
Finding Quality Reference Images for Pencil Drawing
Finding the right reference image for pencil drawing might seem as tricky as picking the perfect slice of pizza—too plain, and it’s boring; too loaded, and things get messy fast.
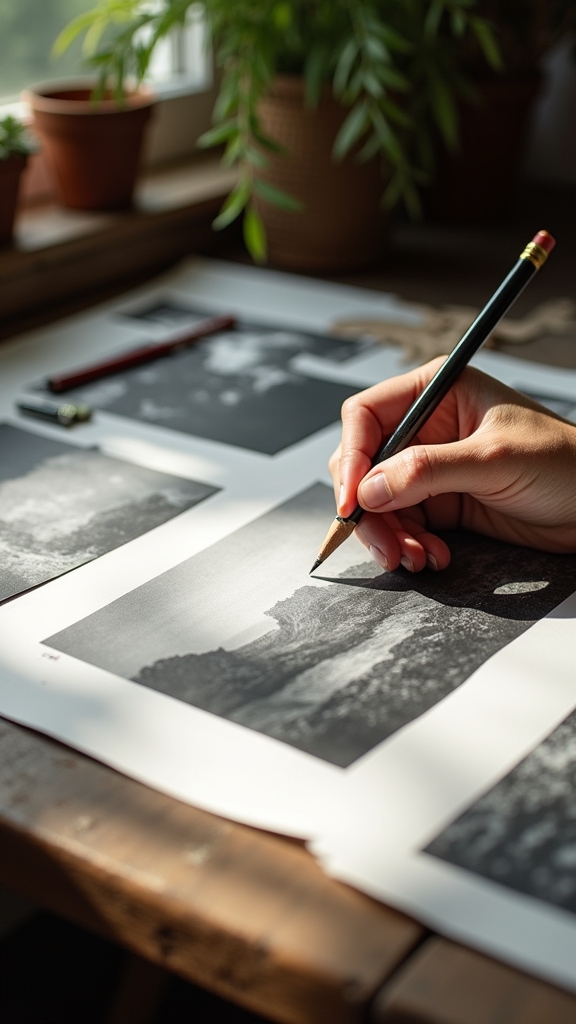
When it comes to choosing high quality reference photos, a beginner has to play it smart. Sharp, clear images help you spot the main shapes and values you’ll need in your drawing process.
But watch out for pictures with weird camera angles or blurry details—they can throw off your sense of proportions. The best photos show enough detail, especially in the highlights and shadows, so you can actually see what you’re drawing without getting overwhelmed.
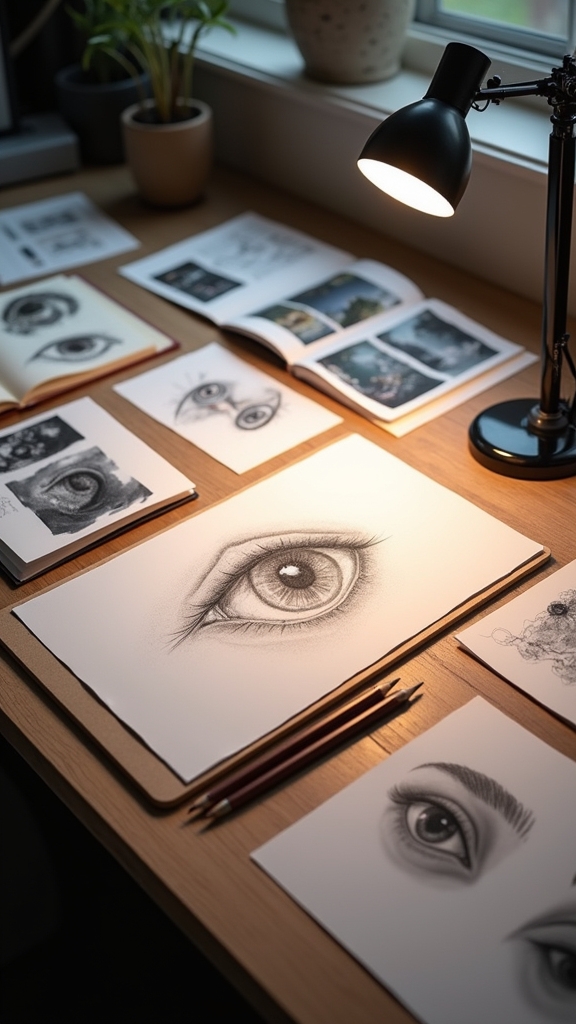
Evaluating Lighting and Form in Your Reference Photos

Lighting can make or break a reference photo for pencil art, and it’s honestly like the secret sauce to a drawing that actually pops. If your reference photo has great lighting, especially from the side or at an angle, you’ll see highlights and shadows that really help you understand the form.
Shadows give clues about where things dip or curve, while clear lighting reveals all those tiny details you want to catch in your drawing. Don’t get stuck with pictures that have areas so bright or dark you can’t see what’s going on—details matter!
Focus on the main subject staying sharp, since blurry spots make it tough to draw accurately. Remember: the “Goldilocks Zone” of detail—not too much, not too little—is exactly what you want.
Recognizing and Avoiding Photo Distortions
After checking out how lighting shapes the look and feel of a reference photo, there’s another sneaky thing that can trip up pencil artists: photo distortion.
Camera lenses can really mess with shapes, making noses too big or hands tiny—basically, funhouse mirror vibes you didn’t ask for! Not only that, but a photo reference sometimes wrecks the real-life look of shadows and highlights. Shadows might turn into flat, mysterious blobs, while highlights can explode into bright, empty spots.
To dodge these distortions, it’s smart to pick high-quality, clear reference photos where details pop in both the shadows and highlights. Double-check if the shapes and colors feel believable. If something seems off, it’s totally okay to tweak things and put your own spin on it!
Selecting the Right Level of Detail in Reference Images

Plenty of pencil artists have run into this problem: a reference photo that looks super cool at first, but then turns out to be either a blurry mess or so packed with details it’s just overwhelming. The trick is finding that “Goldilocks Zone”—not too simple, not too complicated. A good reference image has clarity and just the right amount of detail, making it easier (and honestly, way more fun) to draw from. Plus, good lighting is super important. It helps show the form, so you can actually tell what you’re looking at! Here’s a breakdown:
| Feature | Why It Matters |
|---|---|
| Good Lighting | Reveals form and shadows |
| Sharp Focus | Provides clarity on subjects |
| Balanced Detail | Avoids overwhelm, aids study |
Pick smart and enjoy the process!
Analyzing Shapes and Values Before You Draw
Before putting pencil to paper, it’s smart to figure out what basic shapes make up your subject, kind of like how a superhero suit starts as a bunch of weird pieces before it looks cool.
Squint at your reference to spot the biggest lights and darks, turning a busy picture into something way simpler—seriously, it helps a lot. This trick makes complicated scenes way less scary, so you can focus on the stuff that actually matters instead of stressing over every tiny detail.
Identifying Foundational Shapes
Even when a photo seems packed with complicated details, there’s a neat trick that artists use: squinting at the reference to blur out the chaos and spot the big, basic shapes hiding underneath.
It’s almost like putting on secret glasses that reveal the building blocks of your reference photo! Here’s how artists break it down:
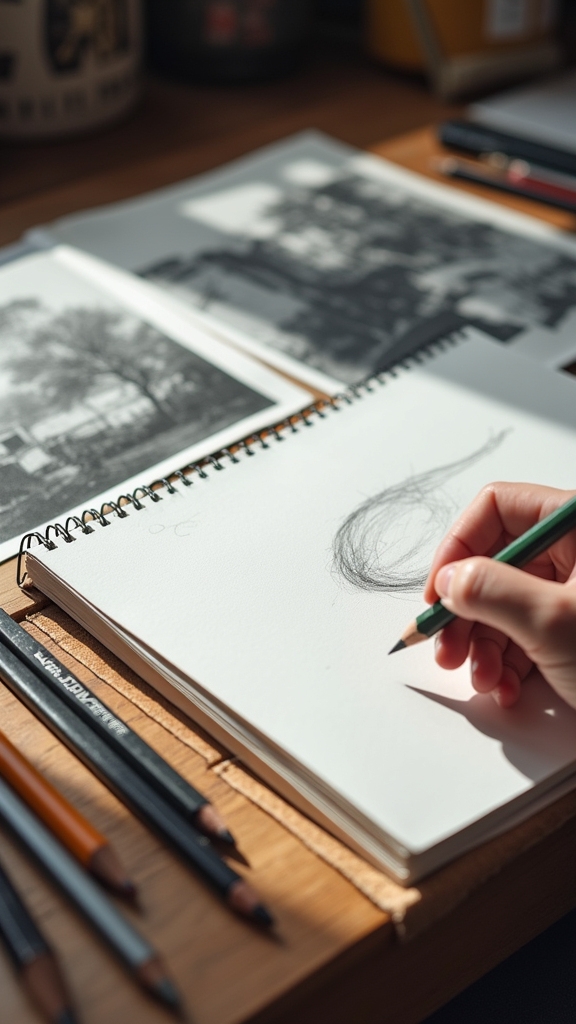
- Squint and Simplify: Squint at the reference photo until the clutter disappears, leaving behind large, foundational shapes—think circles, rectangles, and triangles.
- Sketch Foundations: Use a light pencil to quietly sneak these shapes onto your paper, planning out proportions before the details jump in.
- Spot Light and Shadow: As you sketch, notice where the brightest lights and darkest shadows sit.
- Check Values: Focus on values, not colors—the secret sauce for realistic depth.
Locating Major Value Masses
Value detectives, unite! Here’s your next mission: find those sneaky value masses lurking in your reference photo. Squint your eyes like a detective peering through fog. This blurs the details and lets you focus on the big patches of light and dark—the value masses.
Forget tiny buttons or strands of hair right now. Grab your lightest pencil and sketch out these main shapes on your paper, making sure the proportions match your reference pretty closely. Look for the darkest shadows and brightest highlights, setting the stage for awesome shading later.
Breaking subjects down into easy shapes—like ovals or rectangles—turns a tricky subject into something totally doable. Remember, it’s all about seeing the big picture before you plunge into drawing specifics.
Simplifying Complex Visuals
While a wild pile of details can make a reference photo look overwhelming, smart artists know there’s a trick to taming that chaos. The secret is to forget the nitty-gritty at first and break down the jumble into basic shapes and big patches of light and dark areas.
Before launching into serious pencil work, they pause, squint, and map things out with their eyes and minds. Here’s how they handle it:
- Squint at the image—try to spot big shapes instead of tiny details.
- Identify the main light and dark areas to give the drawing depth.
- Use a grid or guidelines to split the picture into simpler parts, keeping proportions in check.
- Suggest important textures or features, but don’t draw everything exactly—let your drawing skills fill in the rest!
Deciding What Details to Keep or Simplify
Sometimes, staring at a reference photo can feel like a brain-busting puzzle—so many tiny details jump out, practically screaming for attention! For a pencil artist, it’s super tempting to fuss over every strand of fur or every leaf on a tree, but different methods can help you decide what to keep and what to leave out.
Try squinting at your reference. Suddenly, those wild details blur into simple shapes and main values, making your job way easier. Choose a strong focal point instead of spreading the viewer’s attention everywhere—that’s your star! Not everything deserves a front-row seat.
Suggest textures with lines and shading, don’t copy every dot. Bend colors and proportions if it helps your drawing flow. Remember, you run the show!
Using References Ethically and Respecting Copyright
A lot of artists get super excited when they find the perfect photo to use as a reference, but hold up—there’s a big difference between “inspiration” and just copying someone else’s work.
Using references ethically means understanding copyright and giving original creators respect for their creations. Don’t risk a lawsuit just because you really liked someone’s cool cat photo!
Respect creators and their work—using references ethically keeps you creative without risking copyright issues or legal trouble over that perfect photo.
To keep things honest and keep your creative control strong, try sticking to these basics:
- Use your own photos for full creative control and zero copyright worries.
- If you use family or friends’ pictures, get written permission to play it safe.
- Find reference images on royalty-free or Creative Commons sites and always check licenses.
- Avoid using random internet pics—they’re usually not up for grabs!
Combining Multiple References for Creative Drawings
Mixing different photo references can make a drawing way more interesting, but it takes a sharp eye to spot which parts fit together best.
Artists need to look for photos with matching lighting and angles, or their combined scene might look as funky as a car with two different-sized wheels.
Selecting Complementary Photo Elements
Ever wondered how some pencil drawings look way more interesting than just a copy of one photo? The secret sauce often comes down to selecting complementary photo elements from different reference photos and learning how to merge references for a unique piece.
Instead of copying every detail, artists use artistic interpretation to create something new. Here’s how they do it:
- Pick a main star: Choose one strong primary reference photo to be the main focus.
- Add supporting details: Grab fun little pieces from other reference photos, like cool backgrounds or interesting accessories.
- Check harmony: Make sure all the chosen elements can merge smoothly and don’t clash—like picking teammates for dodgeball.
- Edit and interpret: Mix and match what you like, change things up, and let your creativity take the wheel!
Ensuring Consistent Lighting Effects
If you’ve ever tried to mash together two or three cool reference photos but then noticed the lights and shadows just don’t quite match, you’re definitely not alone.
In pencil drawing, pulling off convincing lighting effects is something that takes extra attention when you’re working from multiple references. Seriously, a mismatched shadow can make your masterpiece look like it crashed a weird parallel universe!
To stay on track, start by checking the direction and strength of light in each photo. Use squinting to see where the brightest patches and deepest shadows fall—this helps you spot the main value areas.
Blending References Seamlessly
So, how do artists turn a wild bunch of different photos into one awesome, totally believable pencil drawing? It’s all about blending references like a pro!
Artists use easy drawing tutorials to learn how to mix and match the right details from their favorite reference photos. Still, getting a realistic appearance takes more than just copying and pasting. There’s a method to this creative (and sometimes chaotic) madness.
- Match the vibes: Choose reference photos with similar lighting and perspective for a natural fit.
- Keep it even: Stick with images that have the same detail level—otherwise, your drawing might look like a weird collage.
- Blend the colors: Harmonize the tones in your references, even if you have to tweak them a bit!
- Practice makes perfect: Try sketching from combos to boost your creative blending skills.
Building Confidence Through Practice and Interpretation
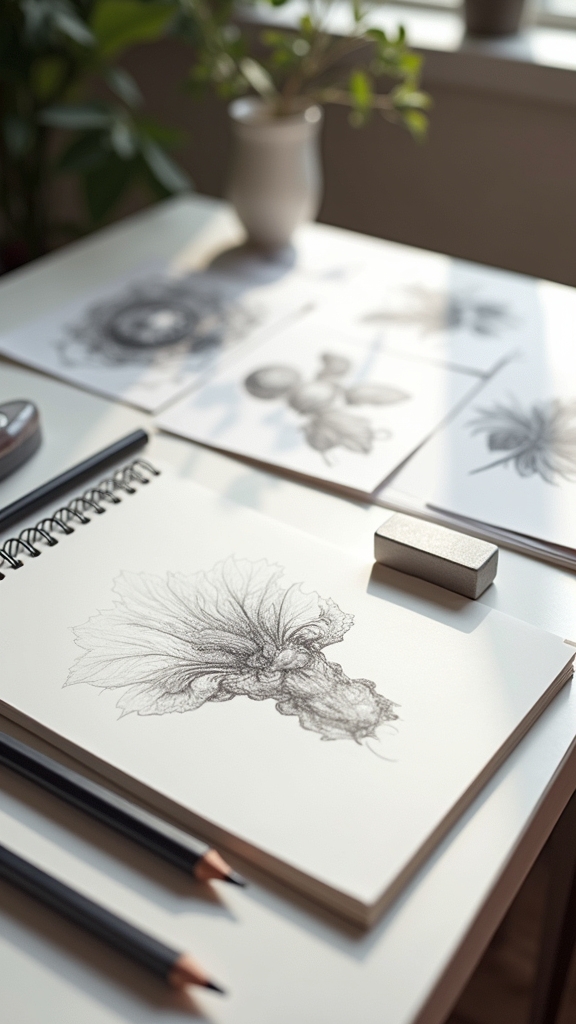
Leaping into the world of pencil art can feel like standing at the edge of a really high diving board—exciting but honestly, a little terrifying. Beginners often wonder if their drawings will ever turn out the way they hope.
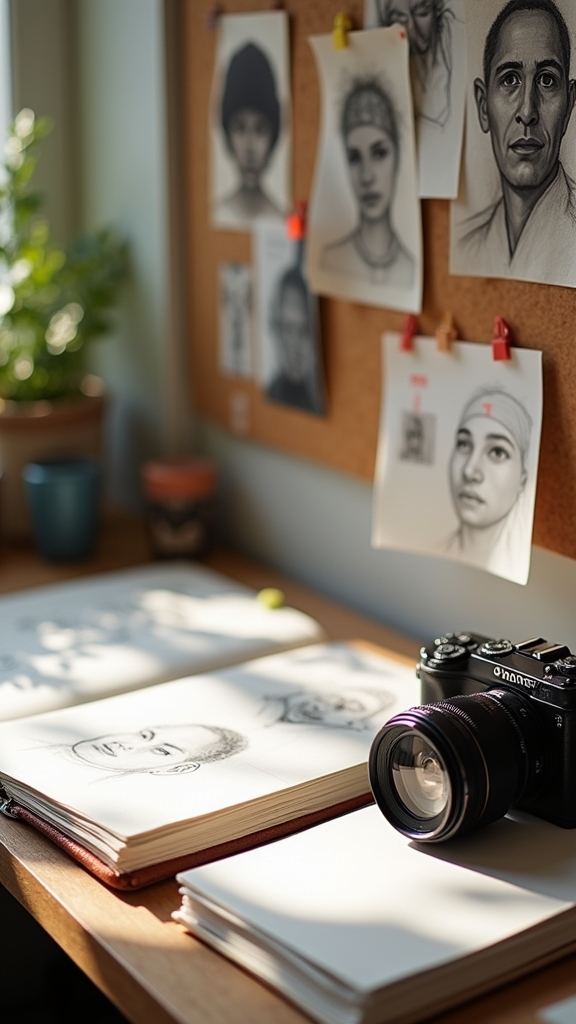
Using references lets artists start on good quality drawing paper, making thumbnail sketches to warm up before jumping into a bigger piece. Practicing with references isn’t cheating—think of it as getting a running start. Copying shapes, testing values, and mimicking techniques from finished art helps build muscle memory and removes some of the pressure.
It’s fun to see progress, even when sketches are messy. Over time, these small steps add up. Eventually, artists notice their personal art looks stronger and more unique with every page they fill.
Frequently Asked Questions
How Do You Use a Pencil Guide?
A pencil guide assists users in mastering sketching fundamentals, selecting pencils for drawing proportions, and practicing pencil shading techniques. It illustrates blending methods to create depth and texture, enhancing overall control and confidence in the artist’s process.
What Are 2B, 3b, 4B, 5b, 6B Pencils Used For?
2B, 3B, 4B, 5B, and 6B pencils, defined on the pencil hardness scale, support various shading techniques, blending methods, and pencil layering. Softer grades enhance tonal depth, smooth shifts, and distinctive shadow effects in drawings.
How Do You Start Pencil Drawing for Beginners?
To start pencil drawing, beginners should focus on mastering basic techniques, practicing line control, and exploring shading methods. Sketching tips include using light strokes and creating simple shapes, gradually building confidence and foundational skills through consistent, mindful practice.
What Are the Five Rules of Drawing?
The five rules of drawing emphasize line quality, shape dynamics, shading techniques, proportion accuracy, and regular practice. Artists should focus on these principles to develop strong foundational skills and create visually compelling, realistic representations in their artwork.
Conclusion
Using pencil art references can totally change the game for beginners. Picking the right pics, understanding lighting, and dodging weird photo distortions can make drawings pop, just like magic. Artists might worry they’ll get stuck copying, but don’t freak out—references are tools, not cheats. Mix things up, get creative, and always respect copyright. The more anyone practices, the more confident they’ll get. With time and practice, everyone’s pencil art can become something uniquely their own.
Leave a Reply