
Grab a pencil, head outdoors, and let nature take over! Sketch a mountain scene, try drawing squiggly tree bark, or imagine a tiny house perched on a hill. Capture wildflowers up close, experiment with swirling autumn leaves, or make a quick campfire drawing. Study evergreen trees in black and white, blend clouds and sky, or combine all sorts of elements in one big scenery. Each idea brings a new challenge, and the next tips are even cooler.
Key Takeaways
- Experiment with quick wildlife sketches, focusing on capturing animal movement using gesture drawing and fast pencil strokes.
- Draw scenic mountain landscapes by outlining distant peaks and adding shading for depth and realism.
- Observe and sketch various tree species, practicing detailed bark textures and unique leaf shapes with cross-hatching and shading.
- Practice cloud and sky techniques outdoors, blending pencil marks to recreate the softness and gradients of real sky formations.
- Create seasonal studies by sketching autumn leaves, spring flowers, or winter scenes to capture changing atmospheres in nature.
Sketching a Mountain Landscape

Even though mountains might look impossible to draw at first glance, sketching a mountain vista is actually way more fun than it seems.
Grab a Sketches Pencil and head outdoors for some adventure—no hiking boots required, unless you want the full experience. Start by just looking closely at the outlines of distant peaks and the swoopy curves of trails.
Try simple Outdoor drawings before going wild with details like sneaky little trees or lumpy rocks. Shading is like magic here—a quick tweak in darkness can completely change a bumpy hill into a majestic cliffside.
Check out some famous mountain scenery sketches for cool ideas on how to set up your own scene. Each outdoor session builds your skills, turning nerves into confidence, one pencil stroke at a time.
Capturing the Texture of Tree Bark
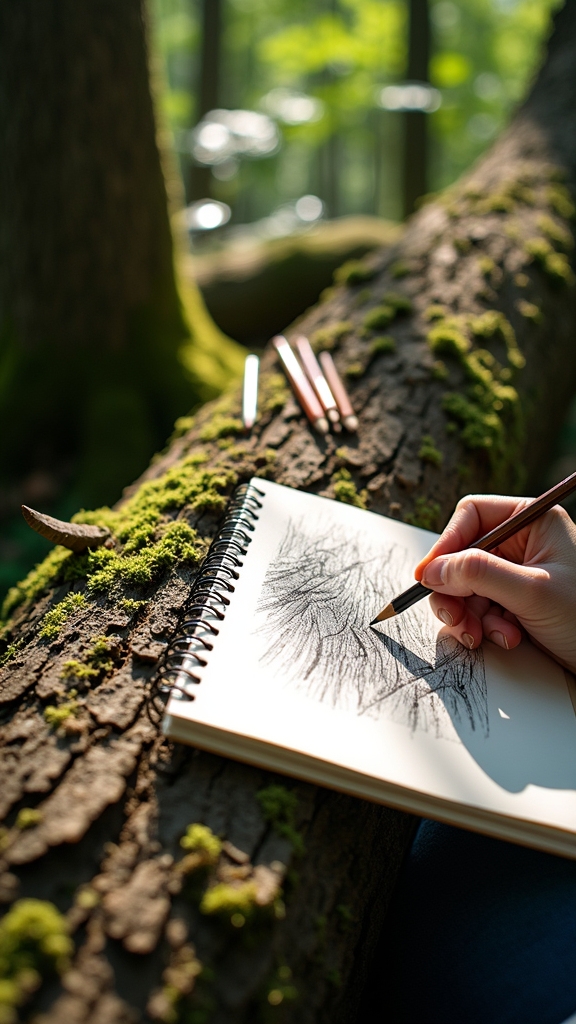
Getting the texture of tree bark just right can make your drawing pop, so the first step is to really look at all those wild patterns up close—almost like you’re a detective searching for clues in a tree’s wrinkles and grooves.
Shading is key for showing how deep or bumpy the bark feels, and messing around with cross-hatching, stippling, or even smudging different pencil grades can do wonders for rough or smooth spots.
Don’t be shocked if your eraser becomes your fancy tool for bright highlights, turning those tricky details into bark that looks like you could reach out and touch it!
Observing Bark Patterns Closely
Tree bark might not look like much from far away, but get up close and it’s like a whole new world opens up. Suddenly, the trunk isn’t just brown or gray—it’s a jumble of lines, cracks, and bumps. For anyone into sketching and drawing, bark is gold! There are all sorts of tree bark: birch is smooth and easygoing, while oak looks like it’s had a tough day… or a tough century. When you find a tree with falling leaves, look closer; the bark might even be peeling, twisted, or full of cool shadows.
Here’s a quick cheat sheet for getting started:
| Bark Type | Drawing Tip |
|---|---|
| Smooth (Birch) | Gentle, curved pencil strokes |
| Rugged (Oak) | Choppy, broken lines |
| Peeling (Maple) | Layered, wavy sketches |
Shading for Depth
A secret weapon for making tree bark really pop on paper is mastering the art of shading—it’s what turns a flat sketch into something with real attitude and texture. Shading isn’t just about filling in dark and light spots; it’s about creating that amazing illusion of rough, bumpy bark that practically jumps out at you!
By actually observing how light and shadow play across bark, artists can spot every bump and groove, using their pencils to match the real-life texture. Mixing hard and soft pencils, they add realistic depth. Careful, though: it’s not just coloring inside the lines. It’s all about being strategic to make that bark look wild, gnarly, and totally three-dimensional.
- Observe light and shadow on real bark
- Use both hard and soft pencils
- Build layers with hatching and cross-hatching
- Mimic bark grooves with pencil direction
- Sketch bark in different lighting conditions
Pencil Techniques for Texture
Zoom in close, and suddenly tree bark transforms from boring brown stuff to a wild world of lines, grooves, and crazy patterns just begging to be sketched.
To catch all that texture with pencil techniques, it helps to really study the bark’s patterns first—notice those gnarly ridges, the shiny smooth parts, and how shadows make some bits pop.
Sketch lightly with H pencils for the fine, flaky details, then switch to B pencils for the deep, dark lines. Try cross-hatching and stippling to create that rough, almost crunchy appearance.
Blending tools, like a tortillon or even your finger, work wonders for softening up rough spots.
Drawing bark from different trees boosts your skills and gives you fresh texture challenges—and hey, maybe a few splinters, too.
Drawing a Cozy House on a Hill
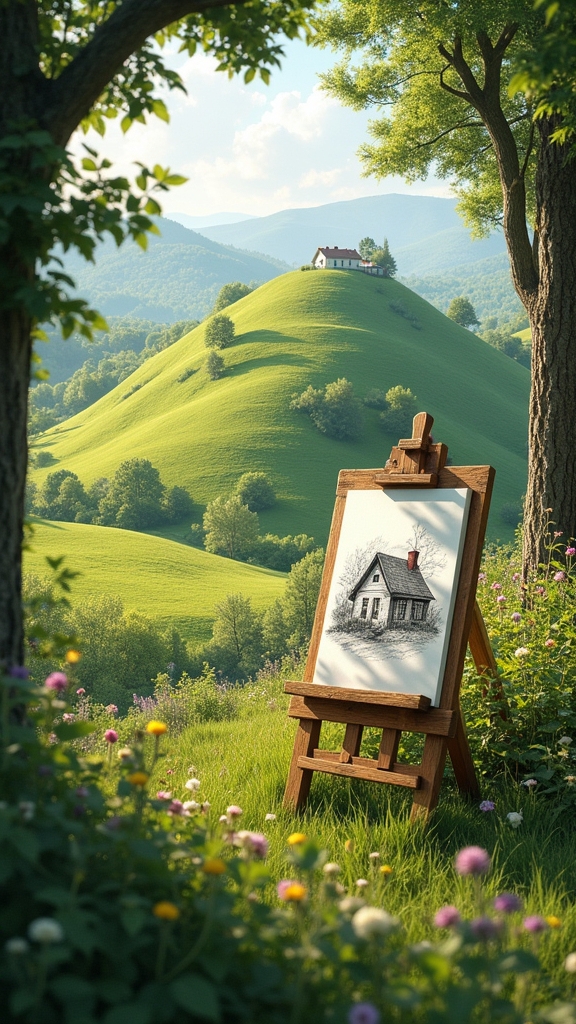
There’s something magical about sketching a peaceful house nestled high on a hill, almost like it’s hiding out from the rest of the busy world.
As artists bring these hilltop homes to life, adding twisty paths, puffy bushes, and maybe even a sneaky squirrel in the yard, the whole scene feels super cozy and real.
Getting the scenery details right not only sets the mood but also turns a simple pencil drawing into a tiny story you can actually see.
Sketching Peaceful Hilltop Homes
Few things spark a sense of calm like picturing a cozy house perched on a peaceful hill, surrounded by gentle slopes, whispering trees, and maybe a winding path or two.
Imagine heading outside with your sketchbook, ready to capture this relaxing scene in your own sketches. Drawing a hilltop home is like giving yourself a mini-vacation, even if you’re sitting on your backyard steps!
Outdoor sketching lets artists practice perspective and play around with different pencil techniques—shading for cozy shadows, lines for gentle hills, and just enough detail to make the place feel real. Each sketch can be a story, waiting to unfold.
- Curving hillside with textured pencil strokes
- Tall, swaying trees hugging the house
- A narrow, winding dirt path
- Simple chimney with a wavy smoke trail
- Sunlit windows catching the light
Capturing Natural Landscape Details
Even before a single line meets the paper, the most important step in drawing a cozy house on a hill is noticing the little things that breathe life into the scenery.
Capturing natural terrain details means paying attention to the way chunky roof tiles catch the light, or how the hill gently rolls beneath wildflowers. When sketching a cozy house on a hill, use simple lines for the house—don’t worry about making every brick perfect!
Add trees, maybe a wiggly path, or even a mailbox just waiting for snail mail. Remember to add shading so the hill really looks steep or soft, depending on the view.
Observing real hills or photos helps you see how the house tucks into its surroundings—like it belongs there.
Observational Sketches of Wildflowers

Wildflowers might look simple at first, but observing and sketching them up close is a whole new adventure. When artists try observational sketches of wildflowers, they discover incredible patterns hiding right in the open.
By sitting in a patch of blooming color, pencils at the ready, artists can spot tiny details—the wavy edges of petals, crazy zigzag stems, or freckled leaves. Some flowers are shaped like stars, others more like trumpets saying, “Look at me!”
Sitting among wildflowers, sketchbook in hand, artists find hidden wonders—wavy petals, zigzag stems, and leaves sprinkled with freckles.
Using quick sketches keeps your page fresh and loose, while soft shading can even give your wildflower drawings that wow-factor.
Want to know what you’ll spot while sketching wildflowers? Imagine this:
- Petals in wild, surprising shapes
- Leaves with jagged or wavy edges
- Stems twisting and curling
- Delicate veins hiding in petals
- Tiny bugs landing for a visit
Creating Autumn Leaves in Pencil
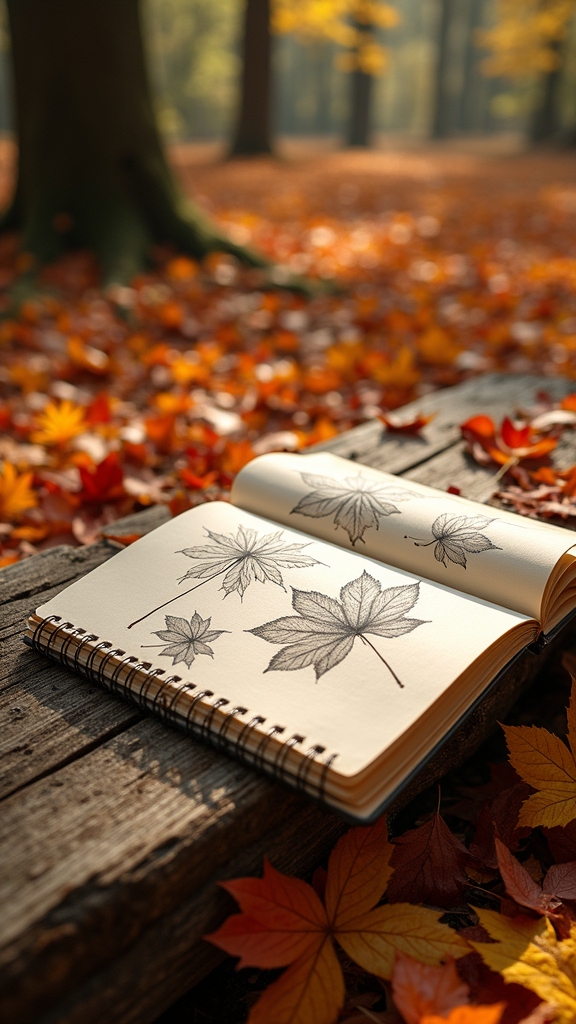
Sketching autumn leaves gets really cool when you start looking at those crazy vein patterns, almost like each leaf has its own map.
Trying to show the movement of a leaf falling—twisting, swirling, maybe refusing to land—makes the drawing pop, and honestly, it’s fun to mess around with different lines and shading to get that motion just right.
Grab a pencil, watch a real leaf in action, and see how wild and alive your artwork can get!
Sketching Leaf Vein Patterns
A handful of autumn leaves can turn anyone into a detective, searching for the hidden stories written in their veins. In the world of leaf sketches, every crinkle and line reveals a secret.
Observational drawing starts with picking the brightest, oddest, or even a slightly gnawed leaf—each one is different, ready to spill its mystery. Using a sharp pencil for the outline, artists can zoom in on those spiderwebby veins. Shine light through a leaf, and suddenly the pattern jumps out, more tangled than your old shoelaces.
By mixing soft pencils for thick veins and hard ones for crisp lines, the sketch comes alive with texture and shadow.
- Choose a variety of leaves
- Inspect vein patterns up close
- Outline leaf shapes before details
- Shade to show leaf texture
- Try different pencil types for contrast
Capturing Falling Leaf Movement
Once those leaf veins are mapped out, the real magic happens when leaves begin to tumble through the air.
Capturing falling leaf movement is a blast, especially if you love collecting Autumn Drawing Ideas. Observational drawing is your best friend here—watch how leaves twist and float down, sometimes like ballerinas with a dramatic flair (no tutus required).
Don’t just draw one! Try a quick series of sketches, showing leaves in different swoops and spins. Mix up your Art Drawings with bold pencil strokes for shadows, lighter marks for highlights, and remember, leaves aren’t perfect—they have scraggly edges and wild bends.
Bring in real leaves as reference for extra detail. Nature’s drama is tough to beat, so let those pencils fly!
Simple Forest Scene Drawings
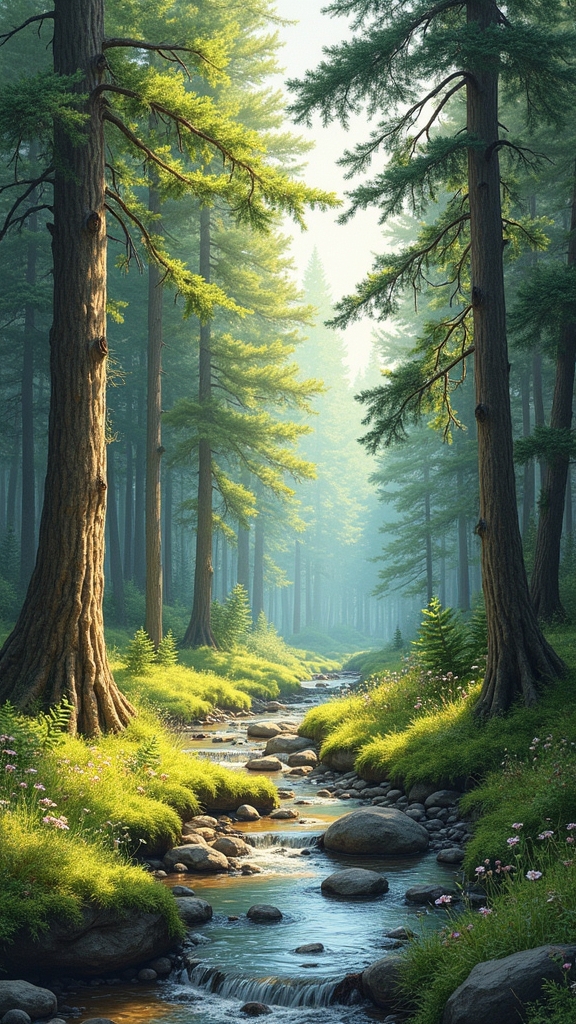
Even if the idea of drawing a whole forest seems intimidating, simple forest scene drawings can be a fantastic adventure for anyone, no matter their skill level.
Grab a pencil, open your sketchbook, and let your eyes wander across the woods—suddenly, every patch of sunlight, winding pathway, or bumpy tree trunk becomes an inspiration for sketches!
Starting small is the secret. Observing how trees twist, lean, and crowd together helps artists pick out the details that make a forest scene pop. Using shading, line depth, and different pencil strokes can instantly make trees look more real (or at least forest-y).
Try adding a winding trail or a tiny stream for extra magic. Here are five simple sketch ideas:
- Tall pine trees
- Curvy forest path
- Clusters of wild mushrooms
- Overhanging leafy branches
- Pebbly stream crossing
Quick Studies of Birds and Wildlife
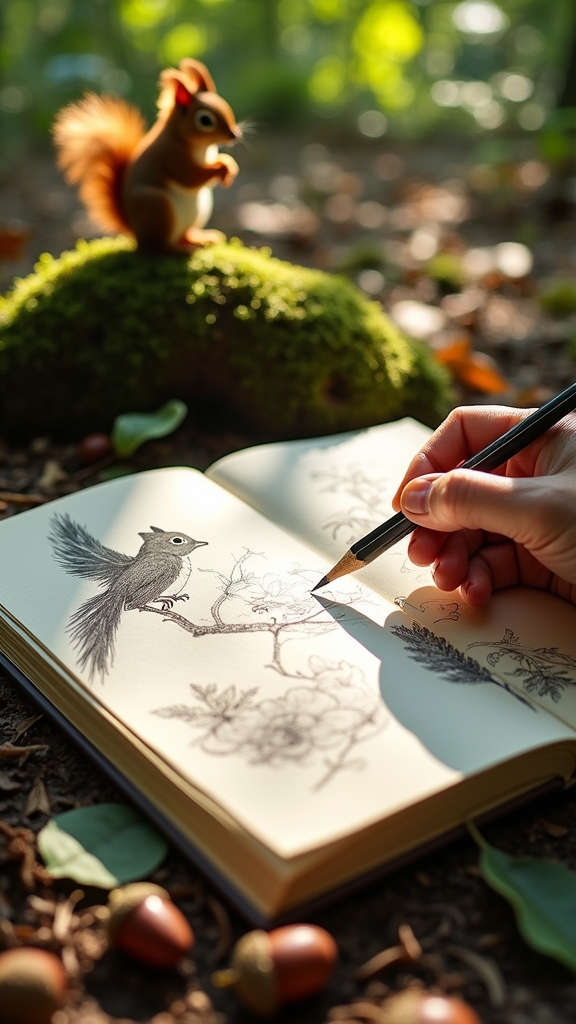
Sometimes, all it takes is a few fast pencil strokes to capture the wild energy of a bird darting across the sky or a squirrel frozen mid-hop. Quick studies are about grabbing those first impressions—no time to overthink or erase!
With a lightweight sketchbook in hand, artists focus on movement and the wild shapes animals make. These quick drawings are a secret weapon for building observational skills, letting you see cool details, like a bird’s wing curve or how a rabbit crouches.
Quick sketches in a light sketchbook help capture animal energy and sharpen your eye for details like wing curves and crouched poses.
Gesture drawing and contour lines make tricky forms easier, especially for beginners. Plus, trying out charcoal or even ink adds a fun twist.
Sketching wildlife isn’t just about art; it’s a wild adventure in paying attention—sneaky learning at its best!
Drawing a Peaceful Park Bench Under Trees
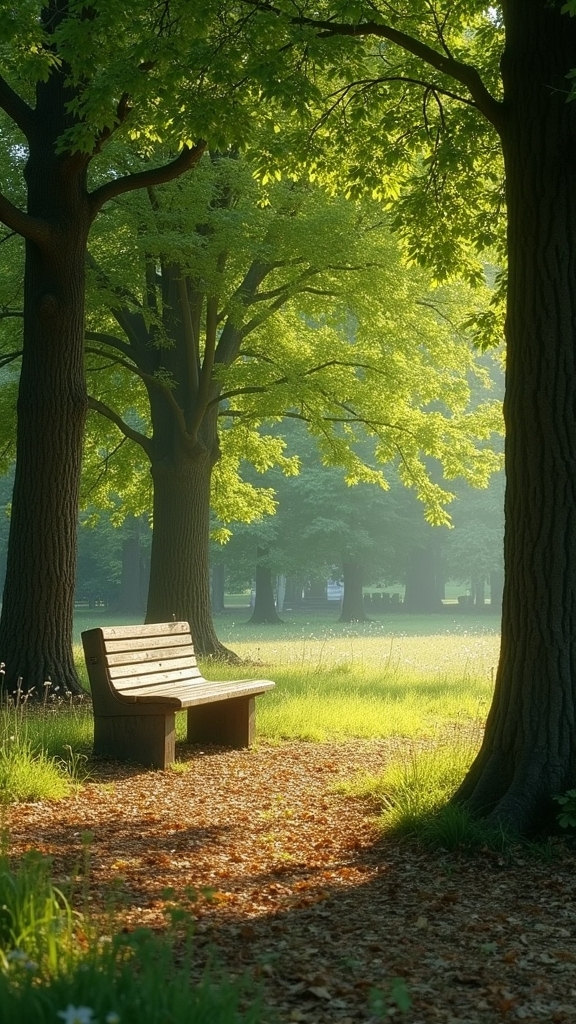
What’s more inviting than a quiet park bench shaded by trees, just waiting to be sketched? Imagine this: a cool breeze, dappled sunlight, and the gentle sound of leaves floating down—fall with this detailed, you can almost hear the crunch under your feet!
Sketching a peaceful park bench under trees means focusing on both the bench and its leafy guardians. Artists pay close attention to how shadows dance across the wooden slats, while the perspective gives depth to the whole scene. Observing the subtle ways nature frames the bench, beginners and seasoned artists alike get to practice their observational talents.
- Old, wooden park bench with curved armrests
- Tall trees with branches arching overhead
- A carpet of fallen leaves in orange and gold
- Dappled sunlight filtering through leaves
- Bushes and wildflowers scattered around
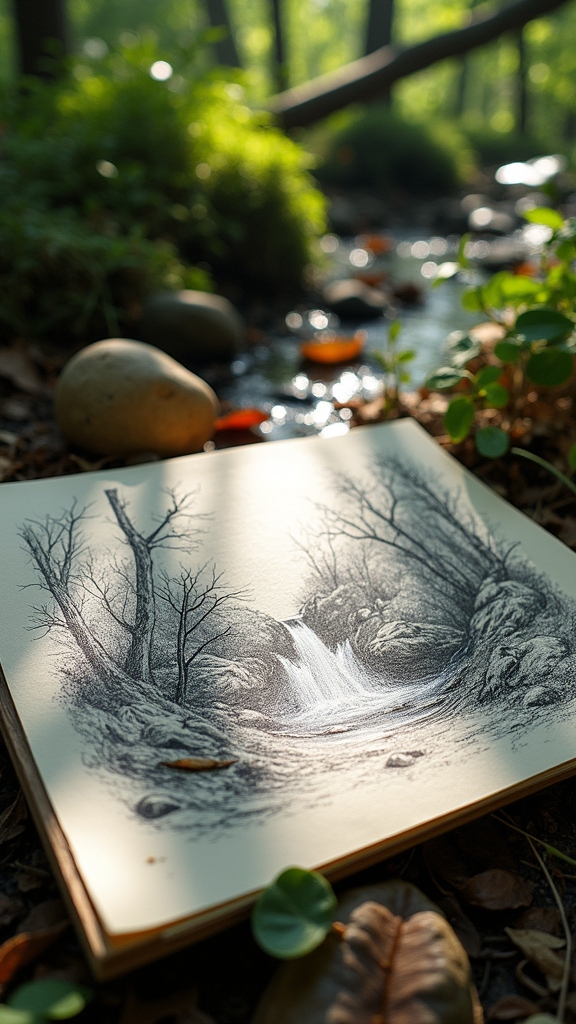
Illustrating a Flowing Mountain Stream
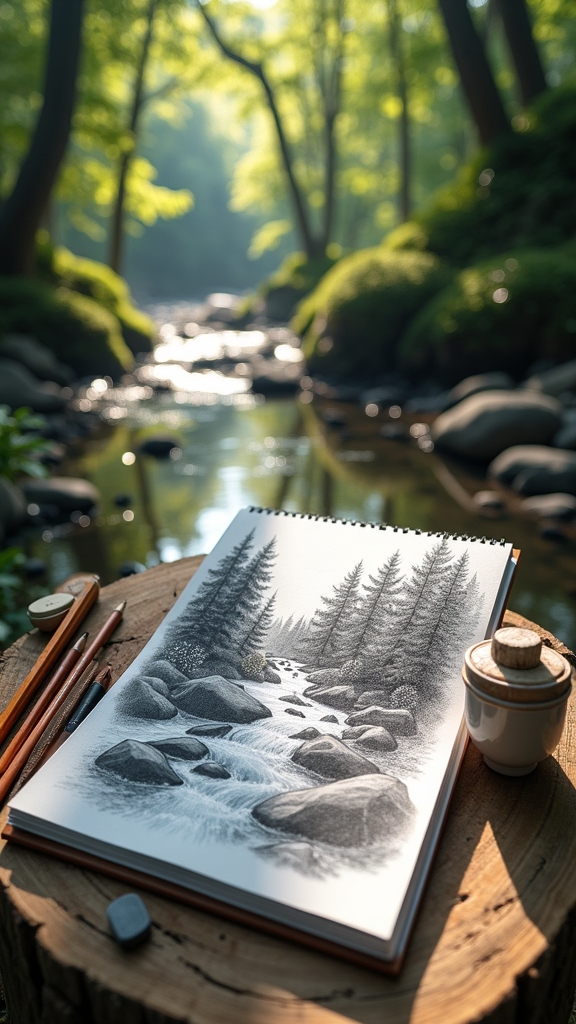
When an artist sets out to draw a flowing mountain stream, things can get wild pretty quickly—literally. Outdoor sketching here means chasing sunlight, dodging bugs, and following the snaky path of water as it dances around rocks and under fallen branches. Capturing flowing water takes some tricks: fine lines will help with splash and sparkle, while heavy shading creates richer, moodier shadows. Show off those highlights, too! Pencil grades matter—use softer leads for deep shadows, and harder pencils for crisp details. Pay attention to reflections and the way light bounces on the stream’s surface. The surrounding trees, rocks, and even the occasional duck, make your drawing come to life.
| Scene Element | How to Sketch It |
|---|---|
| Sparkling Water | Quick, broken lines; soft blend |
| Rugged Rocks | Sharp edges, dark shading |
| Breezy Trees | Light, wavy strokes for leaves |
Easy Outdoor Campfire and Tent Sketches

After an artist tackles the swirling chaos of a mountain stream, there’s something irresistibly cozy about sketching the simple joys of campfire nights and sturdy tents pitched under the stars.
Easy fall drawings often highlight outdoor campfires, capturing those wobbly flames and chunky logs with just a few pencil strokes. Beginners love these subjects—not just because they’re simple, but because they ooze warmth and adventure.
Plus, tents have that satisfying triangle shape, making them a cinch to draw, especially with a bit of shading to show the fabric’s folds. Imagine a sketchbook filled with glowing campfires and peaceful tents, all nestled under twinkling cotton-candy skies.
- Logs stacked around a crackling fire
- Smoky wisps wafting into dusk
- Triangle tents surrounded by leafy trees
- Soft stars and a crescent moon overhead
- Camp mugs resting by the glowing coals
Black and White Evergreen Tree Studies
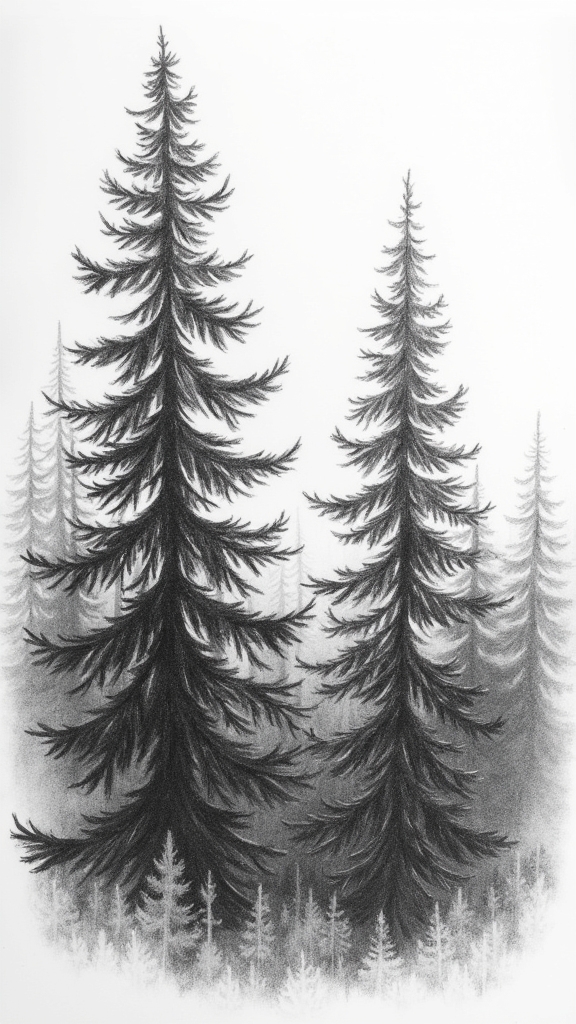
There’s something wildly satisfying about turning a blank page into a forest of spiky evergreen trees using only a pencil’s black-and-white magic.
With sketching, artists can focus on tiny details—like the sharp needles and twisty branches—without worrying about color. It’s like detective work, getting each pine, spruce, or fir to stand out with its own personality.
Sketching evergreens is a bit like detective work—each needle and branch reveals the unique character of every tree.
Shading tricks like cross-hatching or stippling help add shadows and depth, making the trees pop right off the page. Plus, because evergreens are around all year, there’s always an excuse to head outside and draw.
Adding nearby rocks or shadowy forest floors gives the whole scene extra drama. Pencil sketching evergreens isn’t just fun—it’s a creative way to explore the outdoors, even on paper!
Blending Clouds and Sky With Pencil

Although drawing clouds and sky with just a pencil might sound impossible, it’s actually an awesome way to make a drawing feel alive and full of energy.
Artists working on blending clouds into their sky drawings often start with a soft graphite pencil, moving lightly at first. They use circular scribbles to mimic clouds, then gently blur them with a finger or blending stump.
Looking at real skies is super helpful—nature serves up the best blueprints! Light, feathery marks make wispy clouds, but a bit more pressure helps form thick, dramatic cloud shapes.
Creating believable skies is all about patience and building layers. Here’s how artists make their clouds pop:
- Start with a soft pencil for gradient backgrounds
- Use circular strokes for fluffy textures
- Blend edges for softness
- Observe real skies for accurate shading
- Layer pencil marks for extra depth
Combining Natural Elements Into a Scenic Landscape
When it comes to drawing a scenic view with just a pencil, it’s almost like building a dream world out of simple lines and shades. In scenery drawing, the real magic starts when you mix the coolest parts of the natural world—think jagged mountains, rippling streams, and tall trees—all in one sketch.
Plenty of beginners jump right into mountain scenes, which are super popular for video tutorials and easy to customize. Adding a tiny house on a hilltop, or even a lonely park bench, gives your scene personality, like it’s waiting for its own story.
Try switching seasons—draw autumn leaves or frosty lakes for a fresh twist. Observing real life outside helps too, revealing spontaneous details you just can’t invent from memory.
Frequently Asked Questions
What Can I Draw for Nature?
When considering what to draw for nature, individuals often choose scenery sketches, capturing paths, hills, or forests. Alternatively, animal portraits—depicting birds, wildlife, or pets—allow for detailed observation and creative expression inspired by the natural world.
What Can I Draw in 5 Minutes?
When facing the question of what to draw in five minutes, one might consider quick sketches featuring simple shapes. Focusing on basic outlines, such as leaves or flowers, enables effective use of limited time and enhances observational skills.
What Can I Draw Outside?
When considering what to draw outside, one might choose quick scenery sketches capturing nearby views or engage in wildlife studies by observing birds or small animals, offering opportunities to practice artistic techniques while immersed in a natural setting.
What Can an 11 Year Old Draw?
For the current question, an 11-year-old may enjoy creating nature sketches, such as drawing trees, leaves, or simple scenes. Wildlife illustrations—like birds and small animals—also offer engaging subjects that foster observation and creative growth.
Conclusion
So, with just a pencil and a sketchbook, anyone can turn a regular day outside into an art adventure. Whether it’s drawing bumpy tree bark or magical clouds, the ideas here make exploring nature even more fun. Mistakes? Totally normal. In fact, that’s how new styles happen! So, roll up those sleeves, head outdoors, and see what amazing scenes jump onto the page. Who knows—maybe even a squirrel will come admire the masterpiece.
Leave a Reply