
Beginners can jump into pencil art with easy projects like doodling fruit, sketching flowers, drawing trees, and trying out birds or butterflies. Faces are fun too—especially eyes, with their cool shadows and details. More playful ideas include making mandala patterns, frosting a cupcake (on paper, sadly), or designing funky lamps. Each project teaches new tricks, like shaping, shading, or playing with lines, and they’re perfect for smaller art adventures. For even cooler pencil projects, keep going!
Key Takeaways
- Start with drawing simple fruits and flowers to practice basic shapes, shading, and textures using easy still life arrangements.
- Sketch trees and birds using basic shapes; observe real references for accurate textures, branches, feathers, and varied poses.
- Practice drawing butterfly wings and eyes for learning patterns, symmetry, shading, and detailed realism in small areas.
- Break faces into simple sections; focus on facial features, expressions, and shading for capturing realistic human emotions.
- Create mandala patterns, cupcakes, or lamps using geometric shapes and experiment with shading and decorative details to build both skill and creativity.
Drawing Fruit

Fruit makes a surprisingly awesome subject when starting out with pencil art, especially for beginners who want to practice without feeling overwhelmed. Think about it: apples, bananas, maybe even a lumpy orange—they’re all perfect models just chilling in your kitchen.
Drawing techniques come alive here, whether practicing basic shapes or adding some dramatic shadows. Still life with fruit isn’t just about bowls on tables; it’s about seeing how light bounces off a shiny apple or how a banana’s peel curves.
Beginners find fruit friendly, since you don’t need fancy supplies or endless patience. Highlights and shading give depth and make your sketches pop. Plus, video tutorials help guide your pencil, so learning feels interactive, not intimidating.
Fruit really does make drawing more fun!
Sketching Flowers
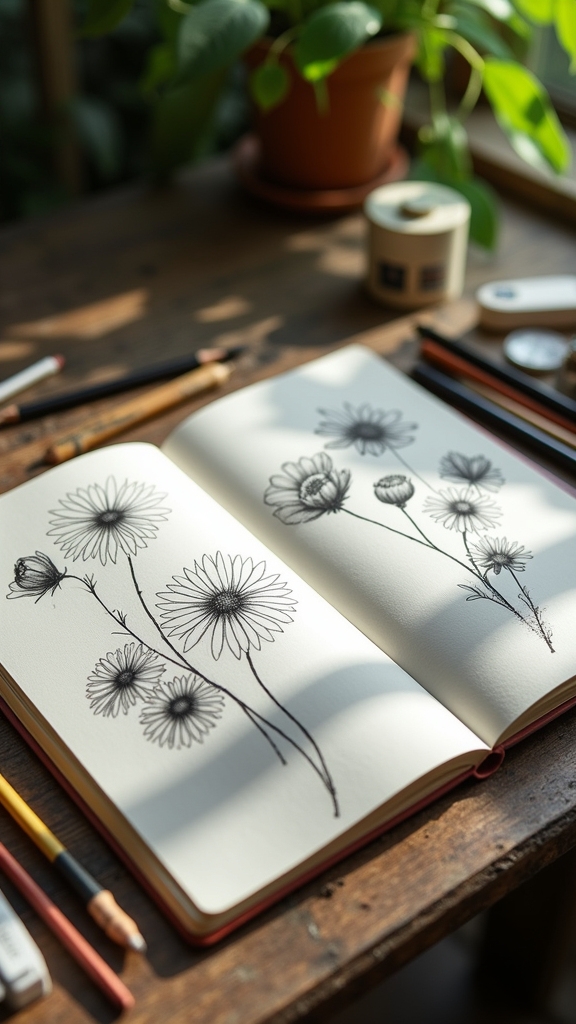
After sketching all those apples and bananas, it’s time to switch things up and head into the garden—because flowers seriously know how to steal the spotlight.
Drawing flowers lets anyone experiment with new shapes, like the round heads of daisies or the sleek petals of tulips. Start by breaking each bloom down into basic shapes—think circles, ovals, and wavy lines.
Don’t stress if your petals are a bit lopsided! Those “oops” moments might actually make your drawing cooler and help you improve your drawing skills. Paying attention to details, like how the petals overlap or how leaves twist, will boost your confidence and add realism.
Use real flowers or photos for references, so you capture all those amazing textures and patterns nature shows off.
Drawing Trees

Trees are more than just leafy blobs on a page—they have wild branches, twisty trunks, and bark that can look as gnarly as a monster’s skin.
When beginners look closely at tree structures, they start to notice how each branch does its own thing, almost like trees are striking a pose.
Capturing the rough, bumpy texture of bark with a pencil can actually be really fun, and it makes trees pop right off the paper!
Exploring Tree Structures
Imagine holding a pencil and suddenly feeling like an explorer, setting off into a wild forest—except the adventure unfolds right on the page. Drawing trees lets beginners really plunge into organic shapes, learning how branches twist or leaves clump together. The basics? Pay attention to structure—the trunk, the branches, even the way tiny twigs split off. Notice how light and shadow play across a conifer’s needles versus a leafy deciduous crown. Want to see the differences? Check out the table below to compare key features:
| Tree Type | Common Features |
|---|---|
| Deciduous | Broad leaves, thick limbs |
| Coniferous | Needles, slender trunks |
| Bare Winter | Visible branches, angles |
| Autumn Foliate | Layered leaves, shadows |
Seasonal details offer endless possibilities—each bringing its own story.
Capturing Bark Textures
Bark—it’s like a tree’s very own fingerprint, full of gritty lines, cracks, and wild little patterns that beg to be drawn.
When someone grabs their drawing pencils, the fun begins with a light sketch of the trunk’s shape. This outline is just the skeleton—bringing real detail comes later with short, snappy strokes, zigzagging and curving to echo the wild grooves you see on actual trees.
To give the bark some wow-factor, it helps to experiment with hatching and cross-hatching for cool shadows and surprising highlights. Even an eraser gets to join the action, picking out those rare spots where sunlight gleams on bark.
Anyone wanting pro-level bark should check out photos, or better yet, stare at a real tree, up-close and personal.
Creating Bird Sketches
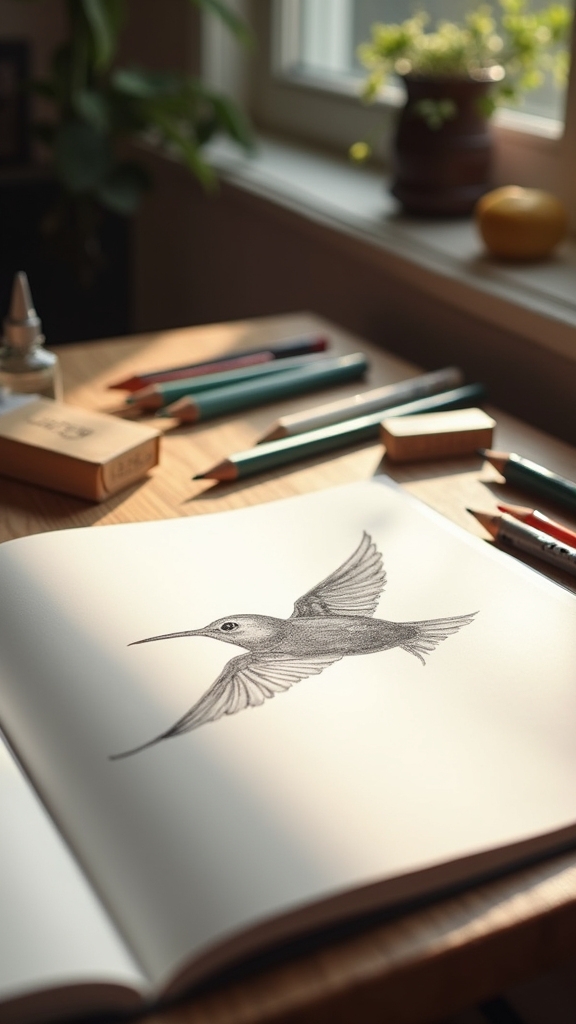
When starting a bird sketch, it helps to break their bodies into easy shapes like circles and ovals—think of it as building a feathered robot before adding the bird’s real charm.
Simple step-by-step techniques make tricky parts, like beaks and wings, way less intimidating and actually pretty fun to figure out.
With a little practice, anyone can bring their favorite bird to life on paper, sometimes with a goofy smirk or a majestic pose!
Breaking Down Bird Shapes
Bird sketches might look super complicated at first, but don’t freak out—breaking the shapes down makes things way easier. Start by seeing birds as a bunch of simple bird shapes, like ovals and triangles, stacked together. This helps nail down the body, wings, and tail in the right spots.
Checking out reference images is a huge help, too. Look for key anatomical features like beak size or how the feathers line up—those little details make your sketch stand out! Don’t worry about getting it perfect the first time.
Here are three quick tips to keep in mind:
- Use ovals and triangles to block out the main forms.
- Study real birds to spot unique anatomical features.
- Practice drawing birds in different poses for variety!
Simple Step-by-Step Techniques
Jump right in—sketching a bird might seem tricky, but breaking it down step by step totally takes the pressure off.
When starting a pencil drawing, begin by mapping out the basic shapes: ovals for the body, triangles for the tail and beak. It’s like building a weird little snowman with extra points and wings. Don’t rush—use light, sketchy strokes so you can tweak the shapes if the bird’s proportions look more like a bowling pin than a robin.
Check reference images so you notice your chosen bird’s special features—maybe it’s a long tail or a chunky beak.
Once you’re happy, trace your final lines in darker pencil. Shade under wings and around the belly to add depth, bringing your step by step bird sketch to life!
Drawing Butterflies

Every butterfly drawing starts off surprisingly simple—just a handful of basic shapes, almost like doodling puzzle pieces on the page.
First, sketch the butterfly’s body and wings using ovals and curves—don’t worry if it looks funky at first.
Next, let your imagination soar with the wing patterns. Stripes, dots, zigzags? Totally up to you! Butterfly wings are like nature’s coloring books, so feel free to experiment with colors, whether colored pencils or watercolors are your thing.
Add shading to the wings for that wow factor—think about where light might hit and where there would be shadow. You can even toss in a flower or a leaf for a cool backdrop to your art piece.
- Break the butterfly into basic shapes
- Add imaginative patterns and color
- Include extra details like flowers for flair
Practicing With Eyes
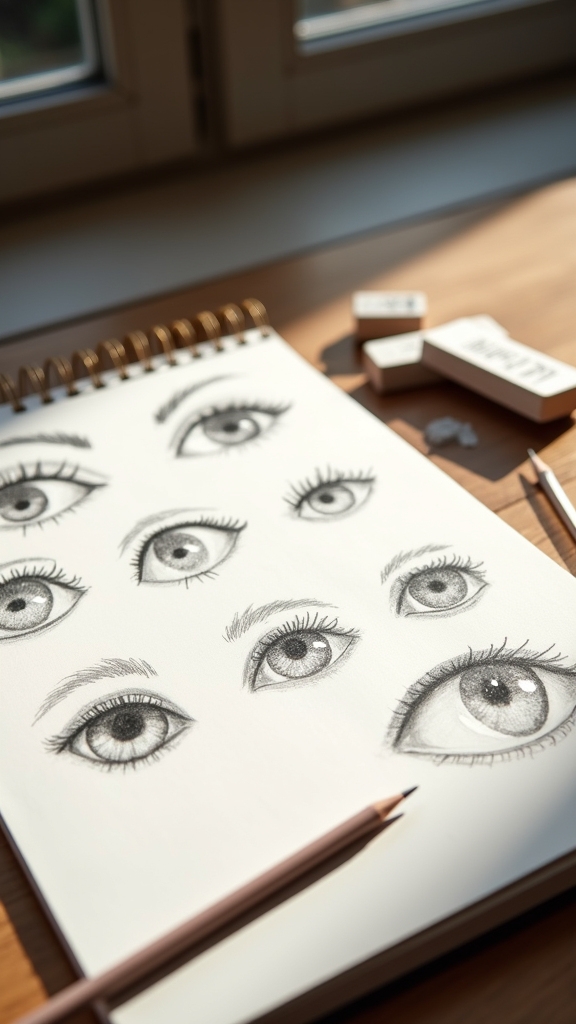
Eyes might seem tricky at first, but getting the shape right, knowing where the eyelid sits, and nailing those tiny details like lashes is actually pretty fun—plus, it makes your drawings pop.
Shading them is where the real magic happens; with a little pressure here and a smudge there, suddenly the eye looks alive, almost like it could blink back at you.
Watching a few video tutorials and practicing different eye shapes can turn you into an eye-drawing pro faster than you’d think (no staring contests required).
Mastering Eye Anatomy
Staring into someone’s eyes can feel powerful, and drawing them is just as exciting—and tricky! Eyes have so much detail and personality, and they really make your work come alive.
Mastering eye anatomy starts with breaking down each part: the pupil, iris, eyelid, and even those wild little lashes. Spend time on each component, studying reference images or even your own eyes in the mirror.
Notice how eyes are all sorts of shapes and sizes? Drawing them from different angles helps you get even better! The more you practice, the more secrets the eyes reveal.
- Focus on drawing each eye part separately for strong detail.
- Try copying eyes from photos to learn about colors and textures.
- Mix up the eye shapes and positions to stretch your drawing skills.
Shading for Realism
Shadow and light—that’s where the magic happens in bringing a drawn eye to life. If you’re learning how to draw and want your eyes to look ultra-realistic, shading for realism is key.
Study a real eye: notice how the pupil is often the darkest, while the iris has all sorts of lines and shadows dancing around. Hard pencils (H) work well for crisp details, but you’ll want those soft B pencils for juicy shadows under the eyelid and behind the lashes.
Smart artists layer their graphite, starting light and pressing harder where it’s darkest. Don’t forget, tiny highlights—left white or erased—really make the eye pop, like it’s actually wet!
Grab some photos and practice; every messy attempt is one step closer to eye-drawing wizardry.
Capturing Expressive Details
There’s a whole universe hiding in just one eye—seriously, artists have spent lifetimes getting those tiny details right!
When it comes to drawing eyes, capturing expressive details is what sets an okay sketch apart from a wow-worthy portrait. Each part matters: pupils, irises, eyelids, and those wild little lashes. By paying attention to highlights and shadows, artists can give their eyes real depth, like they’re about to blink or cry or maybe just roll at your jokes.
Want to get better fast? Try these tips:
- Begin with basic shapes, then slowly add texture and details for more realism.
- Study reference images to notice different eye shapes and expressions.
- Practice drawing eyes from all kinds of angles and emotions—surprised, sleepy, mischievous!
Drawing Faces

Faces—those fascinating puzzles of eyes, noses, and mouths—are one of the coolest things to draw, but also one of the trickiest. Beginners often get stuck, but breaking the face into sections works like a cheat code.
Slice it up: forehead at the top, eyes in the middle, nose below, and mouth near the bottom. Suddenly, it’s not so scary!
Practice tons of different facial expressions, grins, scowls, bug-eyed surprise—it helps you understand how a face moves. When you zoom in on details like the curve of the lips or the tilt of the eyes, you’re on your way to nailing realistic facial features.
Shading adds depth, while exploring different face shapes opens up a whole world of personalities to sketch.
Making Mandala Patterns
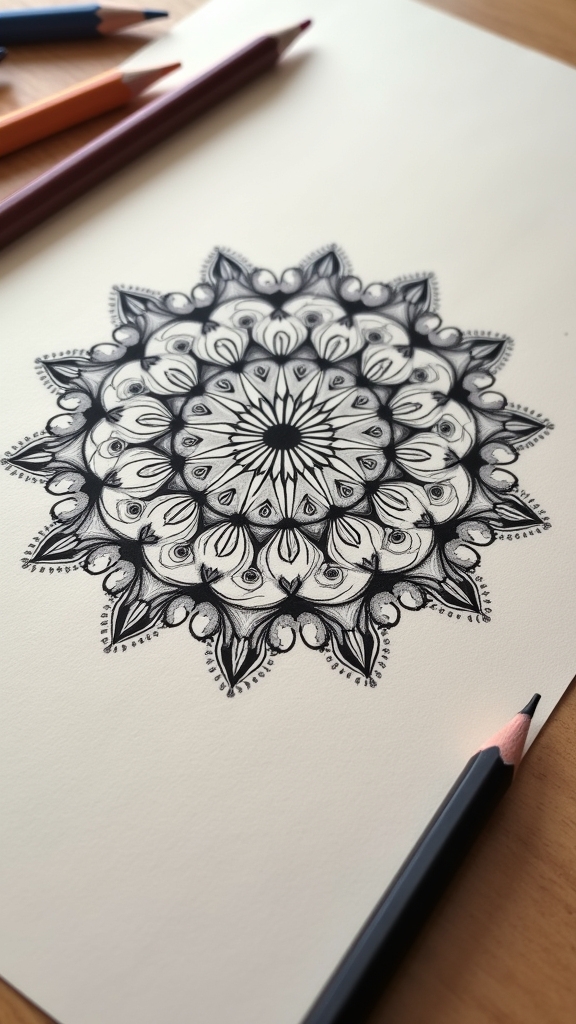
Plunge into the mesmerizing world of mandala patterns, and it’s almost impossible not to get hooked. With just a pencil, a sheet of paper, and maybe a compass (trusty sidekick alert!), anyone can start crafting these hypnotic circular designs.
Mandalas are pretty much the superheroes of symmetry, with loads of geometric shapes and plenty of room for drawing flowers and other tiny details. Even if lines wobble or a circle goes lopsided, it doesn’t matter—mandalas are about focus and chill, not perfection.
For extra fun, add some splashy colors when you’re done, or check out online tutorials for wild mandala inspiration.
- Start by sketching a big circle with a compass.
- Add patterns—try drawing flowers or zigzags.
- Color the finished mandala using colored pencils.
Drawing Cupcakes

Cupcakes might just be the ultimate treat to draw—one part cake, one part mountain of frosting, and all kinds of decorative chaos waiting to happen.
When looking for drawing ideas, cupcakes stand out because they start with simple shapes. Sketch a rounded top, then add a base that’s just a bit wider. That’s your cupcake foundation!
Try wild frosting styles—swirly, spiky, or piled high like a snowy mountain. Don’t forget sprinkles, cherries, even a few candy stars; use tiny circles and dots for these.
Shading is key: darken the creases in the wrapper and add lighter touches on the frosting so everything looks three-dimensional and super tasty.
Top it off with a plate or background, and you’ve got a true bakery masterpiece!
Sketching Lamps
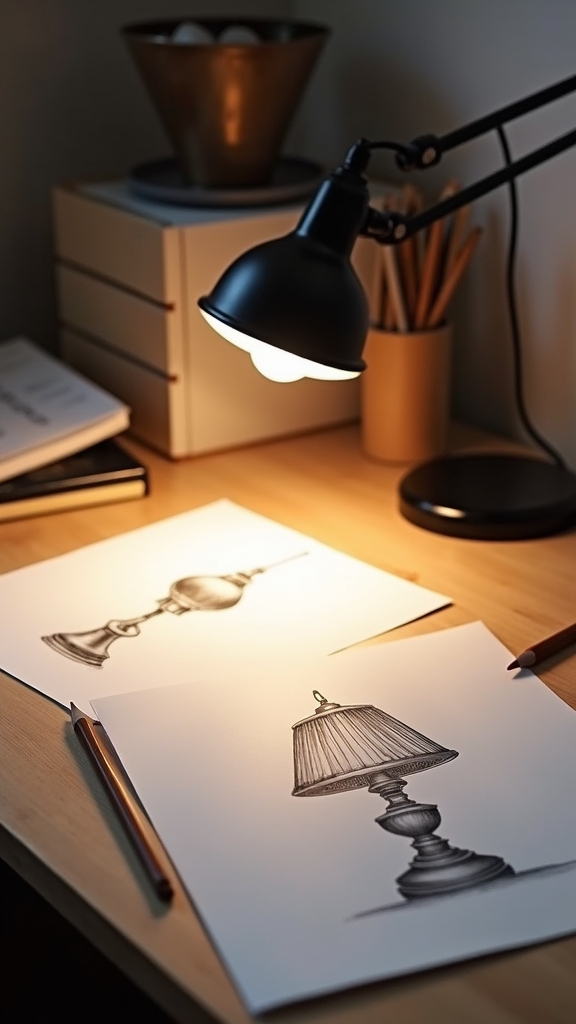
After drawing a sweet treat like a cupcake, it’s fun to switch gears and tackle something totally different—like lamps!
Sketching lamps gives you a cool chance to focus on shapes and structure, from tall, skinny floor lamps to chunky table lamps. It all starts with breaking the lamp down into simple geometric shapes: a cylinder for the base, maybe a cone for the shade, and throw in a few fun decorative bits.
Add some shading, and suddenly your sketch starts to glow! Don’t forget to peek at reference images for things like fancy patterns or shiny brass finishes. If you feel bold, draw some light spilling out or even a book beside it!
- Pick three lamp styles to sketch.
- Simplify each lamp into basic shapes.
- Add shading for depth and style.
Frequently Asked Questions
What Shall I Draw Today With a Pencil?
When considering what to draw today with a pencil, one might select nature sketches, such as trees or flowers, or attempt simple portraits to practice shapes and shading, each offering valuable opportunities to develop foundational drawing skills.
What Is the Easiest Art to Start With?
The easiest art to start with typically involves simple subjects like fruit or geometric shapes. Beginners can practice basic techniques using accessible drawing tools, focusing on developing foundational skills in form, shading, and proportion without overwhelming complexity.
How Good Should a 12 Year Old Be at Drawing?
Drawing skills at age twelve vary widely. Typical age expectations include an ability to render basic shapes, objects, and simple shading. Improvement depends on individual practice, instruction, and interest, allowing some to develop more advanced, recognizable artwork.
What Can I Draw in 5 Minutes?
When considering quick sketching, a person can efficiently use five minutes to draw simple objects, eyes, butterflies, trees, or mandalas. This approach helps improve time management skills while focusing on shapes, shading, details, and creative patterns.
Conclusion
So, with some paper, a trusty pencil, and these simple ideas, anyone can kick off their pencil art journey. Whether it’s cupcakes with wobbly sprinkles or a face that looks like your pet, everyone starts somewhere—and messy is totally fine. Try one project or try them all, and remember, every line you make is progress. Who knows? Maybe your sketch will wow your friends or end up on the fridge. Grab that pencil and get doodling!
Leave a Reply