
Anyone looking for simple pencil art can have a blast sketching things like a cartoon pencil with a silly grin, a smiling sun, or a cat curled up for a nap. Flowers with cool wavy petals, a playful balloon soaring by fluffy clouds, or a leafy tree trunk all make easy projects. Even beginners can turn an ice cream cone, a friendly whale, or a plump owl into cute, funny characters. Want a few more doodle ideas and quick tips? You’re in the right place!
Key Takeaways
- Start with easy shapes like cubes or balloons to practice basic outlines and simple shading.
- Draw playful characters such as a cartoon pencil or smiling sun for fun, beginner-friendly projects.
- Explore nature-themed sketches like simple flowers, trees, or a sleeping cat using curved lines and minimal details.
- Use basic shading techniques and control pencil pressure to add depth and dimension to drawings.
- Personalize each drawing with creative touches, like funny faces or whimsical accessories, to boost creativity and engagement.
Cartoon Pencil With a Funny Face

A cartoon pencil with a funny face can turn an ordinary drawing into a burst of personality and laughter.
To start this fun drawing, make the body by pulling a line downwards from the top left, flaring it out to get that classic, stubby pencil shape. The sharpened tip pops up with a sharp, curved letter V.
Now, here’s the best part—give it a goofy cartoon face! Draw giant eyes that shine, throw in a huge, silly smile, maybe add some chompers or a squiggly tongue for extra giggles.
Spice it up with parallel lines and curves for the metal band. Grab your Art Supplies—markers or colored pencils—and make that face pop!
Personalize the scene with a desk or a wobbly notebook underneath.
Smiling Sun With Radiating Rays
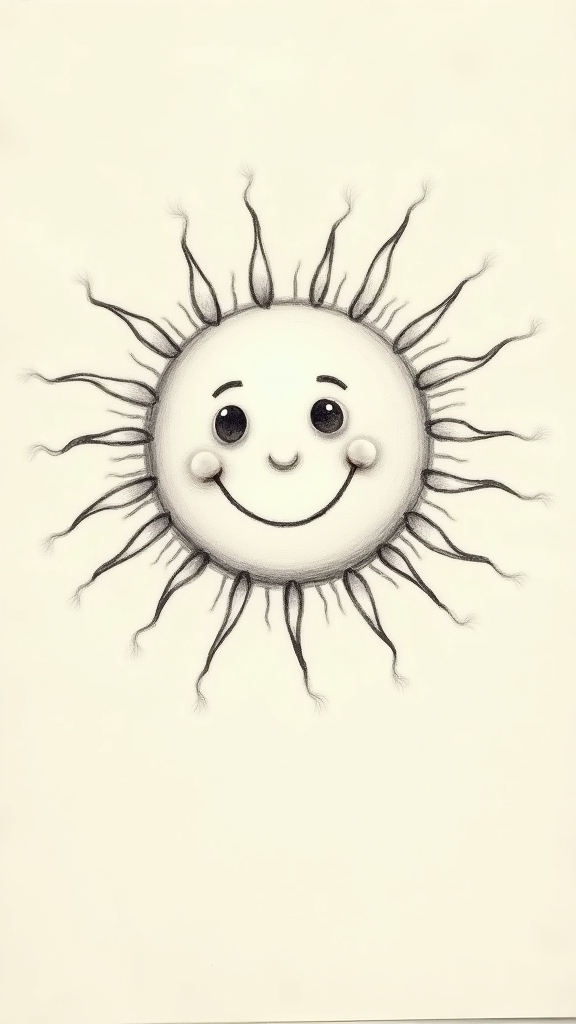
Sunshine blasts onto the page with the “Smiling Sun With Radiating Rays”—a drawing guaranteed to brighten anyone’s mood faster than you can say “summer vacation.”
To get started, imagine a big, happy sun just chilling in the sky. Draw a large circle for the face, but don’t forget to leave a little bit of space for those awesome features—a massive grin and friendly eyes.
Next, crank up the energy by sketching radiating rays using lines of different lengths. The sun’s got personality too! Add a couple of rosy cheeks, and, if you’re feeling wild, throw in sunglasses or maybe a funky hat.
Shade with yellows and oranges for that full-blast sunny vibe. With each detail, that cheerful sun only gets brighter and more fun.
Simple Flower With Curved Petals

After basking in the cheerful glow of that grinning sun, it’s time to let some flowers bloom on the page.
Drawing a simple flower with curved petals is easy—just start by sketching a small circle in the middle for the flower core. This is where all the action begins!
Next, use flower petal techniques by drawing curved lines outward, one at a time, creating balanced petal shapes that stretch evenly around the circle. Don’t sweat the symmetry too much, but try your best for that natural look.
Add a thicker outline around each petal to really make them pop and look extra curvy. Spice things up by decorating the petals with lines or dots for texture, then add a quick stem or leaves.
Easy Sleeping Cat Outline
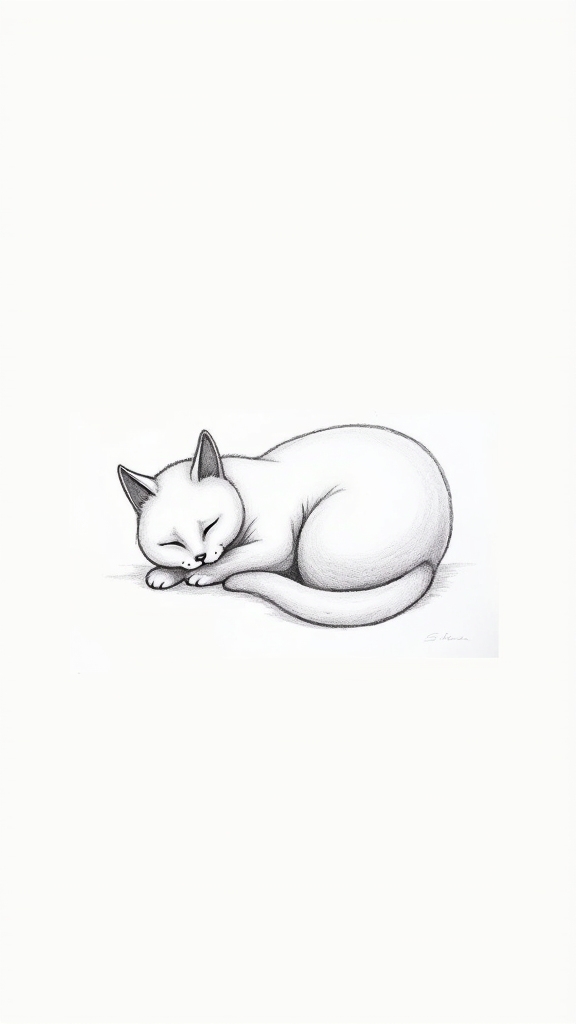
Cozy vibes truly take over when it’s time to draw a sleeping cat, all curled up and peaceful. Starting with a smooth, relaxed feline outline makes this sleeping cat sketch easy and super comforting to work on. Begin by outlining the fluffy body, using curved lines to capture just how snug the cat looks. Next, gently add a rounded head with a little tilt because, let’s be honest, it’s napping like royalty. The ears? Make them triangle-shaped but keep them a bit floppy—no alert kitties here! Draw the legs all tucked in, and don’t forget to curl the tail around to complete your cozy cat drawing. Here’s a quick guide below:
| Step | Shape Used | Artistic Tip |
|---|---|---|
| Body Outline | Curve | Keep lines fluid |
| Head | Oval | Add a gentle tilt |
| Ears | Triangle | Make them slightly bent |
| Legs | Curved | Tuck tightly under body |
| Tail | Snake-like | Curl around for coziness |
Playful Balloon Floating in the Sky

Drawing a cartoon balloon floating high isn’t just fun, it’s a chance to make your art look full of life—start with a plump balloon shape and a twisty string swaying below.
To make things even more whimsical, sneak in a few playful clouds around it, maybe with a surprise smiley face or a swirl drifting by.
With these details, your sky scene really starts to feel like it could drift right off the page!
Drawing a Cartoon Balloon
Bright balloons have a way of lifting everyone’s mood, especially when it comes to drawing them with a fun, cartoon twist. To start a cartoon balloon, artists sketch a big, rounded oval or circle—think of your favorite type of candy!
Leaving a bit of space below, they add a knot using a tiny triangle or curvy shape at the top. The real excitement comes with balloon character expressions. Big cartoon eyes and a wide grin give the balloon plenty of personality, making it look like it might giggle off the page.
Balloon color choices really matter, too—go wild with bright reds, cheerful yellows, or electric blues. For balloon string variations, artists can draw swirly, zigzag, or wobbly lines for an extra playful finish.
Adding Whimsical Cloud Details
A handful of big, puffy clouds can turn any ordinary sky into a scene that feels almost magical, especially when there’s a playful balloon floating right in the middle of it all.
It starts with sketching cloud shapes using curved lines—don’t worry if they overlap or look a little wonky, that just adds character. For playful details, mix it up; draw some clouds thick and chunky, others stretched out like mashed potatoes.
Now, pop in a balloon: make it round, attach a wavy string, and let it hover among the clouds. Want more magic? Add sparkles or tiny birds darting around your scene.
These simple touches create an imaginative environment that feels fun and alive—almost like somewhere a story might begin.
Quick Cartoon Puppy Sitting
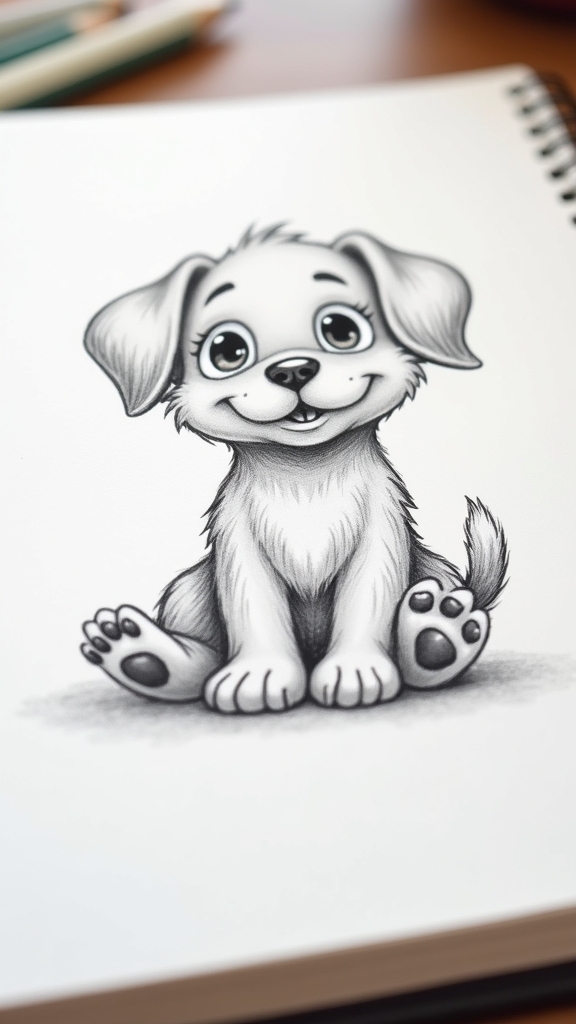
Cutest thing ever alert: a quick cartoon puppy sitting is a must-try project for anyone who loves dogs or just wants to draw something that instantly makes people smile. To start, sketch a large circle for the puppy’s head, then add two floppy cartoon ear shapes on top—extra points if they’re mismatched for extra silliness. Draw in those wide, expressive eye designs and a small oval nose. Want your pup grinning or sticking its tongue out? Go wild! Underneath, a plump body with cute, chunky legs completes the playful pose. Add a collar, a spot here or there—maybe make it polka-dotted. For final touches, explore fun puppy color choices and shade subtly for depth.
| Favorite Part | How To Personalize |
|---|---|
| Eyes | Try sparkling highlights |
| Ears | Mix up floppy or pointy |
| Fur Patterns | Add patches or spots |
Classic Rocket Ship Launching

After sketching that adorable puppy, it’s time for something totally out of this world—a classic rocket ship blasting off.
Get ready to plunge into some rocket design tips! Start with a tall rocket body, giving it a pointed nose cone and making the base a bit wider for that streamlined, retro vibe.
Draw bold triangular fins near the bottom, and boom—your ship’s looking ready for orbit. Don’t forget those wavy flame lines at the base to capture all the launch sequence excitement!
Add portholes for astronauts (or aliens, no judgment), and maybe a stripe or two to boost those space adventure themes.
Once the lines are finished, amp things up with bright colors and a sky full of clouds or stars, blasting your drawing into cosmic awesomeness.
Shaded Three-Dimensional Cube
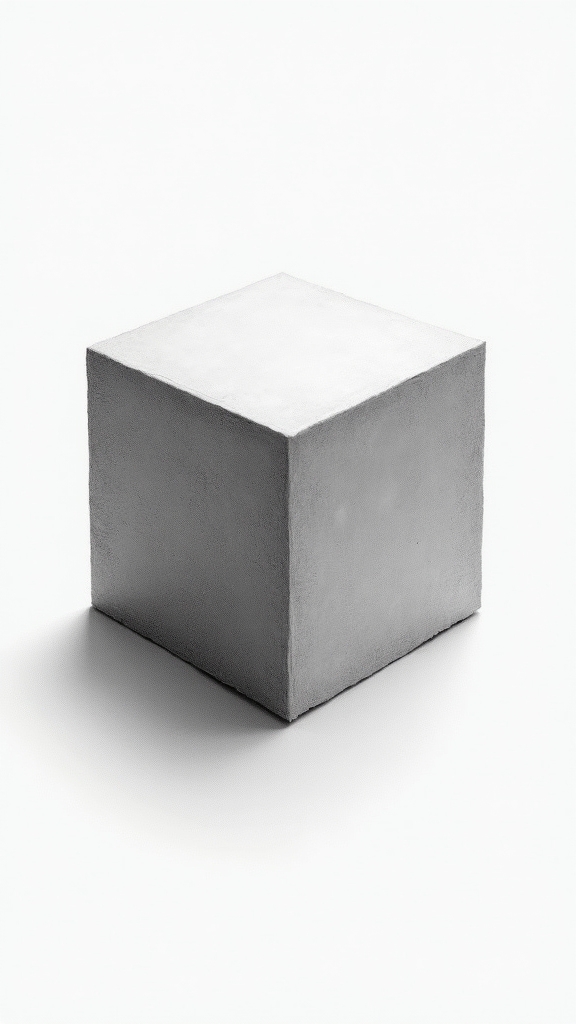
Now it’s time to make some cube magic happen!
First, sketch out the basic cube outline with confident lines, then start giving it that wow factor by adding realistic shading.
With careful shadows and a bit of pencil wizardry, even a simple cube suddenly pops off the page, looking like you could pluck it right up—just watch out, it’s pointy!
Drawing Basic Cube Outline
Launching into the world of 3D drawing, the classic cube is where the real magic begins! Anyone enthusiastic to master cube drawing techniques will find this project a fun and eye-opening challenge.
It doesn’t require any fancy tools, just a pencil, eraser, and some paper—plus a little imagination. The cube’s straight lines and sharp corners are perfect for learning about three dimensional effects and experimenting with shading tips as you go.
To build your basic cube outline, try these four steps:
- Draw a neat square—this is your cube’s front face.
- From each corner, draw lines slanting backward at the same angle.
- Connect those angled lines to form the cube’s back face.
- Lightly shade one side for instant depth—voilà, your cube pops!
Adding Realistic Shading
With the basic cube outline in place, this is where art starts to feel like a kind of magic trick. Suddenly, a flat shape turns solid—just by using some classic shading techniques!
First, artists decide where their light source is. Is it the sun? A lamp? That’s key, because it tells you which cube sides stay bright and which get those cool, moody shadows.
Hard pencils, like 2H or H, make lighter areas, while softer pencil grades, like 2B or 4B, lay down bold, dark tones. Blending tools—maybe a stump, maybe just a handy finger—smooth things out, making the gradients look real.
Darker shading along the cube’s edges amps up the illusion, and careful pressure control keeps everything looking natural. Magic, right?
Creating Depth and Dimension
Ever wonder how a simple cube drawing can actually pop off the page and look like it weighs a ton? The secret lies in mastering depth and dimension—making your cube look like it could tip over and land on your math homework.
To make this magic happen, try these four simple steps:
- Draw a cube outline with sharp, straight edges using your favorite drawing tools.
- Pick a light source—imagine a desk lamp or the sun—and use shading techniques like hatching or cross-hatching to darken the side away from the light.
- Gradually vary your pencil pressure to create smooth gradients between light and dark areas on the cube.
- Add highlights and crisp edges where the light hits, giving your cube those realistic, eye-catching reflections.
Suddenly, that flat square becomes a solid block!
Basic Tree With Leafy Canopy
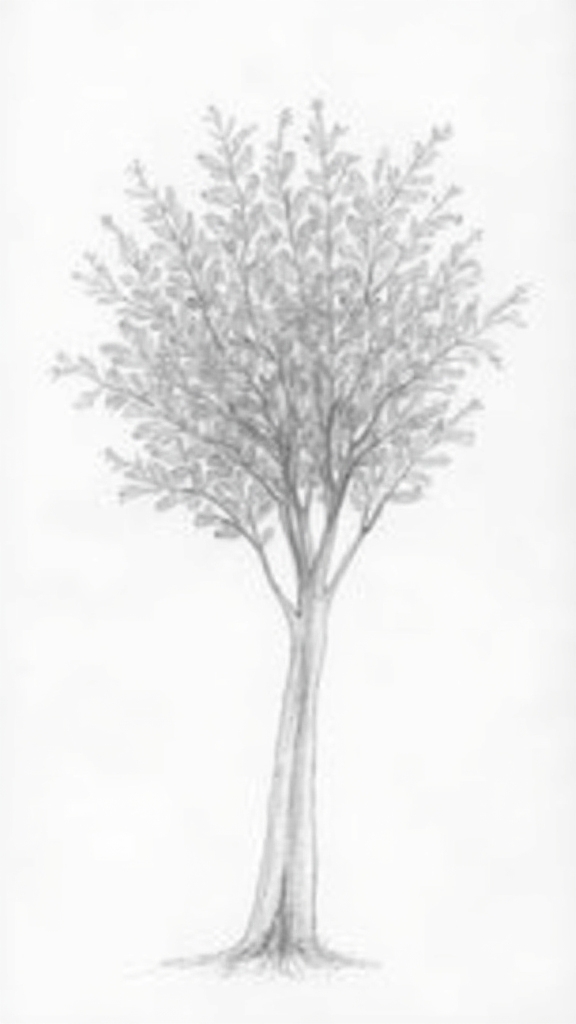
A tree bursting with a big, leafy canopy practically shouts, “Look at me!” Drawing one is way more fun than it sounds, especially when you realize it doesn’t have to be perfect—just lively and full of character.
Start with a simple vertical line for the trunk, then widen the base for stability—after all, no one wants a tree that tips over! Try different trunk variations using curved lines to mimic bark for extra texture.
Begin your tree with a sturdy trunk—start simple, then add curves and texture to bring it boldly to life.
Next, the magic happens up top: sketch cloud-like shapes that overlap and puff out in all directions. Add leaf texture effects with small veins and lines inside each puff.
Play with tree shading techniques for depth, and if you’re feeling bold, add little fruits or flowers to make your tree one-of-a-kind!
Cute Ice Cream Cone Character
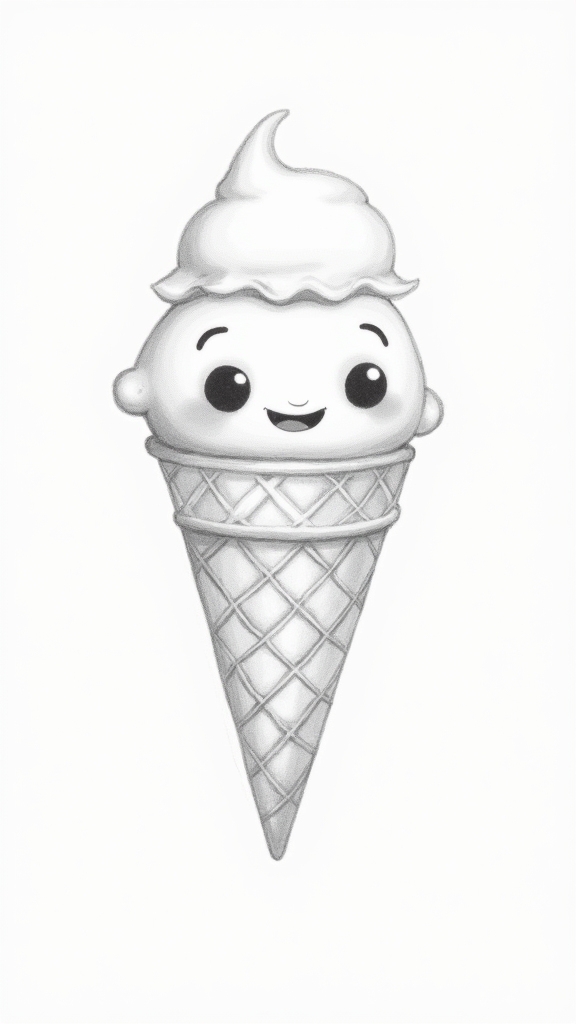
Drawing a cute ice cream cone character always starts with a playful cone shape, using curved lines that almost make it look like the cone is doing a little dance.
Once the base is ready, it’s all about giving your character some personality by adding a big smile and wide, sparkling eyes that you might see on your favorite cartoon.
Whether you want your ice cream to look extra sweet with rosy cheeks or quirky with a little wink, sketching different expressions can totally change the vibe and make your artwork pop off the page.
Sketching Cute Cone Shapes
Sometimes, the cutest characters can come from the simplest shapes—just take one look at a cheery ice cream cone!
When sketching cute cone shapes, the process is all about using basic forms and turning them into something irresistibly fun. Using cute cone designs, artists get to show off their creativity with different ice cream flavors and whimsical toppings.
Plus, who can resist the joy of bringing a plain pencil sketch to life with a few clever details?
Try this easy method:
- Start with a V shape for the cone, making the top wider than the tip.
- Add a fluffy, rounded scoop on top—think big and puffy!
- Draw swirls, drips, or sprinkles for extra personality.
- Experiment with shading or colors to make your sweet treat pop!
Adding Smiling Expressions
Turn that plain pencil doodle into the happiest ice cream cone around by adding a big, bright smile and some sparkling eyes!
To create those adorable smiling expressions, start with chunky eyes—try circles or ovals. Give them a shiny look by adding a small white dot in each one, like they’re super excited about life.
For the smile, draw a curved line and maybe toss in a tiny tongue peeking out or some rosy cheeks for extra cuteness.
Want even more personality? Experiment with playful accessories! Maybe a cherry hat, a crazy sprinkle mustache, or fancy sunglasses.
Every little detail brings out your character personality, making your ice cream cone feel like its own confident superstar. Anyone looking can’t help but smile back!
Friendly Whale Spouting Water
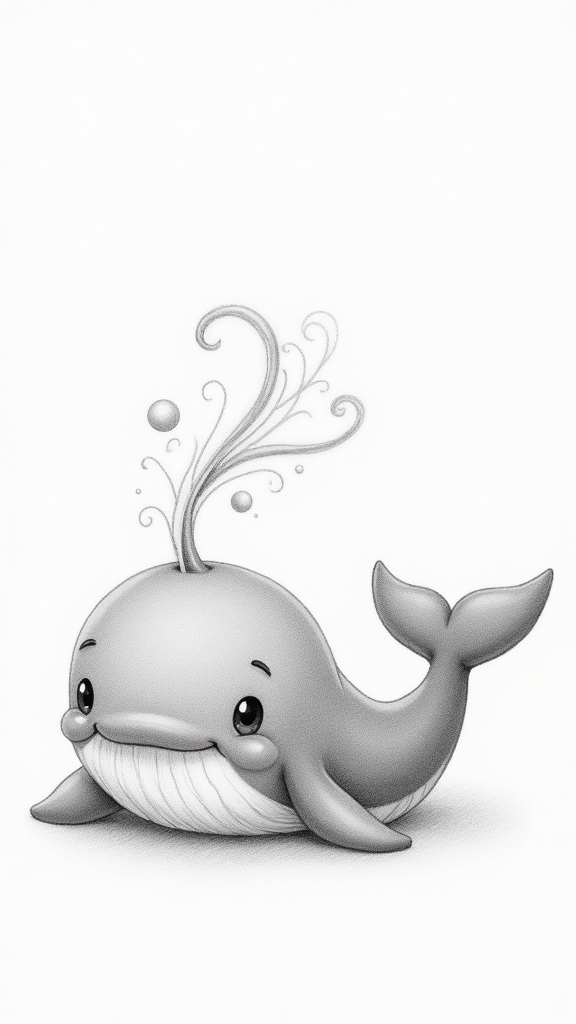
A friendly whale can really brighten up a piece of paper—and not just because it’s huge and blobby. Whales are fascinating creatures, and drawing one gives everyone a chance to explore whale anatomy, splashy water spouts, and a bit of marine life magic.
Drawing a friendly whale lets you dive into marine magic, from water spouts to the charm of ocean giants.
For a whimsical look, start with bold, rounded shapes and make sure that tail fin stands out! Here’s a step-by-step list to keep things simple:
- Sketch a plump whale body, adding a swooping tail fin at the back.
- Draw a joyful water spout by curving lines upward from the whale’s head.
- Add big, smiling eyes and a welcoming grin to really sell the friendly vibe.
- Color the whale blue or gray, then make that water spout bright and cheerful!
Adorable Owl on a Branch
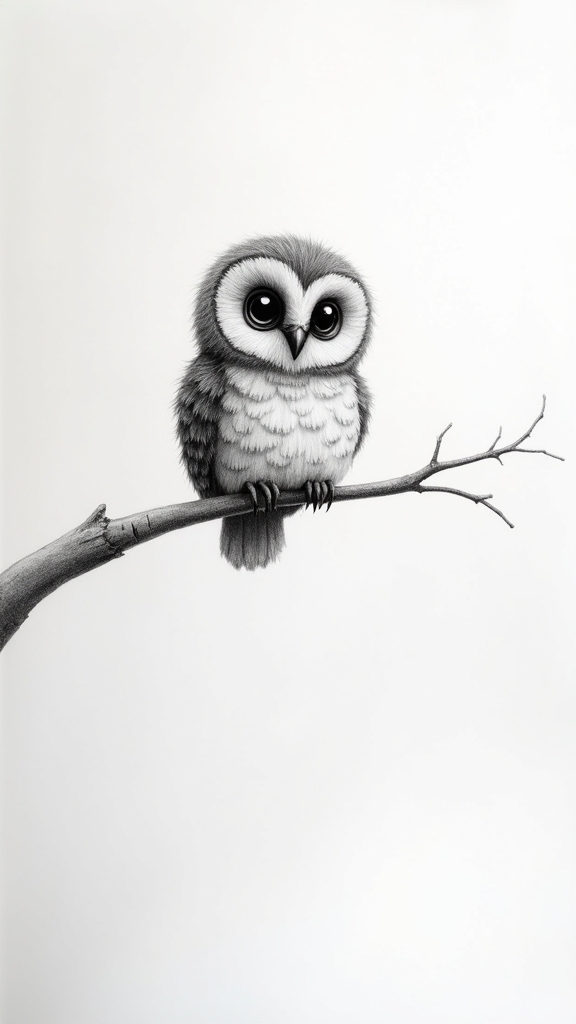
If there’s one way to turn an ordinary branch into a showstopper, it’s by sitting an adorable owl right on top of it.
Start your drawing with a curvy branch—think of silly, whimsical branch designs swirling across the page. Perch an oval for the owl’s body right on that branch, then add giant, round eyes for maximum cuteness.
Don’t forget the little beak and, of course, those tiny feather details! Use curved lines to create neat owl feather patterns that look soft and fluffy.
Play around with cute owl expressions—maybe give your owl a goofy grin or surprised eyebrows.
To finish, try coloring your owl with the brightest, happiest shades. Your owl just might end up being everyone’s favorite character on the page!
Frequently Asked Questions
What Is the Easiest Drawing to Draw?
When considering the easiest drawing to create, many choose images built from basic shapes or simple characters. Doodle art—featuring uncomplicated lines and minimal details—remains accessible, encouraging beginners to experiment creatively without requiring advanced drawing skills.
What Can an 11 Year Old Draw?
When considering what an 11-year-old can draw, one might suggest starting with simple shapes, evolving into funny animal characters or basic nature scenes. This approach builds skill, encourages imagination, and makes the creative process enjoyable.
How Do You Draw a Rainbow 🌈?
Drawing a rainbow involves using drawing techniques to create several curved arcs, each representing distinct rainbow colors. For creative inspiration, artists may add complementary elements like clouds or suns, experimenting with different materials to achieve vibrant, lively results.
What Is the Easiest Pencil to Draw With?
When considering the easiest pencil to draw with, many artists select graphite pencils, particularly #2 or 2B, as they suit various drawing techniques. These options balance hardness and softness, supporting effective line work and diverse shading methods.
Conclusion
Drawing doesn’t have to be scary—all it takes is a pencil, a little time, and a willingness to have fun with it. Anyone can sketch a goofy cartoon, a sleepy cat, or an ice cream cone that looks like it’s about to giggle. The real trick? Don’t stress about making things perfect—just let your imagination go wild. Who knows, your doodles might just end up on your fridge… or in a future art gallery!
Leave a Reply