
Drawing with a pencil is honestly exciting, and beginners can start with easy things like circles, cubes, and simple flowers—you don’t have to be a Michelangelo to make something cool. Fun sketches like shaded spheres, overlapping boxes, and even realistic eyes help practice basic shapes and light. There’s also folded cloth, wonky hand sketches, leafy branches, and dramatic hills stacked like pancakes. Try shading for depth and watch ordinary mugs or leaves come to life—there’s more inspiration and clever tips just ahead!
Key Takeaways
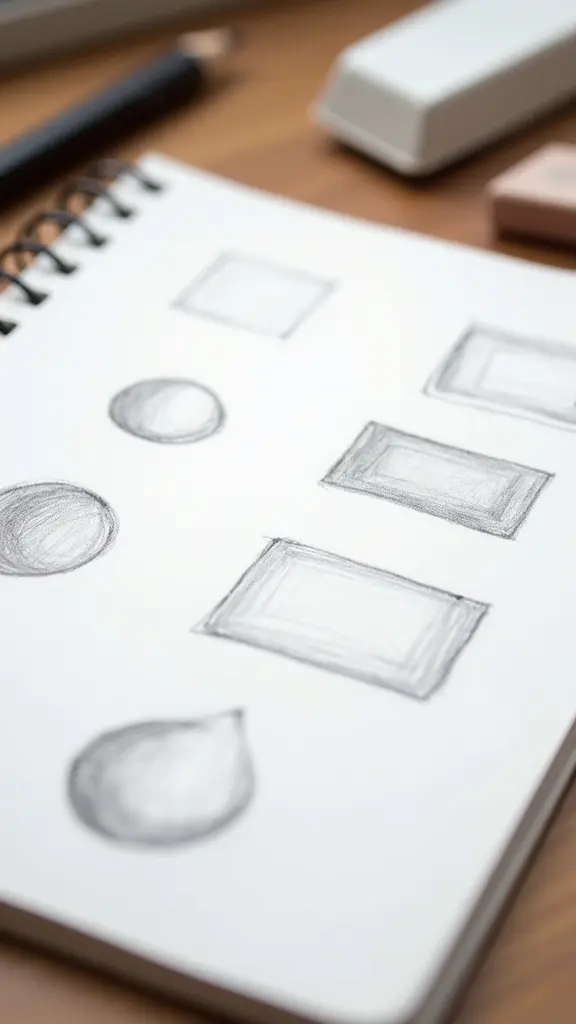
- Start with simple shapes like circles, squares, and triangles to build overall drawing confidence and coordination.
- Practice overlapping cubes and shaded spheres to master perspective and basic 3D shading techniques.
- Sketch realistic objects such as eyes and everyday mugs to develop observation skills and shading accuracy.
- Experiment with organic forms, like tree branches and folded fabric, to improve natural line work and texture rendering.
- Create dynamic hand gestures and basic landscapes with hills to practice proportion, depth, and scenic composition.
Basic Geometric Shapes

Every amazing drawing starts somewhere, and for most artists, that “somewhere” is basic geometric shapes. The first thing you do when you start sketching isn’t jumping into fine details—nope, you grab a pencil and practice circles, squares, triangles, and rectangles.
These simple shapes are the secret heroes behind every cool doodle or masterpiece you admire. By sketching them lightly, artists can play around with size and angles, making wobbly circles a little rounder or stacking rectangles for bodies and limbs.
It’s like building a robot out of blocks before deciding if it gets laser eyes or a bowtie. Getting comfy with these shapes not only boosts coordination but also makes adding all those fine details way easier later on.
Shaded Spheres
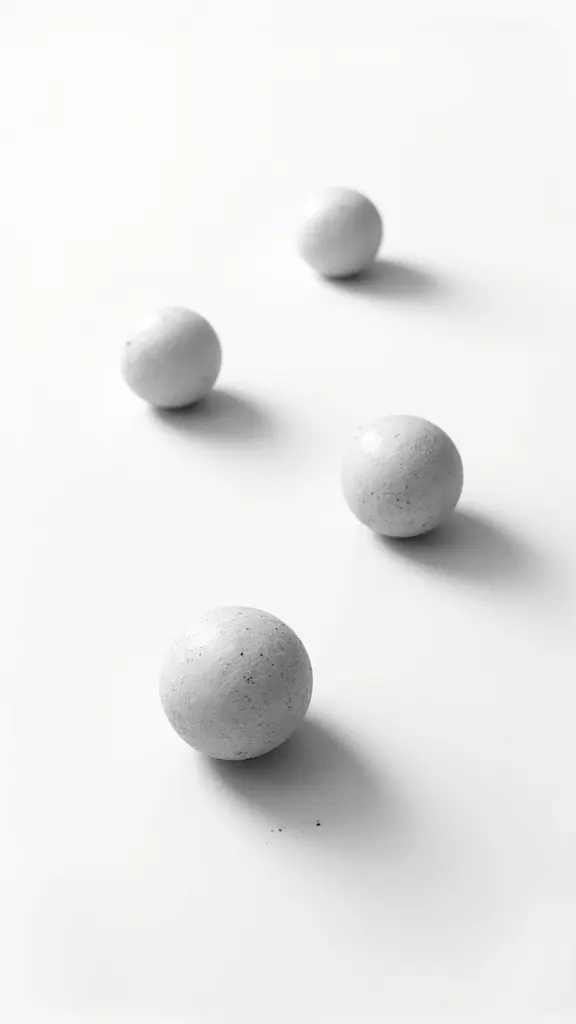
One of the most fun and magical steps in pencil drawing has to be making a totally flat circle look like a real, 3D ball—yep, it’s time for shaded spheres!
Drawing classes everywhere kick things off with this because it’s the perfect way to practice shading and different techniques. Start out by lightly sketching a soft circle with a 2B pencil.
Then, things get wild—choose your light source and let the real shading begin! Gradually build up shadows with a blending stump, and don’t be afraid to experiment with cross-hatching or circular shading.
Want even more depth? Try varying your pressure. If things get too dark, no worries, just tap in some highlights with your eraser, and boom—you’ve got a sphere that almost rolls right off the page!
Overlapping Cubes

After getting the hang of shading spheres and making flat circles pop off the page, things get boxier with overlapping cubes. This part is where beginners really need to start paying attention to different areas, like where one cube passes in front of another. The important thing is to sketch lightly and always check your perspective—using a vanishing point can seriously save your brain from a geometry meltdown! When adding new cubes, erase parts that should be hidden so your drawing doesn’t look like a pile of tangled spaghetti. For extra depth, mix up your pencils for lighter and darker spots, and blend those shadows so your cubes look real, not like Minecraft mobs. Take a look at this quick guide:
| Step | Tool Needed | Pro Tip |
|---|---|---|
| Sketch cubes | H pencil | Light lines |
| Add overlap | Eraser & 2B | Erase back edges |
| Shade areas | Blending stump | Use cross-hatching |
Leaf With Simple Veins
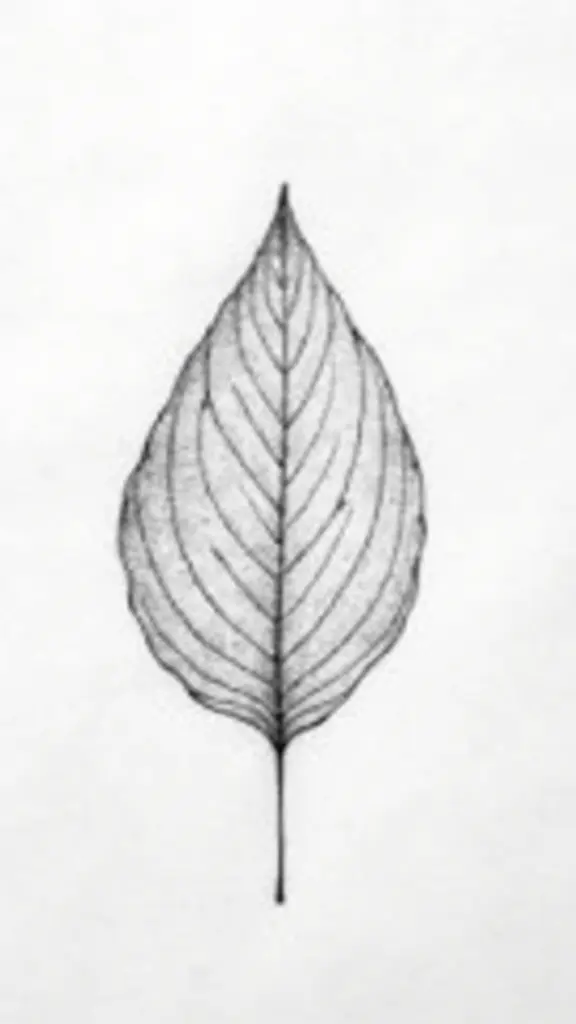
Leaves might seem simple to draw, but they actually pack in a surprising amount of detail—and a little attitude if you look closely.
To start, sketch a light outline using a 2B pencil. You really need to keep those lines gentle, just in case you want to go back and try different shapes or sizes.
Once you’re happy with the basic outline, it’s time for veins! Lightly mark in the main central vein, then add smaller veins branching out. Play with line darkness for thicker or thinner veins.
Dimension comes from shading along edges and between veins, and a little highlight from a pretend light source makes the leaf pop.
- Lightly outline the leaf’s shape
- Add a strong central vein
- Branch off with lighter side veins
- Shade for depth and realism
- Highlight for a three-dimensional look
Realistic Eye Study

Eyes—they’re like tiny universes right in the middle of a face, and drawing them realistically might seem a little scary at first, but it’s absolutely worth the effort.
To nail your realistic eye study, start by sketching the eye proportions with gentle, sketchy lines—think of the iris as a circle and the eyelids as graceful curves hugging it.
Now, here comes the magic: shading techniques! Add darkness around the lashes and keep the highlights in the iris bright and sparkly. Layer pencils, going from light to dark for awesome iris details and textured eyelids.
Blending stumps swoop in to smooth the shading—poof!—making the eye look super three-dimensional.
Finally, be a detective: study real eyes to capture those unique, mesmerizing characteristics.
Everyday Mug

Getting the hang of drawing eyes brings a real sense of accomplishment, but why stop there when the world is full of awesome things to sketch?
Take an everyday mug, for example—it’s way more interesting (and tricky) than it first looks! Start light: sketch a wonky oval for the top and a gentle rectangle for the body. Mug design techniques shine when you nail those handle proportions; nothing screams “amateur” louder than a wild, wobbly handle.
Now, it’s all about shading variations. Don’t just color it flat—make one side darker to show where the light hits.
- Light outline for mug and handle
- Define handle proportions for realism
- Explore mug design techniques (patterns, logos)
- Use shading variations for volume
- Experiment with cross-hatching or blending
Seriously, mugs never looked so cool!
Three-Dimensional Cylinder
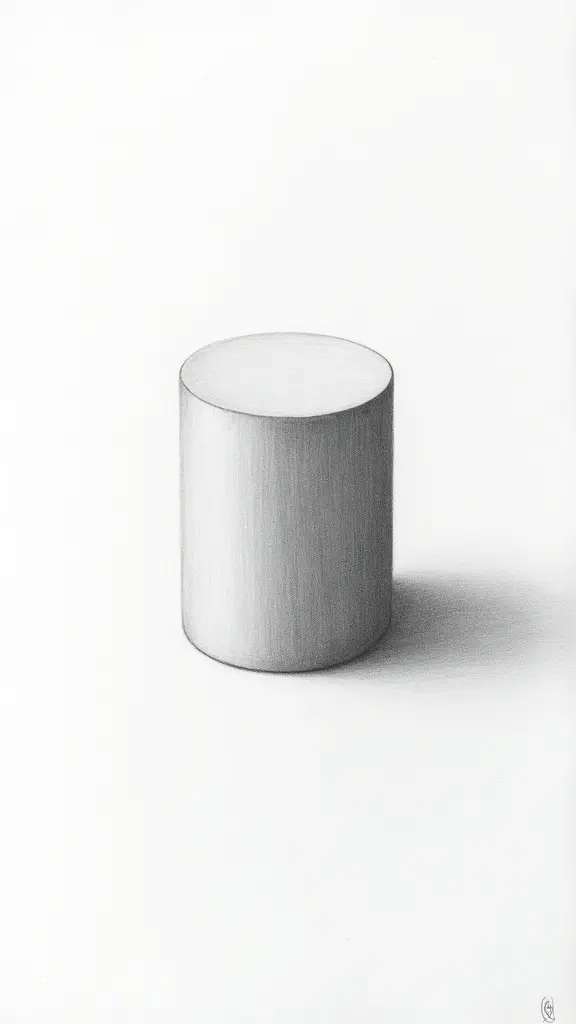
Cylinders are everywhere—just look at soda cans, batteries, or even drumsticks. Drawing cylindrical objects can be super fun, especially once you master some cylinder perspective techniques.
Start off by sketching two parallel ellipses, one for the top and one for the bottom, making sure they’re lined up vertically. Connect them with light, curved lines—that’s your basic cylinder!
Now, here comes the magic: shading techniques explained. Figure out where your light source is. Shade the opposite side with cross-hatching or smooth blending to really make it “pop” off the page.
Shading is where the magic happens—find your light source, shade the opposite side, and watch your cylinder come to life!
Don’t forget the cylinder’s shadow on the surface—it should be soft and kind of stretched out. Practice cylinders from all sorts of angles, and you’ll start noticing them everywhere!
Light and Shadow on an Apple
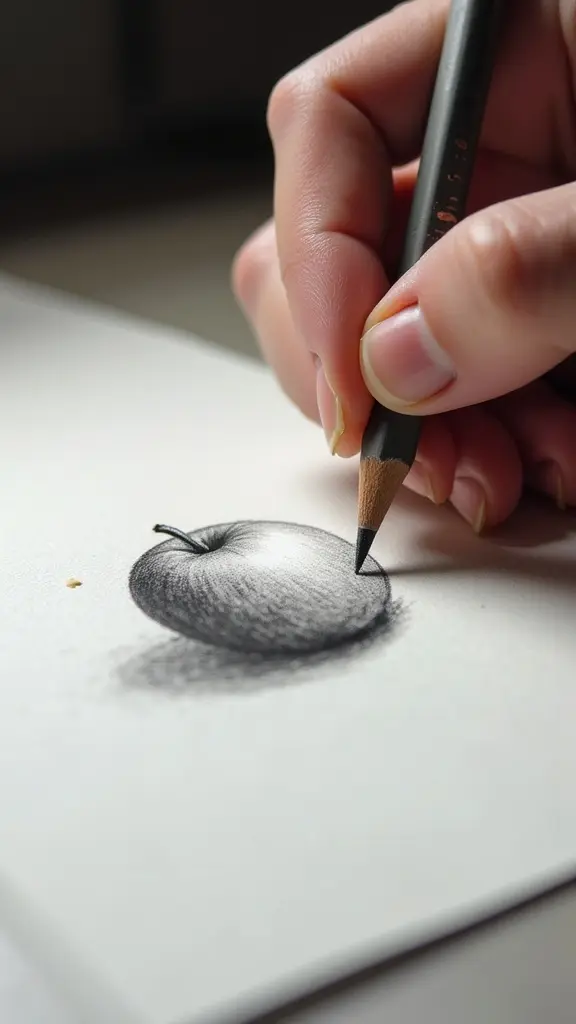
The magic of pencil shading really comes alive when drawing something as simple (and snackable) as an apple. To master light and shadow on an apple, start by figuring out where your imaginary lamp or sunlight is shining from, because, yes, apples have a sense of drama too!
Grab a 2B pencil for sketching—the lines are easy to tweak if your apple starts looking like a potato. Focus on showing off the apple surface texture, soft highlights, and that cast shadow beneath.
To nail the three-dimensional look, use light reflection techniques and practice a bit of shadow depth analysis. Here’s a quick checklist to make it easier:
- Identify the light source
- Sketch basic apple outline lightly
- Highlight with gentle shading techniques
- Blend for soft light reflection effects
- Draw deep, realistic cast shadows
Simple Tree Silhouette

Drawing a simple tree silhouette starts with laying down the basic trunk and a few main branches, kind of like giving your tree a skeleton.
Quick shading tricks, like using the side of your pencil to smudge the bark or create a bit of shadow, can make your tree look way less flat and way more awesome, even in just a few strokes.
Don’t stress about making every branch perfect—nature’s trees are all kinds of wonky, and that’s what makes them look real!
Basic Trunk and Branches
Picture a tree standing tall, roots gripping the ground and branches reaching for the sky—it all starts with a single line and a little bit of pencil magic.
To get the basics down, understanding tree anatomy basics is key. A tree’s trunk isn’t just a stick; it thickens as it nears the base, showing trunk proportions importance.
Branches don’t just sprout in random directions, either! Using simple branch angle techniques helps your tree come alive.
Here are some tips to remember:
- Start with a straight, vertical trunk using a 2B pencil for boldness
- Widen the trunk at the ground to show strength
- Draw light, flexible branch lines shooting out at different angles
- Taper branches as they grow to look natural
- Space branches unevenly for a realistic effect
Quick Shading Techniques
Once the trunk and branches have taken shape, it’s time to level up and add some real wow-factor with shading. Here’s where the magic happens!
For a quick shading techniques comparison, think about this: using a soft pencil like 2B lets you darken one side of the tree, showing where the light hits and bringing depth to your sketch.
Tips for beginners? Always start lightly—nobody wants giant, dark smudges locked in forever!
Try cross-hatching too; it’s basically crisscrossing lines for cooler, more textured shadows.
Want to look like a pro? Use a blending stump and smooth out the shaded areas for a pro-level finish.
Folded Fabric or Drapery

Just look at how cloth bunches up or tumbles across a table—drawing that is like catching a moving snake!
Folded fabric or drapery drawings are all about showing the wild shapes, smooth surfaces, and those tricky dark-and-light places. It’s not just about wiggly lines; you need to study fabric textures, use shadow techniques, and watch those fold directions like a hawk.
Artists start light and slowly build up, layering shading with different pencils for soft edges or sharp creases. Want to break it down?
- Begin with gentle outline sketches.
- Observe and mark fold directions, maybe use arrows.
- Shade using soft B pencils.
- Add shadows and highlights for depth.
- Practice with all types of folds—creases and waves!
Quick Hand Sketch
As soon as someone has wrestled with the wild curves and shadows of folded fabric, it’s time to meet an even trickier challenger: the human hand. Drawing a quick hand sketch feels like a boss battle. Start with a 2B pencil, mapping out the hand’s basic shapes with quick, loose lines. The trick is to capture hand gesture dynamics and fingertip proportions—try not to get lost in the details right away! Practice makes progress, so sketch your own hand in wacky poses. Pay attention to where the light hits, then use cross-hatching as one of your go-to sketching techniques to show depth. Grab a kneaded eraser to pop out highlights and make those knuckles shine.
| Step | Key Focus |
|---|---|
| Light Sketch | Basic shapes |
| Gesture Lines | Dynamic finger poses |
| Shading | Contour & depth |
| Highlighting | Knuckles & fingertips |
Simple Landscape With Hills
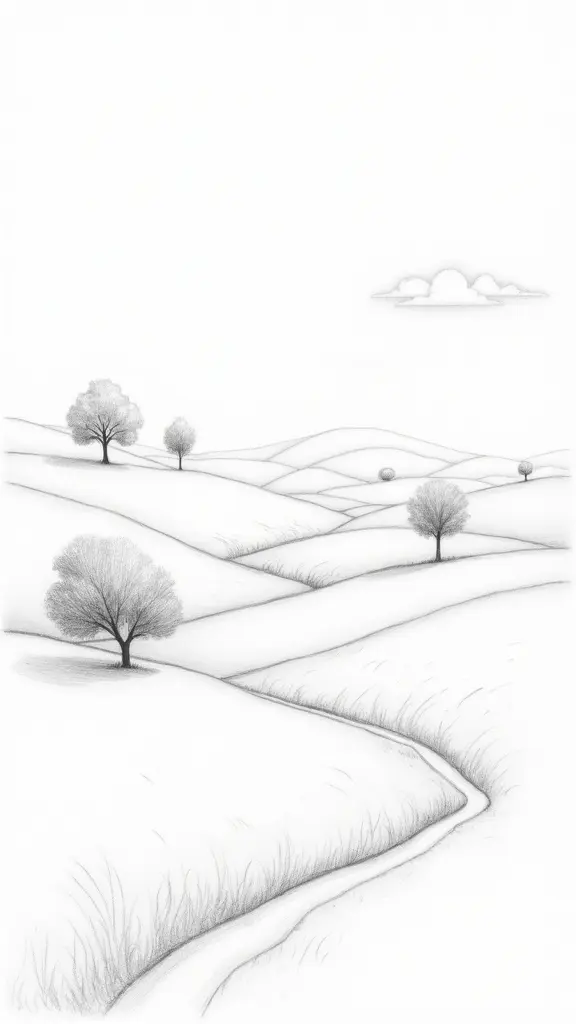
To make your hills look awesome and real, it helps to build them up with layers of soft, curved lines, one on top of the other, almost like stacking pancakes but with more mystery.
Figuring out where the sun or moon would shine gives the hills their cool shadows, and a little shading magic can make them pop right off the page.
With these tricks, you can turn a bunch of wiggly lines into a scenery that looks like it belongs in a storybook—pretty cool for just a pencil and some imagination!
Building Layered Hill Shapes
If anyone’s ever stared out a window and wished they could capture that rolling, peaceful look of hills stacked one behind the other, they’re definitely not alone.
Building layered hill shapes is like making each hill a character—it takes a little practice, a dab of patience, and some hill perspective techniques. Beginners can start with gentle, wavy lines for the hill outlines, mixing up the sizes for that natural feel.
Focusing on contour line exploration helps each layer stand out and keeps the hills from looking flat like pancakes. Here’s a quick guide:
- Draw light, rolling curves for basic hills—vary heights and widths.
- Use a 2B pencil for darker, refined contour lines.
- Practice layering effects to add a sense of depth.
- Shade with cross-hatching or blending for texture.
- Add background elements—maybe throw in a cloud or two!
Light Source Placement
Once the hills are stacked up and looking nice and wavy, the real magic happens with light source placement. This is where an artist gets to play detective, picking which side the sun shines from—left, right, or blasting straight down.
With smart light direction techniques, the hills can pop! Leaving some slopes lighter, where the imaginary sun beams hit, instantly creates life. Here’s the secret: use shadow creation methods on the parts that hide from the light, making those areas darker and a bit mysterious.
Try blending with a stump or cross-hatching to level up your hill shading strategies. Observing real scenery can spark ideas, too. When artists figure out where the light comes from, their pencil scenes look way more realistic—almost like magic!
Shading for Depth
While a drawing can look cool with just basic outlines, it’s shading that really brings those hills to life—like, “Whoa, there’s actually depth here!”
Suddenly, what was flat starts to rise and fall, and the whole scene feels way more real. To make hills in a simple setting pop, beginners should check their shadow techniques and shading methods, which help our eyes see depth perception.
Want tips on nailing this? Try these steps:
- Start light—sketch the hills and horizon with a 2B pencil, keeping lines adjustable.
- Pick a light source so shadows fall in the right place (science class flashbacks, anyone?).
- Vary pencil pressure: light for sun, heavy for shadow.
- Test different shading techniques: try cross-hatching or blending!
- Step back and tweak—your eyes will spot what’s flat or 3D.
Easy Flower With Petals
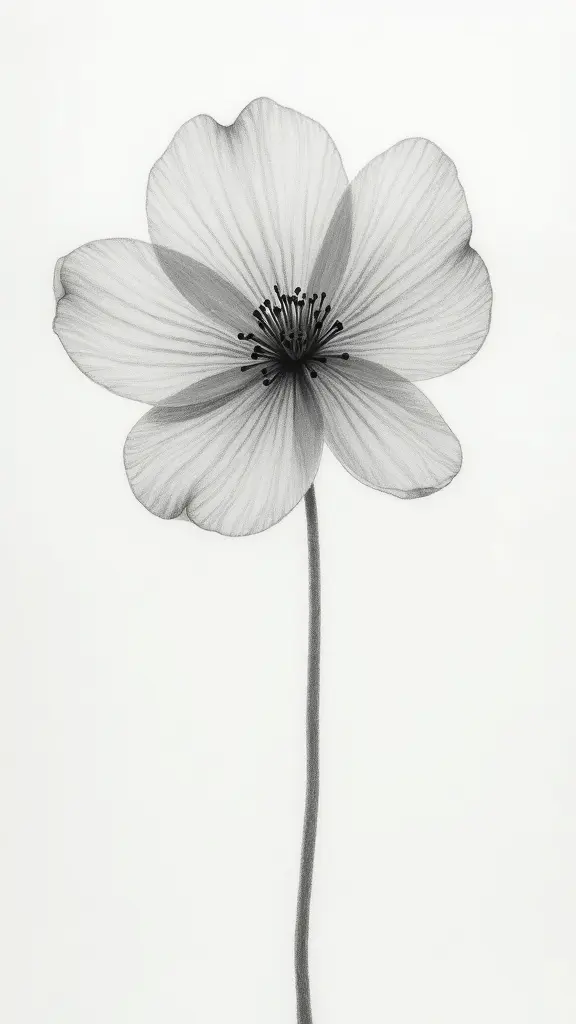
Drawing an easy flower with petals is way less intimidating than it seems—really, anyone with a pencil can get started!
First, sketch a small circle for the center, then go wild with flower petal shapes by drawing elongated ovals around it. Vary the size—real flowers aren’t clones, after all. Using a 2B pencil lets you keep the lines light so mistakes are easy to erase (trust, everyone makes them).
Want to jazz it up? Add shading techniques like cross-hatching at the petal edges, showing where your imaginary light hits.
Play with different petal tips, rounded or pointy, and you’ll end up with some unique flower designs each time.
Erase messy lines and highlight bright spots to finish—congratulations, you’ve drawn a flower!
Frequently Asked Questions
What Type of Pencils Should Beginners Use for Sketching?
When exploring sketching, individuals should consider graphite types and pencil hardness, as softer pencils (e.g., 2B, 4B) enable smoother blending techniques, while harder pencils (e.g., H) provide precise lines and lighter shading for foundational sketches.
How Can I Keep My Sketches Smudge-Free?
To keep sketches smudge-free, individuals can apply sketching techniques like lifting the hand while drawing, use layering methods for gradual shading, and select quality textured paper choices that minimize pencil transfer, ensuring cleaner final results.
How Often Should I Practice Drawing as a Beginner?
The question addresses the ideal frequency for practice. Experts recommend daily practice tips, suggesting beginners set achievable goals and track progress consistently. Regular drawing builds skill, confidence, and discipline through incremental improvement and self-assessment over time.
Are Erasers Important, and Which Type Is Best?
The importance of erasers lies in their ability to refine artwork. Various eraser types, such as kneaded, vinyl, and gum erasers, suit different eraser techniques. Proper eraser maintenance guarantees clean results and prevents unwanted smudging during use.
How Do I Store Finished Pencil Drawings Safely?
When considering protective storage options for pencil art, one should use acid-free folders or portfolios. Portfolio organization tips include separating pieces with interleaving paper. Preventing fading techniques involve storing artwork away from direct sunlight and avoiding moisture exposure.
Conclusion
So, that’s a bunch of cool pencil art you can totally try, even if your stick figures still look suspicious. Drawing gets easier the more you practice, and these ideas are a perfect starting line. Remember, every artist started with basic shapes, wobbly lines, and probably a questionable eyeball or two. Grab a pencil, let your imagination lead, and don’t stress the mistakes—they’re part of the process. Who knows? You might even surprise yourself!
Leave a Reply