
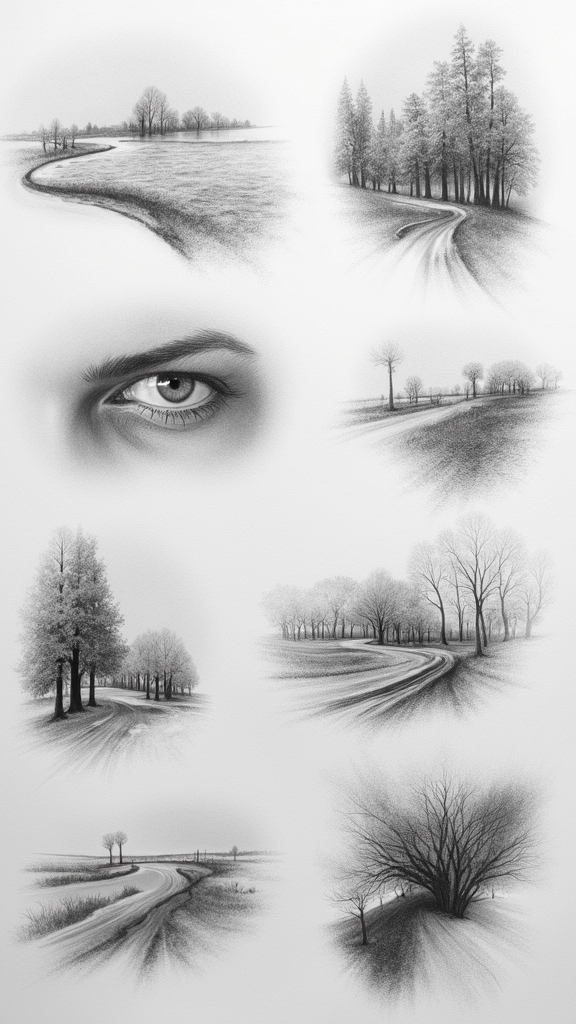
Seventeen creative pencil art drawings can really kick your imagination into high gear—think mountain sunrises with fuzzy clouds, quirky animal sketches with big personalities, dreamy forests, and even city scenes buzzing with life. Mixing pencils from light H to bold B lets artists play with shadows, wild textures, and zany shapes. You can try cartoon animals, mysterious abstract forms, or even botanical wonders that pop off the page. Even if your stick figures look suspicious, there’s something in this list to spark your next big idea.
Key Takeaways
- Experiment with different pencil grades (H, B, HB) to create unique textures and dynamic shading in your art.
- Try abstract compositions using free-form, geometric, or organic shapes to push creative boundaries and spark new ideas.
- Sketch expressive cityscapes, integrating movement, bold shadows, and creative use of negative space for added energy.
- Capture nature by combining hatching, cross-hatching, and stippling for depth in landscapes, botanical art, and animal sketches.
- Challenge yourself with self-portraits or imaginative animal drawings, using varied marks and blending techniques for personality and originality.
Getting Started With Essential Drawing Tools

Every great pencil drawing starts with a handful of the right tools—it’s kind of like packing your backpack for the ultimate art adventure.
For anyone enthusiastic to boost their drawing skills, grabbing some essential tools is a total game-changer. High-quality graphite pencils should always make the list, since H pencils do amazing detail work, while B pencils come in handy for bold, dramatic lines.
Don’t forget a sturdy sketchbook with thick, tough paper—it’ll survive tons of erasing and sketching. Sharpeners and erasers are like trusty sidekicks: keep those pencils sharp and your mistakes, poof, gone!
If you want to level up, toss in a few charcoal and colored pencils too. That way, normal pencil sketches become totally creative masterpieces!
Exploring Pencil Grades for Dynamic Effects
Although it might look like all pencils are basically the same, their secret powers come from something called pencil grades.
Pencils may seem ordinary, but their hidden strength lies in different grades that unlock endless creative possibilities.
These mysterious codes—like “H,” “B,” and “HB”—unlock a world of drawing possibilities. Want a line so light it almost floats off the page? Grab an H pencil! Craving a charcoal-dark shadow or seriously dramatic shading? B pencils deliver that moody magic.
Artists love experimenting with pencil grades because they can create so many cool effects. Here’s how they break down:
- H pencils: Best for crisp, detailed lines and light shading (think blueprint-style sketches).
- B pencils: Perfect for bold marks, deep shading, and soft, expressive textures.
- HB pencils: The “middle child”—great for everyday sketching and writing.
Mix and match these grades to supercharge your drawing’s personality!
Practicing Basic Line and Shape Exercises

Once those mysterious pencil grades are figured out, it’s time for some hands-on action—think of it as warming up before jumping into a big game.
Practicing basic line and shape exercises might seem simple, but don’t be fooled—it’s like training for your art “superpowers.” Drawing straight lines, swoopy curves, and geometric shapes (hello, triangles and circles!) helps build not just hand muscles, but your confidence, too.
These are the building blocks of basic drawing techniques that pros use, even if nobody brags about their perfect squares. Plus, by mixing up your line thickness or pressing harder and lighter with your pencil, you’ll start to see cool effects pop up.
Shading and Texture Techniques for Depth
If you’ve ever noticed how some pencil drawings just seem to pop off the page, it’s probably thanks to awesome shading and texture tricks.
Artists use hatching, cross-hatching, or even tiny dots to create shadows and depth, making everything look way more realistic (and less like it belongs on your fridge).
With a bit of practice and some fun experimenting, anyone can use these methods to bring their sketches to life—no magic wand required!
Essential Shading Methods
Shading is where pencil drawings really start to come alive—no joke, it’s almost like magic.
With just a pencil and some clever techniques, even the flattest doodle can suddenly look 3D! Artists use different shading and blending techniques to give their sketches real depth and wow-factor.
Here are three core methods that every creative pencil master swears by:
- Hatching: This is all about quick, parallel lines stacked close or far apart to control how light or dark an area looks.
- Cross-hatching: Take hatching and level it up with another set of lines crisscrossing the first to build richer tones and dramatic shadows.
- Stippling: Dots, dots, and more dots! Where the bunches get tighter, the shade gets darker.
Knowing where the light hits makes those shadows pop.
Creating Realistic Textures
Although basic shading can give a drawing some life, the real magic happens when artists immerse themselves in creating textures that viewers can almost feel with their eyes. By using shading techniques like hatching, cross-hatching, and stippling, artists bring surfaces to life—soft, rough, or anything in between. The trick is in adjusting pencil pressure and picking the right grade: H pencils for whisper-light areas, B pencils for bold shadows. Observing how light bounces off real objects can really level up the realism, and practicing these techniques helps artists get better fast. Imagine drawing a fuzzy teddy bear or shiny glass—getting that texture right is super satisfying!
Here’s a quick cheat sheet for realistic textures:
| Technique | Tool Suggestion | Texture Example |
|---|---|---|
| Hatching | 2H Pencil | Smooth Wood |
| Cross-Hatching | 4B Pencil | Woven Fabric |
| Stippling | HB Pencil | Pebbled Stone |
Drawing an Inspiring Mountain Sunrise
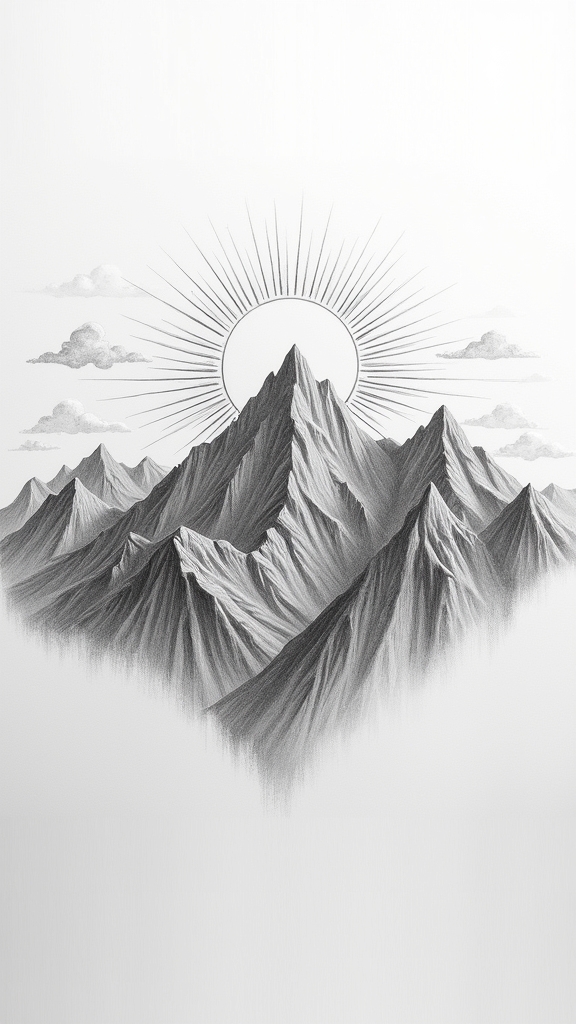
With just a pencil and some paper, anyone can capture the magic of a sunrise over a mountain range—no hiking boots or bug spray required. The process starts with sketching the outline of distant peaks, letting the contours rise and fall to set the mood.
All it takes is pencil and paper to bring a mountain sunrise to life, no outdoor adventure necessary.
To dream up drawing ideas that pop, artists grab H pencils for lighter lines in the foreground, keeping things balanced. Shading the sunrise needs a bit of technique: gentle strokes with B pencils craft smooth gradients, hinting at the warm glow that creeps over the mountains.
Shadows call for cross-hatching to pump up the texture and make the peaks really stand out. For mood and detail, consider adding:
- Scattered trees
- Curious wildlife
- Whisper-thin clouds
Sketching a Dramatic Coastal Cliffside
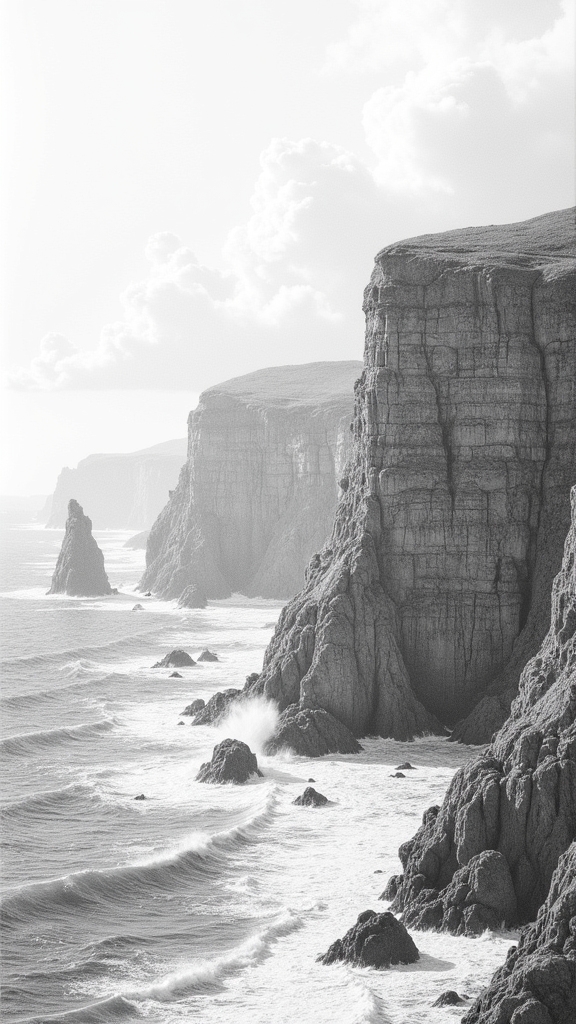
Sketching a dramatic coastal cliffside is all about showing off the ocean’s wild strength and the cliffs’ tough, towering forms.
Balancing light and texture really matters here—craggy rocks and bright sunlight can turn into a real game of shadows and highlights, almost like the cliffs are posing for a dramatic movie poster.
With a sharp pencil and plenty of imagination, artists can bring both the fierce beauty of the sea and the rough texture of the rocks right to the page—just be ready for things to get a little messy when you’re drawing crashing waves!
Capturing Ocean’s Rugged Majesty
Few things in the art world capture raw, untamed power like a pencil sketch of a coastal cliffside bracing against the ocean wind.
With every mark on the paper, an artist can make viewers feel the spray of distant waves and the steady strength of ancient rocks. The real magic, though, is in using light and shadow to give those cliffs a lifelike volume, as if they could tumble right out of the page—don’t worry, they won’t!
By working texture to bring the jagged edges to life, artists can set regular cliffs apart from epic ones. To layer dramatic realism into their sketches, artists often:
- Mix H and B pencils for gritty details and deep darks
- Use swift, bold strokes for rocky toughness
- Add crashing waves and sweeping horizons for awesome scale
Balancing Light and Texture
Every line and shadow in a coastal cliffside sketch holds the power to stun—one minute, it’s just a blank sheet, the next, the rocks seem ready to leap off the page. To pull off that magic trick, artists mix light and shadow, using techniques like hatching to show depth and craggy textures. Softer B pencils make the cliff’s dark crevices pop, while hard H pencils save the highlights from getting lost. Get your proportions right, paying attention to the horizon—otherwise, your ocean might look like it’s about to spill off the paper! For extra wow, add waving grass or foamy crashing waves. Need help deciding where to start? Check out this handy table:
| Element | Pencil Grade | Texture Technique |
|---|---|---|
| Cliff Shadows | B (soft) | Hatching |
| Cliff Highlights | H (hard) | Light Blending |
| Ocean Waves | B/H | Stippling |
| Vegetation | HB | Cross-hatching |
| Rocky Outcrops | 2B | Blending/Hatching |
Capturing the Peace of a Forest Clearing

There’s just something magical about stumbling into a quiet forest clearing, where the sunlight sneaks through the treetops and dances over ferns and wildflowers.
Capturing the essence of this peaceful spot in pencil art means noticing every gentle curve and using those organic shapes to tell a story. Imagine the soft lines and careful shading—almost like the sketch is breathing with the hush of nature.
There’s a secret delight in showing how light and shadow bring out the textures of tree bark and whispering leaves. To really boost the peaceful vibe, artists might include subtle details, like:
- Swaying grasses hinting at a soft breeze
- A winding path meandering into the calm
- Patches of dappled sunlight brightening wildflower clusters
Illustrating a Vast Desert Landscape
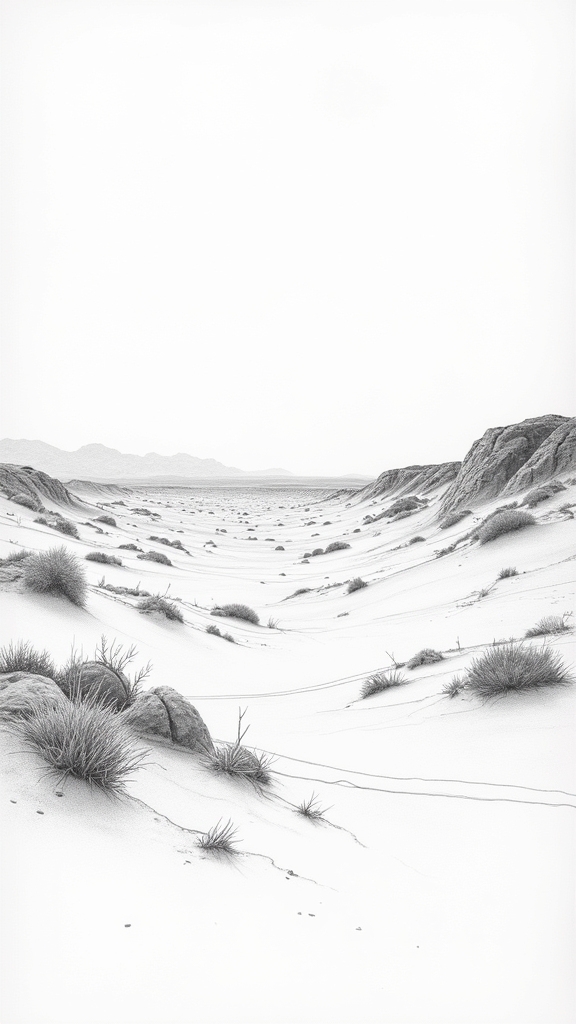
In the middle of nowhere, a desert terrain can look almost otherworldly—like something straight out of a dream or a really weird postcard.
When tackling a desert scene in drawing, creativity is absolutely key. Start your sketch with a crisp horizon line, then add rolling dunes and mountains in the background—it’s all about building depth!
Grab a soft B pencil and get busy with shading; use hatching and cross-hatching to mimic the shifting sand. Tiny touches like a lonely cactus or a wandering lizard can suddenly bring your desert scene to life.
Play with light and shadow, imagining the sun blazing down, casting wild, dramatic shadows. Whether you’re drawing a burning midday or a moody sunset, the desert’s drama is totally yours to create.
Creating a Picturesque Rural Countryside
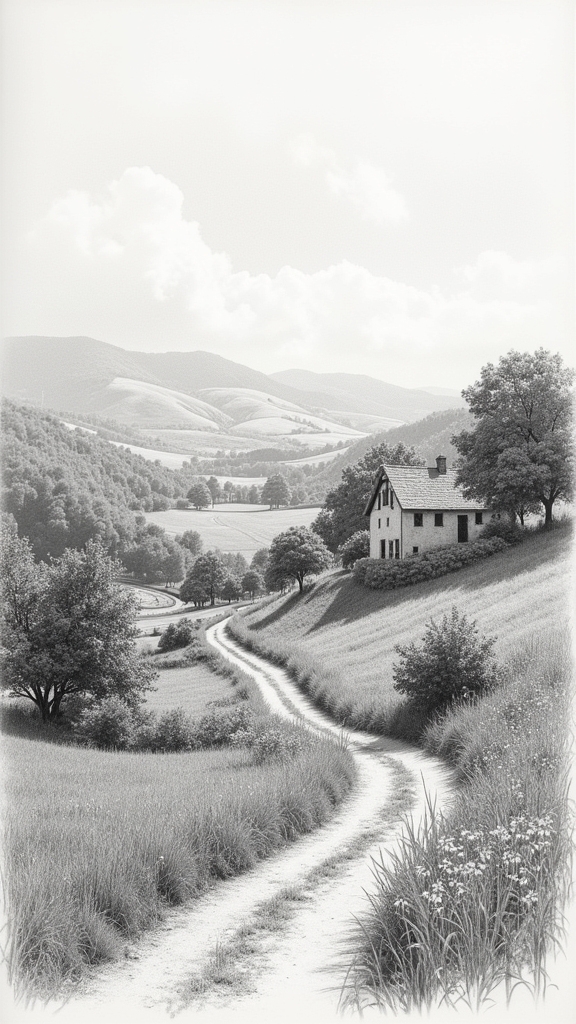
Once a person sets out to draw a rural countryside, things can start to feel downright magical—almost like stepping into a storybook where wildflowers and friendly cows are just waiting to say hello.
Capturing the essence of country life in creative art means thinking about more than just open fields. Details like winding roads, sunlit farmhouses, and sturdy fences can make your drawing feel alive.
Using different pencil grades, from sharp H’s for fine grass to bold B’s for deep shadows, adds beautiful dimension. The real magic happens when your pencil brings in quirky animals or towering trees, making the scenery full of surprises.
To help guide your art, focus on:
- composition and leading lines
- creative light and shadow play
- lively natural details
Tracing Tranquility in a River Valley Scene
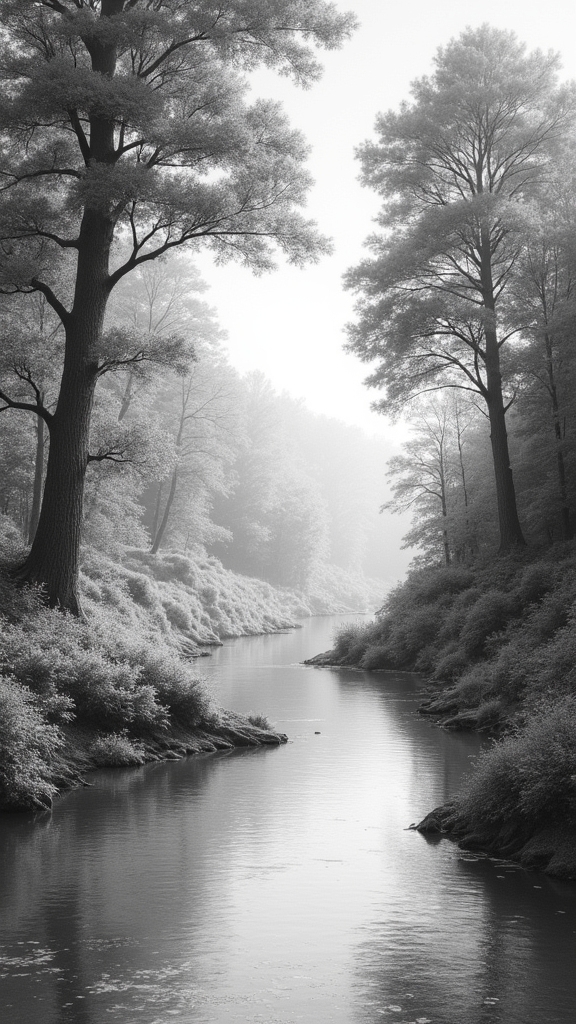
Drawing a peaceful river valley means getting clever with pencil tricks to show water reflections that almost sparkle and leafy banks that practically whisper, “Shhh.”
Artists use a mix of line styles and careful shading to make the water ripple and the trees look full and alive, balancing all that lushness with cool shadows and bright highlights.
Even something as simple as where you put the horizon can change the whole feel—suddenly, the river really pulls you in, as if you might just fall in if you lean too close!
Capturing Reflective Water Effects
Few things in a river valley scene are as enchanting as the calm shimmer of water reflecting everything above it—the sky, the trees, maybe even a lazy duck or two.
Capturing the essence of these reflections in pencil art takes more than just doodling a simple line. Artists need to create depth by paying close attention to the way light bounces off the water, using lighter pencil strokes for bright highlights and darker shades where the water seems shadowy.
For a more convincing effect, they often rely on these tricks:
- Use hatching and cross-hatching to show ripples and movement.
- Mirror surrounding elements like trees or rocks in the water.
- Observe changes in reflections at different times of day for realism.
It’s practice that makes tranquility leap off the page!
Detailing Lush Valley Foliage
Even though a river valley might seem like just a tangle of greens at first glance, there’s a whole world hiding in the leaves if you look closer.
When artists focus on capturing the richness of valley foliage, they get to explore so many different types of plants. Ferns, shrubs, towering trees—they each have their own vibe, kind of like classmates at school who all dress differently.
Using H and B pencils helps to show off those shades of green, even if you’re only using gray. Layering light pencil strokes first, then building up the dark spots, makes shadows and sunlight pop.
Carefully changing the pressure on your pencil lets you show delicate baby leaves or bold tree trunks. Real-life references? They’re the artist’s secret sauce!
Portraying Lively Urban Cityscapes
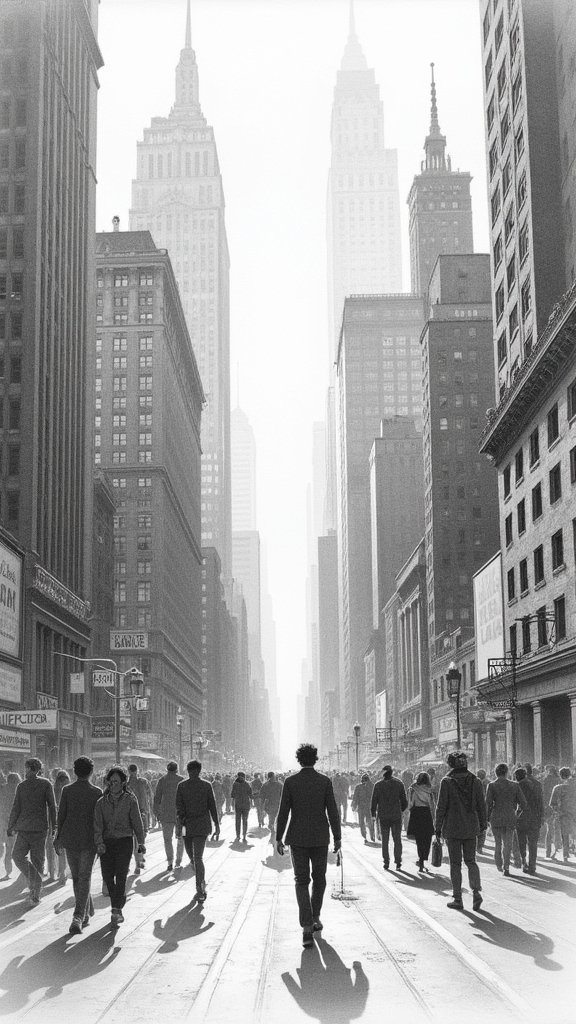
City life bursts with energy, and pencil art can totally capture that wild, buzzing vibe in the heart of a busy street.
When artists draw urban cityscapes, they get the chance to explore different textures and moods hiding in tall skyscrapers, twisting bridges, and snaking roads. Maybe there’s a traffic jam or a bus screeching by—who knows?
To make city scenes pop off the page, artists love to experiment with techniques like:
- Playing with light and shadow to show how life changes from sunrise to late-night neon
- Using different pencil grades—from sharp H’s for those tiny window details to bold B’s for heavy shadows
- Adding people and cars for real-life movement, so the city feels like it never hits pause
Drawing city energy is just super exciting!
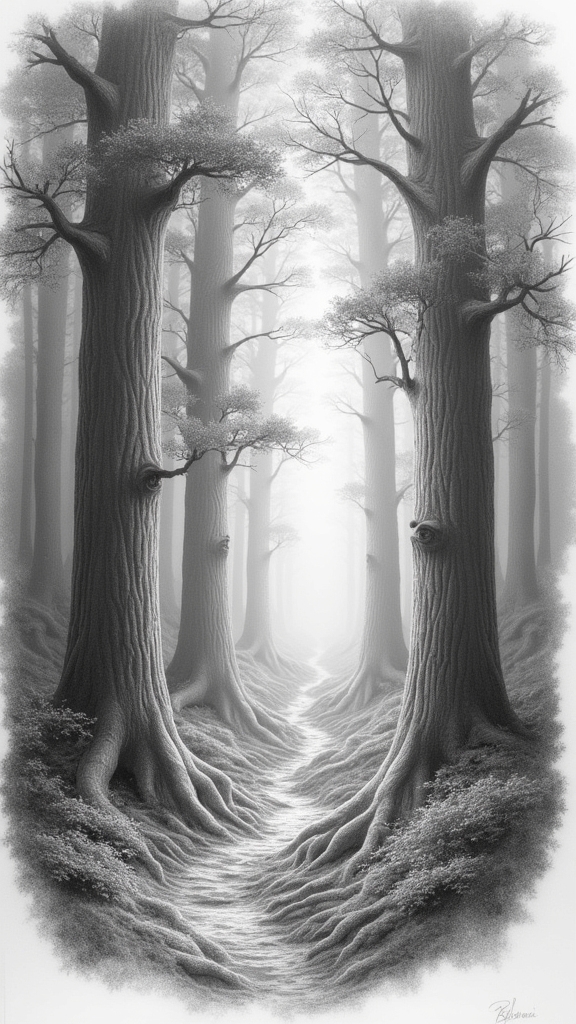
Rendering a Misty and Mysterious Forest
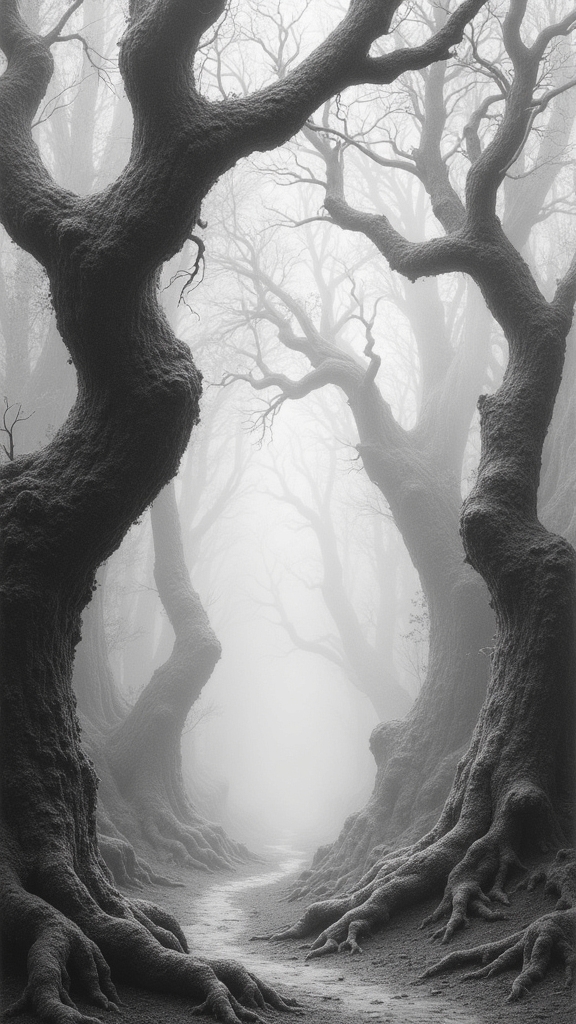
Drawing a misty forest is like telling a ghost story with your pencil—layering shadows and lights to make the trees look like they’re hiding secrets.
Artists play around with different pencil grades and build up the scene bit by bit, using layering to create that deep, smoky vibe where you almost expect something magical to peek out.
Layering for Atmospheric Depth
When it comes to giving a pencil drawing that magical, misty forest vibe, layering is the secret ingredient. Artists use special layering techniques to build up those moody woods, starting with soft, light outlines of trees and leaves, then gradually adding darker tones for serious atmospheric depth.
Softer shading like hatching and cross-hatching helps mimic the way fog swirls through the trees, making it all feel kind of enchanted. Smart pencil choices—using H pencils for light, distant details and B pencils for darker, up-close stuff—makes a big difference, too.
Here’s what works:
- Leave blank spaces for mist to create a mysterious look.
- Make foreground details sharper, while background shapes stay soft and blurry.
- Layer shadows slowly to build up the mood and dimension.
Capturing Subtle Light
Step right into a world where sunlight sneaks past tangled branches and everything shimmers with a secret. Capturing subtle light in a misty, mysterious forest drawing is all about letting your pencils do the talking—soft B-grades work wonders for those foggy, dreamlike shifts. By practicing different shading techniques like cross-hatching and stippling, artists are able to give the leaves and mossy floors just the right amount of texture and sparkle. Keep your eyes sharp: seeing how real forests play with light and shadow will seriously spark your creativity! Now, check out this table to imagine the scene:
| Whispery Fog | Flickering Sunbeams |
|---|---|
| Branches fading in mist | Splashes of brightness |
| Quiet, blurred corners | Shocking specks of light |
| Lingering shadows | Dancing, magical outlines |
Don’t forget to use negative space—sometimes leaving things blank makes the scene even more mysterious!
Mastering Expressive Self-Portraits
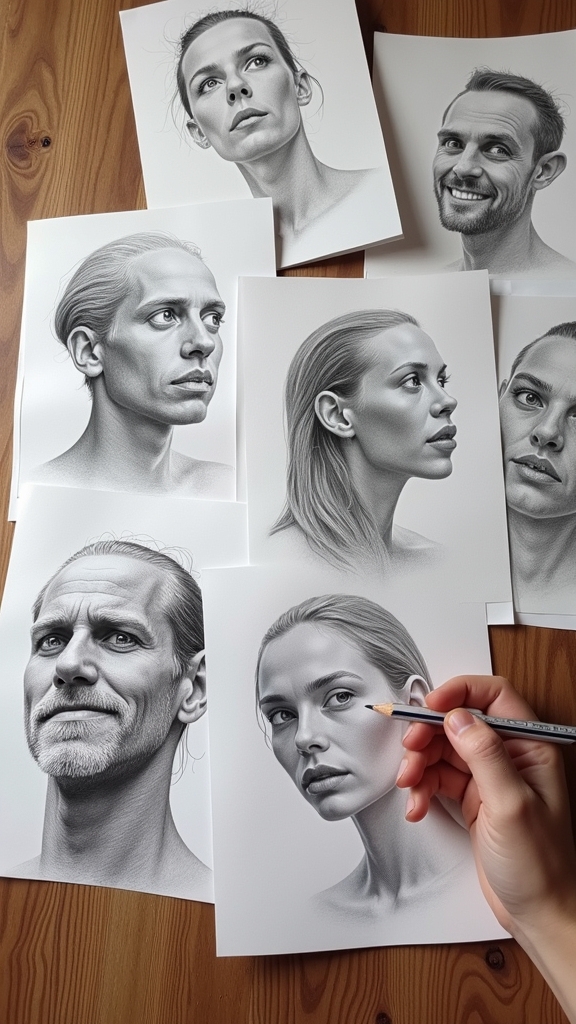
Expression—that mysterious magic behind every truly great self-portrait—can turn a simple pencil drawing into something unforgettable.
To master an expressive self-portrait, one must first grasp the basics. Start by mapping facial proportions cleverly with light pencil guidelines; a dodgy nose or off-center eyes can make even the best drawing look a bit odd! Use a mix of pencil grades: soft B pencils for deep shadows and hard H pencils for crisp, light details. Variety brings drama to your expressive art!
Just remember:
- Practice different expressions and try out fun angles to show personality.
- Experiment with shading like hatching and cross-hatching for lifelike features.
- Regular sketches build your confidence and sharpen your eye for details.
Each of these opens doors to creativity, self-discovery, and a seriously expressive self-portrait.
Designing Playful Animal and Bird Sketches
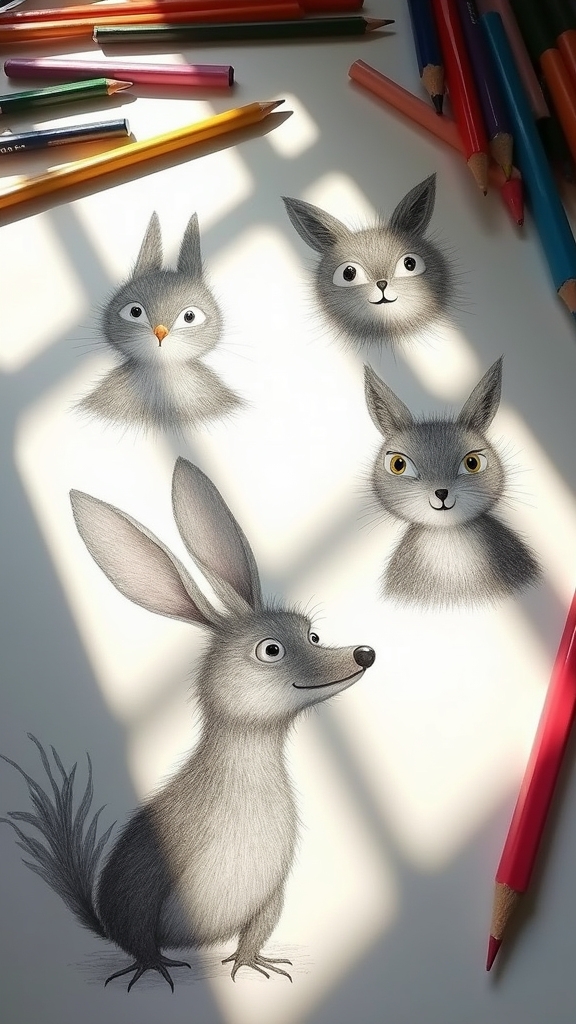
Plenty of artists would agree: nothing brings a sketchbook to life quite like drawing animals and birds in all their playful glory. By watching real animals and birds, you can catch those tiny quirks—like a puffed-up sparrow or a stretching kitten—that spark your imagination and make your sketches memorable.
Try out different styles, from cartoon-like doodles to more detailed, textured fur or feathers, using a mix of pencil grades for extra pop. Funny poses and exaggerated faces dial up the fun, turning a basic fox into an absolute scene-stealer.
Mix up your sketching style—cartoon doodles or textured fur—and let funny poses and bold expressions steal the spotlight.
Sketching starts with simple shapes, building a solid animal foundation before you sneak in the wild details. Practicing a variety of species lets you experiment, helping your confidence—and creativity—soar.
Experiment, giggle, repeat!
Bringing Botanical Wonders to Life
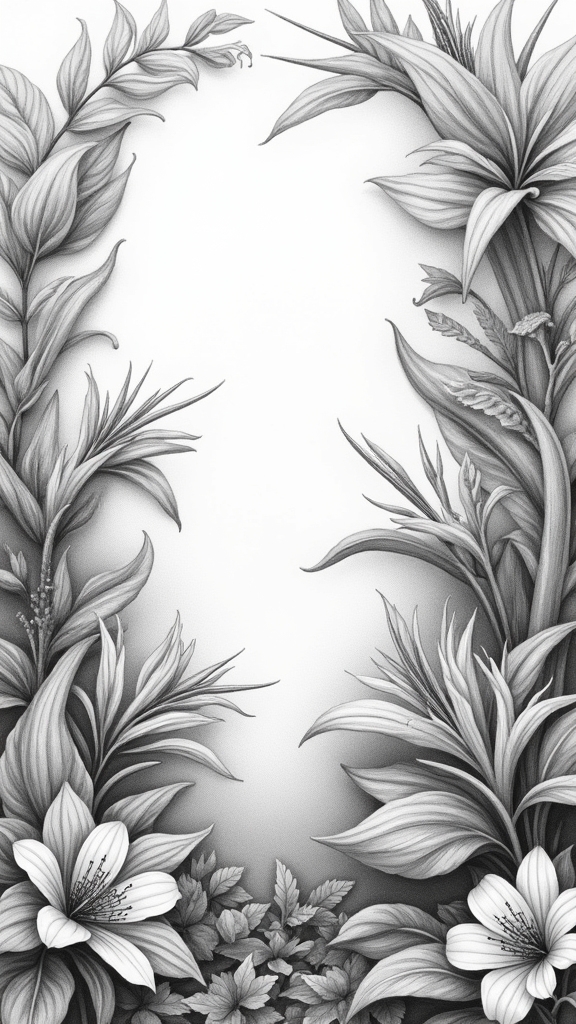
Even though a garden might seem quiet, there’s a secret world buzzing with shapes, colors, and textures just waiting to leap onto the page.
Botanical illustration is like being a detective—every petal, leaf, and stem is full of clues about the natural world, if you know how to look closely.
With creative drawing techniques such as hatching and stippling, these plant features pop off the page, almost like they’re ready to sway in a gentle breeze.
Artists who use high-quality graphite pencils and fine-tipped pens find their drawings become even more lifelike and detailed.
Practice helps artists see more and draw better.
- Detail-oriented observation brings out nature’s complexity
- Mastery of light and shadow adds realistic, three-dimensional effects
- Strategic composition spotlights each plant’s unique personality
Experimenting With Abstract and Conceptual Forms
While some artists focus on making their drawings look just like real life, others crank up their imaginations and head straight for the wild side with abstract and conceptual pencil art. Experimenting with abstract forms means you don’t have to play by the usual rules. It’s about using crazy shapes, bold lines, and funky negative space to create something visually striking and open to interpretation. Instead of a tree, imagine swirling lines and unexpected angles that make you stare and wonder. Different pencil grades, like soft B for drama or H for crisp details, add an extra punch. Techniques such as shading and cross-hatching bring these pieces to life, balancing chaos and harmony.
| Key Element | Abstract Pencil Art |
|---|---|
| Shapes | Free-form, geometric, or organic |
| Pencil Grades | Soft B or hard H for variety |
| Techniques | Shading, cross-hatching, stippling |
| Focal Point | Emotional or conceptual ideas |
| Visual Impact | Bold, thought-provoking, striking |
Developing Unique Comic and Character Concepts
As soon as someone decides to plunge into drawing comics or inventing characters, the real fun begins—imagine giving life to a superhero who’s afraid of the dark or a talking pancake that wants to become a detective!
Creating a unique character goes way beyond just doodling; it takes understanding of anatomy and proportions to make them believable, but also a dose of wild imagination.
Sketching tons of character expressions and poses makes every page come alive, with heroes looking scared, goofy, or totally pumped.
To level up a character’s style and presence, creators can:
- Craft detailed backstories that guide personality and design choices
- Add clothing and accessories that show off their quirks
- Play with line weights for emotions during wild action scenes
Making comics? It’s storytelling magic!
Frequently Asked Questions
How to Improve Imagination in Drawing?
Improving imagination in drawing involves practicing imagination exercises and exploring diverse drawing techniques. Regular use of creative prompts, experimentation with unconventional tools, and participation in art communities can encourage new perspectives and foster innovative artistic expression.
What Can an 11 Year Old Draw?
An 11-year-old can create drawings using simple shapes to depict objects like fruits, animals, and vehicles. They may also experiment with combining these forms to design cartoon characters, developing creativity and foundational artistic skills in the process.
What Can I Draw in 5 Minutes?
The current question explores quick sketch ideas and simple doodle prompts suitable for a five-minute timeframe. Suggestions include sketching ordinary items, practicing with basic shapes, experimenting with pencil grades, or trying timed contour line exercises for creative improvement.
Can a 12 Year Old Draw?
A 12-year-old can certainly draw, as individuals at this age typically possess developing artistic skills and notable age creativity. Their cognitive and motor abilities support creative expression, making drawing an accessible and rewarding activity for them.
Conclusion
Pencil art isn’t just lines on paper—it’s your imagination set free! With some patience, the right tools, and maybe a little eraser magic, anyone can create something awesome. Whether it’s sketching wild animals, drawing epic mountains, or experimenting with crazy shapes, every page is a fresh chance to wow yourself. Remember, even the greatest artists made some pretty weird doodles at first. So go pick up that pencil and start making your ideas real. Who knows what you’ll create?
Leave a Reply