
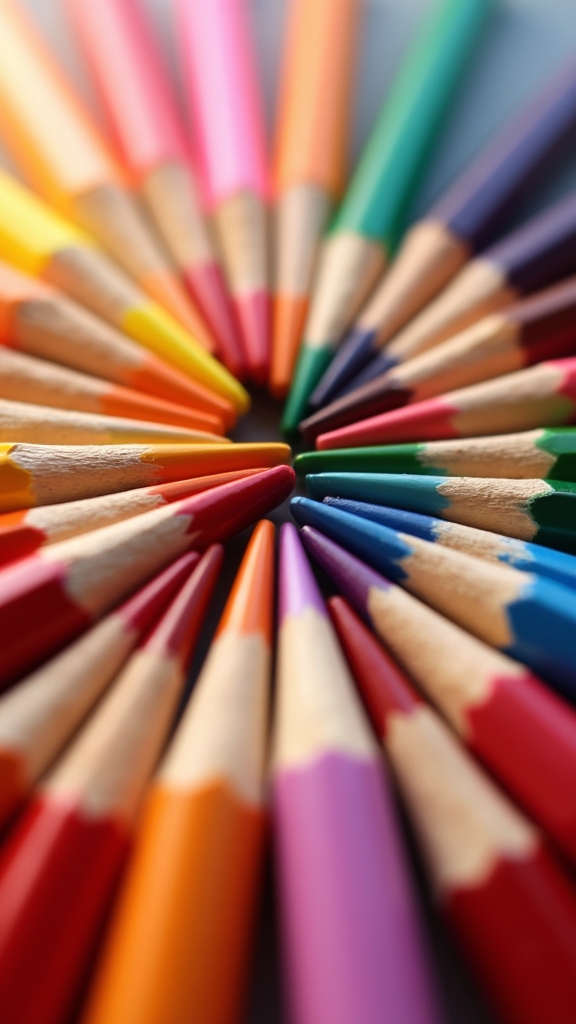
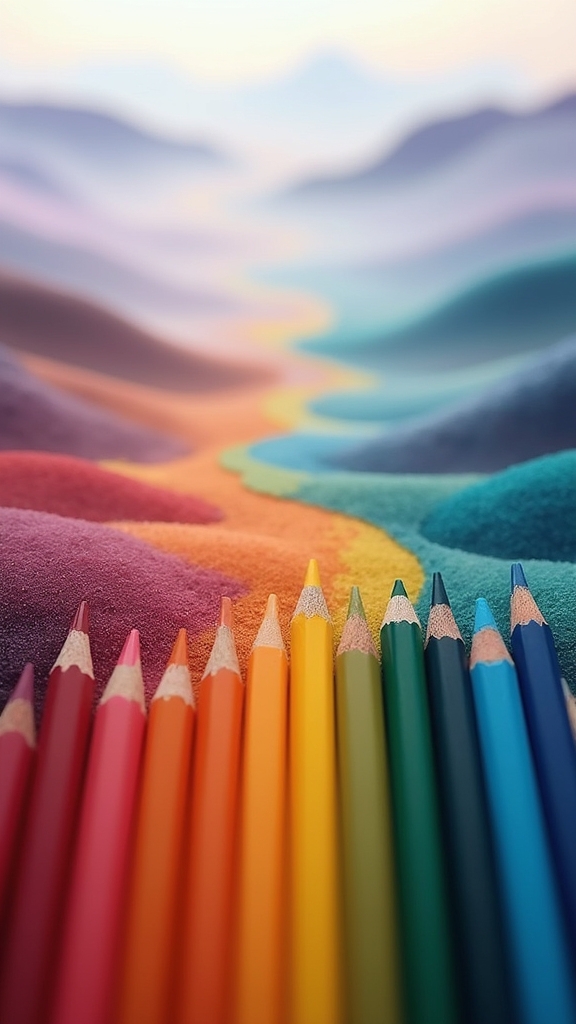
Soft, blended colored pencil art can look absolutely magical—think dreamy sunset skies, misty mountains, or soft-focus portraits with glowy skin. Artists use gentle layering, smudging, and techniques like wet blending or “oiling” with paraffin oil for super smooth color fades. You can try delicate pressure shading for flowers, scumble for fluffy feathers, or use cloudy optical blends for pastel backgrounds. There are even ways to make forests hazy or city skylines fade away. Want more inspiration? The creative ideas keep coming.
Key Takeaways
- Use oiling techniques with paraffin oil to smoothly blend colored pencils for dreamy, luminous landscapes or reflective water effects.
- Apply wet blending with rubbing alcohol to create glowing underwater scenes with vibrant blues and greens and softly layered transitions.
- Layer gentle hatching and scumbling strokes to render misty mountains, airy skies, and soft-feathered animals with atmospheric, touchable textures.
- Experiment with optical blending and overlapping shades for pastel-inspired backgrounds and magically soft gradients in forest or sunset scenes.
- Blend and burnish with a white pencil to achieve soft-focus portraits, blurred city skylines, and ethereal night scenes with delicate color transitions.
Dreamy Sunset Skies Using Gradual Layering

Even though sunsets only last a few minutes in real life, colored pencils let anyone bottle up that magic on paper for good.
Creating dreamy sunset skies in colored pencil art is all about patience, blending, and, of course, layering! Start light—like, really light—with a base of yellow or orange. You want to keep the paper’s texture for later.
Next, pile on warm colors, building pinks and reds slowly. Don’t mash the pencil; play around with pressure to get those super smooth gradients.
At the top, toss in some purples and blues, letting them melt into the warmth below. Burnishing near the end amps up the vibrancy—think of it like smoothing out frost on a window.
A white pencil softens everything, leaving those sunsets dreamy and unreal.
Soft-Focus Portraits With Gentle Blending
Catching a blazing sunset is exciting, but there’s something magical about slowing things down with a portrait that looks soft and dreamy, almost like it’s peeking through a foggy window.
Soft-focus portraits in colored pencil work are all about smooth shifts and gentle blending. To nail that look, artists often use pressure shading and a trusty white pencil to blur those edges, making everything melt together.
Soft-focus colored pencil portraits come alive with gentle pressure shading and a white pencil, blending edges into a beautifully dreamy haze.
Layering is key—by building up tones slowly, artists can keep things light and delicate. When it’s time for finishing touches, burnishing with heavy pressure smooths out the paper’s texture, so everything looks extra soft and shiny.
Sneaky tricks like white color dusting and optical blending add gentle highlights and beautiful glows that really make portraits pop!
Misty Mountains With Smudging Techniques

Although there’s something epic about jagged peaks and wild, craggy cliffs, misty mountains have a totally different vibe—they’re mysterious, like secret kingdoms hiding just out of sight.
Artists who want to capture that dreamy, foggy look with colored pencil portrait skills use light pressure and some nifty smudging techniques. Here’s how anyone can turn their mountains from frosty to fantastic:
- Start with soft pastel pencils for the background, laying down a misty base with light pressure for easy blending.
- Shade the mountain shapes gently—then use your finger or a blending tool to smudge the color and smooth out edges, making the mist roll across the peaks.
- Use a white pencil to brighten peaks and add sunlight that seems to break right through the fog!
Subtle Florals With Delicate Pressure Shading
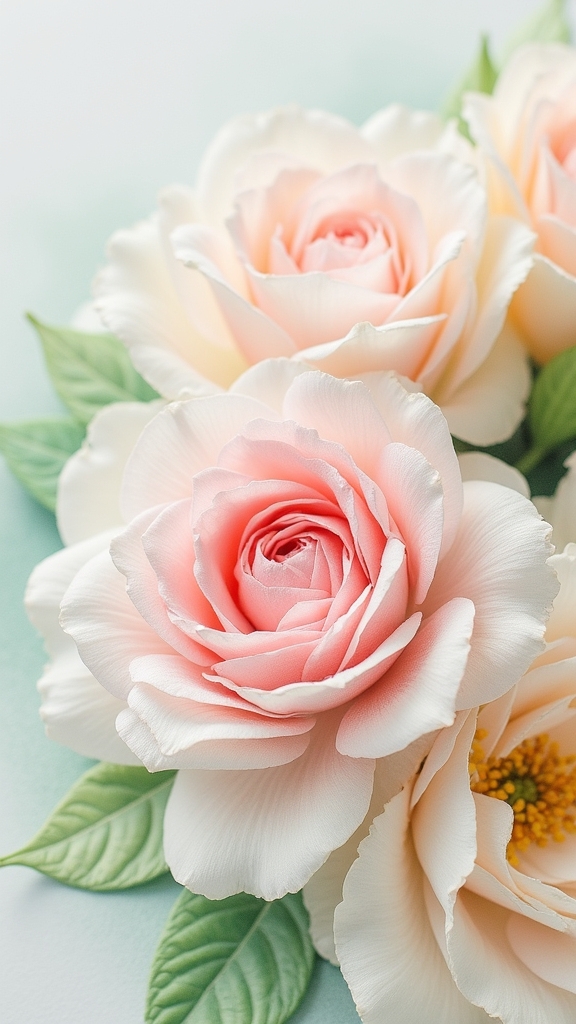
A handful of colored pencils and a gentle touch can make flowers look like they’re almost too soft to be real. With just the right amount of pressure shading, an artist can capture petals that look ready to flutter away with the slightest breeze. By blending colors using light layers, floral art gets that dreamy, delicate vibe—never harsh or overdone. And if you really want edges to melt like morning fog, a white pencil works magic, softening lines and adding highlights. Here’s a quick visual guide:
| Technique | Effect Achieved |
|---|---|
| Light layering | Soft color gradients |
| Pressure shading | Delicate petal forms |
| White pencil blending | Gentle highlight and softness |
| Powder dusting | Smooth, subtle backgrounds |
| Complementary layering | Natural color harmony |
Flowers, with just colored pencils and gentle techniques, truly bloom off the page!
Hazy Forest Scenes With White Pencil Blending

Shifting from those dreamy, petal-soft flowers, colored pencils can also work some serious magic on forest scenes that look like they’re wrapped in morning mist.
Hazy forest scenes are all about softness and subtle changes—exactly where a white pencil and some clever blending come in handy. Artists can use the white pencil to blur edges, smooth out color gradients, and even lighten up spots that need a sunbeam peeking through all those tree branches.
Want to know how it’s done? Check out this quick list:
- Layer different greens, browns, and greys, then blend using a white pencil for depth.
- Gently blur the outlines of tree trunks and fog with soft, circular strokes.
- Add highlights to mimic dappled sunlight sneaking through the leaves.
Velvety Animal Fur Achieved by Burnishing
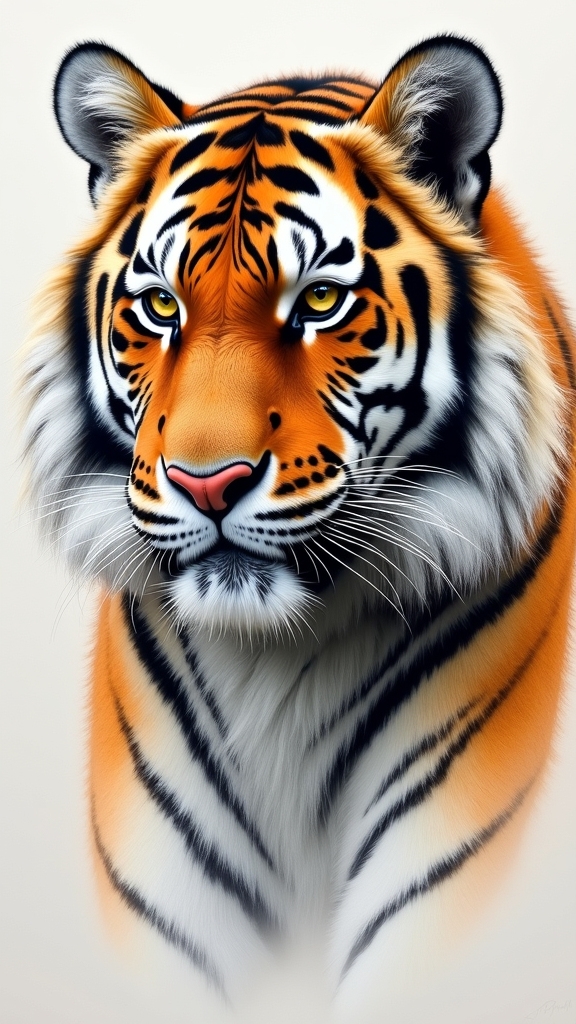
For anyone itching to make animal fur look soft and touchable in colored pencil art, burnishing is like pulling out a magic trick.
By layering colors for depth, then pressing down hard to blend them smooth, artists can create a rich, velvety texture that practically begs to be petted—no lint roller needed.
Just remember, once that burnished finish is on, adding more color is tougher than getting a cat into a bathtub, so plan those layers with care!
Burnishing for Lush Texture
Envision this: you want to make animal fur so soft and velvety your drawing practically purrs. The secret? The burnishing technique. Burnishing means pressing down super hard with your colored pencil, flattening the texture of the paper so the colors blend together and look smooth as a kitten’s ear.
To really get that lush, realistic texture, you’ll want to pay attention to these steps:
- Layering colors in the order of lights-to-darks before burnishing gives your fur depth and glow.
- Blend the colors using a white pencil, colorless blender, or even a paper stump to help squish the pigments together.
- Apply heavy pressure for that burnished finish, which locks colors in and creates a waxy shine—just plan ahead, because once you burnish, there’s no going back!
Layering Colors for Depth
Grab a handful of colored pencils and get ready to build some magic, because layering colors is where animal fur truly comes to life on paper.
First, imagine the softest, fluffiest animal you can. Now, with pencil shading, you can start with light layers—maybe a soft tan or pale gray—before gently sneaking in darker browns or rich blacks. This is where the real magic of layering colors happens.
But wait, there’s more! Once you’ve stacked those shades, burnishing comes into play. Picture pressing the pencil hard enough to flatten the toothy paper, smooshing the colors into a velvety, shiny finish.
Layer for depth, burnish for sheen, and you’ve basically tricked everyone into believing that’s real animal fur—minus the sneezing!
Whispery Cloud Layers Using Color Dusting
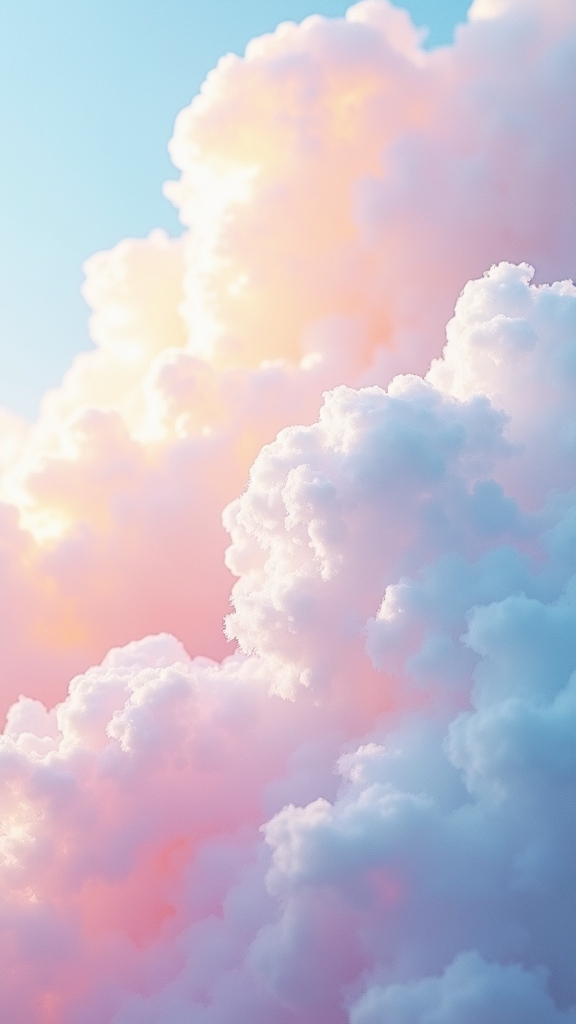
Although coloring clouds sounds easy, getting them to look soft and dreamy—like cotton candy drifting across a sleepy sky—can be a real challenge.
Enter color dusting, a seriously magical move for creating whispery cloud layers with colored pencils. Here’s how it works: gently shave off a bit of color, grab a soft brush, then swirl the colored dust onto your page. Instantly, tough white patches disappear, leaving behind blended tones that fade perfectly into each other, way smoother than scribbling.
Color dusting with pencils creates feather-soft clouds—just brush on the dust, and watch harsh lines vanish into dreamy blends.
This trick lets artists build cloud layers that wow the eye without any harsh lines stealing the show.
Try these steps:
- Use a soft brush for gentle, even color dusting.
- Blend multiple colors for extra depth.
- Experiment with dust for dreamy, unique effects.
Blurred Reflections in Water With Oiling
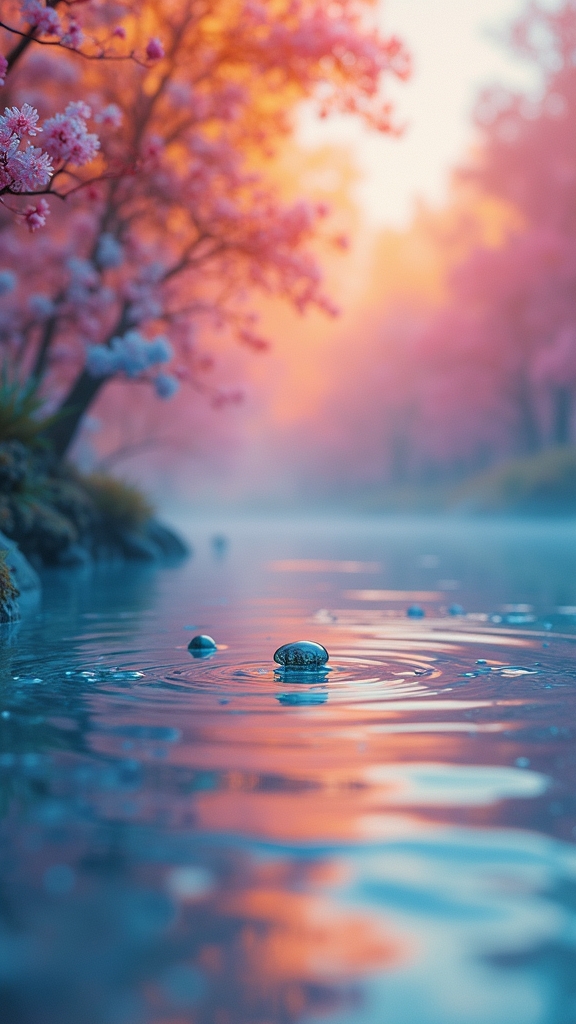
Making soft, dreamy water reflections with colored pencils gets a major upgrade when oiling is used for blending.
This trick lets colors melt into each other, so lake surfaces and river scenes really look like they’re shimmering and blurry—almost like magic, but with art supplies.
Just picture spreading colors so smoothly that your drawing suddenly feels like a painting, with every reflection gently fading into the next.
Oiling Technique for Blending
Artists searching for that magical, dreamy look in water reflections often stumble upon the oiling technique—a secret weapon that brings colored pencil art to a whole new level. Suddenly, colors don’t just sit there; they blend and swirl with buttery smoothness, especially when artists use oil-based colored pencils like Faber Castell Polychromos.
With a hint of paraffin oil, they create blurred reflections that mimic how light naturally bounces and bends on water. Ready to see what makes this technique so cool?
- Oiling transforms flat patches into vibrant, luminous blends, bursting with depth and realism.
- Careful application is key—too much oil, and you’ll risk soggy, paper-bleeding chaos (not fun!).
- It’s perfect for artists who want their pencil work to look almost like paint, soft and atmospheric.
Achieving Soft Water Reflections
So, what’s the magic trick for creating those soft, blurred reflections in water that look almost too real? It all starts with colored pencils—specifically oil-based ones like Faber Castell Polychromos.
First, artists gently sketch in the base colors using soft pressure, building up those watery layers. Next comes the real wizardry: a thin layer of paraffin oil, glided over the pencil marks, making the colors melt together with smooth blending.
It’s like watching colored puddles swirl into each other, creating that dreamy, painterly look. But, be careful! Too much oil, and your paper might just wave the white flag and fall apart.
A little experimentation with pencil pressure helps mimic the soft, rippling reflections real water shows. Voilà—water reflections that absolutely shimmer!
Gentle Hatching for Atmospheric Landscapes
Even though colored pencil sceneries can look amazing all on their own, gentle hatching opens up a whole new way to create dreamy, atmospheric scenes that feel alive.
This technique uses closely spaced, parallel lines to build soft textures that seem to float across the paper. By mixing in gentle hatching, artists can really push the feeling of atmosphere.
Here’s how:
- Create smooth gradients: Combine gentle hatching with light pressure to form subtle changes, making it look like sunlight softly landing on hills.
- Show depth and detail: Play with the weight and spacing of your lines, which gives that natural sense of distance and depth in vistas.
- Mix with other techniques: Add a hatching layer over pastel or colored pencil bases for detailed, balanced atmospheric effects.
Suddenly, vistas look magical!
Smooth Still Life Fruits With Layered Tones
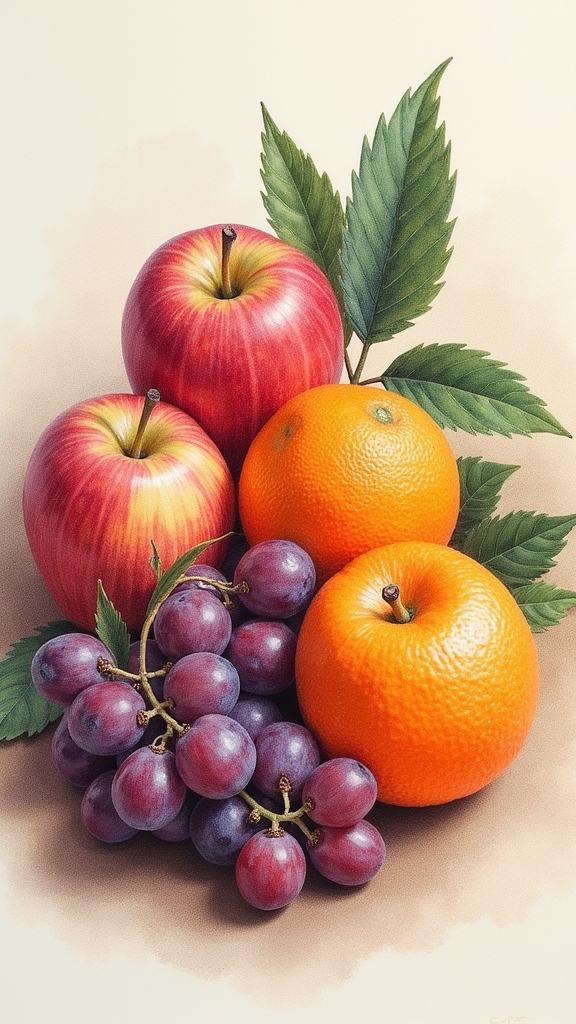
Few things say “classic art” quite like a shiny, colorful still life packed with fruit—there’s just something magical about making apples or bananas look almost good enough to eat!
To kick off a fruit still life with colored pencils, it all starts with a gentle outline—think of it as a rough draft for your peaches and pears. From there, layering is the secret sauce.
Artists use light pencil strokes to lay down base colors, slowly building up with more pressure for shadows and less for those mouthwatering highlights. Mixing in a white pencil smooths out edges and gives everything a polished, juicy look.
Clever pressure and smooth blending create fruity forms that really pop, while a smudged background keeps the spotlight right where it belongs.
Ethereal Night Scenes With Crosshatching
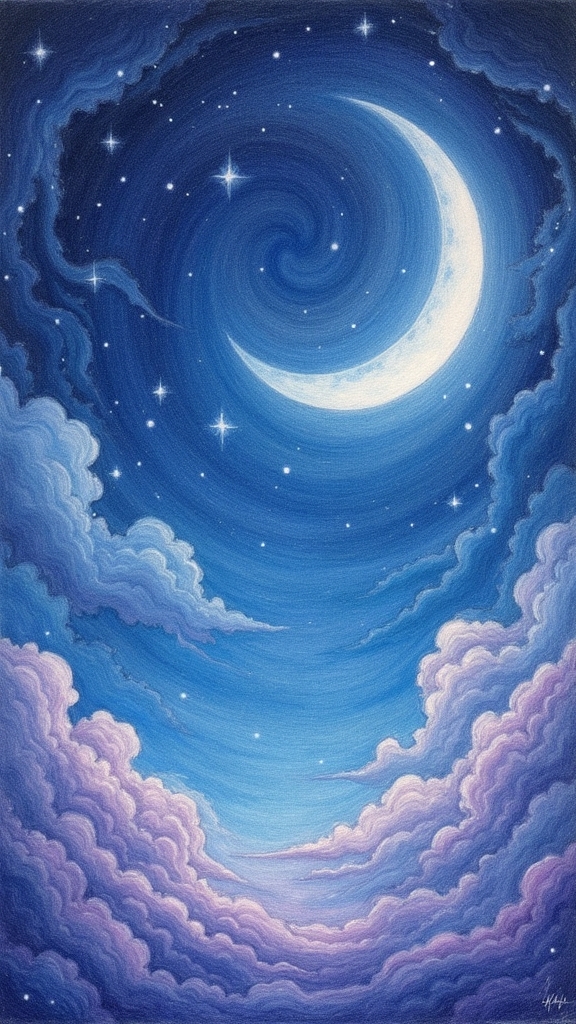
Crosshatching in ethereal night scenes is like magic for colored pencil artists—it’s a way to stack layers for awesome depth and bring out those glowing highlights that make the night feel almost real.
Mixing darker and lighter colors in your crosshatched lines can create wild contrasts, like flashes of moonlight popping against the dark sky, and who doesn’t love a bit of drama in their art?
Plus, by switching up the direction and pressure of your hatch marks, you can make sky textures that swirl, shimmer, and practically dance with mystery.
Layering For Depth
Imagine standing under a midnight sky, surrounded by deep blues and shimmering stars—that’s the magic colored pencils can create when artists layer their colors just right.
Layering for depth is all about building up see-through layers, letting colors stack and swirl like nighttime clouds. Crosshatching comes in handy too, using crisscrossed pencil lines—sometimes neat, sometimes wild—to add just enough texture for a believable sky.
To get that super dreamy effect, blending with a white pencil can make those harsh lines totally disappear. Here’s how you can bring your night scene to life:
- Start with dark colors as a base and gradually layer lighter shades.
- Use crosshatching with varied pressure for cool texture.
- Blend with a white pencil for a soft, ethereal finish.
Contrasting Light Effects
There’s just something magical about night scenes in colored pencil art. All that mystery—stars twinkling, shadows stretching—really draws you in.
To make those stunning light and dark contrasts, artists use crosshatching. Imagine drawing lots of intersecting lines, kind of like tangled spaghetti, but with a purpose! By changing how close or angled those lines are, you can create soft glows where the moon is bright, and deep shadows where the night is darkest.
Cool colors—think blues and purples—help give that nighttime chill. To add highlights, lighter shades are gently layered over dark areas, mimicking where light reflects off rooftops, fog, or water.
With careful crosshatching, the whole scene gets that soft, dreamy look, practically sparkling off the page.
Expressive Sky Textures
Although drawing the sky at night might sound tricky, artists can totally capture that dreamy, mysterious feeling just with some well-placed pencil lines.
Using crosshatching with colored pencils is a magic trick for creating an expressive sky full of swirling clouds and glowing stars! By changing up the angles and spacing of the lines, artists can make the night scene look alive and deep, like it’s moving overhead.
Want to make your own skies mysterious and beautiful? Try these tips:
- Layer dark blues and purples with brighter hues to show glowing stars and the moon.
- Use softer pressure for lighter areas, then press harder for deeper, richer shades.
- Add pops of white pencil for highlights that sparkle like moonbeams!
Expressive sky, achieved!
Faded Cityscapes Using Directional Lines
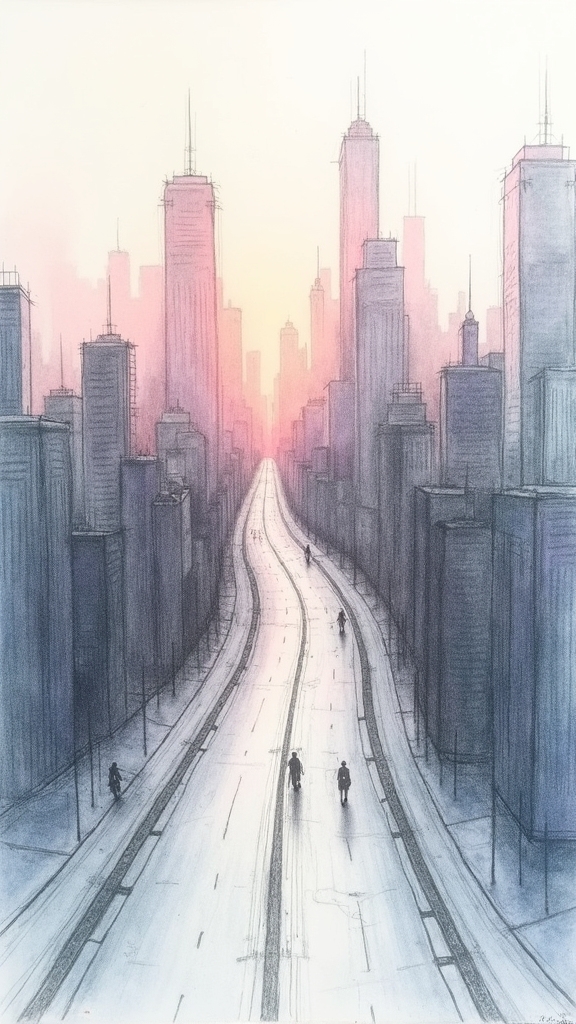
City skylines can seem mysterious and almost magical when captured with colored pencils, especially using the trick of directional lines. Start by lightly sketching your cityscape—maybe some skyscrapers and winding streets—making sure perspective looks right. Don’t worry if your lines aren’t perfect; cities are pretty lumpy anyway!
Use hatching and crosshatching to give buildings form, changing line direction and density to show what’s closer or further away. For that soft, blended effect in cityscapes, press gently in the distance and save your boldest lines for up front.
Try layering colors instead of blending them completely—it’s like optical wizardry for extra depth! Finally, swipe over bright spots with a white pencil to soften edges and highlight where light splashes across rooftops or shimmering windows.
Delicate Feather Studies Through Soft Scumbling
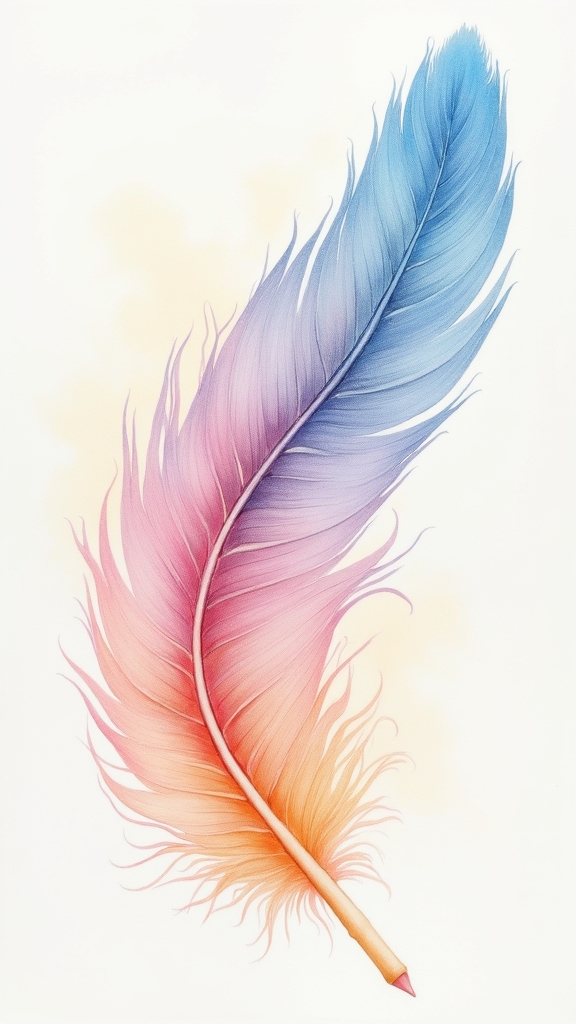
Plenty of artists get hooked on drawing feathers—not just because they’re gorgeous, but because capturing their soft texture is both tricky and super satisfying.
Scumbling is the secret weapon here, letting artists use tiny, swirling motions to layer colored pencil tones without making the drawing look stiff. With feathers, going soft is the name of the game, and scumbling makes the barbs and contours look touchable, almost fluffy.
Artists can mix things up by pressing lighter or harder and sneaking in multiple colors, which really makes those feathers pop with realism. For everyone wanting to try it themselves, remember this:
- Light pressure plus circles equals super soft changes.
- Varying colors mimics real-life feather sparkle.
- Blending edges with a white pencil adds the final, magic softness.
Luminescent Underwater Views With Wet Blending

After all those soft, fluffy feathers, it’s tempting to chase something even more magical—like the glowing blues and greens found underwater.
Wet blending with colored pencils lets artists create those wild underwater effects that look almost like they’re lit from within. It’s kind of like mixing a potion: you start with lighter colors, add a touch of darkness for drama, and then use a little rubbing alcohol to melt it all together. Suddenly, the ocean glows!
Wet blending with colored pencils melts colors together, creating glowing, underwater effects that seem to shimmer from deep within the page.
Using exceptional colored pencils—like Faber-Castell Polychromos—really helps those colors explode off the page. Want to get fancy? Try different brushes or tips to paint on the solvent and watch as the water comes to life in shimmering, swirling patterns.
Underwater scenes never looked so enchanted!
Pastel-Inspired Backgrounds by Optical Blending
Even though colored pencils aren’t pastels, they can totally borrow some of that dreamy, cloud-like flair by using a little something called optical blending. With this technique, artists layer colored pencil shades right on top of each other—no smudging required! The colors blend visually, not physically, which makes for super soft, blended backgrounds that look like they floated in from a pastel drawing.
Want your art to glow with those soft, blended backgrounds? Here’s how:
- Start with a smooth paper and lightly sketch a background using a primary color.
- Layer secondary and tertiary colors, letting them overlap for new, magical hues.
- Top it all off with white or light pencil to up the glow, making those backgrounds even dreamier.
Suddenly, pastels aren’t the only way to get soft magic!
Frequently Asked Questions
How Do You Blend Soft Colored Pencils?
Blending soft colored pencils involves blending techniques such as adjusting pencil pressure, layering colors gradually, and using tools like blending stumps or white pencils. Light to heavy pressure and repeated layering enhance shifts, resulting in a smooth, cohesive effect.
Can You Use Colored Pencils With Soft Pastels?
Artists often combine colored pencil techniques with pastel blending methods through mixed media approaches. Soft pastels provide expressive backgrounds or underpaintings, while colored pencils add detail and precision, expanding creative possibilities and enhancing depth in artwork.
What Are Some Common Mistakes While Coloring With Colored Pencil Drawing?
Common mistakes in colored pencil drawing include poor color choices, neglecting to test hues, improper layering methods, using excessive pressure, and failing to take into account paper texture. Awareness of these errors helps guide techniques improvement for artists at any level.
What Is the Easiest Pencil to Blend?
When considering the easiest pencil to blend, soft, wax-based colored pencils like Prismacolor Premier are preferred. Their high pigment content, compatibility with various blending techniques, and ease of color layering make them ideal for smooth, blended shifts.
Conclusion
Colored pencils aren’t just for sketches—they’re magic wands for creating dreamy, blended art. Whether it’s building up soft sunsets or blending misty forests with a trusty white pencil, it’s all about layering, smudging, and having fun. With these ideas, anyone can turn blank paper into something amazing, even if your “mountains” sometimes look like giant potatoes. So grab your pencils, get blending, and make some art that looks as soft and cool as a fuzzy daydream!
Leave a Reply