
Pencil art pops with creativity—try sketching your favorite mug, goofy self-portraits, or wild cartoon characters with big, silly eyes. Draw a leaf’s twisty veins, a cat’s sleepy face, or the way sunlight falls on your messy desk. Challenge yourself with cross-hatching or mix pencil with watercolor splashes. Trace, layer, or go for minimalist lines if you’re feeling fancy. From magical creatures to bold skyline sketches, these ideas make every blank page a new adventure to explore next.
Key Takeaways
- Sketch everyday objects like mugs or apples to build observation skills and confidence.
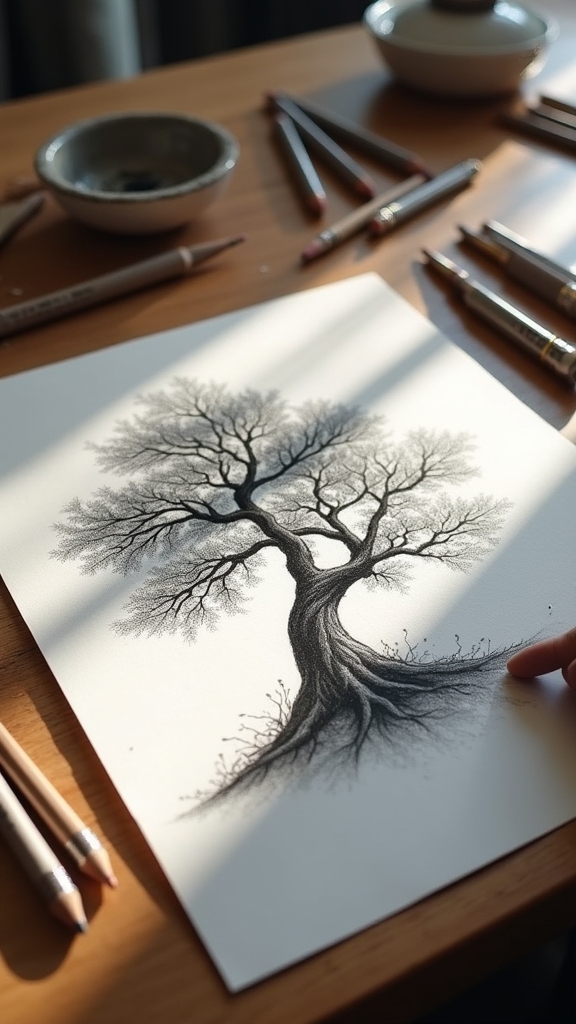
- Draw detailed leaves and plants, focusing on textures, veins, and light for realism.
- Create expressive animal or human portraits, experimenting with shading and facial expressions.
- Practice cross-hatching and value shading techniques to add depth and dimension to your artwork.
- Design fun cartoon characters or imaginative fantasy creatures for creative exploration and enjoyment.
Sketching Everyday Objects
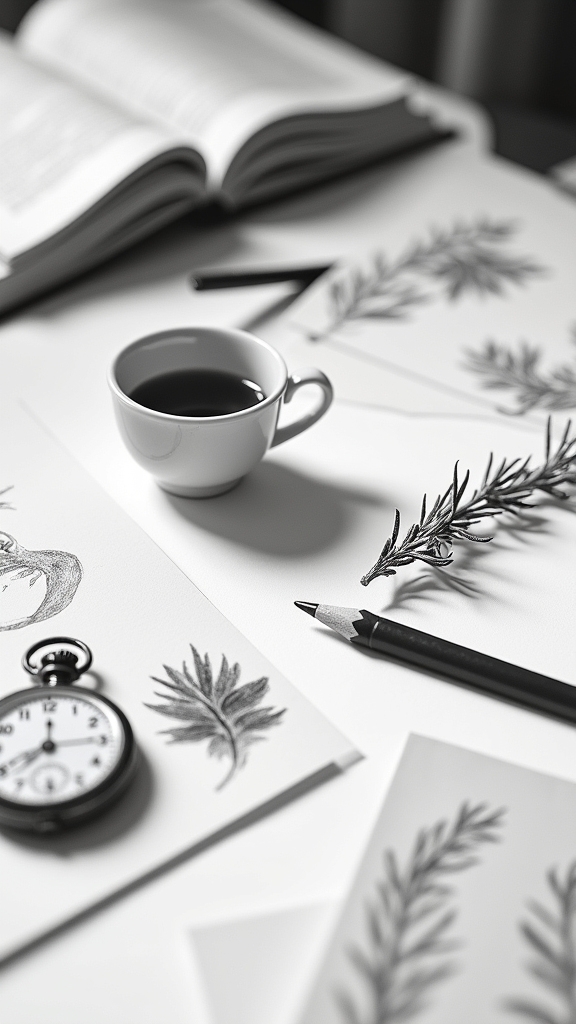
Almost everyone has a few ordinary objects lying around—like mugs, pencils, or a half-eaten apple just begging to be drawn. When someone’s searching for drawing ideas or just feeling stuck, these familiar items make perfect subjects.
Sketching everyday objects isn’t about making something boring; it’s a sneaky way to train the eyes and hands to notice the cool stuff—shine on a spoon, stripes on a notebook, or the twist of a crumpled wrapper.
Grab some art supplies and play around, mixing hard and soft pencils for wild shadows or smooth glass. Even tried-and-true objects become new adventures on paper.
Plus, doodling these basics builds confidence and turns drawing into a regular habit—one apple core, chipped mug, or scattered pencil at a time.
Drawing Detailed Leaves and Plants
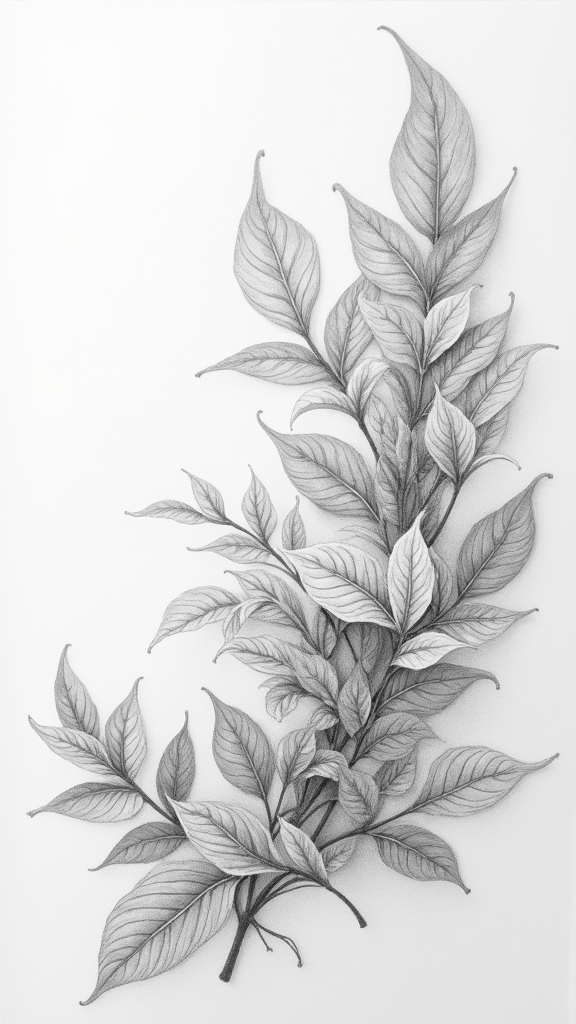
Drawing leaves and plants isn’t just about making a green blob—it’s a chance to explore wild shapes, wiggly edges, and cool textures that make each one unique.
Whether it’s the bold zigzag of a maple leaf or the fuzzy surface of a tiny sprout, every plant has its own personality waiting to show up in your sketchbook.
Paying attention to these small details—not to mention adding a few silly bumps or sneaky veins—can turn your drawing from ho-hum to wow in no time.
Exploring Leaf Shapes
Even though leaves might seem simple at first glance, there’s a whole world of wild shapes and tiny details hiding in plain sight. Some are pointy, some are round, and some just look like they belong on an alien planet!
Capturing those tiny veins and unique edges by studying different types of leaves can make your pencil art look like it just popped off the page. Grab a fresh set of pencils and get ready to dive deep into the art of leaves—trust, it’s way more exciting than raking them!
To get started, try this:
- Collect leaves from ferns, ginkgo, and succulents for a mix of shapes.
- Practice shading techniques to add serious dimension.
- Focus on those intricate details along the veins and edges.
Texturing Plant Surfaces
The world of plant surfaces is way more exciting than most people think—there’s so much going on if you just get close enough. At the Art Studio, it quickly becomes a cool challenge to capture things like the shiny gleam on a leaf or the hairy edges of a weird succulent. When people texturing plant surfaces, they use pencil tricks like cross-hatching and stippling, which basically means lots of tiny lines or dots to show shadows and depth. Try switching up how hard you press the pencil! Look at real leaves while you draw and paint, to see where the light bounces and where the bumps are.
| Technique | Example Texture | Tip to Try |
|---|---|---|
| Cross-hatching | Leaf veins | Use light, quick strokes |
| Stippling | Bark | Vary dot spacing for rough look |
| Directional line | Succulent skin | Follow surface curves |
| Negative space | Fern edges | Leave space for highlights |
Animal Portraits in Pencil

Pencil portraits of animals can be a real adventure for anyone who loves art and, honestly, who doesn’t love cute, fluffy faces?
Animal portraits aren’t just about drawing whiskers and noses—it’s about learning to really see the cool details, like the shine in an eye or the way fur flows. Observational skills totally level up when you study reference photos or even your pet stretched out on the rug.
Drawing animals means noticing the tiny spark in their eyes and the flow of their fur—observation transforms simple sketches into real portraits.
And shading techniques? So important! Using tricks like hatching or blending, artists make their foxes, cats, or even hedgehogs look like they could hop off the page.
- Try different pencil grades to nail those light and dark spots.
- Look closely at animal anatomy to get proportions just right.
- Practice shading techniques to add furry depth and drama.
Get drawing—wild creatures await!
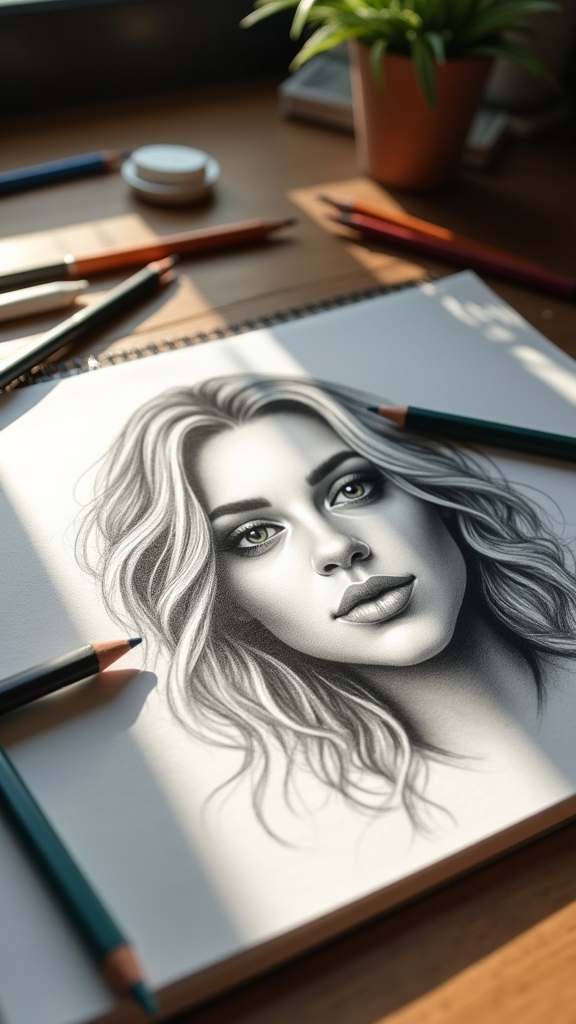
People and Portrait Studies
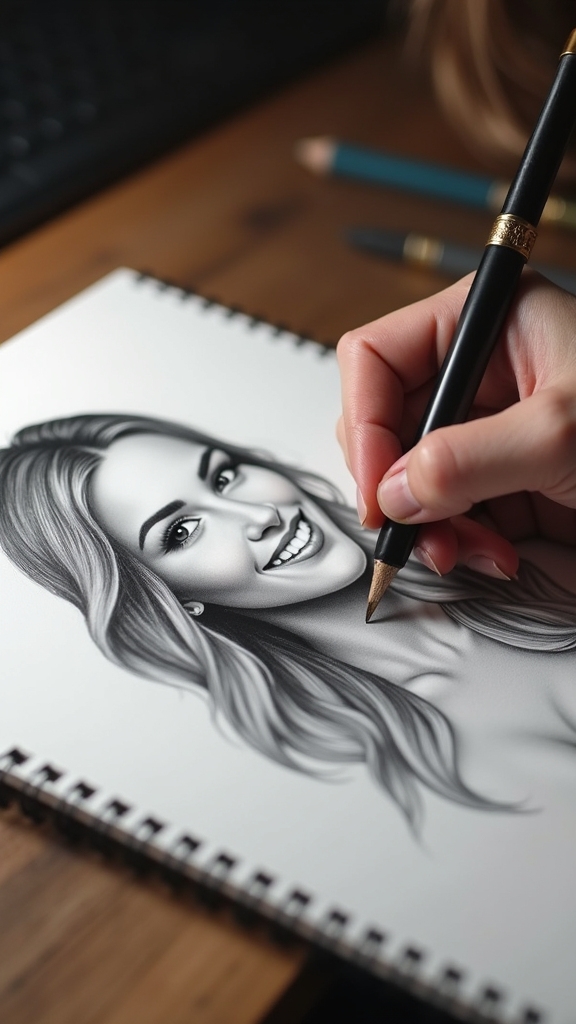
Human faces—so many expressions packed into one head! Drawing people can seem tricky, but with steady practice, it quickly gets exciting.
Portrait studies help boost observation skills and teach artists how to spot cool details in eyebrows or cheekbones—plus, everyone’s face is different! Artists often use reference photos or even friends sitting still as practice subjects to keep their drawings accurate.
It’s fun trying different styles: maybe a realistic portrait one day, a wacky caricature the next. Sketching hands or capturing someone mid-laugh keeps things interesting, and these little exercises help artists feel more confident drawing people.
Mixing up pencil techniques while practicing portraits just adds extra punch, making smiles brighter and personalities jump right off the page.
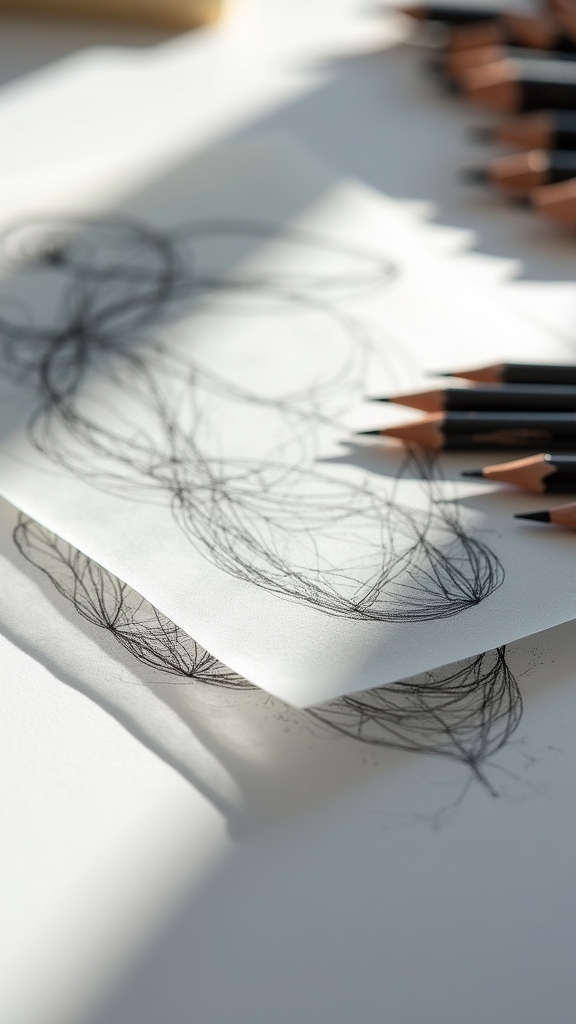
Shading With Cross-Hatching Techniques
Ready to give your pencil drawings some seriously cool shadows?
Cross-hatching starts with simple lines, but things get interesting when you layer them for more depth and try out crazy angles—suddenly your art pops off the page!
With a bit of practice, this technique can turn flat sketches into eye-catching masterpieces that make people ask, “Wait, did you really do that with just a pencil?”
Basic Cross-Hatching Steps
Jump right into cross-hatching and discover how a few lines can make your drawings pop with amazing shadows and depth.
Cross-hatching is all about drawing lines, then crossing them with more lines—sounds simple, but it’s the secret sauce behind some seriously cool shading! Here’s how anyone can get started:
- Draw a simple shape (try a sphere or cube) and shade one side using neat, straight lines.
- Add a second set of parallel lines over the first set, angling them to cross the originals—this makes your shading darker and more interesting.
- Mix up your line spacing and try thicker or thinner pencils for different effects.
Best part? The more you practice cross-hatching, the easier it gets—and the more epic your pencil art turns out!
Layering for Depth
When it comes to making pencil drawings look extra awesome, layering with cross-hatching is basically a game-changer. With cross-hatching, artists draw lines in one direction, then add new lines going another way to build up layers. This technique creates depth, making drawings look 3D and alive. By messing with line density and spacing, it’s possible to show darker shading in shadowy spots and keep things lighter where there’s more light. Trying out different pencil grades—like softer B pencils for rich, dark shades or harder H pencils for gentle shading—can give your art even more personality. Here’s a quick table to break it down:
| Pencil Grade | Shading Effect |
|---|---|
| 4B (Softer) | Dark, bold depth |
| 2H (Harder) | Light, subtle shading |
| Mixed Grades | Dynamic, rich textures |
Experimenting With Angles
After layering with cross-hatching, things start to get really interesting once artists mess with the angles of their lines.
By simply changing the direction, they can totally transform the mood and texture of a drawing—like making a steel ball look shiny or a rock seem rough.
Adjusting angles and shading in cross-hatching doesn’t just make things look cooler, it makes your art pop right off the page!
Want to level up? Check these out:
- Try layering cross-hatching at different angles on one shape and see how the shadow changes.
- Mix up pencil grades—maybe a 4B for dark crevices and 2H for delicate, lighter shading.
- Draw everyday objects from weird angles and use cross-hatching to show how light bounces in unexpected ways.
Experiment, laugh at the crazy results, and watch your pencil drawings come to life!
Creating Value Drawings for Depth
Plunge into the world of value drawings, and suddenly, that flat paper comes alive with light, shadows, and hidden depth—kind of like giving your art a 3D upgrade without any fancy glasses.
Value drawings are all about figuring out where the lightest lights and darkest darks go. If you start with Black and White, it’s a great reminder that clever shading can totally change the way we see a picture.
Mastering value drawings means learning to play with light and shadow—suddenly, your art pops from flat to full of depth.
Artists often use large sheets for value sketches, which makes it easier to spot details and experiment with dramatic shadow effects. Converting a reference photo to Black and White helps spot those sneaky shadows you might miss otherwise.
Plus, these early sketches can protect delicate paper by keeping those early pencil marks gentle and light.
Fun Cartoon-Style Characters
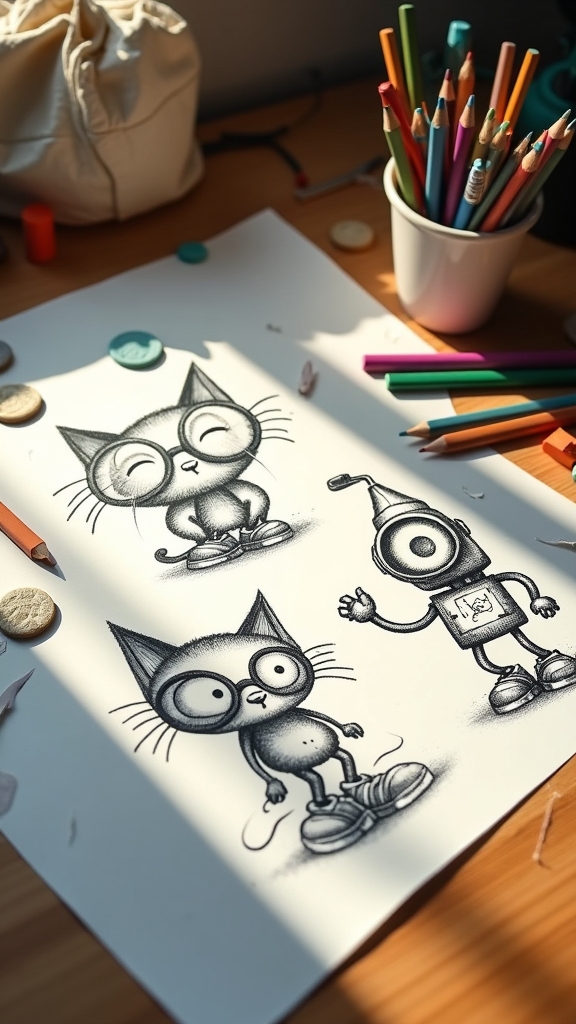
Cartoon-style characters are all about going big with goofy faces, wild expressions, and super silly body shapes—think giant heads, tiny feet, and smiles wider than their whole face.
Adding bold outlines and splashes of color helps these characters leap right off the page, like they’re ready to tell you a secret (or pull a prank).
With a few well-placed lines and a whole lot of personality, cartoon drawing quickly turns into an adventure where your pencils create stories and laughs at the same time.
Exaggerated Expressions and Features
When it comes to drawing fun characters, nothing grabs attention like exaggerated expressions and wacky features. These little details can make your pencil art pop with personality and help your characters jump right off the page.
Want a character that’s always excited? Try enormous, sparkling eyes and a smile so big it’s contagious! Feeling dramatic? Wild eyebrows and a shocked jaw can tell a story even without words.
Here are a few imaginative ways to level up your character design:
- Play with exaggerated features like oversized noses, eyes, or mouths to give your characters extra flair.
- Focus on huge, expressive faces—sometimes an exaggerated wink or a lopsided grin says it all.
- Use bold outlines and energetic lines around facial features to make those expressions really stand out!
Let your imagination go wild!
Playful Body Proportions
If there’s one thing that always gets people smiling, it’s a character with a giant head wobbling on tiny stick-legs or a goofy hero sporting hands the size of dinner plates.
This style of art uses playful body proportions to give characters quite a lot of personality and make them memorable. By stretching and squishing features—maybe giving someone really long arms or eyes bigger than baseballs—artists can create cartoons that feel lively and fun.
Beginners don’t have to worry about serious anatomy here; just grab a pencil and use simple shapes to map out bodies before going wild with exaggeration.
It’s cool to check out famous cartoon characters for ideas, then try drawing wild poses or silly faces to make each character stand out.
Bold Outlines and Colors
A blast of bold outlines and eye-popping colors can transform any ordinary pencil sketch into a character that practically bursts off the page, waving for attention.
Cartoon-style characters thrive on bold outlines, which carve out their shapes and help them stand out, even from a distance. Using vibrant colors adds instant personality—whether it’s a wacky blue hairdo or a neon-green T-shirt, every color choice can say something about who your character is.
- Thick outlines with markers or dark pencils make characters pop and give your art a pro touch—even if your character’s body looks like a cracked egg!
- Bright, saturated colors instantly boost the mood, making it hard for anyone to ignore your cartoon.
- Exaggerated features and silly poses create memorable, one-of-a-kind expressions.
Still Life With Household Items
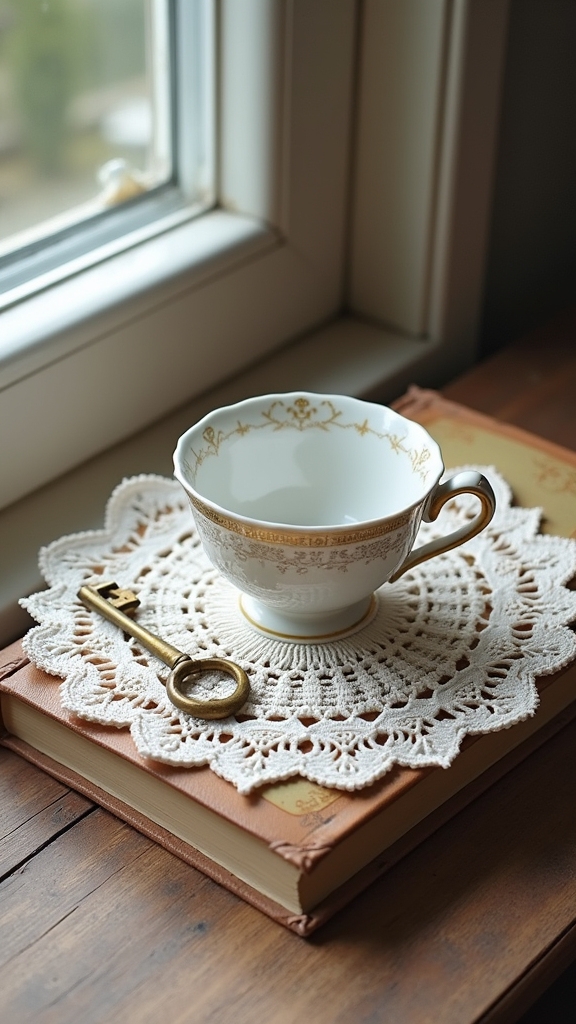
Messy desks, kitchen tables piled with snacks, or the bookshelf everyone forgets to dust—these spots are packed with hidden art inspiration.
Drawing a still life with ordinary household items is much better than waiting for some fancy art supplies. Seriously, a well-placed mug or half-eaten apple can give an artist more ideas than a blank page ever could.
Arranging things like glasses, books, fruit, or even that plant you almost forgot to water helps practice shapes and shadows. Artists can play with natural light, letting it spill over shiny spoons or bounce off glass jars, adding cool highlights and deep shadows.
Different shading techniques bring out textures—smooth, rough, shiny, or dull. Using personal items makes each still life drawing unique and packed with meaning.
Fantasy Scenes and Imaginary Creatures
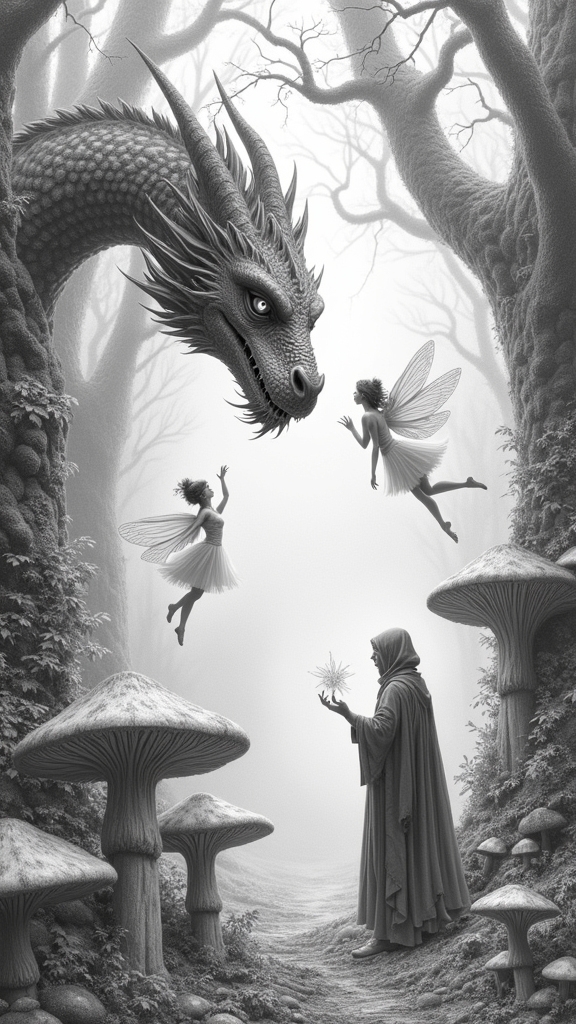
While regular sketches might show things everyone has seen, fantasy scenes and imaginary creatures let artists dive straight into a world where anything can happen—no magic wand required.
Fantasy art unlocks limitless possibilities—no rules, just pure imagination waiting to take shape on the page.
This blog post is here to spark wild ideas, because every time someone puts pencil to paper, a new story can begin. Imagine drawing a dragon soaring over a glowing castle, or a unicorn with horns that sparkle even in black and white.
- Mix and match details from folklore—like adding a kraken’s tentacles to a griffin!
- Give imaginary beasts quirky poses, wild faces, or unusual textures using cross-hatching or blending.
- Design vibrant settings with floating islands or enchanted forests to make each piece pop.
Readers love to hear what wild worlds you dream up!
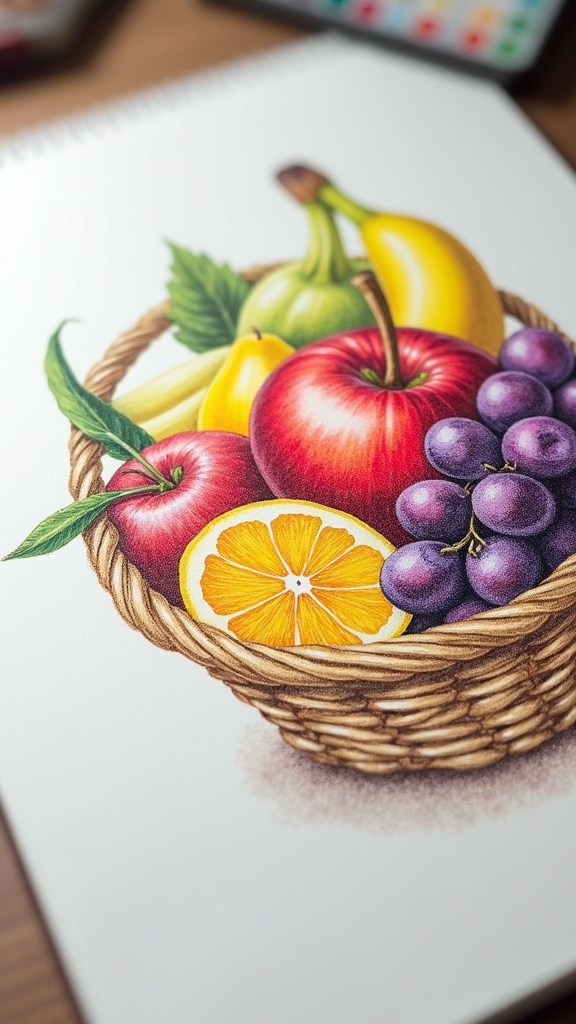
Food Illustrations Full of Texture
After racing through imaginary worlds packed with dragons and unicorns, it’s time to take those wild drawing skills to the kitchen table—literally.
Food illustrations become a whole new adventure when you focus on texture techniques. Think about those tiny dots for a strawberry’s seeds or those crazy lines that make onion rings pop. By playing with different pencil grades, artists can make a chocolate cake look rich and gooey or give a pineapple its tough, spiky skin.
Realistic shading, like blending and smudging, can turn an ice cream scoop from flat to wow—almost good enough to taste! Studying actual foods up-close (no, not just as a snack) helps capture food composition and angles, making even the simplest snack sketch stand out.
Exploring Architectural Sketches
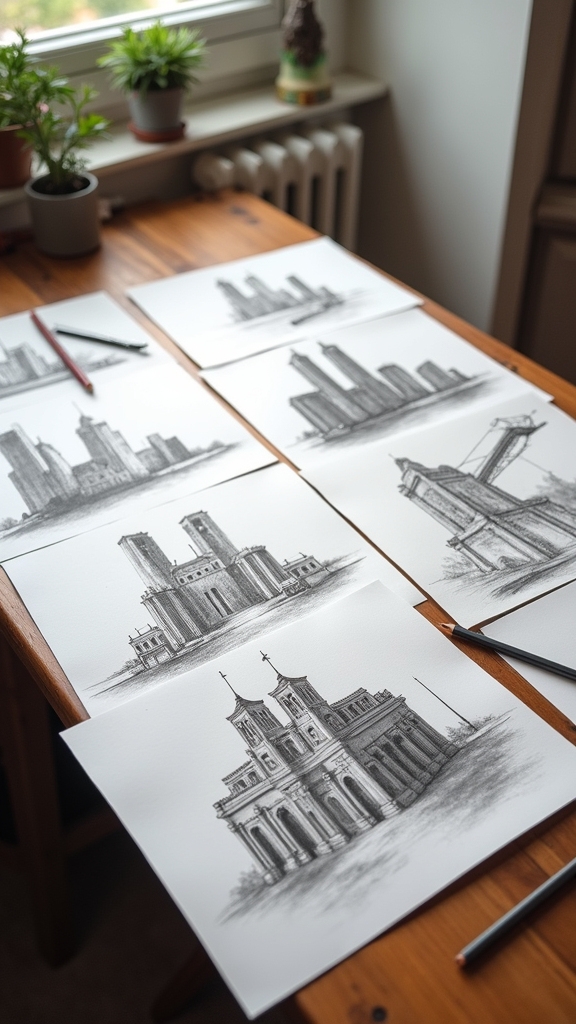
Plenty of artists discover that drawing buildings isn’t just about straight lines and right angles—it’s about capturing the wow factor of epic castles, twisty skyscrapers, or even that creaky old house down the street.
Exploring architectural sketches pushes creatives to master perspective techniques and seek out sketching challenges. From gigantic Gothic cathedrals to bold Modernism, learning about architectural styles can spark all kinds of wild ideas.
Architectural sketching means conquering perspective and drawing inspiration from dramatic cathedrals to eye-popping Modernist wonders.
Artists often build their skills by studying real buildings and using shading styles, like hatching and cross-hatching, to add major depth and drama.
Feeling brave? Try these:
- Experiment with bird’s-eye or worm’s-eye viewpoints for extra drama
- Do five-minute sketches of local buildings to sharpen your eye
- Mix old-school and modern architectural styles in one drawing
Ready to enhance your sketchbook?
Environments: Forests, Oceans, and Beyond
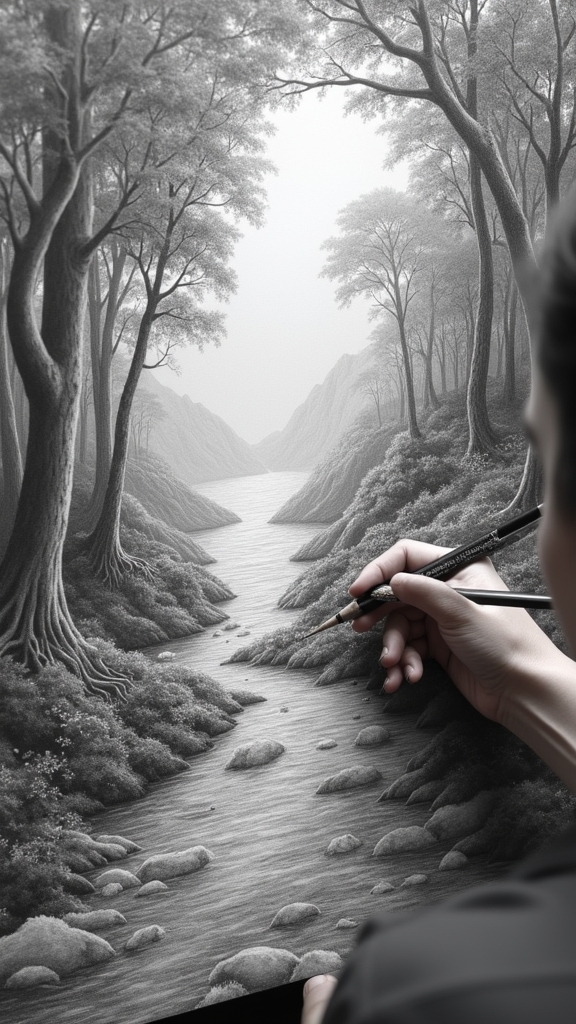
Environments in pencil art are like portals to other worlds, full of surprise and adventure. Artists immerse themselves in forest exploration techniques, where they get to zoom in on leaf patterns, tangled roots, and even sneaky wildlife.
Every branch and shadow asks for sharp observation skills—plus, a lot of erasing. For those wild about water, learning ocean wave dynamics is a game-changer. Waves crash, splash, and dance, offering endless ways to mess around with shading and texture.
Seasonal scenery variations spice things up; one day it’s snowy drifts, the next it’s autumn leaves or desert cacti. Each season challenges artists to rethink colors, shadows, and space.
Whether sketching tropical jungles or misty seas, different environments unleash creativity and reveal the true magic of pencil art.
Pencil Art Mandalas and Patterns
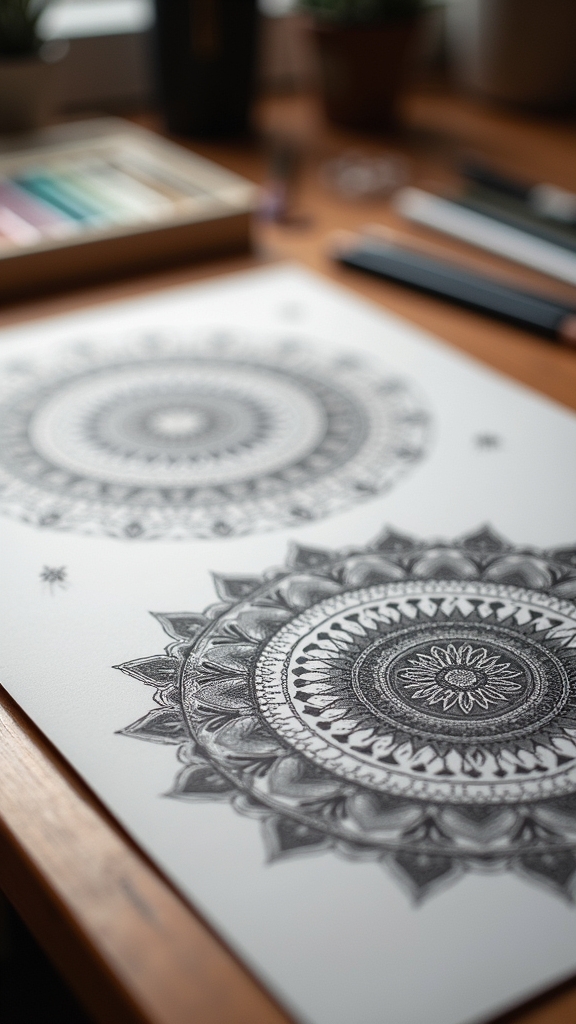
Geometric repetition techniques make pencil art mandalas totally hypnotic, almost like looking through a kaleidoscope but one you build by hand.
Every line and curve in symmetrical mandala designs has to be just right, which turns drawing into a kind of fun challenge that trains focus—try not to squint at your paper too much!
With all those patterns snapping together, it’s kind of like solving a puzzle, and the results can look seriously awesome.
Geometric Repetition Techniques
At first glance, there’s something almost magical about drawing the same shape over and over until—bam!—a super cool pattern or a detailed mandala bursts to life on the page.
That’s the secret behind geometric repetition techniques in pencil art. Just by repeating circles, triangles, or squares, artists can immerse themselves in some serious pattern exploration, all while tuning into their inner zen.
It’s a great way for anyone craving geometric inspirations or enthusiastic for a little symmetry practice to get creative without needing a ton of fancy supplies.
Looking for some starter ideas? Try these:
- Layer simple shapes for unexpected results—think circles inside squares, triangles overlapping.
- Play with spacing: tight or loose, each gives a different vibe.
- Practice shading to make patterns pop off the page.
Symmetrical Mandala Designs
Whenever someone wants to combine art with a little bit of calm, symmetrical mandala designs totally steal the show.
These awesome creations start with a dot in the center, and from there, artists draw symmetrical patterns that spread out like magic ripples. Mandalas don’t just look cool—they’re also a great mindfulness practice. Focusing on every curve and line helps worries melt away, kinda like sneaking candy before dinner (but healthier).
Pencil makes this geometric exploration less scary because mistakes just mean more erasing and learning. Plus, carefully drawing those repeating shapes is like a secret ninja workout for your hands and eyes.
The best part? Mandalas come in endless designs, so each drawing is a mini adventure in symmetry and style.
Drawing Hands and Feet in Motion
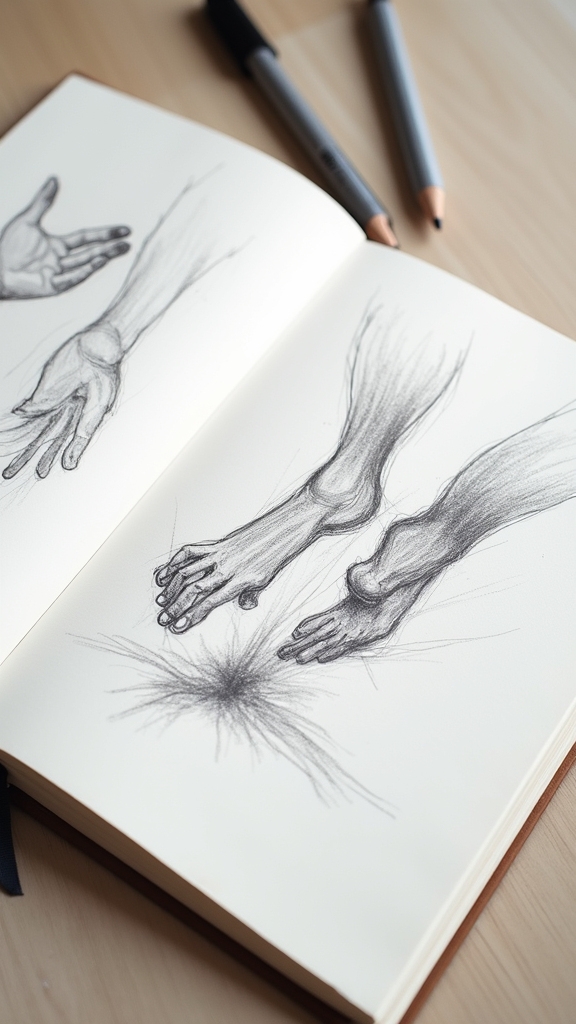
Catch the thrill of action by learning how to draw hands and feet in motion—it’s a real game-changer for anyone hoping to bring their pencil art to life.
Hands and feet are famously tricky, but mastering gesture dynamics and anatomical accuracy takes sketches to a whole new level. Observing real moves, like a friend mid-run or someone reaching for a snack, gives you tips on motion capturing, foreshortening, and perspective.
Level up your art—nail gesture and anatomy for lively, dynamic hands and feet inspired by real-life motion and perspective.
It’s all about energy and movement—no more stiff, awkward drawings! To sharpen these skills, try these ideas:
- Sketch quick gesture studies to practice fluid motion.
- Use reference photos or video clips for tricky poses.
- Mix in contour and blind contour drawing for bold, confident lines.
Soon, wobbly fingers and wiggly toes will actually look alive!
Minimalist Art With Simple Lines
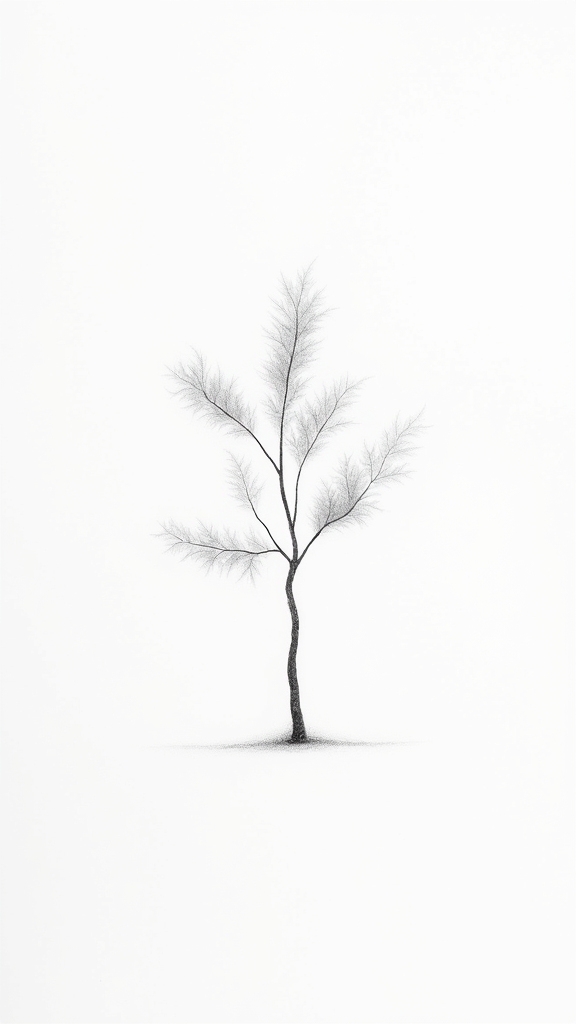
Switching gears from the wild motion of hands and feet, sometimes the best art comes from just a few lines and a lot of creativity. Minimalist art with simple lines is all about making something powerful using less—think bold lines, balanced shapes, and a lot of meaning packed into empty spaces. Artists play with line balance techniques to make sure everything looks just right, while negative space exploration keeps the drawing simple but super interesting. And wow, working with monochromatic color schemes gives the art a sense of calm and unity.
Check out this table for quick ideas:
| Line Technique | Feeling Conveyed | Creative Twist |
|---|---|---|
| Thick + Thin | Energy | Layer different pencils |
| Spirals & Arcs | Calm | Add gentle shadows |
| Overlapping Lines | Motion | Repeat simple shapes |
| Wide Open Spaces | Focused | Leave big gaps |
Layering With Tracing Paper
Layering with tracing paper is like giving your pencil sketches a secret superpower, letting you build up depth and detail without messing up what’s underneath.
By tracing for clean lines, artists can make sharp, neat outlines that really pop, kind of like putting on glasses and finally seeing everything clearly.
It’s a smart way to test out wild ideas or add shadows without fear, almost as if your art gets an “undo” button.
Creating Depth With Layers
There’s something almost magical about seeing a flat drawing come alive with depth, and using tracing paper is a seriously cool way to make that happen.
By experimenting with layering techniques, artists can build up translucent effects that take a simple sketch and turn it into something dynamic. Tracing paper lets you play around without being afraid of messing up the original drawing—just stack, shift, and adjust until everything clicks into place.
Plus, layering opens the door to some unexpected surprises and new visual narratives.
- Try layering multiple sketches to explore different ideas or add shadows for a moody atmosphere.
- Use tracing paper overlays to refine tricky areas, like faces or paws, without erasing a million times.
- Experiment with colored pencils between layers for a dreamy, blended look!
Tracing for Clean Lines
Snap a fresh sheet of tracing paper over a messy sketch and suddenly, it feels like magic—clean, crisp lines appear, almost like the art is putting on its best outfit for the first time.
Tracing for clean lines is one of those tracing techniques benefits that artists of any level can enjoy. With tracing paper materials, you can easily layer a new sheet over your drawing, letting you refine details and practice as much as you want—no pressure, no erasing holes in your paper.
For anyone nervous about getting proportions right, tracing is like having training wheels for your art bike. And hey, if you’re into technology, digital tracing tools let you do the same thing on a screen, making edits simple.
Clean lines, happy artist!
Combining Pencil With Watercolor Washes
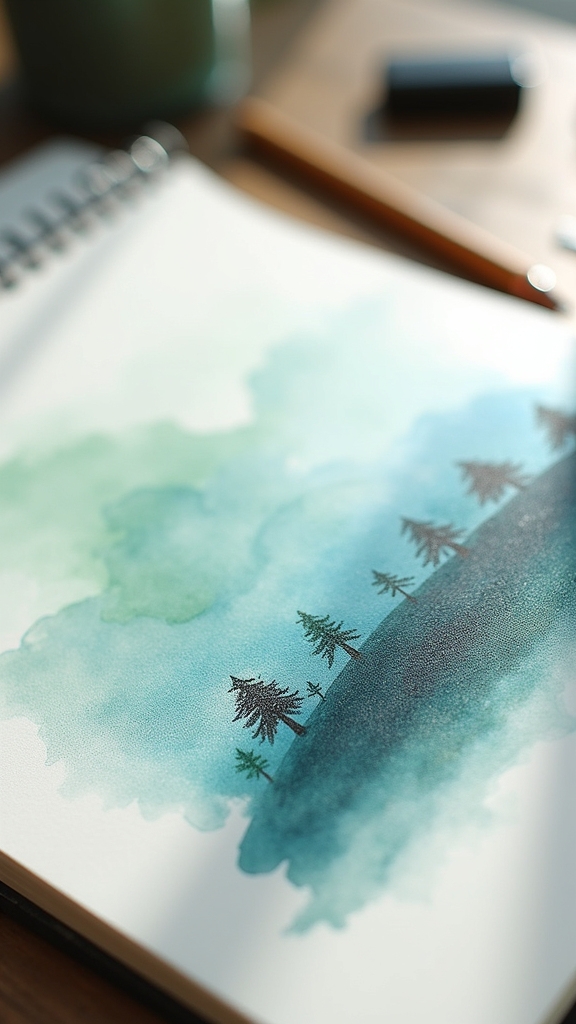
Even though pencil and watercolor might seem like an odd pair at first, putting them together can make art that seriously pops off the page. This combo lets you use sharp pencil detailing to carve out all those cool lines and shapes, while soft watercolor washes swirl around and add amazing texture blending.
To get started, keep your pencil lines light—trust, heavy graphite turns muddy if you’re not careful. Watercolor techniques like wet-on-wet or wet-on-dry make experimenting super fun, and layering washes brings out crazy depth.
- Try outlining simple shapes in pencil, then paint vibrant watercolor backgrounds.
- Experiment with leaving some areas untouched for a mysterious negative space effect.
- Slowly build up the watercolor layers, letting each one dry, to keep details crisp but colorful.
Self-Portrait Challenge
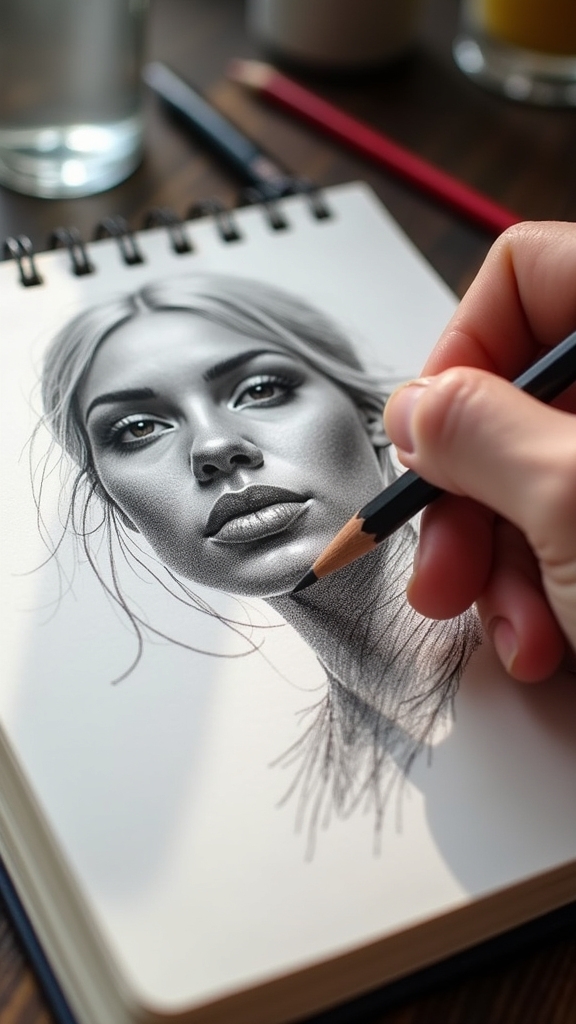
Why do so many artists swear by the self-portrait challenge? Well, it’s not just about drawing your face—though, hey, that part can be tricky enough!
Taking on a self-portrait forces artists to really look at themselves, not just in the mirror, but deeper. With self portrait techniques like shading, blending, or even using colored pencils or charcoal, artists learn to capture every laugh line and eyebrow raise.
It’s a wild ride for emotional expression, too—some people end up drawing their worries or joys right into their eyes!
Plus, it’s the perfect place to try out personal style, whether it’s super realistic, totally cartoonish, or completely out there.
Bonus: it can be pretty hilarious to see your own face staring back!
Frequently Asked Questions
What Can I Draw in 5 Minutes?
When considering what to draw in 5 minutes, one might explore quick sketches of everyday objects, attempt creative doodle prompts, or participate in five minute challenges featuring expressive hand gestures, simple still lifes, or dynamic facial expressions.
Can a 12 Year Old Draw?
A 12-year-old can certainly draw, as this age is highly appropriate for developing artistic confidence and fostering creative expression. With encouragement and practice, children can refine their skills and enjoy the many benefits of artistic activities.
What Is the Best Thing to Draw Right Now?
Deciding the best thing to draw right now depends on personal interests and available creative prompts. Exploring favorite subjects while practicing various sketch techniques can enhance both enjoyment and skill development, making any chosen theme rewarding and inspiring.
Which Drawing Is Trending Now?
Currently, trending drawings feature digital sketches, character design with exaggerated traits, and minimalist art focusing on clean lines and negative space. Artists increasingly combine traditional methods with digital tools, reflecting contemporary preferences for simplicity and imaginative, expressive portraits.
Conclusion
With just a pencil and some paper, there’s always something new to try, from sketching sneakers to shading wild cats or even making a moody self-portrait. Mistakes? Totally fine—erasers are heroes here! If an idea flops, just flip the page and try another. Art doesn’t have to be serious; it’s more like a wild adventure, with laughter at every weird doodle. So, grab those pencils, let your creativity loose, and make your week a little more awesome!
Leave a Reply