
Drawing a colorful mandala with simple shapes is easier than it sounds, and it’s actually super fun. First, grab some smooth paper, a pencil, compass, and ruler to draw a big circle and slice it like a pizza. Fill the sections with easy shapes—think petals, circles, or diamonds—then layer on wild colors with markers or pencils. Play with patterns and symmetry for cool effects, and add a finishing touch like glitter gel pens. Want it to really pop? There’s more magic ahead.
Key Takeaways
- Begin by drawing a large circle and dividing it into equal sections using a compass and ruler for symmetry.
- Use simple shapes like petals, circles, and triangles to fill each section, ensuring balance and repetition.
- Choose vibrant, contrasting colors to fill in shapes, making each section stand out and the design lively.
- Incorporate basic patterns such as stripes, dots, or waves within the shapes for added interest and depth.
- Add finishing touches like blending colors, erasing guidelines, and outlining with gel pens to enhance vibrancy and clarity.
Understanding Mandalas and Their Meaning

Circles have a way of grabbing your attention, don’t they? That’s what makes a mandala so fascinating. The word “mandala” actually means “circle” in Sanskrit, and these designs are all about circles, patterns, and shapes radiating out from the center.
When people create a mandala, they aren’t just doodling for fun—they’re making art with meaning. The design can stand for the universe, unity, or even the connection between their inner thoughts and the outside world.
Mandalas are super popular in meditation, helping people chill out, focus, or just take a break from their busy brains. The repetition in the patterns is almost hypnotic, making it easier to relax, let go, and maybe even discover something new about themselves.
Gathering Your Materials and Tools
Before anyone can get lost in the colorful, mesmerizing patterns of a mandala, there’s a bit of prep work to do. Gathering your materials is step one—think of it as building your creative toolkit! Drawing one mandala using just any old supplies won’t cut it. Grab some smooth paper (Bristol is awesome), a sharp pencil, a handy eraser, ruler, and a compass for perfect circles. Colored pencils are a popular choice for bringing those patterns to life, but markers or gel pens work too. And don’t forget, a well-lit, organized workspace makes everything easier—no more hunting for your favorite blue! For extra precision, fancy tools like a Helix Circle Ruler are great. Here’s a quick rundown:
| Material | Why You Need It |
|---|---|
| Pencil & Eraser | For sketching and fixes |
| Colored Pencils | To color your mandala |
| Compass & Ruler | For perfect shapes |
| Smooth Paper | Better drawing surface |
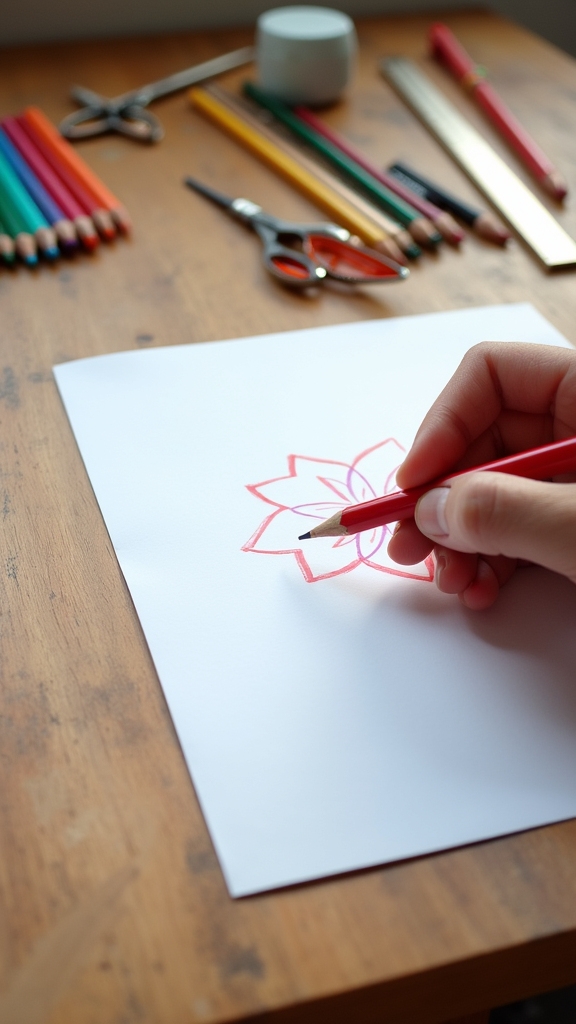
Creating the Mandala Framework

Even if it looks tricky at first, building the framework for a mandala is actually pretty fun—think of it as setting up the skeleton for all the wild patterns and colors to come.
To draw Mandalas that pop, start with a big circle; this is your playground. Find the center and mark it—that’s your anchor for a symmetrical mandala.
Next, use a ruler and compass to slice your circle into even wedges, like a pizza, making sure every slice is the same size.
Want things to look fancy? Add overlapping circles for extra detail.
Some artists create a reusable mandala drawing framework page, so they don’t have to start from scratch each time they want to create a mandala.
This simple structure keeps everything balanced as you add details later.
Choosing Simple Shapes for Your Design

When picking shapes for your mandala, curved petals are like the MVPs—they can squeeze into tight corners or stretch out wide, so your design always fits together like a cool puzzle.
It’s totally okay if your petals come out a little wobbly or weird; those little quirks just make your mandala more fun and unique.
Sticking with simple shapes lets creativity run wild, and suddenly, even beginners can make something that looks awesome and feels totally their own.
Versatility of Petal Shapes
Petals—those simple, curved shapes—are like the superheroes of mandala design. They swoop in and save the day by fitting just about anywhere, adapting to every twist and turn your colorful mandala might take.
Petal shapes aren’t just pretty; they’re crazy versatile. You can make each one unique, mixing it up with different sizes, curves, and even funky details. That’s where creativity really kicks in! Instead of stressing about perfection, artists can relax and experiment, making their mandala designs totally personal.
Even beginners can shine, since simple petal shapes help keep everything manageable and fun. And when you mix up lots of different petals? Boom! Your mandala bursts with energy, style, and a splash of you—every single time.
Embracing Imperfect Forms
Although perfect lines might sound fancy, mandala magic actually happens when things get a little wobbly and weird.
Curved petal shapes don’t need to match or be perfectly spaced—each one can take on its own life, adding a burst of personal expression to every ring.
Using simple shapes, like ovals, loops, or teardrops, lets artists fill spaces easily, but here’s the secret: letting those shapes bend and stretch however they want makes the design way more interesting.
Visual interest comes from the quirks, not the cookie-cutter copies! Sometimes, a lopsided petal can become the star of the whole mandala.
Embracing those little mistakes means the final picture is truly unique—just like the person drawing it.
Enhancing Creativity Through Simplicity
Even if someone has never picked up a marker before, there’s no need to panic about fancy art skills—starting with super simple shapes is actually where the magic begins. When you learn how to create a mandala, choosing a basic petal or circle helps keep things easy and fun. You just draw another shape, then another, slowly building something awesome. Simple shapes fit together anywhere, so it doesn’t matter if your lines aren’t perfect. Plus, using the basic steps gives you lots of chances to experiment and try new patterns without getting confused. Over time, adding details can make your mandala look even cooler!
| Simple Shape | Creative Possibility |
|---|---|
| Curved Petal | Unique pattern variations |
| Circle | Easy to repeat and combine |
| Triangle | Adds sharp, bold accents |
| Square | Brings balance and stability |
Filling Sections With Colour and Patterns
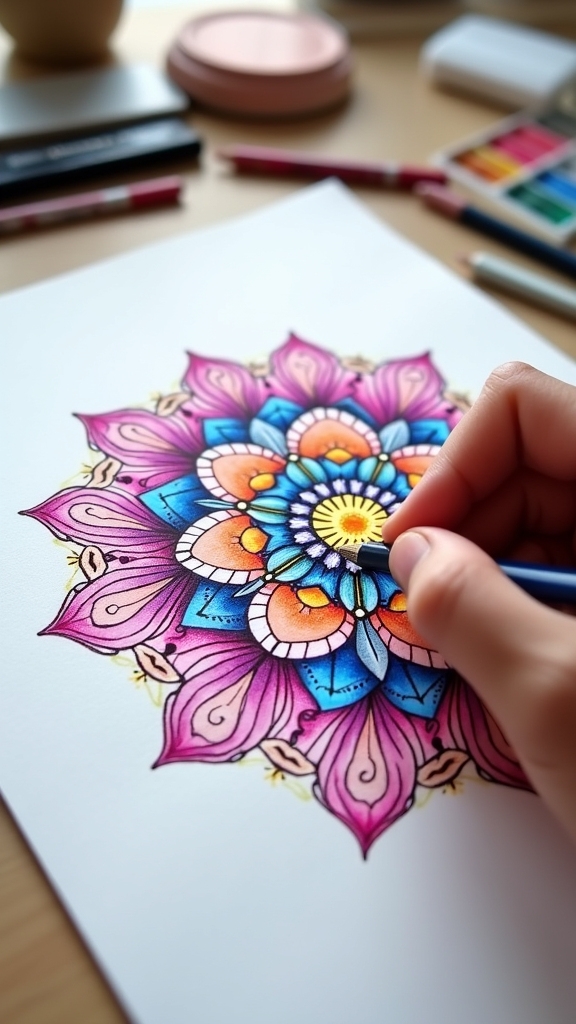
Now comes the fun part—filling in each section with eye-popping colors and cool patterns that make your mandala totally unique.
From picking bold color combos to layering stripes, dots, or even a bit of glitter gel pen magic, there are endless ways to add depth and energy.
Mixing markers, colored pencils, or paints can really amp up the wow factor, so don’t be afraid to get creative and maybe even a little messy.
Choosing Vibrant Color Schemes
Once the outlines of a mandala are ready, the real magic begins—choosing colors that make every shape pop and dance on the page.
Picking a vibrant color scheme is a bit like creating your own rainbow; it’s all about mixing primary, secondary, and even some wild tertiary colors.
Contrasting colors are your secret weapon, making sure different sections stand out without turning your mandala into a confusing color explosion.
Patterns really come alive when you use clever color choices—imagine stripes filled with electric blues and sunny yellows or dots in purples and greens.
To keep things from getting chaotic, artists often use color swatches. These handy test patches help you plan, so your mandala looks lively but still totally harmonious.
Layering Patterns for Depth
With a bold color scheme ready to go, the real fun kicks in—filling each section of the mandala with patterns and colors that make the artwork pop off the page.
Layering patterns is the secret sauce for depth. Try stripes, dots, or swirls inside your shapes. Contrasting colors make each part of the mandala stand out, like a fireworks show on paper!
Intricate designs, even tiny ones, can add crazy detail, so don’t be afraid to go wild. If you want your mandala to breathe, leave some negative space—empty spots let your eyes rest and make patterns even more dramatic.
Build up details slowly, and if you’re using paint, let each layer dry so your colors stay bright instead of turning into an accidental mud puddle.
Mixing Media for Interest
Although coloring a mandala might sound simple, mixing different art supplies turns it into a wild, creative adventure.
Why settle for just colored pencils when you could toss in watercolors, gel pens, or even markers? Each medium brings its own flair, letting artists fill sections with vibrant hues and unexpected textures.
Want your mandala to really stand out? Try mixing media and dropping in wild patterns—stripes, dots, or spirals—for extra punch. Contrasting colors can make certain areas pop, while blending similar shades adds a chill, harmonious vibe.
Just be careful: let each section dry before adding new layers, or you might end up with a surprise blob! Alternating between solid colors and patterned fills guarantees your mandala will never be boring.
Enhancing Symmetry for a Calming Effect
Symmetry is like magic for mandalas—it’s the secret ingredient that turns random shapes into something truly mesmerizing. When someone draws a mandala, focusing on symmetry can make every shape feel connected, almost like they’re all part of a big, calm team. Drawing one wedge at a time helps keep everything balanced, making the whole design look super cool and organized. It’s kind of like building with blocks: if one side is off, the whole thing feels weird! Using simple shapes, like petals or circles, and repeating them evenly, not only looks awesome but also helps the artist relax and get into a peaceful groove.
| Shape | Feeling |
|---|---|
| Curved Petals | Gentle Calm |
| Repeated Circles | Steady Balance |
| Mirrored Triangles | Harmonious Flow |
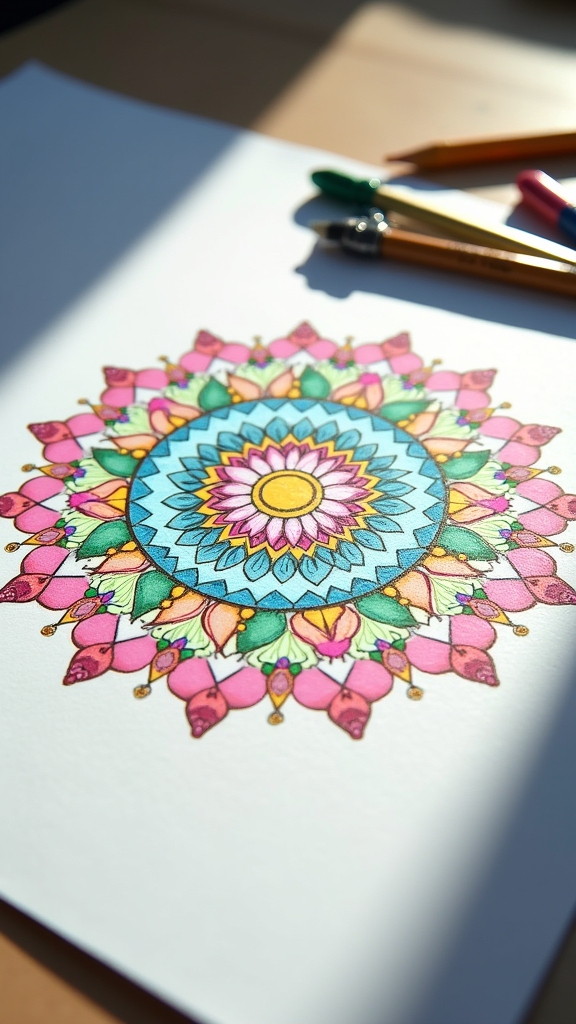
Adding Finishing Touches and Personal Flair

Once the mandala’s shapes are all lined up and looking super balanced, it’s time for the fun part—adding those little touches that make it totally one-of-a-kind.
First, gently erase any leftover pencil guidelines, so your colors and patterns really pop.
Try adding intricate details like tiny dots, swirling lines, or playful patterns inside the shapes. These finishing touches turn a good mandala into a masterpiece!
To crank up the vibrant appearance, experiment with blending or layering colors. Don’t be afraid to get creative—throw in a symbol or two that holds personal significance, like your favorite animal or a lucky star.
For some extra sparkle, use metallic or glitter pens. Suddenly, your mandala isn’t just art—it’s your story in color!
Frequently Asked Questions
How to Draw an Easy Mandala for Beginners?
To draw an easy mandala for beginners, one should start with basic mandala patterns, using simple shapes and beginner techniques. Drawing tools like compasses and rulers help maintain symmetry, guiding the creation of balanced, visually appealing designs.
What Is the Rule for Creating Mandalas?
The rule for creating mandalas emphasizes circular symmetry, rooted in mandala history and spiritual significance. Design principles involve dividing the circle equally, ensuring harmonious patterns radiate from the center, blending repetition and variation while fostering personal expression within a balanced structure.
How Do You Color a Mandala?
When exploring how to color a mandala, one should consider coloring techniques, deliberate mandala color schemes, and careful color blending. Choosing colors thoughtfully and allowing adjacent areas to dry enhances precision, harmony, and the overall visual impact.
How to Draw Geometric Mandala Art?
Drawing geometric mandala art involves using design techniques such as creating a symmetrical framework, incorporating mandala symmetry, and experimenting with shape combinations. Artists fill sections with geometric patterns, ensuring balance and complexity for visually enchanting results.
Conclusion
By following these steps, anyone can create a colorful mandala bursting with energy and personality—even if their circles look a bit wobbly. Each simple shape adds to the magic, and the pop of colors really makes it shine. Mistakes? Totally part of the charm! With a few patterns, bold lines, and a dash of creativity, a blank page transforms into a vibrant masterpiece. So grab those markers, trust the process, and let your imagination spin.
Leave a Reply