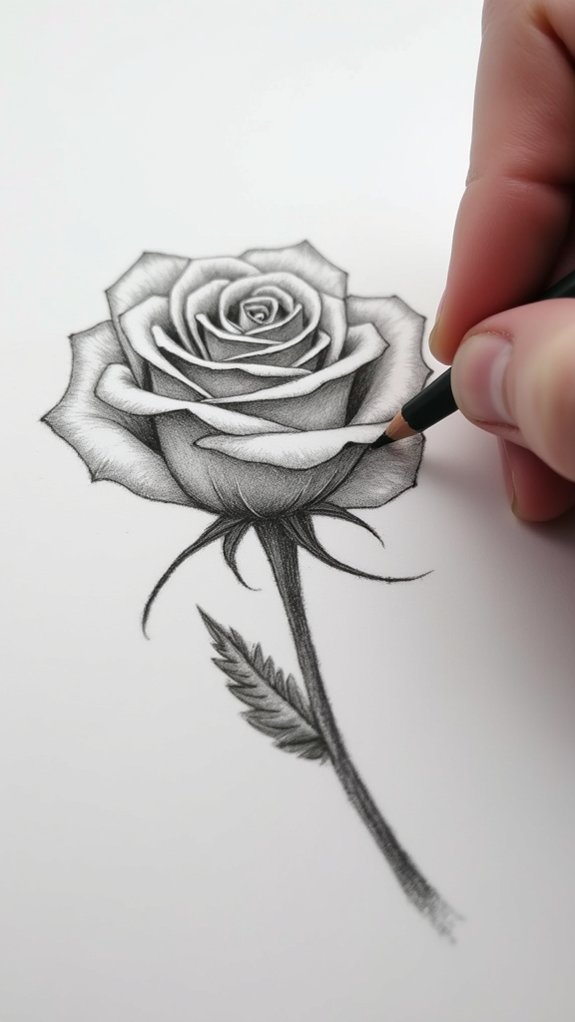
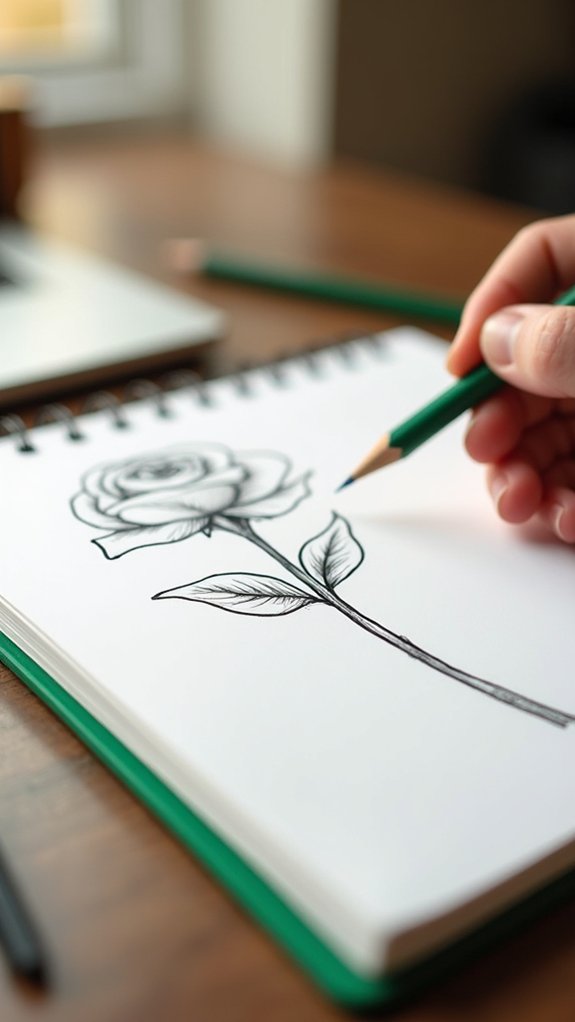
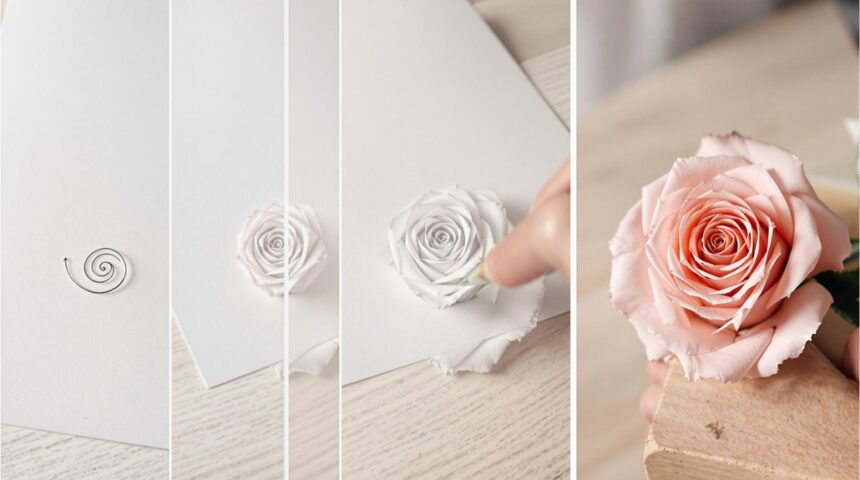
Doodling a rose in five easy steps is super fun and a bit magical. First, sketch a curvy stem and a simple vase shape, like your rose is striking a pose. Next, add wavy, overlapping petals—squiggly lines make it look real, not like a sad party balloon. Then, draw leaves with veins curling elegantly. Create a sturdy stem, but skip the zigzags unless you’re drawing hair! Finally, color it in and blend for drama. Want your rose to really shine? There’s more ahead!
Key Takeaways
- Start by sketching a basic outline with a circle for the flower, stems, leaves, and a vase shape if desired.
- Draw wavy, overlapping lines inside the circle to form natural-looking rose petals.
- Add curved leaves with visible veins on both sides of the stem for balance.
- Create a stem with two slightly tapered lines, keeping it proportional and smooth.
- Color the petals with reds, add shading and highlights, and blend for a lifelike result.
Sketch the Rose Outline
Every masterpiece starts with a good outline, and doodling a rose is no exception. If you want to learn how to draw a rose that really pops, begin by sketching two slightly wavy diagonal lines for the stems—think of them as the rose’s backbone, but way more stylish.
Don’t worry if they’re not perfect; roses aren’t robots! Then, lightly draw a circle at the top of each stem so you know exactly where the flowers will bloom.
Now, using some simple arcs, outline the leaves. Try to make them look like they’re growing naturally, not floating like lost balloons.
At the bottom, sketch a U-shaped curve like a little vase cradling your rose. Gently bend the round shape inward—this is where the magic starts!
Draw the Petals

Once the outline is ready and things are looking a little bouquet-ish, it’s go time for the best part—the rose’s petals!
To draw the petals, start by sketching light, wavy lines inside the circle, right at the flower’s top. Overlap those petals a bit, and don’t stress about perfection—a real rose is never identical on all sides.
Make the edges a little squiggly to show the softness of real life. For depth, add extra curves near the top of each petal, as if the petals are folding over. Don’t forget: those slight curves really help bring your rose to life!
Pro tip: gently draw some curving lines for petal veins. It adds texture and makes your rose look extra realistic—and cooler, too.
Add the Leaves
Leaf power, activate! Now’s the moment to give your rose a little leafy boost. Start by drawing a curve for your first leaf coming out from the edge of the rose—it should arc nicely with a rounded tip for that chill, natural look.
Next, to add some detail and make things pop, draw two parallel lines inside the leaf; this mimics the veins you see on real leaves, giving your doodle some bonus realism.
Don’t stop at just one—draw two more leaves that curve slightly downward and point back toward the flower’s center, balancing your artwork and making it feel alive.
For max symmetry, mirror your leaf shapes on the other side of the rose. Soon, your flower will look absolutely epic!
Create the Stem

With some awesome leaves now framing the flower, attention shifts to one of the most iconic parts of any rose—the trusty stem. Drawing the stem might sound simple, but getting it right is key for a balanced, beautiful doodle.
Step-by-step instructions suggest starting right at the center base of the flower. Two angled lines slide downward, not too skinny and not too thick, ending with a gentle taper at the bottom. The stem should look like it could totally support the blooming rose above!
Here’s a quick checklist to nail this section:
- Place the stem in the center for perfect symmetry.
- Use straight, slightly angled lines for realism—avoid any wild zigzags!
- Keep the stem’s width proportional to your rose for harmonious style.
Color and Refine Your Rose
Color is where the magic happens—seriously, nothing pops quite like a rose bursting with juicy reds and deep, leafy greens. To bring your rose to life, grab some basic water-based markers and fill those petals with a rich, even red. Don’t stop there! Go over shadowy spots using that same red to make each fold and curve stand out. For more drama, add shading with a dark brown colored pencil, then touch up highlights with a white pencil for a little sparkle, making your rose seem almost touchable. Remember: roses come in a variety of colors, so experiment!
| Tool | Use | Effect |
|---|---|---|
| Red Marker | Base color for petals | Vibrant, juicy appearance |
| Brown Pencil | Shading petals and leaves | Depth and realism |
| White Pencil | Adding highlights | Lifelike, bright details |
| Markers/Colored Pencils | Experiment with variety of colors | Unique, standout roses |
| Blending | Smoothing colors together | Polished final look |
Frequently Asked Questions
How to Draw a Rose for Beginners Step by Step Easy?
A beginner seeking to draw a rose step by step easily can start with basic shapes, gradually adding details and exploring different Rose Variations. Practicing petal placement, leaf shapes, and gentle shading will improve their artistic results.
How to Draw a Realistic Rose Easily?
Drawing a realistic rose easily involves mastering Rose Techniques, such as sketching a curved base, layering petals, shaping leaves symmetrically, and refining with shading. This approach emphasizes structure and depth, resulting in lifelike, visually appealing floral artwork.
How to Draw a Flower 🌺?
When exploring how to draw a flower, one should begin with basic shapes to map out proportions. Incorporating Flower Patterns enhances visual interest—layering petals, detailing leaves, and varying lines helps achieve an appealing, natural floral representation.
How to Draw a Rose Bud for Beginners?
The current question explores drawing a rose bud for beginners, emphasizing simple shapes and gentle curves. For rose variations, beginners can experiment with petal arrangements and bud sizes, gradually adding details to reflect different species’ natural forms.
Conclusion
Doodling a rose might seem tricky at first, but with these five steps, anyone can make a masterpiece—no fancy art degree required! Just a pencil, a pinch of patience, and maybe a little eraser action for wild lines, and voilà: a beautiful rose appears. Now, whether your rose looks Instagram-ready or a bit cartoonish, remember, it’s your unique creation. Keep practicing, keep laughing at funny shapes, and soon, you’ll be drawing roses like a pro!


Leave a Reply