
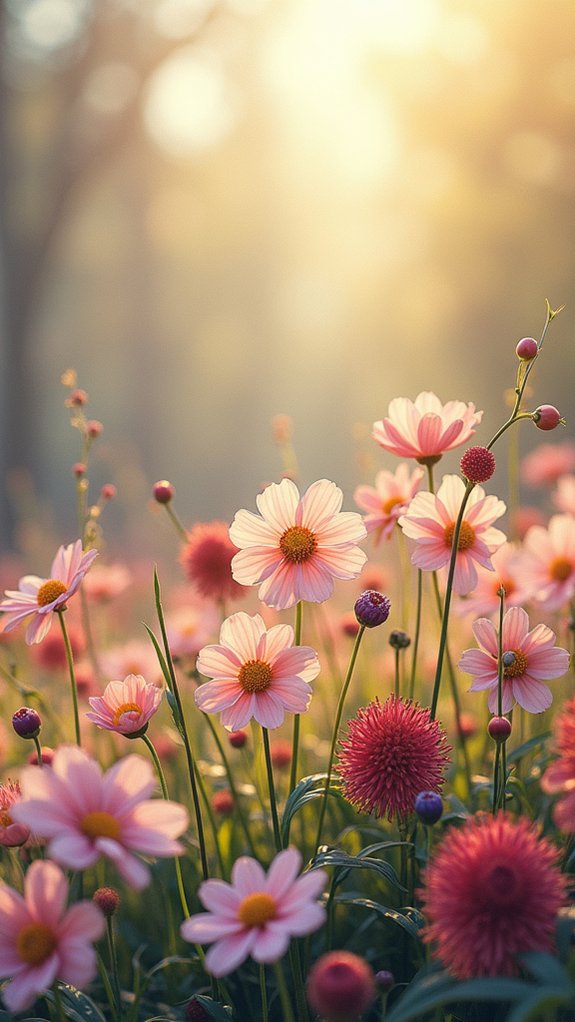
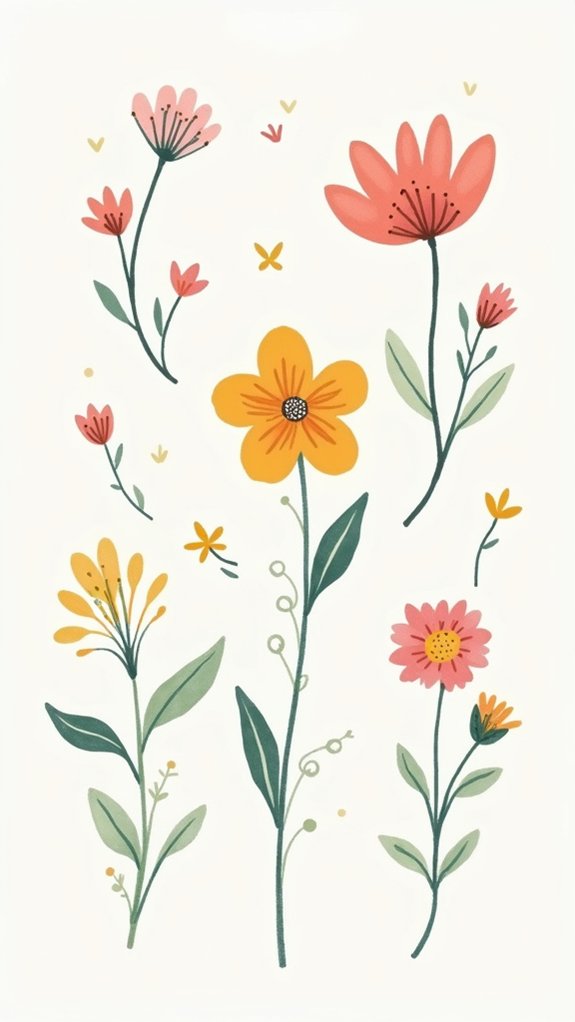
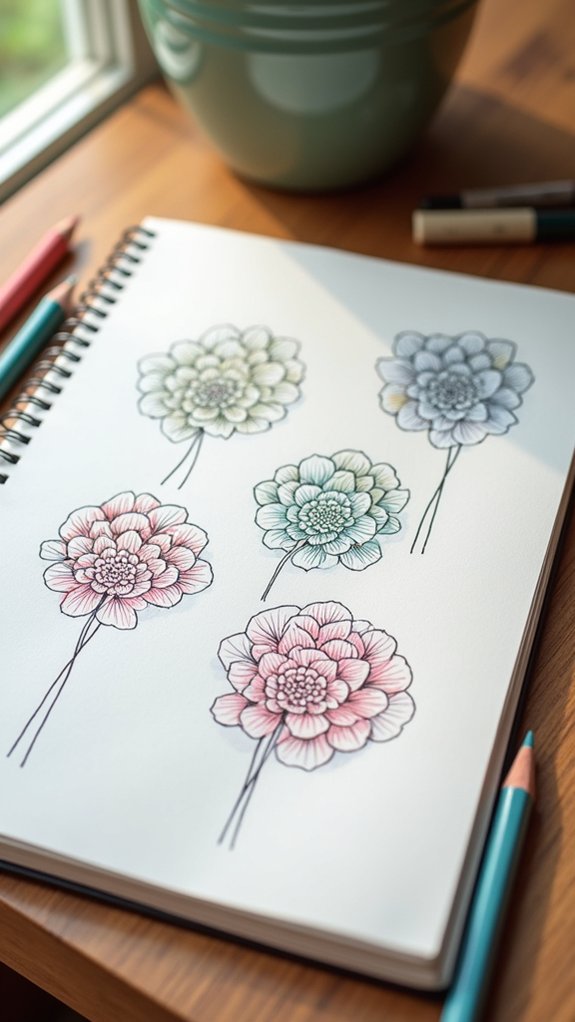
Doodling flowers is super fun and anyone can do it—start with classics like daisies, sunflowers, and tulips, or try sketching a sweet rose or a super-easy dandelion. Go wild with hydrangea clusters, funky azaleas, or even a bunch of cute berries and leafy vines. Mix up the petals, play with bold shapes, and let those stems wiggle! There’s no wrong way to doodle, and with twenty easy flowers, there’s a lot of inspiration waiting just up ahead.
Key Takeaways
- Start with basic shapes like circles, ovals, and lines to easily draw simple flower doodles such as daisies, tulips, and roses.
- Experiment with different petal styles, leaf shapes, and color options to create unique and cute flower variations.
- Combine drawn flowers with leafy stems, berry vines, or decorative details for charming and personalized compositions.
- Use clusters, bouquets, or wreath arrangements to showcase multiple doodle flowers in creative layouts.
- Add extra details like texture lines, veins, or shading to give your flower doodles more depth and visual interest.
Simple Flower Doodle

Even if someone has zero drawing experience, a simple flower doodle is an easy win that feels way more impressive than it looks. Most people start with a small circle for the center, then add those friendly oval-like petals around it. Before you know it, bam—instant flower magic!
Drawing flowers doesn’t stop there; a straight line for the stem makes it look more real, while a couple of teardrop-shaped leaves add serious charm. For some extra wow, a few lines inside the petals add texture, making it seem fancy without actually being hard.
Believe it or not, these quick and easy designs not only help decorate bullet journal pages, but also boost drawing confidence—like a superpower for anyone wanting to master flower doodles!
Dandelion Doodle
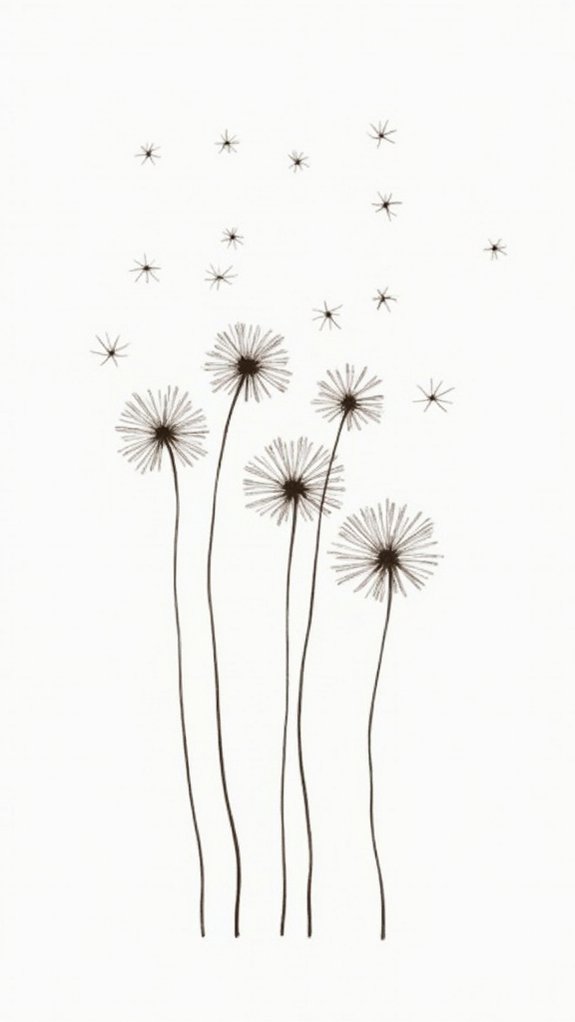
Drawing a dandelion doodle might look tricky, but with a few easy steps, anyone can master it, turning two simple U shapes and a couple of lines into something magical.
It’s fun to figure out just where to place your dandelion—maybe floating across a corner of your homework or right in the middle of your bullet journal for maximum cuteness.
And when it comes to color, why not go wild with neon bursts or keep it classic with pale yellows and soft greens—dandelions never judge, they just make any page happier.
Step-by-Step Drawing Guide
The magic of turning a plain piece of paper into a cheerful dandelion doodle starts with just two easy shapes—yep, a couple of simple U’s.
Think of the first U as a big smile and the second U as a smaller one above it—this forms your step-by-step flower’s base.
Next, inside the big U, sketch out three straight lines pointing up for the stemy bits. In the smaller U, add two lines popping out like antennae.
For that classic fluffy dandelion vibe, top those lines with small circles—these are your cute seed heads.
Connect the two U’s with twin stems heading downward. Honestly, Doodles for Bullet Journal pages don’t get much easier.
This process is super forgiving, perfect for quick bursts of creativity!
Creative Page Placement
Once that adorable dandelion has popped off the page, figuring out where it should live in a bullet journal suddenly becomes half the fun.
Doodle Flowers don’t have to stay stuck in the margins—they’re perfect for topping headers, dancing across borders, or even spiraling around your favorite quotes. A dandelion doodle right on a mood tracker? Genius! Each tiny floating seed could show a different emotion, making the whole page feel alive and personal.
For anyone who loves their journal as a creative outlet, placing these doodle flowers in unexpected spots adds a playful, breezy vibe, especially for spring-themed layouts.
No rules here—experiment, scatter those seeds anywhere, and watch how these fluffy friends light up every page with a bit of whimsy and a lot of fun.
Styling With Color Choices
Magic happens when someone grabs their favorite set of markers and starts thinking about color for their dandelion doodle.
When picking color choices, vibrant yellow is a must for the blossoms—it makes the flower doodles look like they’re smiling right back at you. Don’t just stick to one yellow, though; layering different yellows and a bit of orange adds some cool depth, almost like sunshine trapped in the petals.
Green leaves and stems keep things lively, while adding a light blue or pastel background lets those doodles practically bounce off the page. A crisp black or dark green outline sharpens everything up.
And for a fun surprise? Toss in a tiny butterfly or a bee using poppy, complementary colors to create a scene that buzzes with energy!
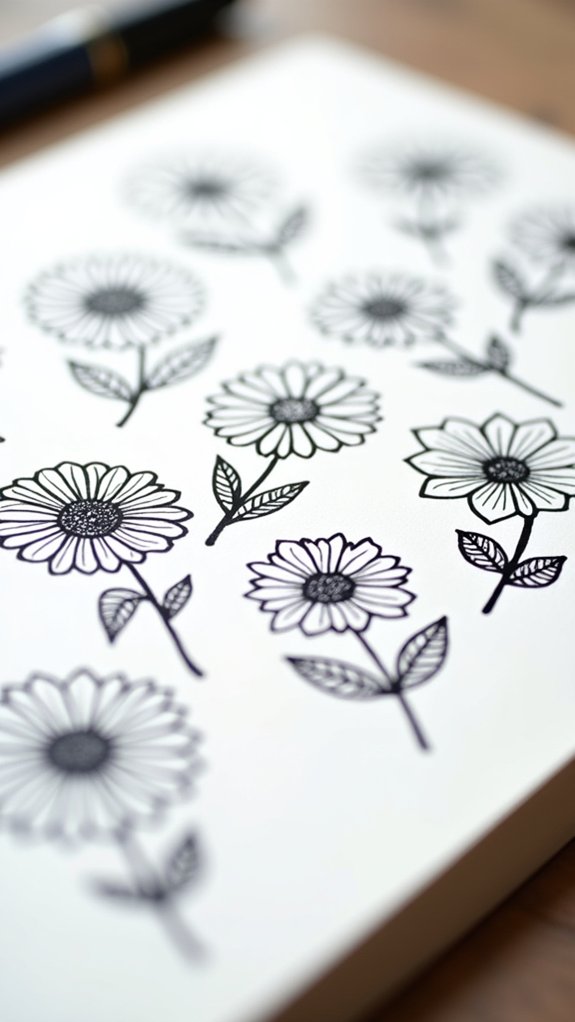
Daisy Flower Doodle
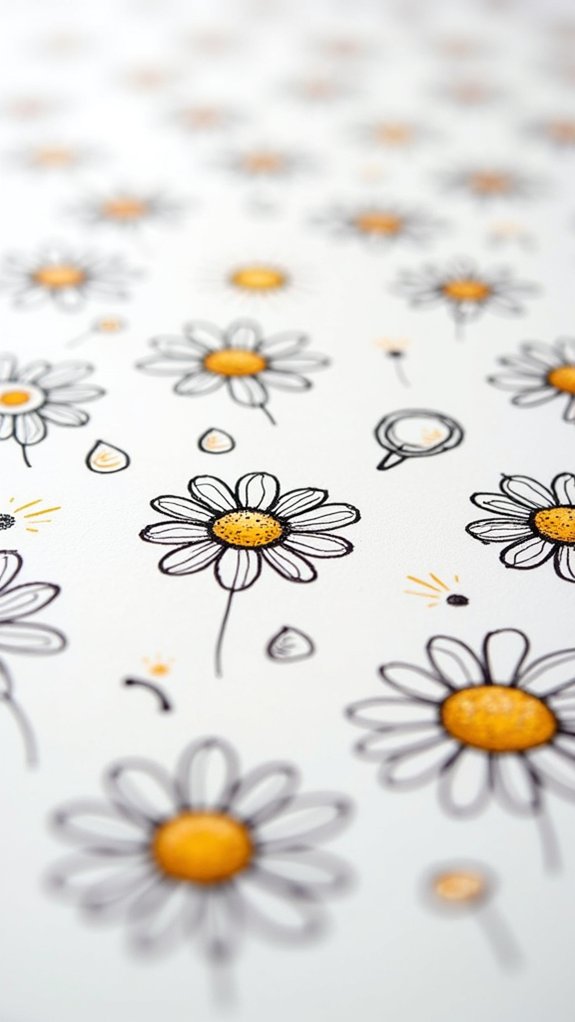
Get ready to sketch a daisy that pops off the page—these cheerful flowers are a snap once you know the steps.
With a center that looks a bit like a smile and petals that practically beg for a little wobble, learning the basics is only the start.
There are so many ways to switch up your daisy doodles, from funky petal shapes to wild color combos, and each one brings its own kind of flower power to your journal.
Step-by-Step Daisy Drawing
Drawing a daisy doodle can feel a bit like revealing a little secret garden on your page, and it’s really not as tricky as it looks! Begin by sketching a half-circle for the daisy center with the flat side down, then add another half-circle above, curving the other way—like a smile and a frown hugging each other. Now, bring your daisy to life by adding thin, oval petals stretching away from the center. Don’t worry if each petal is a tiny bit different; that’s what makes doodles charming.
| Step | Details |
|---|---|
| Draw center | Create two opposite half-circles |
| Add petals | Sketch thin, oval petals all around |
| Finish stem & leaves | Draw two stems, add leaves at the base |
Finish by drawing small lines inside each petal for texture!
Creative Daisy Variations
Sometimes, all it takes is a tiny twist to turn a basic daisy into something totally eye-catching and fun. Creative daisy variations are like giving your daisy doodles a style upgrade!
Instead of sticking to the usual petal shape, try half-circles, ovals, or even pointy petals—honestly, no two daisies have to look the same. Start with a simple center circle, like every flower tutorial shows, but then make it your own by mixing up petal size, adding line shading, or tossing in some tiny leaves at the base for bonus style points.
Want even more drama? Arrange your doodles into floral wreaths or bouquets in your bullet journal. Suddenly, spring’s in session on your page—and your creativity just got a whole lot brighter!
Cute Rose With Stem
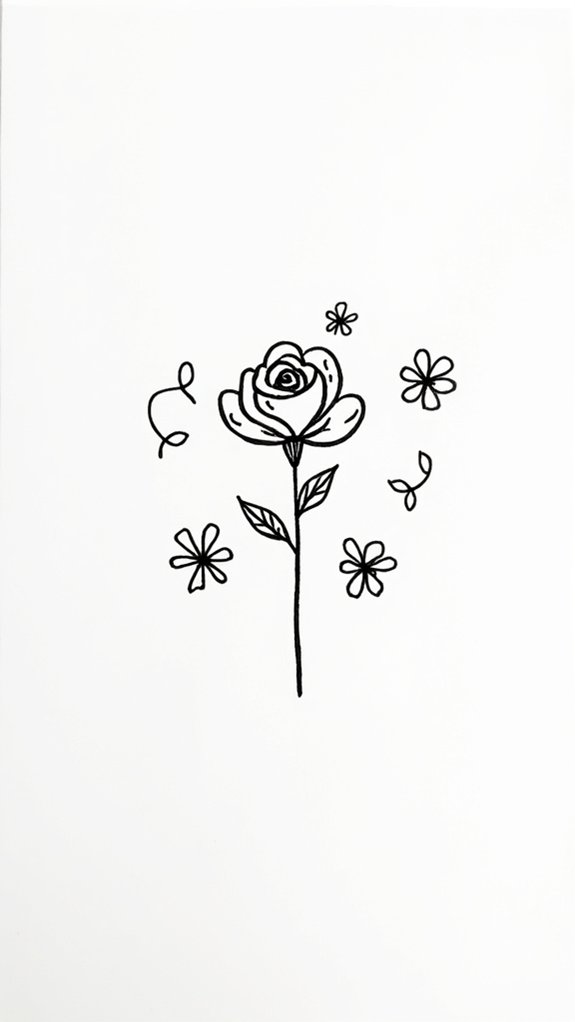
Ever wondered how a simple spiral could turn into an adorable rose with a stem? It’s honestly way easier than you think—and surprisingly fun, too!
Start off by drawing that spiral, which becomes the heart of your cute rose. Then, add an angled teardrop-shaped petal close to the spiral, and mirror it on the other side to keep things balanced.
Pop some jagged petals around, just overlapping enough so it looks full and lively (not like a lumpy cinnamon roll). Extend the stem straight down, and don’t forget to throw in some leaves—plus a few tiny thorns for personality! You’ll end up with a doodle that looks next-level cute.
- Spiral for the rose center
- Teardrop petals for symmetry
- Jagged petals around for fullness
- Long stem with leaves
- Playful thorns for extra charm
Mini Rose Bouquet
Now, get ready to create a mini rose bouquet that looks fancy but is actually super easy to draw—no green thumb required!
Starting with a few quick circles for the roses, sketching spirals, and arranging everything into a cute cluster makes the process feel more like a fun puzzle than hard work.
Don’t forget to add some leafy details at the base, because every bouquet needs a little bit of leafy drama to make those roses pop!
Step-by-Step Rose Drawing
A lot of people think drawing roses is super tricky, but with just a few simple steps, anyone can whip up a mini rose bouquet that looks amazing.
Starting with a step flower technique is the secret here. First, sketch three tiny circles that touch, making a cute triangle base—think of them as the “VIP section” for your doodle roses.
Then, inside each circle, draw a spiral from the outside in—instant rose petals! Don’t stop there, though. Add curved lines for stems, a couple of wavy little leaves, and bam, you have simple flowers to draw that rival any fancy art.
Best part?
- Begin with three overlapping circles
- Add inward spirals to shape petals
- Curve stems beneath each rose
- Draw leaves for detail
- Customize size and style easily
Arranging Bouquets Easily
While the idea of arranging a bouquet might sound as complicated as picking out socks in the dark, creating a mini rose bouquet with doodles is surprisingly easy—and way more fun.
All it takes is three small circles, linked in a triangle, to kick things off and form the main flowers. Spirals drawn inside each circle, twisting from the outside in, quickly make those buds look like real roses.
To boost that playful bouquet vibe, teardrop shapes float around the base of the flowers, mimicking leaves. Switching up the size and direction of these makes the drawing pop—even if you’re more Picasso than florist.
Tie it all together with a simple stem line, and toss in some little berries or blossoms for that extra wow factor!
Adding Leafy Details
With the bouquet shape coming together, it’s time to jazz things up with some leafy details. Anyone can agree that adding leaves instantly makes those mini rose bouquets look like truly beautiful flowers—almost like something fresh out of a garden.
Start adding curved lines for stems, and then let loose with creativity by drawing leaves all around. Don’t worry if your leaves aren’t perfect—they’re rarely perfect in nature anyway! Try drawing them at different angles, sizes, and shapes to keep things interesting.
And don’t forget to add veins for that extra pop of realism. Want to go all in? Here are some ideas:
- Use pointy leaves for dramatic flair
- Add wide, rounded leaves for softness
- Mix tiny and large leaves
- Layer leaves behind roses
- Draw curvy, twisting leaves
Berry Bush Doodle
Nothing says “fun and fresh” quite like doodling a berry bush bursting with plump little berries and quirky leaves!
To create this cheerful, flower-inspired doodle, start with a simple vertical line as your main stem, and then add angled branches stretching out at different heights—kind of like arms reaching for the last cookie in the jar.
Doodle round berries at the tips of each branch, making some big and some small for that natural, wild look. Don’t forget the tiny leaves! Tuck them along the branches for extra charm and flower power.
When placing branches and berries, try to keep everything balanced, or your bush might look like it had too much coffee.
Experimenting with berry colors always makes these doodles pop with personality!
Leaf and Berry Vine

A meandering vine can instantly jazz up any doodle page, especially when it’s decked out in leafy greens and playful berries.
Imagine a thin, swooping vine twisting and curving along your paper, bringing life to even the dullest notebook margin. To capture this lively vibe, artists start with a flowing line as the vine’s backbone.
Then, tiny branches pop out from each side, almost like the vine’s arms reaching for a hug. Next, teardrop-shaped leaves anchor to these branches, aiming their pointed ends to the vine’s center.
As a final flourish, berries—perfectly round and peppy—nestle between the leaves, making everything more eye-catching.
- Begin with a curved vine line
- Add branches for symmetry
- Use pointed teardrop leaves
- Place round berries between leaves
- Mix up the leaf and berry sizes
Leafy Stem Illustration
Leafy stems pack a punch when it comes to giving your doodles some real personality.
If you want to create a leafy stem illustration that looks both cute and professional, start simple. Draw the line for your stem, letting it curve a little, like it’s doing its own sassy dance.
Next, add teardrop-shaped leaves along both sides. Make sure the pointy tip of each leaf aims right at the stem—this way, it actually looks like the leaves belong there!
As you get to the top, shrink your leaves so the stem gently tapers off. Don’t forget veins—just a quick, short little line in the middle of each leaf works wonders for detail.
Try to keep both sides balanced, and voilà, leafy stem magic!
Abstract Stem With Circles
Get ready for something a little wacky—abstract stems with circles are here to liven things up!
This section walks through each step, shows how mixing up the sizes of your circles can totally change the vibe, and tosses in fun ways to decorate with these playful doodles.
Who knew that stacking circles on a stem could be this cool (or this addictive)?
Step-by-Step Drawing Guide
Drawing the abstract stem with circles is like setting out on a weird and wonderful doodling adventure—seriously, who knew circles could look this cool?
Following a step by step process makes these flower doodles way less intimidating and a whole lot more fun. Start at the top with a tiny circle, then keep stacking slightly bigger circles underneath until you have a lovely trail of 4 or 5. Connect them with wavy, curved lines so the stem feels alive, not stiff!
To make your doodle pop:
- Begin with a small circle and make each one bigger as you go.
- Use curved, flowing lines to link the circles.
- Stretch the stem to the height you love.
- Draw wavy lines inside circles for extra detail.
- Play with colors or patterns inside the circles.
Playing With Circle Sizes
There’s something magical about playing with different circle sizes when creating an abstract stem—it’s like each circle gets its own personality!
Starting at the top with a tiny circle shape and stacking gradually bigger circles underneath, you end up with a funky tower that looks almost alive. Connect those circles with smooth, flowing lines for a tall, wiggly stem.
It’s a simple trick that instantly transforms your doodle into a quirky abstract flower. There’s no need to make everything even—go bold and experiment with the sizes and spaces between circles.
Want more drama? Add curved lines inside each circle for a pop of depth. This technique is a dream for anyone who loves creative freedom, whether in bullet journals or just for fun.
Decorating With Abstract Stems
Sometimes, a flower stem just needs to break the rules, and that’s where abstract stems with circles come in—like adding fun-shaped candy pieces to a plain string! Instead of a boring straight line, these abstract stems use curved lines to make every flower doodle feel bold and unexpected.
It starts simple: draw a small circle at the top, then add larger and larger circles going down, all connected with curved lines. Suddenly, your flower looks more like a cool art project than homework. Mix up the sizes and spaces—you’re the boss!
Try these fun ideas:
- Vary circle sizes for a playful rhythm
- Add tiny leaves between circles
- Use wavy curved lines for quirky motion
- Stack circles off-center for extra whimsy
- Decorate with dots or mini-flowers
Stem With Flower Buds
A stem with flower buds can turn an ordinary doodle into something magical—it’s like giving your drawing a pop of personality!
Start by sketching a slightly curved vertical line for the main stem, because straight lines are so last year. From there, add short upward branches on each side, almost like tiny arms reaching out.
Now, here’s where it gets fun: put a small teardrop shape at each branch’s tip for your flower buds. For extra flair, group two more teardrop shapes around the first to make it look like a bunch of little buds ready to bloom.
Finish it off with a few curved lines or leaves along the stem, adding some natural depth. Ta-da, instant botanical brilliance!
Decorative Leaf Duo
Ready to try something different?
The Decorative Leaf Duo is super fun to draw, especially if you follow an easy step-by-step guide, add some snazzy vein details, and then play around with where you put these leafy buddies in your journal.
Seriously, these little pairs can sneak onto any page and make it look way cooler in no time!
Step-by-Step Drawing Guide
There’s just something super satisfying about sketching a pair of decorative leaves that look like they belong in a secret journal or maybe pressed between pages of a magical book.
When adding this leafy duo to your collection of drawing flowers, the steps are easy and so much fun! Start by quickly drawing a gently curved line—that’s your main stem with a bit of swagger.
Dot along teardrop-shaped leaves, always letting the pointy end sneak toward the stem and making each one smaller as you move up. It’s kind of like creating a leafy ladder! For extra flair and to rock that symmetry, keep your leaves balanced on both sides.
Polish things up with clean outlining. Here are the basic steps:
- Draw a gently curved main stem
- Add teardrop-shaped leaves along the stem
- Point each leaf tip toward the stem
- Gradually reduce leaf size upward
- Refine outlines with a fineliner
Adding Simple Vein Details
Even though the leaves already look pretty cool, adding a few simple vein details totally levels them up into something almost magical. Seriously, it’s like your doodles have revealed a secret ingredient!
Just start by sketching a single line right down the middle of the leaf—this is the main vein, and it should follow the curve and shape of the leaf. Next, branch out and add some smaller, parallel lines on either side, tapering toward the tip.
These vein details instantly make the leaves pop and look so much more lifelike. Grab a fine liner if you want sharp, clear lines—and don’t be afraid to try different leaf shapes! Nothing says “creative doodler” like mixing up those teardrop and oval options.
Creative Placement in Journals
Sometimes just a couple of well-placed leaf doodles can totally transform a plain journal spread into something that looks planned, polished, and honestly—pretty fun.
Strategic placement of decorative leaf duos in bullet journals doesn’t just fill space; it can pull everything together and make your pages look like you meant to get that artsy. From framing sections to accenting flower doodles, there are so many creative ways to tuck these leafy buddies around your spread.
Try adding them near headers or section breaks—they’ll draw the eye, plus give your journal some low-key botanical vibes. And don’t forget to mix up colors and sizes for more interest!
- Frame important sections with leaf duos
- Mix different greens or colors
- Layer bigger and smaller leaves together
- Highlight headers with leafy doodles
- Use line shading for extra pop
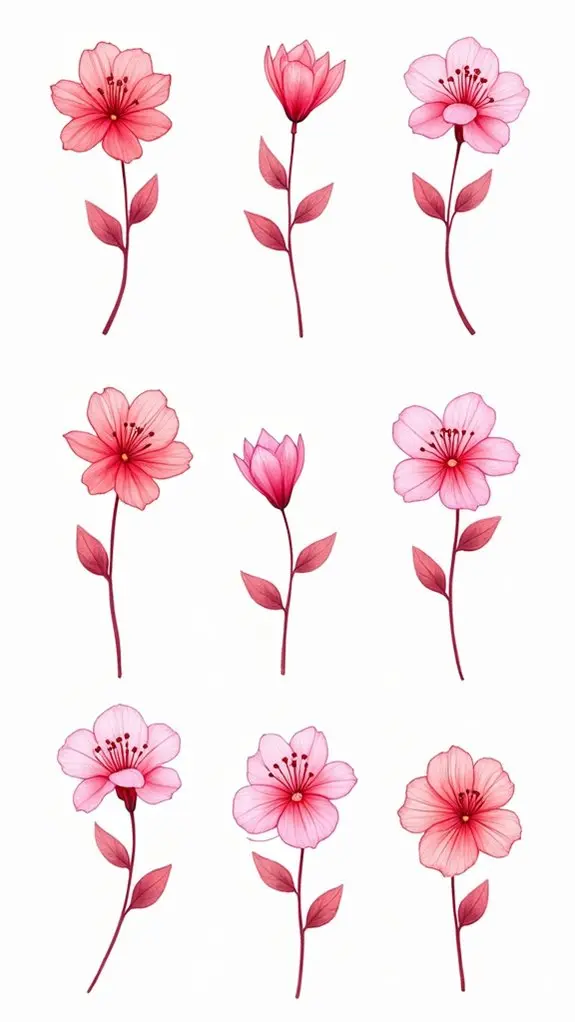
Tulip Flower Doodle
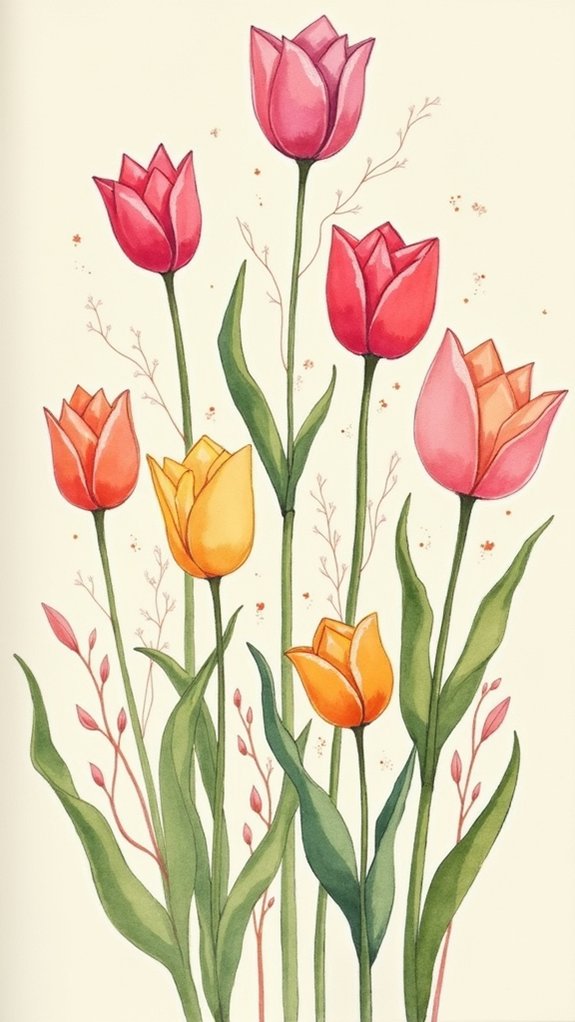
A doodle of a tulip is like a little burst of spring on any page, and it’s surprisingly easy to draw—even for someone who thinks their stick figures look a bit wobbly.
To start your tulip doodle, sketch out a rounded shape at the top for the closed petals, then sharpen it at the base, almost like you’re drawing a fancy lightbulb.
Next, add a straight line beneath for the stem, and give your tulip two pointed leaves that reach out from each side.
In just five steps, you’ve created a garden on your paper!
Experiment with colors—tulips come in practically every shade, so go wild.
Use single tulip doodles or group them into wreaths to add a splash of cheerful color to your journal spreads.
Daffodil Flower Drawing
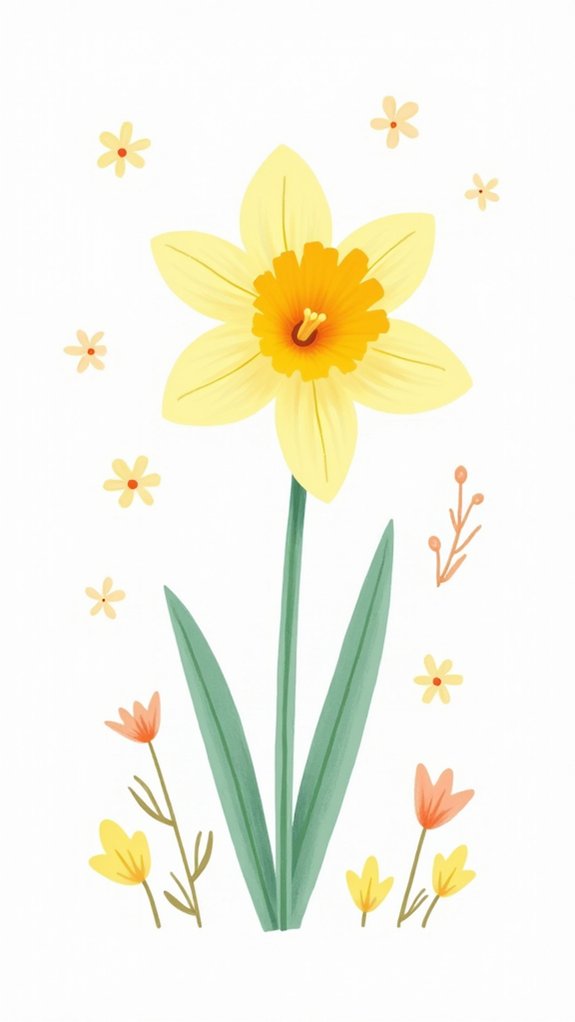
Few flowers manage to show off their personality quite like daffodils do—those bright, bold blooms could practically shout “spring is here!” from across the page.
Daffodils are basically a bunch of sunshine crammed into a flower doodle, making them the life of any sketchbook or bullet journal spread. Drawing them is surprisingly easy, even if you’re new to flower doodles. Their trumpet-shaped center and six star-like petals make daffodils instantly recognizable.
To truly capture their vibe, don’t forget about those slender, slightly curvy leaves at the base. Dare to color the petals in the brightest yellows or boldest oranges for max cheer.
- Start with a trumpet-shaped center
- Add six spiral-outward petals
- Sketch slender, curvy leaves
- Color petals yellow or orange
- Use daffodils to amp up spring vibes
Black-Eyed Susan Doodle
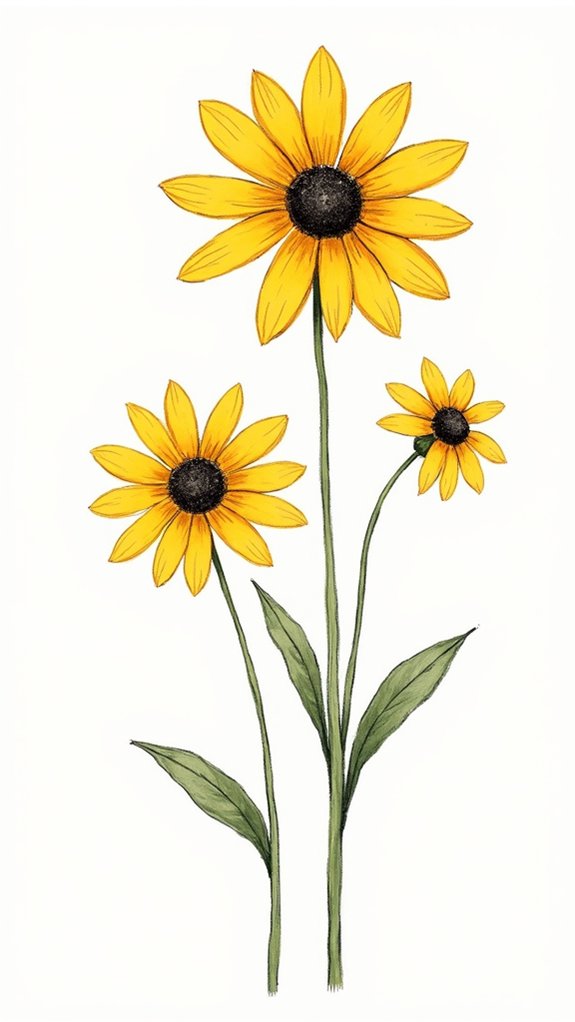
Sunshine in flower form, Black-eyed Susans simply refuse to be ignored. Their super-bright yellow petals and perfectly dark centers make them some of the most eye-catching Easy Flower Doodles around. Drawing a Black-eyed Susan is a total breeze; sketch a circle for the center, then let long petals burst from it like sun rays. Want some extra flair? Add teardrop-shaped leaves at the bottom—so easy! They look awesome bunched together, which is great if you want your doodle page to feel wild and lively.
Here’s a peek at how to doodle your own:
| Step | What to Draw | Pro Tip! |
|---|---|---|
| 1 | Big center circle | Go bold! |
| 2 | Long petals all around | Vary the lengths |
| 3 | Teardrop leaves | Cluster for more fun! |
| 4 | Color in petals/center | Use bright yellow & dark |
| 5 | Repeat for bouquet | Make each unique |
Hydrangea Cluster Sketch
Hydrangea magic happens when a bunch of little flowers join forces to create those big, puffy clusters everyone loves.
Sketching a hydrangea cluster turns even basic doodles into a bouquet of awesomeness—full of round petals and loads of playful detail.
First, draw a jumble of interconnected circles or ovals, overlapping them to mimic the flower’s natural “smoosh.” Then, inside each blob, pack it full of mini petals in every which way.
Stems are sturdy, wobbly, and proud, while leaves stretch out with a cool teardrop vibe. For texture and that dreamy 3D effect, try out some shading with fine lines or tiny dots.
- Start with overlapping circles for flower heads
- Draw tiny, rounded petals for each blossom
- Give the flower sturdy, curvy stems
- Attach elongated, veined leaves
- Add shading for depth and dimension
Pansy Flower Doodle
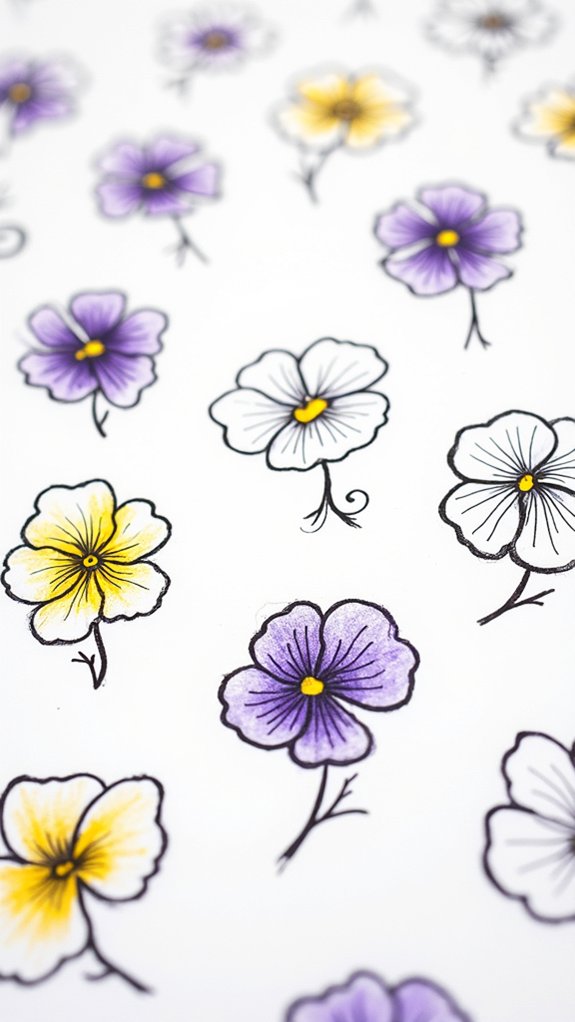
When it comes to doodle-worthy flowers, nothing brings a burst of cheerful energy quite like the pansy. Their petals seem to smile right off the page, making them a perfect pick for anyone who loves fun flower doodles. Start your doodled pansy with a simple oval for the center, then surround it with soft, rounded petals. Mix up petal sizes, because pansy flowers are fabulously quirky—uniform is overrated! Add scribbly lines or cute dots inside the petals for texture, copying the pansy’s “face” shapes. Draw just one as a bold statement, or cluster them for wow-factor. Practicing pansy flower doodles will boost your bullet journal—and your confidence! Here’s a quick cheat sheet:
| Step | Tip | Why it Works |
|---|---|---|
| Draw oval | Make it large or small | Sets the center |
| Add petals | Vary sizes | Looks natural |
| Detail lines | Use squiggly marks | Adds realism |
| Draw clusters | Try groups | More playful |
| Color choices | Go wild—pansies love color! | Fun & unique |
Easy Sunflower Drawing
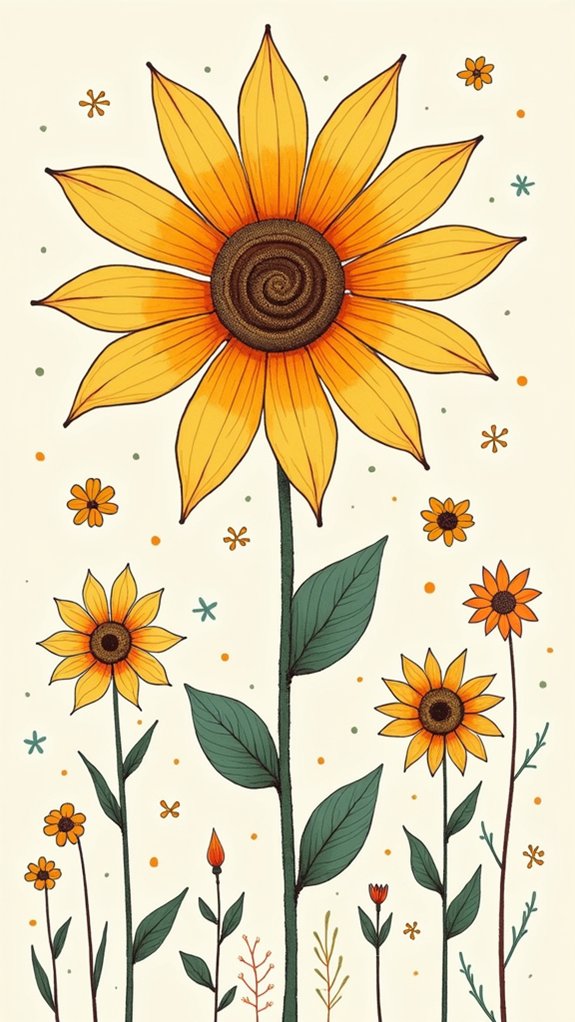
Even if someone’s never drawn a flower before, making an easy sunflower doodle feels like revealing a secret level in art.
Sunflowers are the superheroes of the basic flower world—bright, bold, and so much fun to sketch. Start with a big circle for the center, then sprinkle in smaller circles as seeds (it’s almost like drawing the world’s coolest cookie).
Next, add long, pointed petals that shoot out—a sunburst of happiness. Don’t sweat if the petals aren’t perfect; real sunflowers are a little wild, too! A thick stem and some leafy arms finish the look.
- Start with a bold, round center
- Add unique, pointed petals radiating outward
- Draw playful, broad leaves for character
- Use lines for shading and cool textures
- Add yellows and browns for sunflower cheer
Sweet Pea Blossoms

Sweet pea blossoms are like the dreamers of the flower world—delicate, a little bit fancy, and never afraid to stand out in a crowd. With wispy petals and thin, twirling vines, sweet pea blossoms make seriously cool flower doodles! Start by sketching a soft, rounded shape for the flower, then add outstretched, butterfly-like petals. Remember, these flowers love to hang together, so cluster them up on a stem and let those curly tendrils show off their climbing skills. You can brighten up your page with splashes of pink, purple, or gentle white, and for extra flair, try a few details like petite leaves or some gentle shading. Here’s a quick look at sweet pea signature traits:
| Feature | Description | Doodle Tip |
|---|---|---|
| Petals | Delicate, wing-like | Use sweeping, loose lines |
| Color | Pink, purple, white | Add multi-hue shading |
| Growth | Clustered, vining | Draw curly tendrils |
| Details | Leaves, texture | Use fine pen/marker lines |
Plumeria Flower Sketch

Get ready to bring a bit of the tropics right onto your page with a plumeria flower sketch! This cheerful flower is all about relaxing island vibes and bright, fun colors—basically, summer in a doodle.
Start with a simple circle for the center, then draw elongated oval petals that overlap slightly. Don’t worry about perfection! Plumeria petals sometimes look a little wonky, and that just adds charm.
Add lines on each petal for texture and play around with shading to give your Floral Doodles extra depth. Remember, practice makes perfect—no one nails a plumeria flower sketch on their first try.
- Use a circle as the flower’s center guide
- Draw overlapping elongated petals
- Add petal lines for texture
- Experiment with vibrant shades
- Practice for improvement
Azalea Flower Doodle
From the laid-back plumeria, it’s time for something with a little more attitude—say hello to the Azalea flower doodle!
Azaleas are the cool kids of flower doodles, with their wild wavy petals and a look that just pops off the page. Start by drawing a small circle for the center, then add petal shapes around it—don’t worry if they’re not perfect; Azaleas love a little chaos!
Use overlapping, slightly squiggly lines to make each petal look real. Throw in some stamen at the center and sketch light veins on the petals for flair.
The best part? You can burst out the pinks, purples, or whites when you color. This Azalea doodle is fun, friendly, and totally beginner-approved!
Frequently Asked Questions
How to Draw Simple Doodle Flowers?
When exploring how to draw simple doodle flowers, one can apply flower doodle techniques such as starting with basic shapes and experimenting with varied petals. Creative doodle tips suggest adding subtle details, adjusting line weights, and referencing online tutorials.
What Is the Easiest Flower to Draw?
When considering the easiest flower to draw, one finds the simple flower with basic flower shapes most accessible. It typically involves a small circle surrounded by oval petals, making it ideal for beginners and encouraging creative practice.
How to Draw a Flower in 5 Minutes?
When considering how to draw a flower in 5 minutes, one might opt for a flower drawing using quick sketches—starting with a central circle, adding simple petals, a stem, leaves, and minimal detail for swift completion.
How to Draw a Little Flower Easily?
When considering how to draw a little flower easily, one can use basic flower sketching and doodle techniques. Starting with a central circle, adding oval petals, and simple details creates a charming, approachable floral design.
Conclusion
So, all together, these doodle flowers are like a mini garden you can grow anytime—no watering required! Anyone can make their notes, planners, or just random scraps of paper pop with personality. It doesn’t matter if someone’s a serious artist, or their stick figures look like spaghetti. Practice a few, mash them up, and soon you’ll be the floral doodle master. Grab a pen, get silly, and let your imagination bloom on every page. Happy doodling!
Leave a Reply