
From wild spiral op-art doodles that look ready to jump off the page, to easy mountain vistas and playful cow print blobs, these 12 cute doodles are a total creativity blast! Students can try drawing clover field patterns, cartoon animals with giant eyes, or snack doodles that might just make you hungry. There’s spacey drip effects, rainbow wave lines, and even flower designs with cool spiral centers—no art skills required. Want even more awesomely fun doodle ideas? Keep going—there’s lots more ahead!
Key Takeaways
- Start with spiral op-art doodles or clover field patterns to easily achieve bold, eye-catching designs with depth.
- Try drawing simple flower designs or layered petals for quick, cute floral doodles perfect for any skill level.
- Embrace abstract Keith Haring style shapes or playful drip effects for energetic, dynamic doodles full of movement.
- Create adorable cartoon animals by exaggerating features like big eyes and adding fun accessories.
- Sketch easy mountain landscapes or rainbow wave patterns to fill pages with whimsical, relaxing doodles.
Spiral Op-Art Doodles

Spiral Op-Art doodles are like optical illusions that leap off the page and play tricks on your eyes—in the absolute best way.
They’re super cool and surprisingly simple, making them perfect easy doodles for anyone who loves a challenge but doesn’t want to break their pencil (or their brain).
To start, just plop a dot in the middle of your paper. That’s your creative bullseye.
Next, let wavy lines wiggle outward from the dot, kind of like how spaghetti escapes a fork!
The real magic happens when each section gets filled with upside-down “u” shapes.
Keep at it until every space is packed. Suddenly, your drawing bursts with movement and a wild 3D effect—seriously, it almost looks like the doodle is ready for liftoff!
Clover Field Patterns
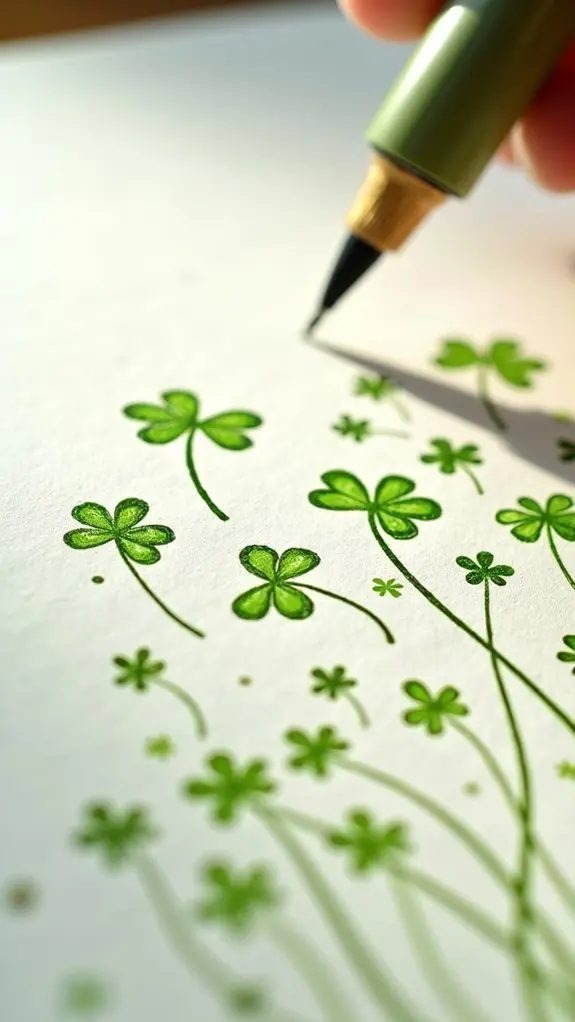
Clover field patterns are all about building up cool, layered teardrop shapes—almost like stacking petals until your page looks like a patch of lucky clovers.
As you expand the pattern, you can let it spill over the whole page, twisting and turning the teardrops so no spot gets left out.
It’s a fun way to fill in empty space and, honestly, it kind of feels like turning a plain notebook into a secret field where leprechauns might actually want to hang out.
Building Layered Teardrop Motifs
A patchwork of teardrop shapes can turn any blank page into a lively field full of personality—seriously, it’s like releasing a mini explosion of good vibes and cute chaos.
To get started, draw three or four teardrops connected at their tops. This “doodle base” becomes the heart of your clover field. Now, inside every petal, sneak in a smaller teardrop for extra depth—imagine it’s a cozy room for a cute animal to nap in.
Around the outer edges, add more teardrops, mixing up their sizes and directions so things never get boring. The best drawing ideas play with layers, so keep filling in, stacking, and rotating each teardrop until your clover patch pops.
It’s like inventing tiny worlds, one shape at a time!
Expanding Patterns Across Pages
Sometimes it only takes a few teardrop shapes to start a wild pattern party across the page. With Clover Field patterns, all those little doodle ideas spring to life as you connect three or four teardrops into cute clovers. Add a mini teardrop inside each petal to give them depth (fancy, right?), then keep building outward. As more petals grow, the page quickly fills up, giving each clover its own space while still looking like the squad sticks together. Mix up the sizes and how you angle each shape to really add personality and keep the pattern from looking flat. Need inspiration? Check out this handy table for ideas:
| Pattern Tip | Personality Boost |
|---|---|
| Vary petal sizes | Make it dynamic |
| Overlap clovers | Add cozy vibes |
| Random teardrop orientation | Fun & unpredictable |
| Fill empty spots creatively | Stay playful |
| Double-outline some petals | Extra flair! |
Filling Negative Space Creatively
Negative space might seem like just blank, boring territory, but when it comes to doodling Clover Field patterns, it’s actually where the magic happens.
These are doodles that anyone can master—seriously, you don’t need to be Picasso here! You start off with three or four teardrop shapes, letting the tops connect, then layer even more teardrops inside and outside each petal.
The key is filling negative space with these little doodles until your page looks full and awesome. Play around with the teardrop sizes and directions to keep your pattern interesting—no two are ever the same!
Before you know it, your “blank” page becomes a wild, leafy wonderland.
- Begin with 3–4 main teardrop shapes.
- Layer teardrops for depth.
- Fill every white gap with little doodles.
- Vary sizes and directions for excitement.
Abstract Keith Haring Style Shapes
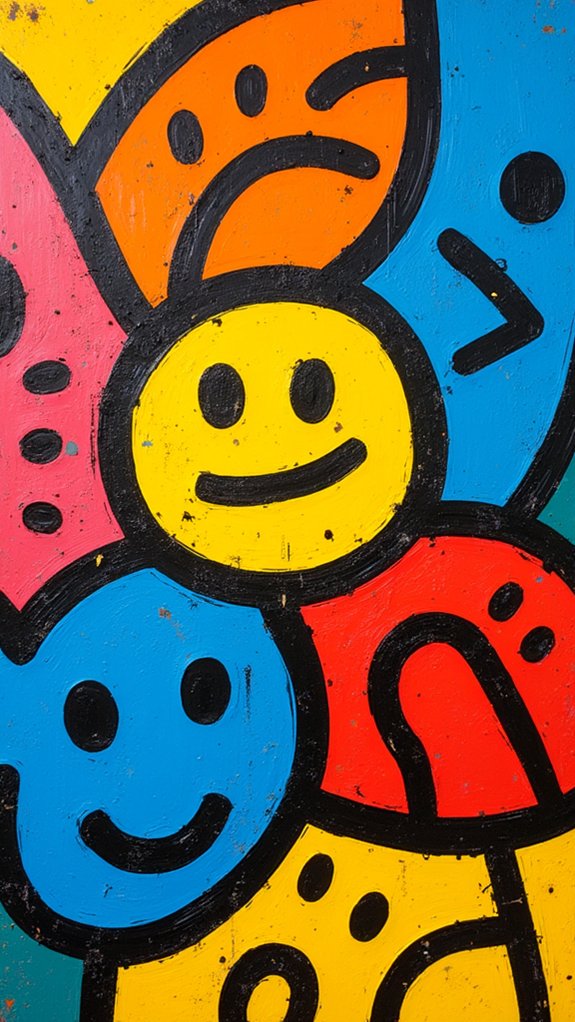
Abstract Keith Haring style shapes bring a burst of energy, with bold lines twisting and turning into a playground of iconic doodles.
This is where line art gets to show off—thick outlines, squiggly trails, and quirky blobs that almost seem to dance across your page.
It’s the perfect chance to experiment with wild, playful shapes that look cool and let you put your own spin on a classic street art look.
Iconic Line Art
Bold lines practically dance across the page in iconic line art inspired by Keith Haring. These quick doodles are all about energy—that zap of excitement you get when shapes and lines burst to life!
Artists love Haring’s style because it lets them draw a wide variety of things, from jumping stick figures to wiggly creatures, with just a few continuous strokes. It’s simple, but trust me, your sketches will never look boring.
The secret is in the movement, thickness, and color choices that make every doodle pop, almost like they’re ready to jump right off the page.
- Choose bright, contrasting colors for that classic look.
- Mix up line thickness to add excitement.
- Play with figures in action poses—think dancing or waving!
- Fill spaces with repeating, funky patterns.
Playful Shapes Exploration
Even though it might look wild at first, playful shapes inspired by Keith Haring are like a party on your page—squiggles, swirls, and chunky circles all racing around, trying to see who can have the most fun.
These abstract doodles use bold, simple lines and random shapes, making them super lively and fun to make. Imagine a wiggly line looping and weaving between triangles and circles, pulling the whole doodle together into a wild maze.
Want to level up? Grab your brightest markers and fill in shapes with wild bursts of color for major wow-factor. The best part is there are no rules—just keep things spontaneous and free.
Repeating shapes and lines lets each doodle become a new adventure, so every page feels exciting and fresh!
Simple Flower Designs
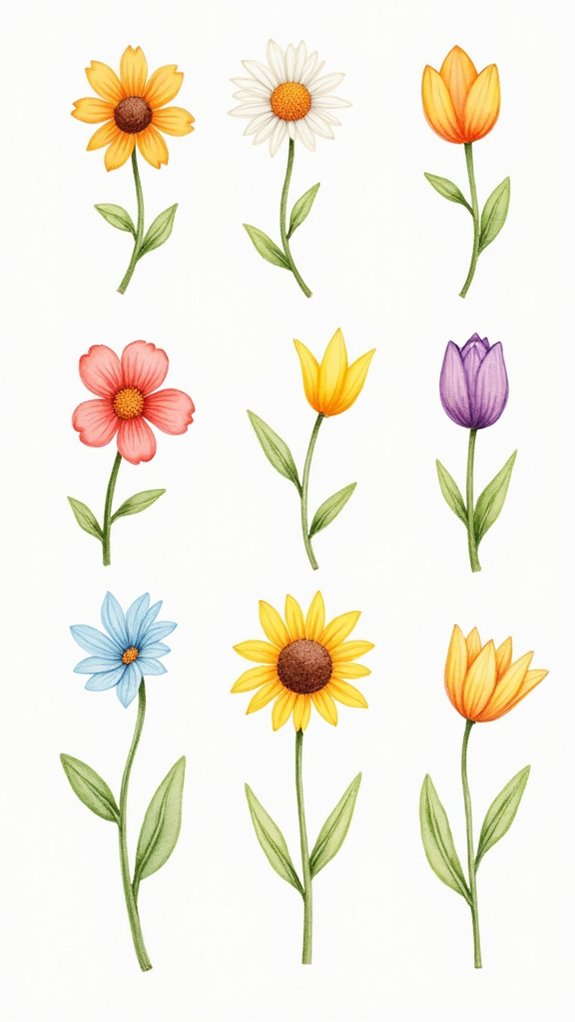
Flowers make everything look happier, don’t they? When it comes to simple flower designs, just a little creativity goes a long way.
Starting with a circle at the center, artists can layer different petal shapes around it—try big, bold petals or tiny teardrops. Doodling a basic daisy or a chubby tulip is easier than you’d think!
For some extra visual interest, add little dots or even swirlies in the middle. Layering petals or sketching delicate lines inside each one gives the doodle a lively, almost 3D vibe.
Try mixing and matching petal shapes and sizes—there’s no right or wrong!
- Begin with a central circle.
- Surround with creative petal shapes.
- Add lines, dots, or swirls for detail.
- Layer petals for depth.
Easy Mountain Landscapes

Mountains have a way of making any doodle feel epic, even if they’re just a bunch of pointy triangles! Drawing easy mountain vistas takes no fancy skills—just one pen and a little creativity.
Start with some wavy triangle shapes, switching up their heights so things don’t look too much like an accidental math class. Next, break up each mountain with flowing lines to give shadows and make everything way more three-dimensional.
For extra flair, try using a thicker marker for the shaded sides, and lighter, spaced lines for highlights. Throw in some trees or puffy clouds, and suddenly your scene is alive!
Easy mountains like these are perfect for bullet journaling. Color them with bold oranges or cool blues for extra personality—instant wow!
Quick Rose Sketches
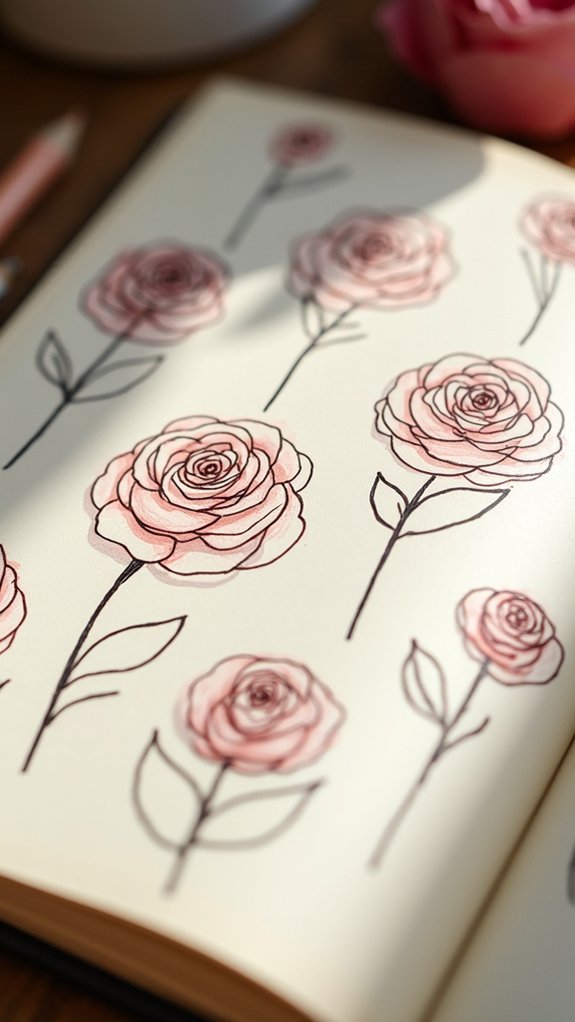
Quick rose sketches are actually a lot easier than they look—just start with a simple spiral for the center, then add layers of petals around it like you’re wrapping up a secret.
With each layer, mix up the petal shapes and keep the edges wavy for that fluffy, real-rose effect—no robot flowers here!
If the first attempt looks like a pizza roll, laugh it off and try again, because each swirl and layer brings you closer to a rose that feels totally your own.
Simple Petal Layering
Roses are like little swirls of magic on paper, and simple petal layering is the secret trick behind making them look awesome in just a few steps.
If you’re ready to sketch something that looks fancy but is secretly super easy, this method is your new best friend. Just grab your favorite black pen, and let’s build a rose, petal by petal. The more confident you get with simple petal layering, the more realistic your roses will look—no gardening required!
Here’s a quick breakdown to make the magic happen:
- Draw a small circle in the center as your rose’s core.
- Add overlapping petals around the core, getting bigger as you go.
- Stack larger petals on outer layers for dimension.
- Use a thin black pen to add fun lines or curves for texture.
Adding Spiral Centers
Once the basics of stacking petals are down, it’s time to add a neat twist—literally. To make your rose doodles pop, start by drawing a small spiral at the center. This spiral acts as the heart of your rose, pulling everything together like a floral tornado (in the best way possible).
Next, sketch five or six petals around the spiral, letting each one overlap the last and grow a little bigger as you move outward. Don’t stress about making every petal perfect—roses love a little wonkiness!
For extra flair, switch to a thinner pen and add lines or some cool shading inside the petals. Practicing the spiral and those petal shapes will quickly turn you into a rose doodling pro.
Playful Drip Effects
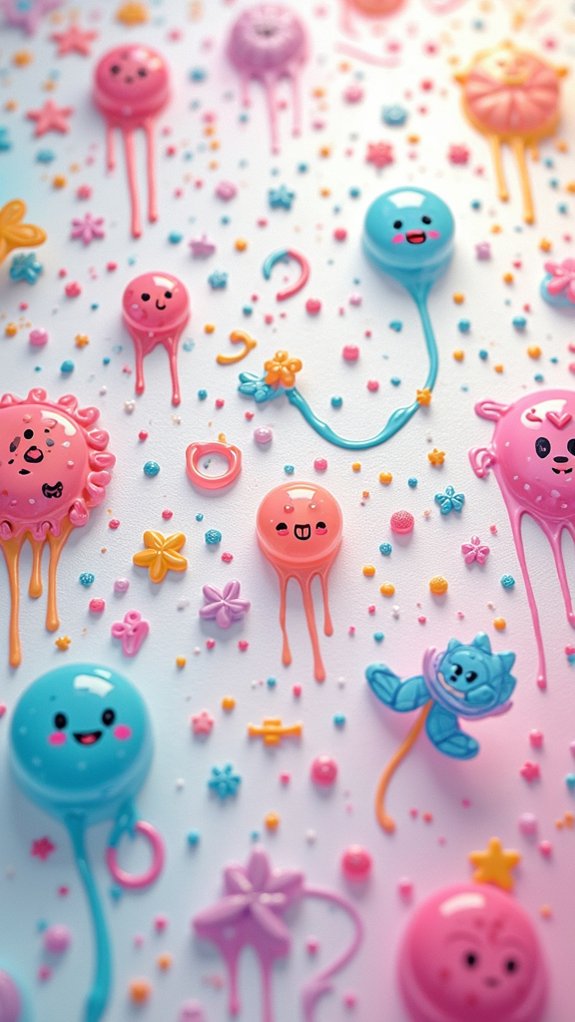
Every doodler knows there’s just something extra fun about playing with drips—those funky, wobbly lines that look like paint trying to make a break for it.
Playful drip effects add magic to doodles, turning a plain sheet into an eye-catching masterpiece. It doesn’t take a fancy art kit, just a wide marker for those bold, drippy shapes and a thin marker to sneak tiny drips inside, making each drop look super bouncy and real.
The beauty of this trick? It’s simple, repetitive, and honestly really satisfying. You can stretch your creativity by mixing colors or going wild with sizes!
Here’s how to have fun with playful drip effects:
- Draw bold, curvy drip shapes.
- Add smaller drips inside for depth.
- Mix up colors for a vibrant look.
- Fill your background or decorate corners!
Rainbow Wave Patterns
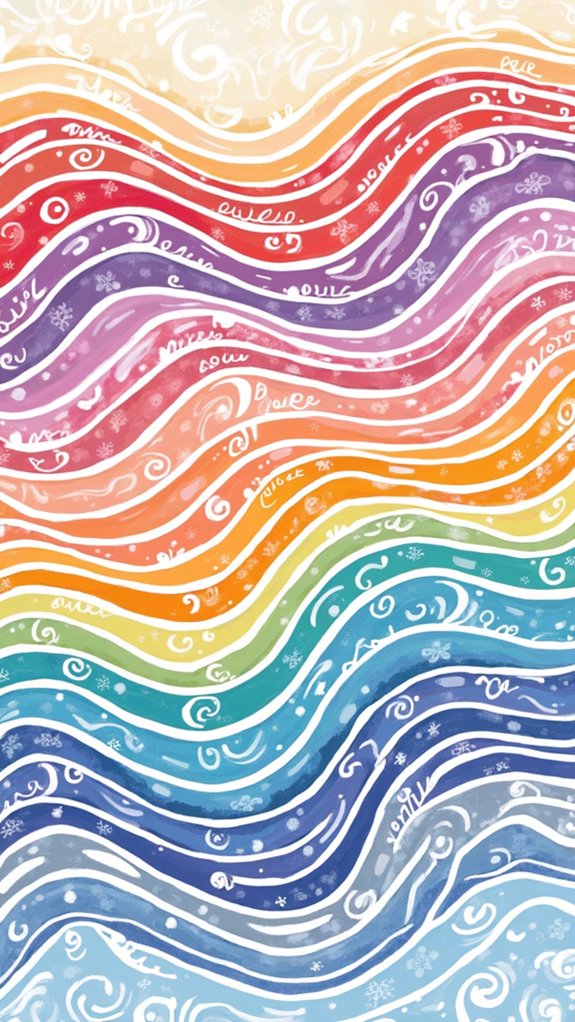
Some doodles just can’t help but steal the show, and rainbow wave patterns are totally that type. Start by sketching a bunch of wavy lines across your page, letting them overlap, zigzag, or stop suddenly—seriously, the more random, the cooler it looks!
By filling each section with wild colors or tossing in funky patterns, like stripes or polka dots, you get an instant playful effect. Extra pro tip: add some upside-down rainbow shapes tucked into the design for extra depth.
Want to level up the whimsical atmosphere? Pop in a couple of cartoon stars or puffy clouds and you’ve got a scene that’s straight out of a daydream. It’s like a party for your eyes, so don’t be afraid to get a little wild!
Wagon Wheel Motifs
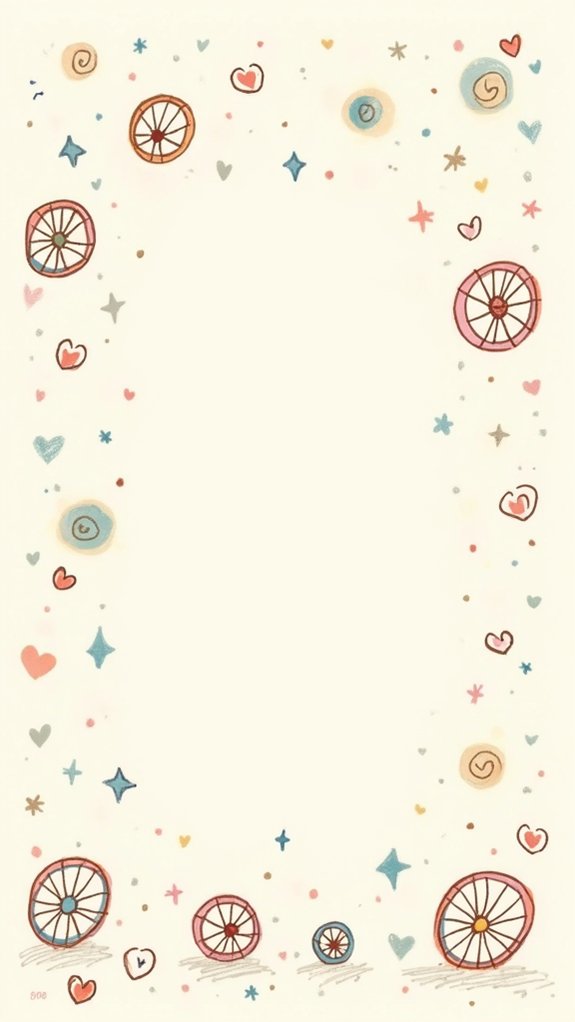
Wagon wheel motifs bring a seriously fun, old-timey vibe to any doodle page—they’re like a blend of geometric precision and playful circles that just beg for bright colors.
To start, all you have to do is draw a circle with a little dot right at the center—that’s your wheel’s hub. Then, draw lines from the dot all the way out, like bike spokes, and boom: instant wagon wheel!
If you’re feeling extra bold, try doodling smaller wheels around your first one, connecting the new centers with more lines, and soon your whole page looks super cool.
Wagon wheel motifs are perfect for spicing up bullet journals or notebooks.
- Draw a circle with a central dot.
- Add lines for spokes.
- Create more wheels, connect them.
- Color them in wildly!
Cow Print Blobs
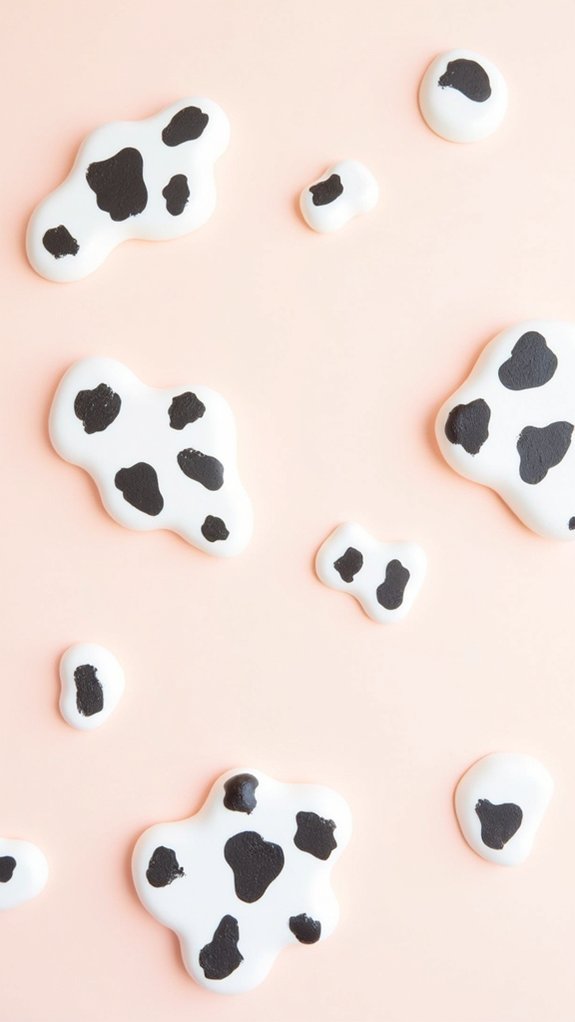
After filling your page with spokey, old-fashioned wheels, it’s time to try something a whole lot squishier—cow print blobs. Here’s where the fun really starts!
Grab your pen and doodle some random blobs, big and small, making sure the edges flop around with uneven, irregular shapes. No need for perfection—wonky is wonderful here.
Inside each blob, add more blobby, irregular shapes that copy the way cow print spots look: some huge, some tiny, none matching.
Want your doodle to pop? Shade the background with a bold color so those cow print blobs really stand out like they’re moo-ving across your page.
Try filling your notebook, journal, or even your math homework’s margins for maximum whimsical impact. Spots everywhere, and it never gets boring!
Cute Cartoon Animals
Bubble-headed bunnies, wobbly-legged puppies, and wide-eyed kittens—cute cartoon animals have a magical way of making any doodle come to life.
These adorable creatures are favorites in animal doodles because their big heads and tiny bodies make them both charming and surprisingly easy to sketch.
With drawing tutorials everywhere online, anyone can master these lovable designs by starting with a few simple shapes, like ovals for heads and circles for paws.
If you’re feeling playful, adding a hat or a big bow makes each critter stand out! Don’t forget to use tons of color and fun patterns for a finishing touch.
- Start your animal doodles with basic shapes—circles and ovals rule!
- Exaggerate eyes and heads for instant cuteness.
- Personalize with hats, bows, and funny accessories.
- Experiment with bright colors and wild patterns.
Fun Food and Snack Illustrations

Pizza slices with cheesy grins, cupcakes wearing sprinkles like confetti, and burgers stacked to the sky—fun food and snack illustrations turn everyday treats into doodle stars.
Food doodles are a blast to draw because they’re so familiar and colorful, but when you add cute facial expressions—think giggling strawberries or a donut looking surprised—they suddenly have personality!
Simple shapes make these doodles easy to try, and before you know it, you’ll have a parade of cheerful snacks taking over your notebook.
Try drawing ice cream with swirly tops or a burger with all the trimmings, and don’t forget those colorful sprinkles on your cupcakes.
These playful pictures are perfect for brightening up journals, planners, or cards, spreading nostalgia and big smiles everywhere.
Frequently Asked Questions
What Pens or Markers Are Best for Starting Beginner Doodles?
When selecting art supplies for beginner doodles, individuals often consider gel pens for smooth lines, brush markers for varying thickness, and fine liners for precision. Each tool offers unique benefits that support creativity and skill development.
How Can I Prevent My Doodle Pages From Smudging?
For smudge prevention techniques, one should allow ink to dry thoroughly, choose paper types with minimal coating, and avoid touching wet areas. Additionally, sealing options like fixative sprays can help protect finished doodles from accidental smudging.
Are There Useful Mobile Apps for Practicing Doodling Techniques?
The current question concerns the usefulness of mobile apps for practicing doodling techniques. Many apps offer features such as doodle challenges, step-by-step drawing tutorials, and creative prompts, allowing users to improve their skills conveniently and interactively.
How Do I Turn Doodles Into Digital Art or Stickers?
Turning hand-drawn sketches into digital art involves doodle digitization techniques, such as scanning or photographing doodles, refining them with graphic tablets, and using software for coloring and editing. These methods also assist in creating sticker packs for various platforms.
What Sketchbooks Are Recommended for Regular Doodling?
When choosing sketchbooks for regular doodling, one should compare paper types for smoothness and bleed-resistance, consider portable or large sketchbook sizes based on preference, and select layouts that accommodate diverse doodle themes, from abstract to illustrative designs.
Conclusion
So, there you have it—a bunch of doodle ideas just waiting for your pen! Whether you’re craving a wild cow print or dreaming up silly snacks, these easy designs are great for any skill level. Remember, doodling isn’t about making “perfect” art; it’s about having fun, de-stressing, and maybe even making your notebook pages look cooler than your homework. So grab your favorite markers, get sketching, and let your imagination run completely wild!
Leave a Reply