
To draw a doodle butterfly, start with a neat oval for the body, then add an upside-down “U” for the head and a longer “U” for the abdomen. Attach big, bold wings on both sides, making sure each side matches for symmetry—no lopsided butterflies here! Draw curvy antennae and fill the wings with cool patterns like dots or lightning bolts. Grab your brightest colors and experiment like a mad scientist. Curious about adding wild details and secret tricks? Stick around!
Key Takeaways
- Gather drawing materials like high-quality paper, pencils, erasers, markers, and colored pencils for vibrant and detailed results.
- Sketch an oval for the thorax, U-shapes for the head and abdomen, then draw symmetrical wings on both sides.
- Add curved antennae and use reference photos to inspire unique, symmetrical wing patterns and spots.
- Color in your butterfly using bright colors and experiment with shading or blending for dynamic designs.
- Personalize your butterfly with bold or tiny spots, playful shapes, and creative color combinations for a truly unique result.
Gathering Your Drawing Materials

Before anyone even thinks about drawing a doodle butterfly, they’re going to need a few trusty supplies.
Let’s draw with style—grab some high-quality drawing paper, because flimsy paper will just make your butterfly look sad. Markers in a lot of little colors bring those wings to life, making your fun drawing jump right off the page.
Colored pencils or crayons? Bring them on! They add texture and depth, perfect for getting fancy without much effort. Don’t forget a sharp pencil for sketching and an eraser to wipe out any oops moments.
It’s smart to peek at a few butterfly photos for extra inspiration—nature’s got a lot of little surprises. With these essentials, your doodle butterfly dreams can flutter wildly!
Sketching the Butterfly’s Body
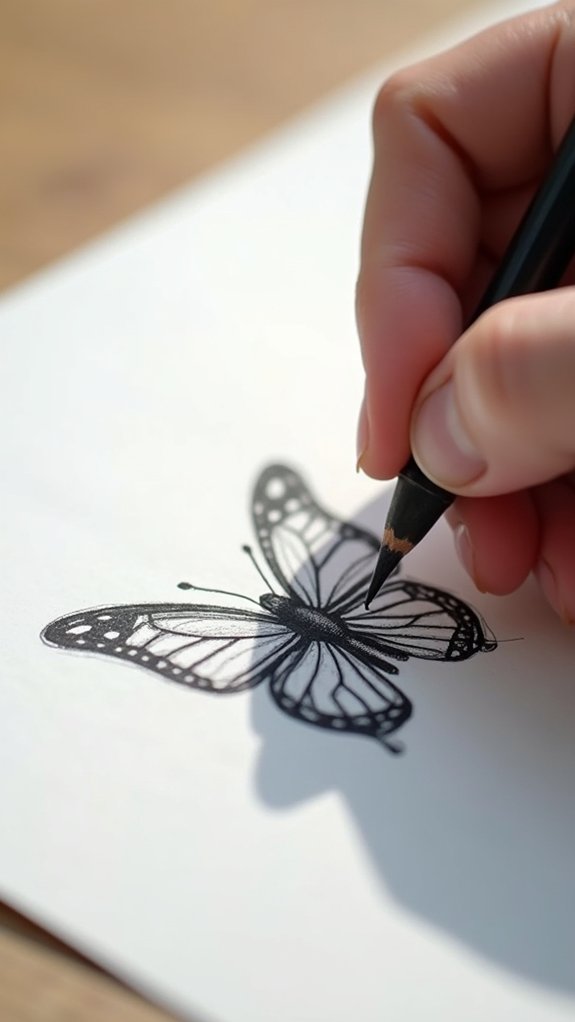
First up in creating a doodle butterfly is getting the body just right—this means sketching the thorax as a neat oval right in the center, and then giving your butterfly a little upside-down U for a head and a longer U for the abdomen below.
It’s sort of like making a snowman with a twist, but here, you want the body to look symmetrical so your butterfly doesn’t appear wonky or ready to fly in circles.
Keep an eye on the proportions, too—the thorax should be chunkier than the abdomen, and trust me, a lopsided butterfly is never happy!
Drawing the Thorax Shape
The magic starts with the thorax—the butterfly’s main body and the superstar of the sketch!
Imagine the thorax as the stage where all the other cool butterfly parts will perform. Begin by drawing an oval shape right in the middle of your page, like another one of those jellybeans from your snack stash.
This oval is a big deal because it holds everything together, even the wings, so make sure it’s smack in the center and not lopsided. It looks best if it’s a little wider at the top and gets slimmer towards the bottom, kind of like a raindrop.
Keep your lines light and loose, because things will change as the drawing grows. Don’t rush—this is the butterfly’s backbone!
Outlining Head and Abdomen
Jumping right in, it’s time to give that lonely thorax some company by adding the butterfly’s head and abdomen—basically, the VIP guests at this doodle party.
First up: let’s talk head proportions. Right above that oval thorax, sketch an upside-down U shape. Not a weird blob or a football—just a simple curve for now. This basic head shape should be balanced with the thorax, no pinheads allowed!
Next comes the abdomen. From the bottom of the thorax, drop a longer U shape down, like a stretched out smile. Pay attention to abdomen details: keep it slender, but not spaghetti-thin, and make sure it’s in proportion to the head and thorax.
Keep both shapes simple; details can come later.
Emphasizing Body Symmetry
Symmetry—the magical secret behind every jaw-dropping butterfly—takes center stage once it’s time to sketch the body. Without symmetry techniques, your butterfly might look more like a confused moth! Start by drawing an oval thorax smack in the center; that’s your anchor for visual balance. Place an upside-down U for the head directly above, making sure it lines up perfectly. Underneath, sketch a longer U for the abdomen—remember those artistic proportions! Everything needs to mirror itself on each side, from the wings to the thickness and gentle curves of the antennae. Here’s a quick-reference guide:
| Feature | What To Watch For |
|---|---|
| Thorax | Centered, oval, base symmetry |
| Head | Upside-down U, directly above |
| Abdomen | Longer U, matches proportions |
| Antennae | Same curve, thickness on both sides |
Creating Symmetrical Wings
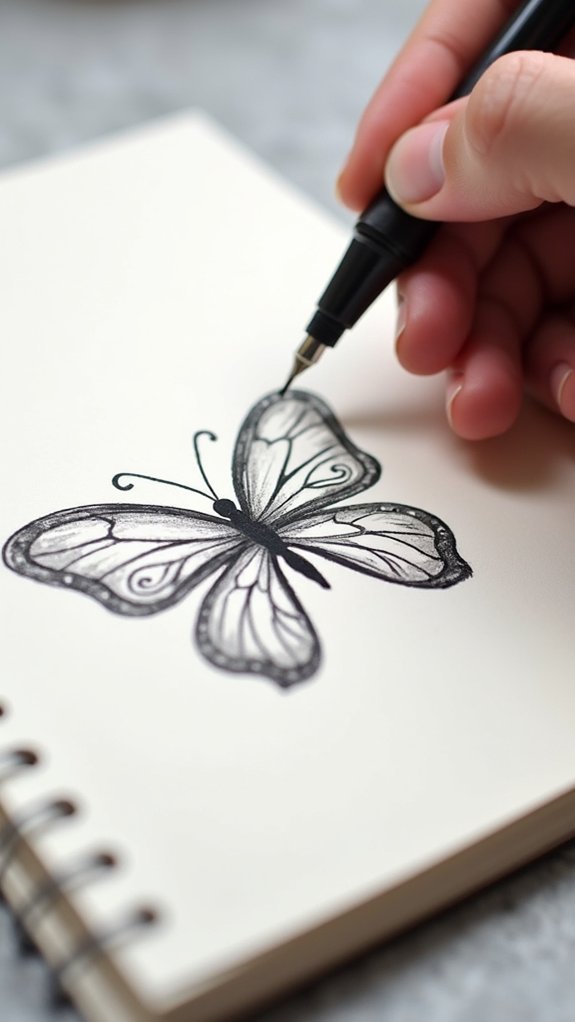
Nothing grabs attention quite like a butterfly with perfectly mirrored wings, right? To nail that wow factor, start with bold forewing curves on one side, and make sure they match up—almost like the butterfly’s doing a split in a dance contest!
Use the thorax smack in the center as your referee. It’ll help keep your wing proportions in check and make sure one side doesn’t outgrow the other. When you swing down to the hind wing, copy those curves, but trim them a touch—remember, those bottom wings are usually a bit smaller.
For true balance techniques, sprinkle in symmetrical patterns—think ovals and raindrops—on each side, then top things off with crisp white spots along the edges. Symmetry never looked so stylish!
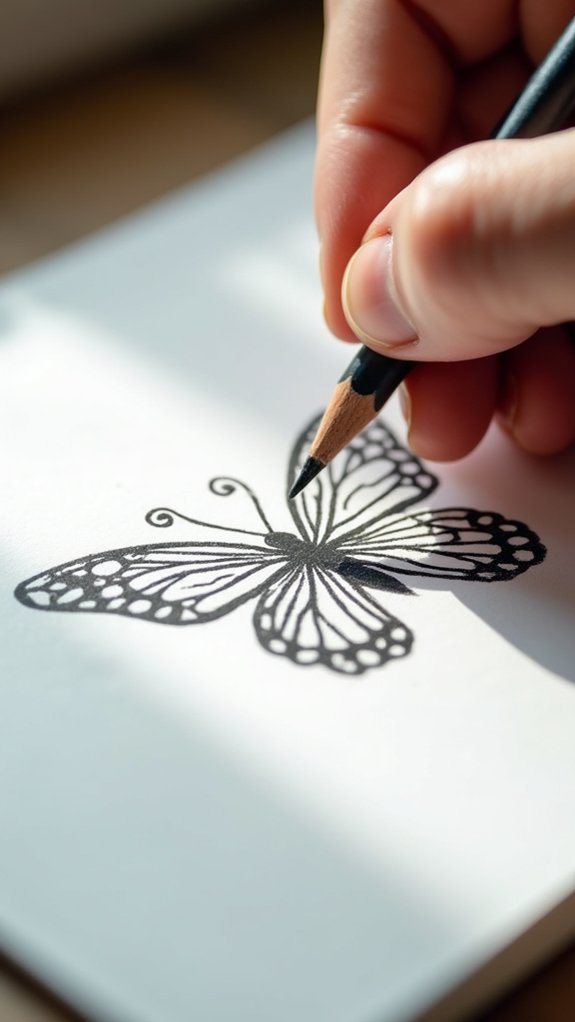
Adding the Forewing and Hind Wing Details

Now comes the fun part—sprucing up those butterfly wings with all the eye-catching details!
Start by using your best wing symmetry techniques: sketch large curves on both sides for the forewings, making sure everything matches up for that perfect butterfly vibe.
Drop the hind wings just a bit lower—don’t worry, butterflies like quirky style too!
For some superb texture enhancement methods, add distinctive bumps along the top edge. Not only does this make your butterfly look more realistic, but it’s also seriously fun to draw.
Here are some easy tips to take your wings from plain to spectacular:
- Mirror patterns and curves to ace wing symmetry techniques.
- Draw bumps along wing edges for texture enhancement methods.
- Fill each wing with spotty, intricate pattern inspiration—dots, squiggles, or mini zigzags!
Designing Curved Antennae
Now for the antennae—those wiggly, eye-catching details right on top of your butterfly’s head!
Start by drawing smooth, balanced curves that shoot outward, then cap each one off with a fat, rounded tip for that classic butterfly look (think of tiny lollipops on sticks—only fancier).
Making both antennae the same size keeps things looking tidy, while adding those clubbed ends really cranks up the cuteness!
Drawing Balanced Antennae Curves
Antennae are like the butterfly’s quirky hat, and getting their curves right can really make your doodle pop! When drawing balanced antennae curves, it’s all about keeping things symmetrical and smooth.
Start with a gentle swoop for each antenna, making sure they’re twins—not distant cousins—in height and bend. This attention to antennae design helps with butterfly symmetry, making your sketch stand out.
Avoid jagged lines; you want soft, flowing curves that almost look like a fancy piece of ribbon candy. Don’t stress about perfection—practice makes it easier to get those graceful, curved shapes just right.
- Mirror each antenna’s curve to keep the look balanced.
- Maintain the same thickness along both antennae.
- Try out different curved shapes until you find your favorite style!
Adding Clubbed Antennae Tips
Once both antennae look like graceful, matching curves, it’s time to give them a finishing touch that really completes the butterfly’s look—the clubbed tips! Using clubbed antennae techniques, draw a rounded, thicker “club” at the end of each antenna, making sure both sides stay nice and balanced (no lopsided cartoon disasters here!). This classic feature is a must-have for most butterfly antennae styles. If you want to get fancy, throw in a gentle twist or slight bend to the antennae for an enhanced, natural vibe. Boost your doodle by experimenting with lengths, too—the longer or shorter the antennae, the more personality your butterfly gets. Try out these options below:
| Club Shape Ideas | Length Variations |
|---|---|
| Teardrop | Short and cute |
| Oval | Extra-long and wavy |
| Circle | Medium with curve |
| Spiral tip | Tiny with twist |
| Heart-shaped | Long and swooping |
Drawing Unique Wing Spot Patterns
Patterns are where a butterfly’s wings get to show off their personality, and wing spot designs are basically the butterfly version of wild socks—full of flair.
When drawing your doodle butterfly, try mixing up spot size variation. Big, medium, and tiny spots, plus ovals and raindrop shapes, totally kick up the excitement factor!
Be sure to add wing pattern symmetry by mirroring shapes on each side, otherwise your butterfly might look like it just rolled out of bed.
And of course, creative color combinations make the spots pop, even before you grab the colored pencils.
- Experiment with different spot shapes—mix ovals, raindrops, and small details for variety.
- Keep symmetry in mind by mirroring patterns across both wings.
- Place bold and tiny white spots along wing edges for extra detail and realism.
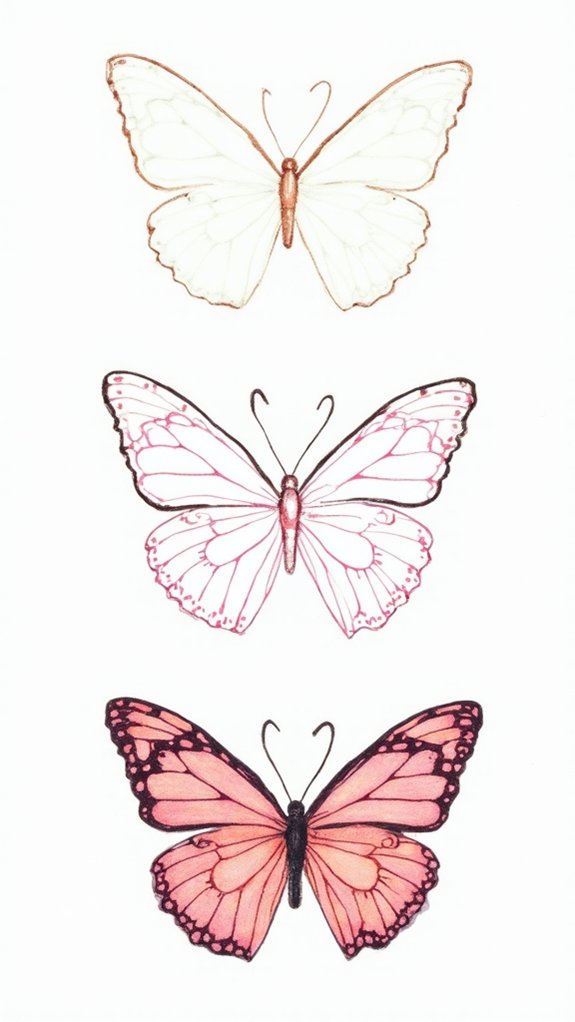
Bringing Your Butterfly to Life With Color
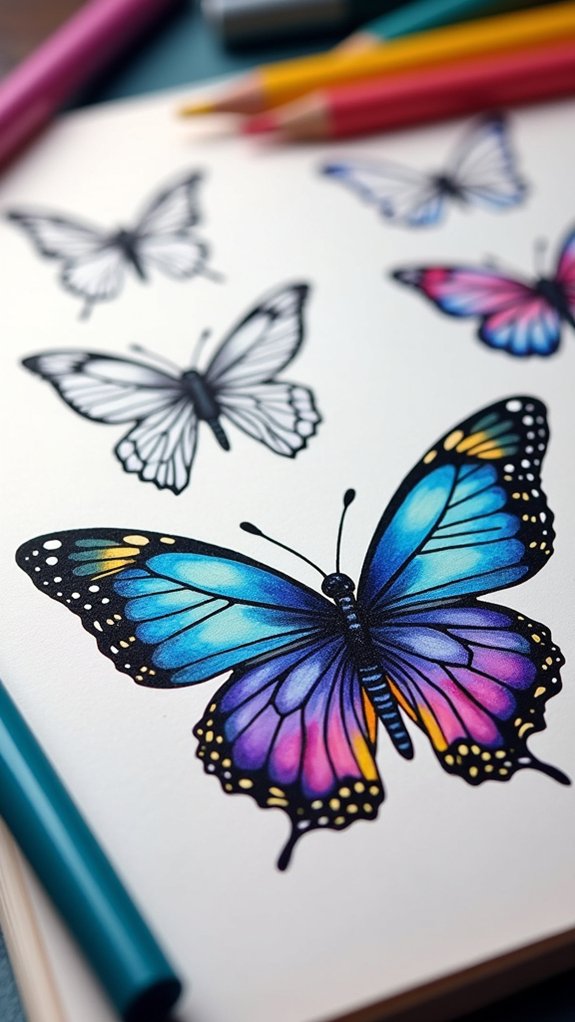
With those wild wing spot patterns in place, it’s time to let color work its magic and make your butterfly burst with life. Grab your brightest markers or colored pencils—think bold oranges, electric blues, and sunny yellows. That’s right, don’t be shy!
Color theory is on your side, so combine contrasting colors to make those whimsical patterns pop. Spots on the wings? Use colors that don’t blend in but stand out loud and proud.
Try fun shading techniques, like gentle blending for smooth gradients, or stippling for a cool, dotted look. These give your butterfly depth and dimension. Don’t rush—enjoy mixing colors and experimenting!
Splash in wild hues if you want. Remember, rules bend for creativity in the world of doodle butterflies.
Practicing and Personalizing Your Doodle Butterfly

Jump right in and let those doodle butterfly wings get wild! There’s no exact formula when it comes to practicing and personalizing your doodle butterfly. It’s all about personal expression and having fun.
Mix up the wing shapes, try out some unexpected color choices, and experiment with unique designs. If your butterfly looks a little different from the real deal—who cares? Doodling isn’t about perfection, it’s about finding your artistic groove.
So go ahead and give your butterfly some personality. Try adding swirls or even a lightning bolt if you’re feeling bold! Here’s some inspiration to keep the creative energy flowing:
- Play with spot patterns to make every wing look one-of-a-kind
- Use wild color combos for a surprise pop
- Add extra details like hearts, stars, or funky lines
Frequently Asked Questions
How to Make a Butterfly for Kids?
The question addresses engaging children with butterfly crafts, incorporating butterfly coloring for creativity and sharing butterfly facts for education. Providing templates or printable sheets allows kids to enjoy hands-on activities while learning about butterflies’ fascinating characteristics and habitats.
How to Draw a Rainbow 🌈?
When considering how to draw a rainbow, individuals should focus on creating smooth arcs, layering vibrant rainbow colors in correct sequence, and exploring different rainbow patterns. Outlining enhances rainbow art, while clouds can add whimsical detail.
How to Draw Butterfly Wings for Kids?
The current question focuses on guiding kids to draw butterfly wings, emphasizing butterfly anatomy, exploring various wing patterns, and experimenting with color combinations. This approach encourages creativity while helping young artists understand basic biological structure and artistic symmetry.
How to Draw a Girl Easy for Kids Step by Step?
For easy girl drawing techniques, children start with simple character sketches by outlining basic shapes like ovals and lines. Adding creative details, such as hairstyles and accessories, turns the exercise into engaging creative art activities for kids.
Conclusion
So, drawing a doodle butterfly isn’t just about making something look cool on paper—it’s kind of like giving your imagination wings. Anyone can start with a few shapes, add some details, and go wild with colors. The best part? Every butterfly will be completely unique, like a secret code only you can create. So grab those markers, get a little messy, and let your inner artist fly free—mistakes are just part of the adventure!
Leave a Reply