
Mandala painting is like magic for your imagination! Try making perfect circles by just using your eyes—no sketching needed. Grab dotting tools, cotton swabs, or even a pencil eraser for totally unique dots. Play with brush dotting and layering bright colors to add wild depth. Don’t forget swooshes, swirls, and even some sparkly glitter for flair. Slow down, embrace happy mistakes, and finish off with fun ways to display your masterpiece. Want more secrets for stunning mandalas? Keep going!
Key Takeaways
- Use dotting tools or household items to create intricate, symmetrical dot patterns for a textured mandala effect.
- Layer contrasting colors and experiment with blending for added depth and vibrant visual interest.
- Incorporate geometric shapes as a foundation to ensure balance and symmetry in your mandala design.
- Combine traditional paints with mixed media elements like metallics, glitter, or beads for unique, multidimensional mandalas.
- Embrace mindfulness by painting slowly, focusing on the process, and allowing imperfections to enhance your artwork’s character.
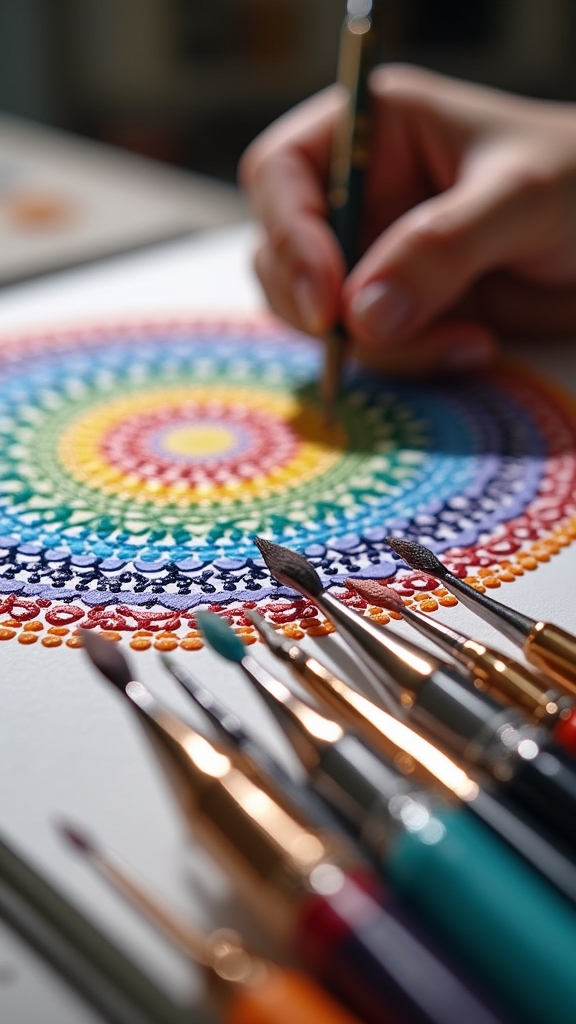
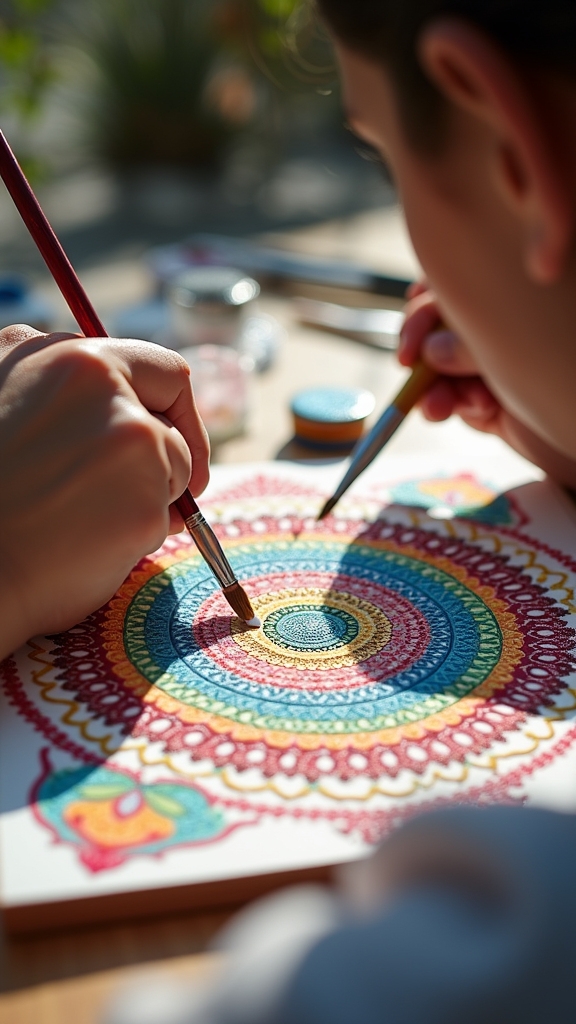
Creating Non-Sketched Mandalas for Perfect Symmetry

An artist’s hands can do some pretty amazing things, especially when it comes to creating non-sketched mandalas for perfect symmetry.
Imagine making dot mandalas without sketching any guide lines or circles—just your eyes, your hands, and your sense of balance. It sounds tricky, but that’s where the magic lives!
By carefully counting dots and spacing them equally, artists build mind-blowingly symmetrical designs, all while feeling super focused and almost zen-like. Plus, this hands-on practice isn’t just about making pretty patterns.
It actually helps artists develop a sharp eye for symmetry, which comes in handy for more complex art later on. And let’s not forget, watching those dots line up perfectly is oddly satisfying—like winning a tiny, artsy game every time.
Mastering Dotting Tools for Precision and Variety
Every dot counts when it comes to mandala painting, so getting the hang of dotting tools is kind of a big deal.
Dotting tools come in all shapes and sizes—big ones splash on paint fast, while tiny ones are perfect for those itty-bitty details that really make a mandala pop. Keeping your dotting tools squeaky clean is a must, or you might end up with weird color blobs where you wanted crisp dots (yikes!).
Trying out stuff like toothpicks or the ends of paintbrushes can surprise you; sometimes the best dotting tool isn’t even a tool at all. Practicing on scrap paper helps you learn which tool makes your favorite dots, and using the same one helps keep your mandala looking balanced and sharp.
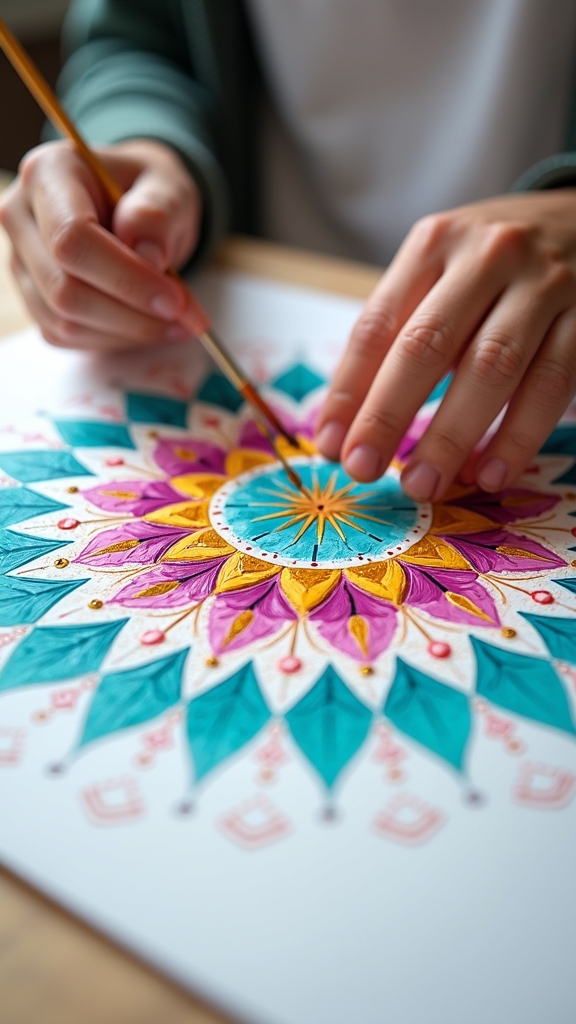
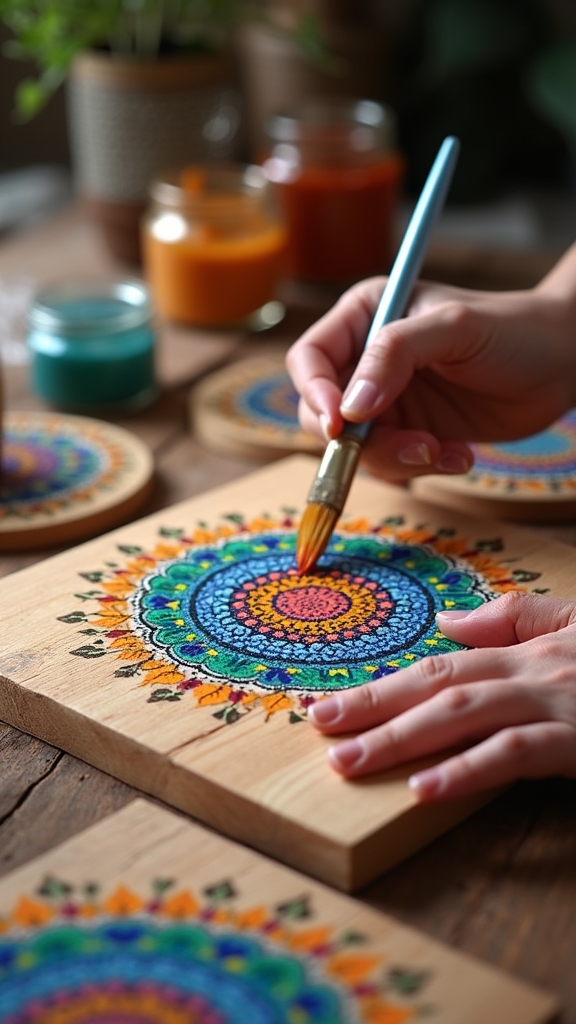
Experimenting With Brush Dotting Techniques

Dotting tools are awesome, but sometimes a regular old paintbrush totally steals the show.
With brush dotting, artists can make sure each dot or swoosh is just how they want it—big, small, fat, thin, or even a wild mix! Using a pointed brush tip, you can press gently for tiny dots or really push down for massive ones.
The secret? Keep your brush super clean and dip it in water for smooth, sharp lines. Don’t forget to practice a few times before going all in.
Adjusting wrist angles or pressure leads to cool shapes and effects, so go ahead and experiment. Just make sure you let each section dry before adding more, or you might get muddy colors instead of magic!
Layering Colors for Depth and Contrast
If anyone wants their mandala to really pop, layering colors is like turning up the volume on the whole design. By stacking lighter shades next to darker ones, artists can create serious depth and contrast that makes each section stand out.
It’s important to let every layer dry completely—unless you want your masterpiece to turn into a muddy mess! Using a clean brush or tool between layers helps keep those crisp edges sharp and colors bold, rather than letting them blend into a mysterious blob.
Trying out different color combos and layering colors in new ways can lead to cool effects, like gradients or shadows. Putting contrasting colors together on purpose can really highlight certain shapes, giving the mandala a dynamic, eye-catching vibe.
Achieving Flow With Swooshes and Swirls

Swirling lines and swooshes can take a regular mandala and make it look like the colors are actually moving across the canvas. Achieving this cool flow effect starts with dipping a dotting tool into paint that’s just drippy enough to slide smoothly.
Swooshes aren’t rushed—patience pays off with shapes that really pop. Mixing up colors and letting each layer dry (seriously, don’t rush or you’ll get a muddy mess) adds awesome depth.
Want to up your swoosh game? Try these tips:
- Use slow, steady movements for super clean, defined swooshes.
- Layer different colors, but let each dry before piling on more.
- Combine different swoosh techniques for wild, unique patterns.
- Practice with various tools to nail that perfect swoosh every time.
Get swirling!
Using Household Items for Unique Dotting Effects
Who knew your junk drawer could hold secret art supplies?
Toothpicks work great for making super tiny dots, cotton swabs can add fun, fuzzy textures, and the eraser on a pencil doubles as a perfect stamp for bold circles.
With just these simple items, anyone can pull off some seriously cool effects in their mandala painting—no fancy tools needed!
Toothpicks for Fine Dots
Toothpicks—those tiny wooden sticks usually found at parties or stuck between someone’s teeth—are actually secret weapons in mandala painting.
Artists love them for their ability to create super fine dots, which can make any mandala design pop with amazing detail. Plus, you don’t have to buy fancy tools; toothpicks are cheap and hiding in most kitchen drawers.
Here’s why toothpicks are a must-try in your next mandala project:
- Precision: The pointed end of a toothpick lets artists control exactly where each dot goes.
- Variety: By pressing harder or softer, different sized dots appear, adding interest to patterns.
- Symmetry: Toothpicks help keep lines and designs neat and balanced.
- Clean Dots: Switching toothpicks or cleaning them stops colors from mixing.
Cotton Swabs for Texture
Cotton swabs might look like just another boring bathroom item, but in the world of mandala painting, they’re absolute game-changers. Grab a cotton swab, dip it in paint, and suddenly you’ve got a tool that can create dots with so much personality.
The soft tip helps paint go on smoothly, which is awesome if you’re just starting out and want to avoid making a giant, blobby mess. By pressing harder or softer, artists can get dots in all sorts of sizes, adding cool depth and texture to their mandalas.
Seriously, cotton swabs give a more organic, natural look—think flowers, stars, or even clouds. Plus, they’re cheap and you probably already have some at home, so experimenting is easy and fun.
Pencil Erasers as Stamps
Plenty of everyday objects can double as awesome art tools, and pencil erasers are a perfect example.
In dot mandala painting, using pencil erasers as stamps is both clever and fun—plus, you probably have a dozen of them lying around! Here’s how they can jazz up your mandala game:
- Dip the flat eraser end into paint for crisp, uniform dots—super satisfying every time.
- Try erasers in different shapes, like rounded or even triangle-tipped ones, to create cool and diverse dot patterns.
- Grab a clean eraser and press evenly; this gives you reliable, neat results (no weird blobs!).
- Colored pencils with erasers? Double win! Use the pencil for outlines and the eraser for stamping dots.
Who knew school supplies could be this artsy?
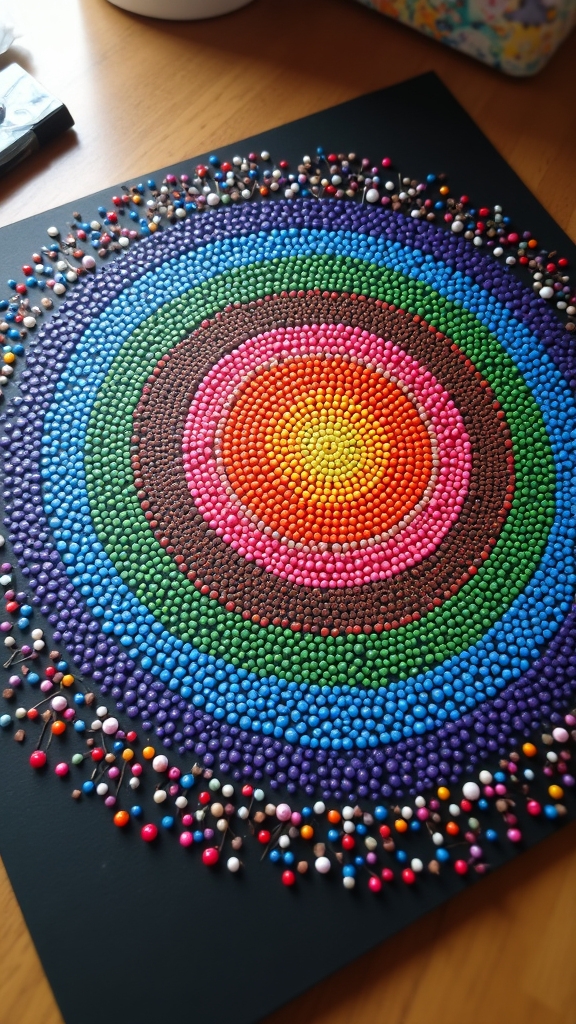
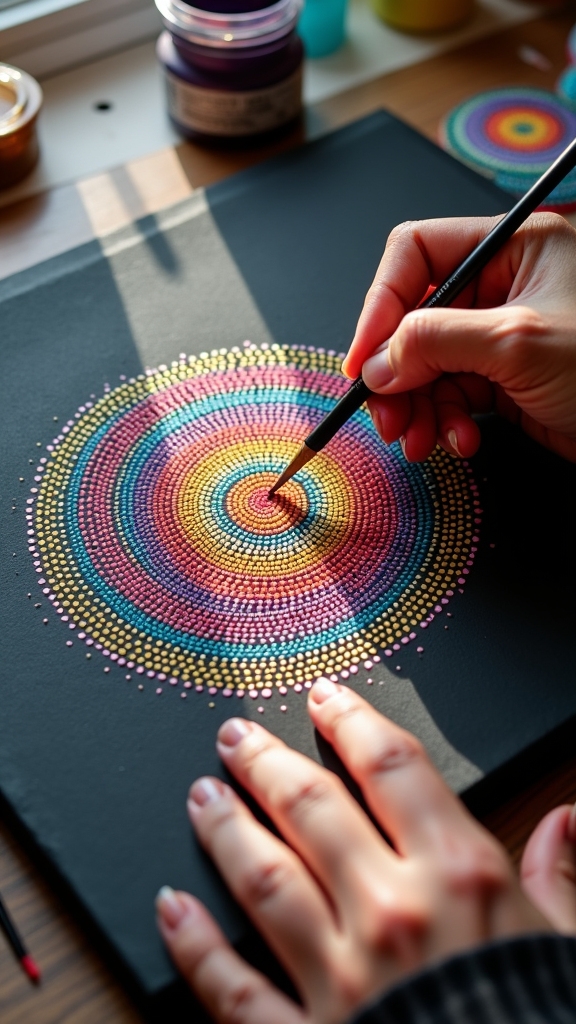
Exploring Gradients and Ombre Mandala Designs
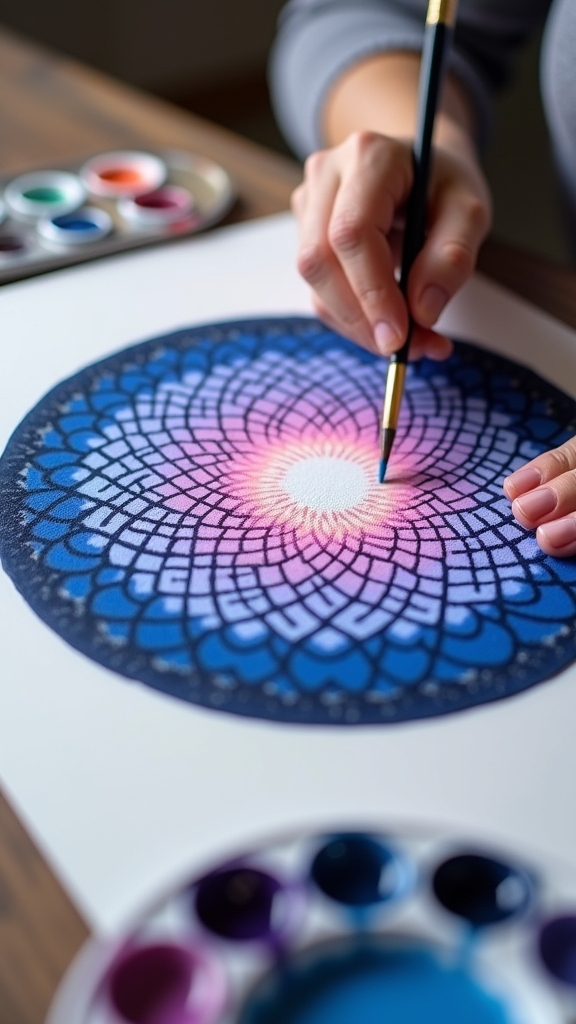
Sometimes, the coolest mandala paintings aren’t just about the shapes—they’re all about the colors fading into each other like a sunset.
Creating gradients and ombre effects in mandala art lets artists play with paint colors in a way that really makes the designs pop. By mixing white into base colors, it’s possible to get lighter shades that add depth and a dreamy vibe.
For a true ombre look, artists start with a dark color in the center, then blend lighter shades as they move outwards, making sure the change between colors is super smooth.
Tools like dotting pens or sponges can add some awesome texture. Using a rotating motion while painting helps keep the gradient even, making every section look seamless and magical.
Drawing Mandala Patterns With Stencils and Grids
For anyone who’s ever stared at a blank rock and wondered how artists pull off those super-satisfying, perfectly even mandalas, here’s a secret: stencils and grids are total game-changers.
Drawing a mandala can feel like rocket science, but with a stencil, it’s more like following a treasure map—way less stressful! Using a grid pattern stencil helps keep everything balanced, even if your hand gets wobbly.
Here’s how it goes:
- Start by marking a central circle as your anchor.
- Place the stencil over the rock, letting it guide where each repeating shape will go.
- Rotate the rock while drawing, so every section stays symmetrical.
- Try gel pens, paint markers, or micron pens for crisp, clean lines.
Experiment with different stencils for wild, unique designs!
Fixing Mistakes and Embracing Imperfections
Even with the coolest stencils or the most careful grid lines, things don’t always go as planned in mandala painting. Sometimes a dot goes rogue, or a line squiggles where it shouldn’t.
But fixing mistakes doesn’t have to be scary! A damp Q-tip can erase a tiny slip-up without hurting your rock. Bigger oops? Just repaint the area with your base color and wait for it to dry—then try again.
Patience is key; if you rush and don’t let layers dry, you might end up with a rainbow mess. And honestly, not every mistake needs to vanish. Those little flaws can make your mandala one-of-a-kind, full of character.
Every “oops” is just a part of your creative adventure!
Developing Mindfulness Through Slow, Intentional Painting
Painting a mandala slowly isn’t just about making art—it’s about soaking up the present moment, one careful brushstroke at a time.
Focusing on your breath while you work can turn a simple painting session into a superpower for your brain, helping you stay calm and totally in the zone (even if your cat tries to help and adds a paw print).
As artists pay close attention to each detail, they often notice new creative ideas popping up, like little surprises hiding in the paint.
Embracing the Present Moment
Why does slowing down feel so hard when there’s a blank canvas staring back? For many, the urge to rush is real, but embracing the present moment is where true creativity begins.
Slowing down helps artists keep going, even when a mistake pops up or the paint doesn’t do what they expect. Instead of stressing, they can use mindfulness to enjoy the process.
Here are four ways to make it easier:
- Notice each brushstroke, focusing on the way the paint flows.
- Take short breaks—sometimes stepping away brings new ideas.
- Accept that imperfections are part of the art, not a reason to quit.
- Paint with intention, letting the process feel almost meditative.
Breathwork for Artistic Focus
Staring at a blank canvas can make anyone’s heart race, but there’s a simple trick to finding focus: breathing. Breathwork isn’t just for yoga class—artists use it, too!
Before picking up a paintbrush, taking slow, intentional breaths can totally change the mood. Try inhaling for four counts, then exhaling for six. Suddenly, the mind calms, nerves settle, and painting feels less scary. It’s like giving your brain a mini-vacation!
Breathwork helps artists stay present, making the act of painting mandalas feel meditative, almost magical. Ideas start to flow more easily, and mistakes don’t seem like the end of the world.
Practicing breathwork regularly can boost concentration, helping every mandala become a true masterpiece—one calm breath at a time.
Cultivating Creative Awareness
Mindfulness might sound like something only monks or meditation pros talk about, but it’s actually a superpower anyone can use—especially when making art.
When someone paints a mandala, slowing down helps them really notice each dot, each swirl, and every color choice. This isn’t just about making pretty art—it’s about being present, and that’s where creative awareness kicks in.
Want to level up your mindfulness while painting? Try these four simple steps:
- Focus on breathing as you paint, letting each inhale and exhale guide your brush.
- Pay attention to each stroke, no matter how tiny.
- Switch up colors or designs if inspiration strikes—go with the flow!
- Take breaks to look at your work and reset your mind.
Suddenly, painting becomes an adventure in mindfulness!
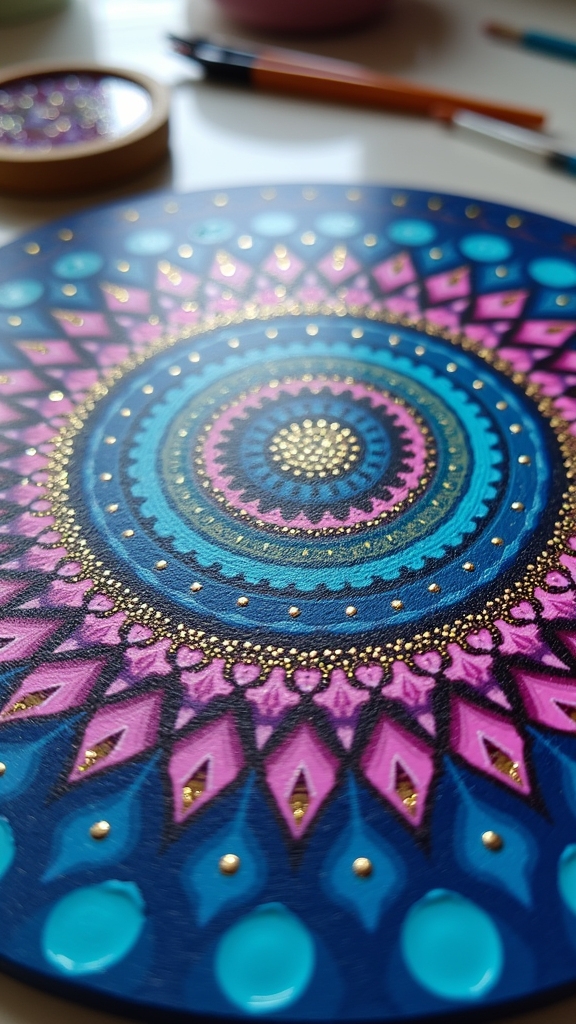
Incorporating Mixed Media Elements
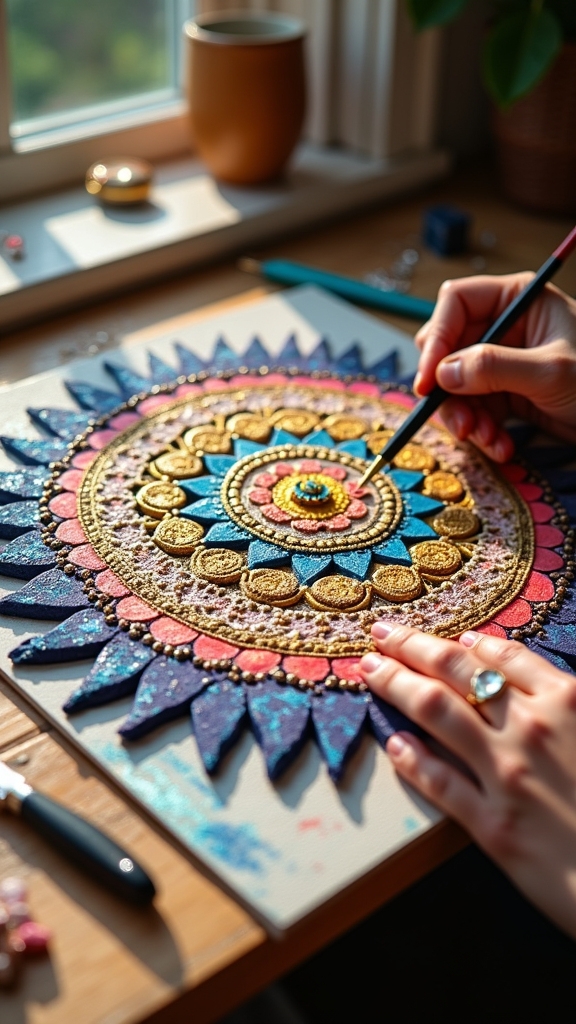
Some mandala artists don’t like to play by the rules—and that’s where mixed media really shines.
Mixed media is all about mixing things up and getting creative. Imagine combining shiny metallic paints, glitter, or even tiny beads with your regular mandala dotting techniques. Suddenly, your artwork isn’t just flat—it pops, sparkles, and feels cool to the touch.
Layering acrylics with watercolor or ink adds wild color effects, while gluing on bits of paper or fabric adds texture you can actually feel. Even changing up your surface—painting on wood, canvas, or fabric—makes things way more interesting.
For a modern twist, some artists scan their designs or use printed patterns, blending digital and traditional art for a totally unique mandala masterpiece.
Sealing and Finishing Mandala Artworks
Now comes the moment of truth—sealing and finishing your mandala so it shines and lasts!
Picking the right sealer is a big deal, and the way you apply it can make all the difference between a masterpiece and a sticky disaster.
Up next, readers will get a simple, step-by-step look at how to seal their artwork without any mess-ups or unexpected surprises.
Choosing the Right Sealer
Almost every mandala artist faces a big moment of truth: picking the perfect sealer to lock in all that hard work and color.
The wrong choice, and you might end up with faded art or—worse—a smeared masterpiece! To avoid that heartbreak, here’s what artists should think about when it’s time to choose a sealer:
- Type of Sealer: Go for Mod Podge or a clear acrylic spray to protect colors and boost longevity.
- Timing: Wait until the paint is totally dry—no cheating, or you’ll risk smudges!
- Outdoor Needs: If your mandala lives outside, pick an outdoor sealant that stands up to sun and rain.
- Application Method: Use a clean brush or spray for a smooth finish—bubbles and streaks are the enemy!
Always check the manufacturer’s instructions for best results.
Step-by-Step Sealing Process
Once the perfect sealer is picked out, it’s time for the big moment—actually locking in all those brilliant colors and tiny details. First, make sure the paint is totally dry—seriously, let it dry overnight if you can! Next, test your sealer on a scrap piece so you don’t accidentally turn your masterpiece into a mess. When you’re ready, spray or brush on a thin layer, holding the spray can about 12 inches away. Don’t rush—apply thin, even coats and let each one dry before adding the next. This avoids drips and gives a smooth, strong finish. Here’s a quick guide:
| Step | What To Do | Pro Tip |
|---|---|---|
| Drying | Let it dry fully | Wait overnight |
| Testing | Try on scrap first | Check compatibility |
| Sealing | Apply thin layers | Hold can 12″ away |
| Finishing | Let it dry between | No rushing, be patient |
Displaying and Gifting Your Mandala Creations
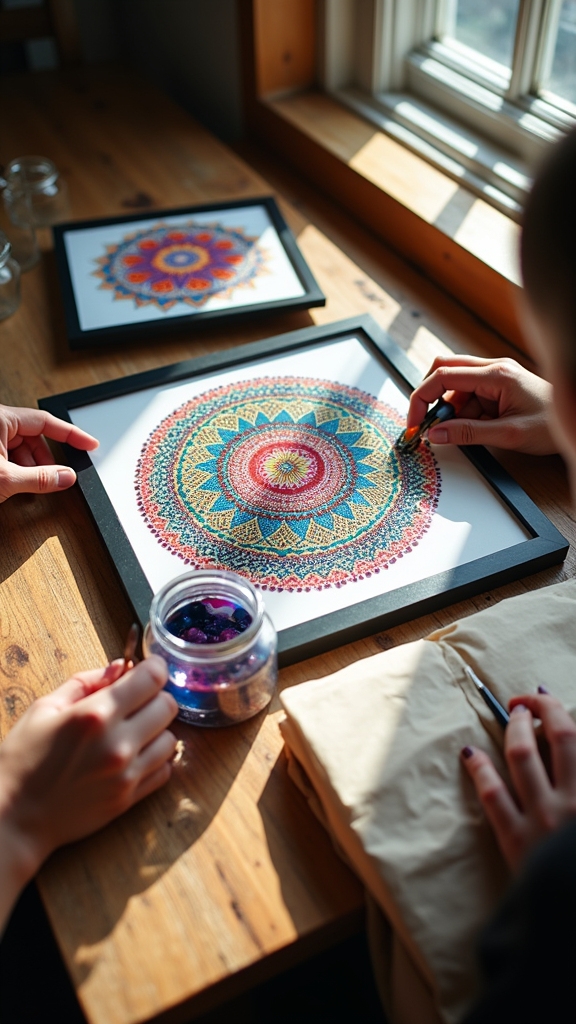
Plenty of artists feel a burst of pride after finishing a mandala, and honestly, who could blame them?
Displaying and gifting mandala creations can be just as fun as painting them, and there are so many creative options out there. Not sure where to start? Here are four cool ideas:
- Frame your mandala art or set it on an easel to make it the star of any room.
- Place mandala rocks in decorative bowls or use them as paperweights—both pretty and practical!
- When gifting, pick colors and designs that match the recipient’s vibe, then wrap the art in eco-friendly paper or fabric.
- Add a handwritten note explaining the meaning behind your mandala for that extra-special, heartfelt touch.
Frequently Asked Questions
What Are the Techniques of Mandala Art?
Mandalas techniques include using dotting tools for precise patterns, brush dotting for varied dot sizes, layering colors for depth, applying grid stencils for symmetry, and experimenting with different tools to achieve unique textures and artistic effects.
What Are Different Types of Mandalas?
Different types of mandalas include geometric, flower, cultural, dot, and freeform mandalas. Each type expresses distinct Mandalas Meaning, ranging from spiritual symbolism and balance to creativity, mindfulness, and the interconnectedness of life and nature.
What Are the Rules for Mandalas?
Rules for mandalas emphasize symmetry, balance, and consistent spacing, reflecting Mandalas Meaning—unity and harmony. Artists often use grids and repetition of shapes or colors, yet creative flexibility is encouraged, allowing personal interpretation within traditional guidelines.
How to Paint Mandala Art for Beginners?
When painting mandala art for beginners, one should start with a prepared surface, mark a central point, and use dotting tools to create patterns. Careful color choices enhance symmetry, while drying and sealing protect the finished design.
Conclusion
Mandala painting isn’t just about circles and dots—it’s an adventure for your creativity. Whether someone loves perfect symmetry or wild, swirling colors, there’s a technique that fits their style. Anyone can mix, layer, and experiment, and the best part is, there are no mistakes—just happy accidents and cool surprises. So, grab some paint, crank up your favorite tunes, and plunge into it. Who knows? The next masterpiece might just start with one tiny dot!
Leave a Reply