
To create stunning watercolor pencil art, first pick a sturdy watercolor paper and a few vibrant pencils—don’t go wild with colors or it could get muddy fast! Lightly sketch your design with gentle strokes, then layer up more color, starting light and going darker. Activate the magic with a wet brush, blending lines for those dreamy watercolor blends. Add bold details, fix any oopsies with a trusty eraser, and get ready for even juicier tips coming your way soon.
Key Takeaways
- Choose high-quality watercolor pencils, sturdy watercolor paper (200–500 gsm), and limit your palette to around four main shades for cleaner results.
- Lightly sketch your composition with the pencils, starting with the lightest colors and using gentle, layered pressure for depth.
- Use a damp brush to activate the pencil pigment, blending colors gradually, and let each layer dry before adding darker shades.
- Enhance details with a dry pencil or a sharp craft knife, and use a white wax pencil to preserve highlights for striking contrast.
- Frame finished artworks with UV-protective glass or store flat in archival boxes to prevent fading and physical damage.
Choosing the Right Materials for Watercolor Pencil Art

Let’s be honest—starting any art project feels a bit like stepping onto a roller coaster, and watercolor pencil art is no different!
Every new watercolor pencil project is an adventure—equal parts excitement and nerves as you get ready to create something unique.
The ride begins by gathering the right materials. First up: watercolor pencils. Choosing a set with plenty of colors, like a 72-color Derwent set, means endless options for blending and layering. But don’t go wild—sticking to around four main shades keeps your masterpiece from turning into a muddy mess.
Next, reach for sturdy watercolor paper; think thick, like 300 gsm or even 500 gsm, to stop your painting from warping or tearing.
And don’t forget a size 6 round brush and water, perfect for bringing your color to life! Grab a water glass, some paper towels, and a craft knife—you’re armed and ready.
Selecting and Preparing Your Paper Surface
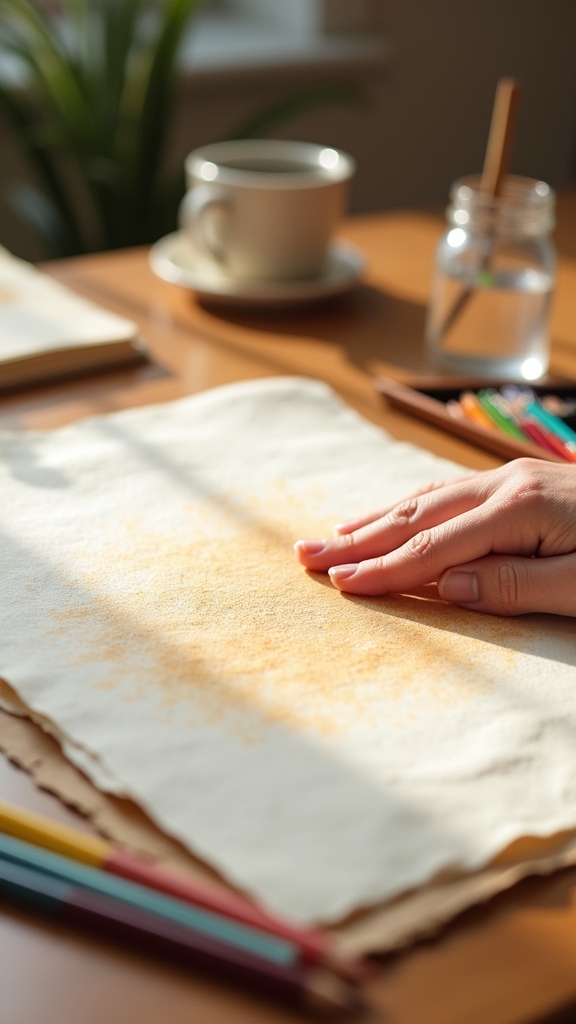
Picking the right paper is like finding the perfect teammate—it makes everything easier and way more fun.
Artists should look for paper that’s thick enough (at least 200 to 300 gsm) so it doesn’t turn into a soggy mess, and then choose between a silky smooth hot press or a wonderfully bumpy cold press surface depending on what kind of details or texture they want.
It’s also smart to check if the paper has good sizing, because that little bit of magic helps the color stay right where it belongs instead of soaking straight through.
Choosing Paper Weight
Even before the first pencil stroke, choosing the right paper weight is a game-changer for watercolor pencil art—it can mean the difference between a masterpiece and a soggy disappointment.
Watercolor paper comes in all sorts of weights, but don’t be tempted by thin stuff! Shoot for at least 200 to 500 gsm. Thicker paper is less likely to wrinkle up like a raisin when you hit it with water.
For serious detail, 300 gsm hot pressed watercolor paper is smooth like glass, perfect for sharp lines and precise shading. If you’re going all-in with lots of layers, 500 gsm paper, like the Hahnemuhle ‘Andalucia’ brand, will stand up to almost anything.
Always check your paper’s weight—and keep it clean—before you start; your future masterpiece depends on it.
Surface Texture Options
Once the right paper weight is in hand, the next big question is all about feel—does the paper surface make or break the art? Absolutely!
The surface texture of the paper used can totally change how watercolor pencil pigment grabs and glides across your drawing. For artists who love tiny, sharp details, hot pressed paper—smooth as a pancake—keeps everything crisp.
But if you’re craving drama, cold pressed paper brings a bumpy surface texture, catching more pigment and adding cool effects. Some artists go wild for extra-thick sheets like Hahnemuhle ‘Andalucia,’ which handles layering and erasing like a champ.
Always start with clean, debris-free paper; you wouldn’t want mysterious crumbs sneaking into your masterpiece!
Try out different textures. You might surprise yourself—and everyone else!
Paper Sizing Importance
Just because a paper looks fancy doesn’t mean it’s ready for watercolor pencil magic—there’s a bit of science (and maybe a little superstition) behind picking the right surface.
To keep your watercolor pencil sketch from turning into a soggy mess, paper weight is key—always aim for at least 200 to 300 gsm, unless you enjoy warp art.
Want crisp details? Hot pressed watercolor paper offers a smooth ride, perfect for neat lines. If you crave texture and drama, cold pressed is your hero.
Hahnemuhle ‘Andalucia’ watercolor paper at 500 gsm? Now, that’s tough stuff—built for bold creativity.
Before starting, test your pencils and water on a scrap.
And remember, sketch lightly so lines stay subtle, quietly supporting your vibrant final piece.
Sketching Your Design With Watercolor Pencils
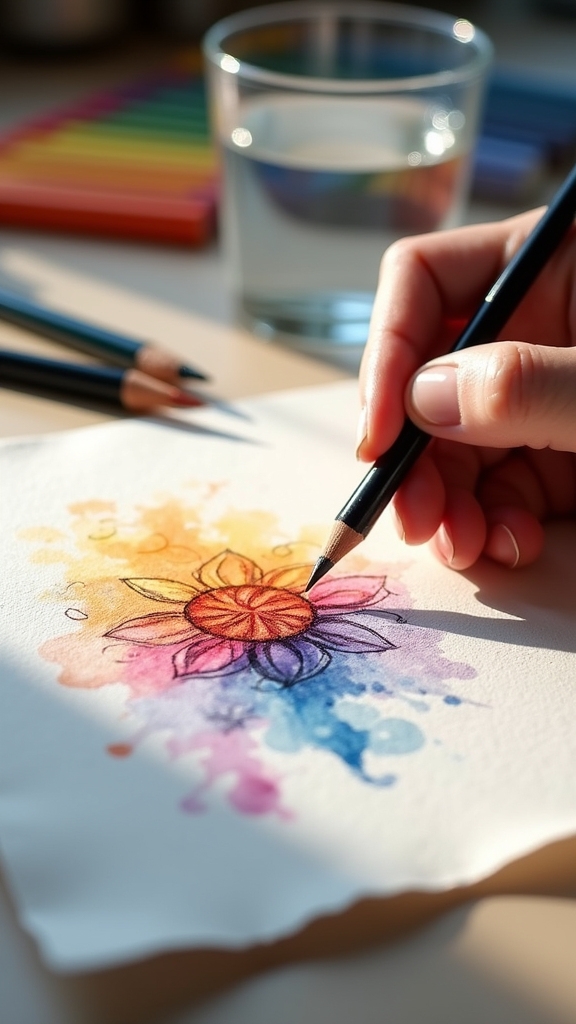
Before any color goes down, choosing the right paper is basically like giving your art a sturdy playground—300 gsm hot pressed paper is perfect if you want your details to look crisp.
With that set, artists lightly outline their design using watercolor pencils, often in a gentle olive green, which makes changes super easy if inspiration suddenly changes course.
Playing with different pressures while layering pencil strokes can really make shapes pop, plus it adds excitement when you start building up those beautiful colors!
Choosing the Right Paper
Paper really matters when making art with watercolor pencils—it’s like picking the right stage for your masterpiece! Different paper types can totally change the look and feel of your design. Smooth hot pressed paper (like 300 gsm) is awesome if you’re into drawing small details, but if you love bolder strokes and rich texture, something like 500 gsm Hahnemuhle ‘Andalucia’ watercolor paper is perfect. Texture isn’t just about touch; it grabs color, making those scribbly strokes and colors pop! And don’t forget, leaving some white paper showing gives your art energy and highlights—like little spotlights.
Here’s a quick look at some choices:
| Paper Type | Best For |
|---|---|
| Hot Pressed, 300 gsm | Fine Detail |
| Rough, 500 gsm | Texture & Durability |
| White Paper | Contrast & Highlights |
| Hahnemuhle Andalucia | Deep Pigment, Robustness |
Outlining Key Shapes
A little magic starts the moment someone grabs a watercolor pencil and begins sketching out the first hints of their idea.
On smooth 300 gsm hot pressed watercolor paper, it’s important to use a light color—like olive green—for outlining. This keeps your shapes visible, but not bossy, when you add the next layer. If you press too hard, the pencil will leave deep dents, which makes it a real pain when water joins the party later.
Think of including interesting shapes, like leaves or playful figures. These key shapes build the road map for your art adventure.
Once your outlines are down, swipe a damp brush over them. Suddenly, the pigment transforms, blending into a beautiful base layer of soft color—ready for more excitement!
Layering Pencil Pressure
Every masterpiece begins with just a few gentle strokes, and watercolor pencils are no exception. When sketching your design, start by sketching lightly—think tiptoeing onto the page instead of stomping.
As you build your drawing, remember to layer a bit more pressure where those darker areas need extra oomph. If you rush, things can get muddy fast—so slow down, and let each layer dry completely before adding more.
For best results, follow this process:
- Begin with light pressure to draft and adjust your sketch.
- Gradually layer a bit more pressure for mid-tones and details.
- Add deeper pencil strokes in darker areas for contrast.
- Always let each layer dry completely to avoid smudges.
With patience, you’ll see your art come alive!
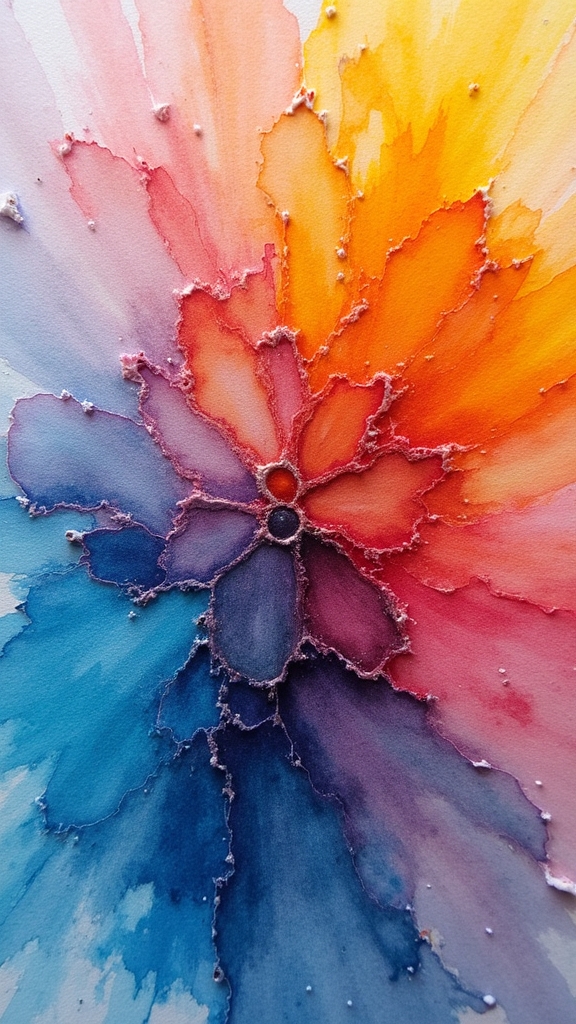
Techniques for Layering and Blending Colors
Dive right in—layering and blending colors with watercolor pencils is where things start getting seriously cool. Think of it like traditional watercolor but with way more control.
Start by laying down your lightest color first—this keeps your highlights bright and gives you space to deepen shadows later. Gradually add darker shades, letting each layer dry before moving on. This trick keeps the colors vibrant, not muddy!
When blending, use a size 6 round brush, just a dab of water—too much and your hard work might vanish into a puddle. Fun fact: pressing gently makes softer washes, while pressing hard delivers bold color.
Sticking with four colors is smart—nobody wants a muddy mess! Experiment, play, and see which combos pop the most!
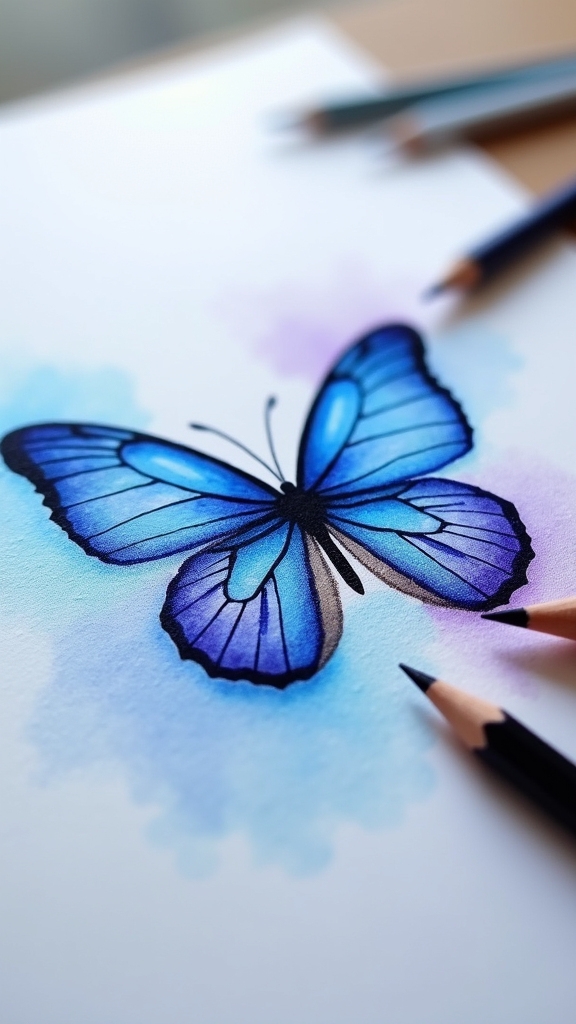
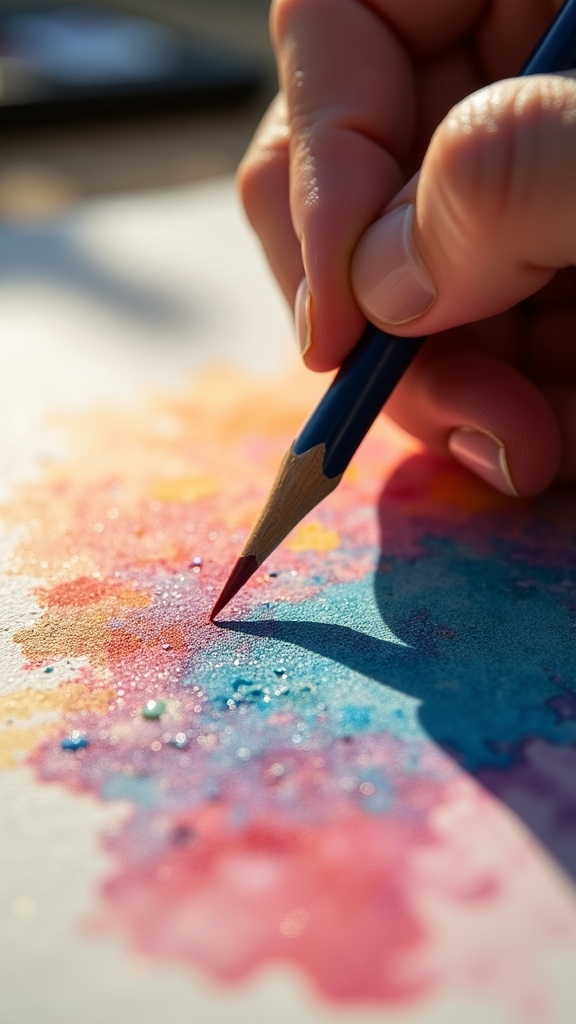
Activating Pigment With Water for Unique Effects
Watch the magic happen when a splash of water meets those watercolor pencil marks—it’s where the real fun begins!
To activate pigment, artists grab a wet brush and sweep it over their dry watercolor pencil lines. Suddenly, colors bloom and blend like a mini fireworks show right on the paper.
A wet brush over watercolor pencil lines makes color bloom and dance across the page like a vibrant, miniature fireworks show.
But there’s a trick to keeping your art looking sharp, not sloppy: control excess water! Dab your brush on a towel before it hits the page, or you might make a muddy mess.
To master this stage, remember:
- Always start with light colors and add more later.
- Experiment with different brushes for cool effects.
- Add pigment to wet sections for soft, dreamy edges.
- Let each stroke dry before adding new layers for crisp results.
Creating Depth and Texture With Multiple Washes
Many artists find that layering washes is where watercolor pencils really start to show off. To create amazing depth, start with a light layer, add water, then let it dry—seriously, be patient or your art might get muddy!
Once dry, go back in with a darker colour, using a bit more pressure or adding more pencil to build intensity. Multiple washes are like adding secret layers to a video game—each one brings you closer to vibrant, 3D art.
For super smooth shading, use the line and wash technique: first sketch, then brush on water.
Try dry brush tricks, too—scrape the tip on dry paper for rough, realistic textures. Leave some light areas untouched and watch your picture pop with cool shadows and highlights!
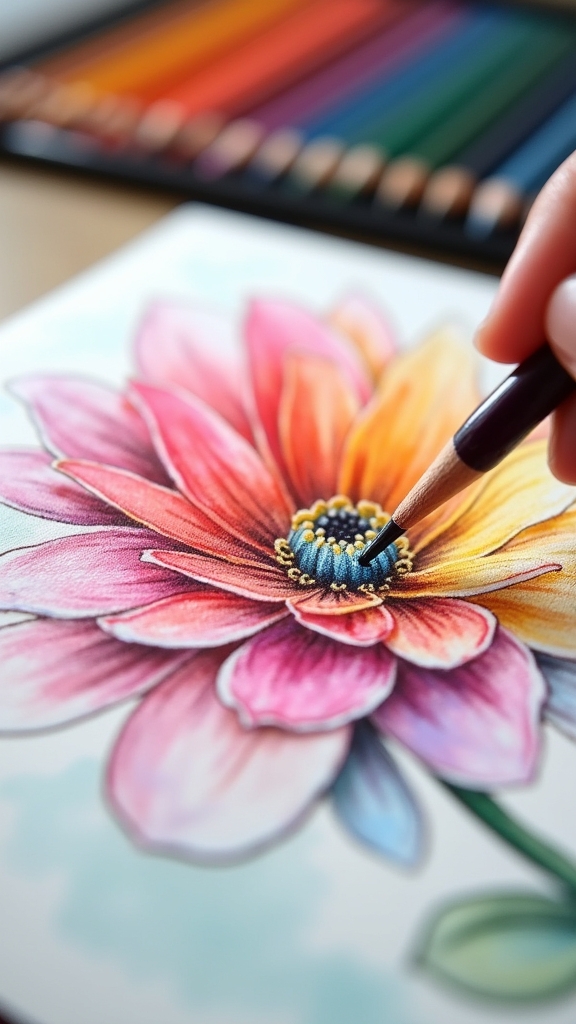
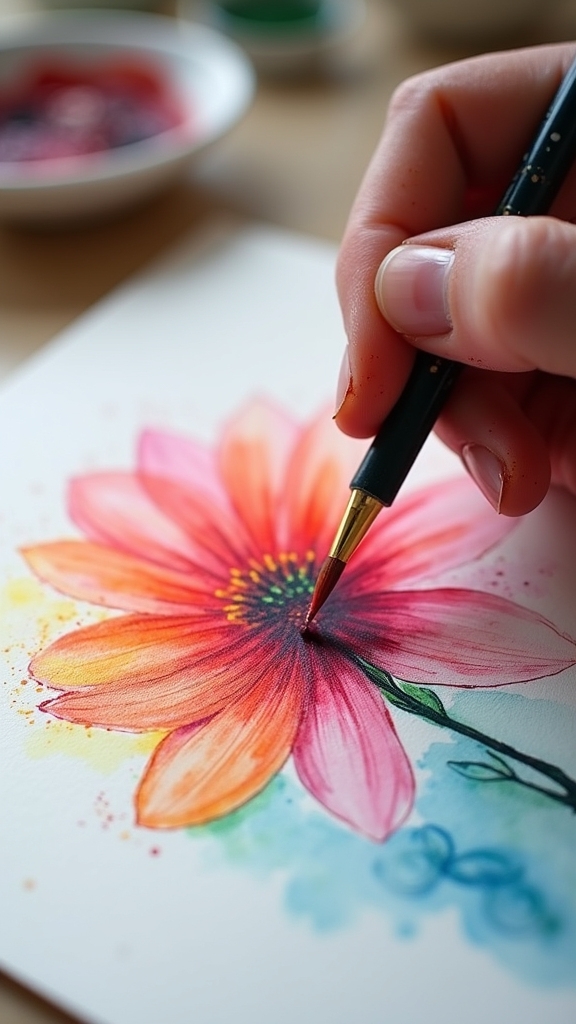
Enhancing Details and Adding Final Touches
Once those layers and textures are in place, the real magic begins—now it’s all about the details! Enhancing details gives watercolor pencil art that “wow” effect.
With layers set, it’s in the details that watercolor pencil art transforms from beautiful to truly breathtaking.
Artists can switch to a dry pencil technique for fine lines—think crisp leaf veins or those sharp petal edges everyone admires. To really make the artwork pop, adding dark tones in the shadows puts the spotlight on contrast and depth.
Here’s how to polish your masterpiece:
- Use dry pencils to add fine lines and textures for extra realism.
- Preserve highlights with a white wax-based pencil before layering dark tones.
- Drop dark tones into shadows and crevices after the washes are dry for exceptional drama.
- Gently lift pigment or clean edges with an eraser or cloth for a neat finish.
Correcting Mistakes and Adjusting Your Artwork
Diving into the world of watercolor pencil art, slip-ups are almost guaranteed—sometimes a shadow grows too dark or a rogue streak appears right in the middle of that perfect sky. But don’t freak out! Artists have a toolbox of tricks for correcting mistakes, whether it’s to adjust brightness or remove excess pigment. A craft knife slices away tiny goofs without wrecking your masterpiece. White wax-based pencils work like little shields, keeping highlights safe when things accidentally get too dark. If something’s too intense, just reactivate it with water and layer on lighter hues. Stepping back and checking the whole picture helps balance things, so nothing sticks out weirdly. Here’s a quick cheat sheet with handy fixes:
| Mistake Type | Solution | Extra Tip |
|---|---|---|
| Dark Shadows | Layer lighter colors | Apply when dry |
| Rogue Streak | Use craft knife | Be gentle, avoid tearing |
| Lost Highlight | White wax pencil | Use before new layers |
| Dull Colors | Adjust brightness | Wet, then add vibrancy |
| Unbalanced Elements | Step back, reassess | Tweak foliage, figures |
Displaying and Preserving Your Finished Painting
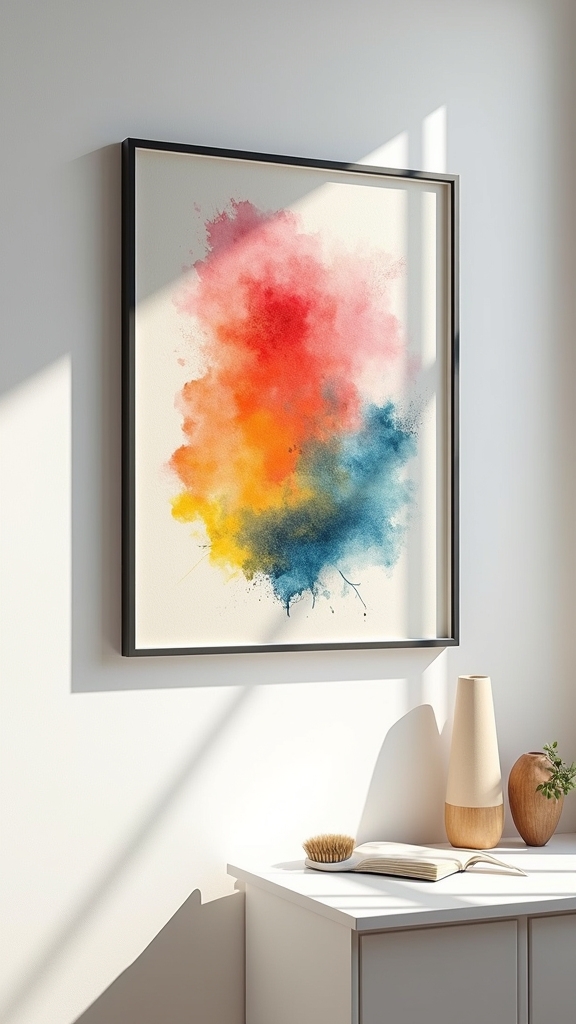
After smoothing out those little mistakes and making your watercolor pencil art truly shine, it’s showtime—or at least time to think about keeping that masterpiece safe and ready for display.
There’s nothing worse than watching your hard work fade away or get goofy-looking stains. To really protect your art and make it last, check out these steps:
- Frame your artwork using UV-protective glass so light won’t make the colors fade.
- Always use acid-free matting and backing, because nobody wants their art to yellow or fall apart.
- If you’re not ready to frame, store art flat in an archival box or portfolio—keep it away from damp malls and sneaky spills!
- For humid places, a sealed display case keeps mold and mildew far, far away.
Frequently Asked Questions
How to Make Drawing With a Watercolor Pencil?
To make a drawing with a watercolor pencil, an individual selects paper, sketches lightly, then applies watercolor techniques. Experimenting with blending methods and layering styles, they activate pigment with water, achieving depth, smooth shifts, and vibrant color effects.
How Do You Make Good Watercolor Art?
Creating good watercolor art relies on mastering color blending techniques, applying careful layering methods, and focusing on texture creation. Artists utilize high-quality paper, limited palettes, and thoughtful brushwork to control water application and achieve visually engaging effects.
Are You Supposed to Dip Watercolor Pencils in Water?
The question addresses whether dipping methods are appropriate for watercolor pencil techniques. Typically, direct water activation is better achieved by applying pencil to paper, then blending with a damp brush, rather than dipping the pencil in water to avoid damage.
How to Make a Colored Pencil Look Realistic?
To make a colored pencil drawing look realistic, one should employ color blending techniques, incorporate careful pencil shading, and focus on realistic textures. Gradual layering and attention to fine details help achieve natural light, shadow, and depth.
Conclusion
Watercolor pencil art might look super tricky, but with the right tools, a little patience, and a bit of bravery (plus maybe a towel for stray water drops), anyone can make something amazing. Mistakes? Totally normal—they just add character! By practicing layering, blending, and having fun with details, artists can turn plain paper into pure magic. So, grab those pencils, mix in some water, and let creativity splash everywhere. Who knows? A masterpiece might be just a brush away!
Leave a Reply