
Sketchbook exercises can level up anyone’s art skills fast! Try daily stroke drills to boost control, master hatching for shading, or create value gradients to understand light. Blind contour drawing makes your eyes and hands work together, while speedy gesture sketches capture action in seconds. Drawing with your non-dominant hand is a goofy way to release creativity. Experiment with textures and new tools, or draw the same thing in totally different ways—it just gets more interesting from here!
Key Takeaways
- Practice daily stroke drills, such as hatching and stippling, to build line confidence and develop a range of textural effects.
- Break objects into simple shapes and forms, sketching foundational structures before adding details for improved drawing accuracy.
- Draw quick gesture sketches from life to enhance speed, movement perception, and hand-eye coordination.
- Explore perspective exercises, including one-point and two-point perspective, to master depth and spatial relationships in scenes.
- Create master copies of famous artists’ works to learn new techniques and refine observational skills.
Practice Daily Stroke Drills
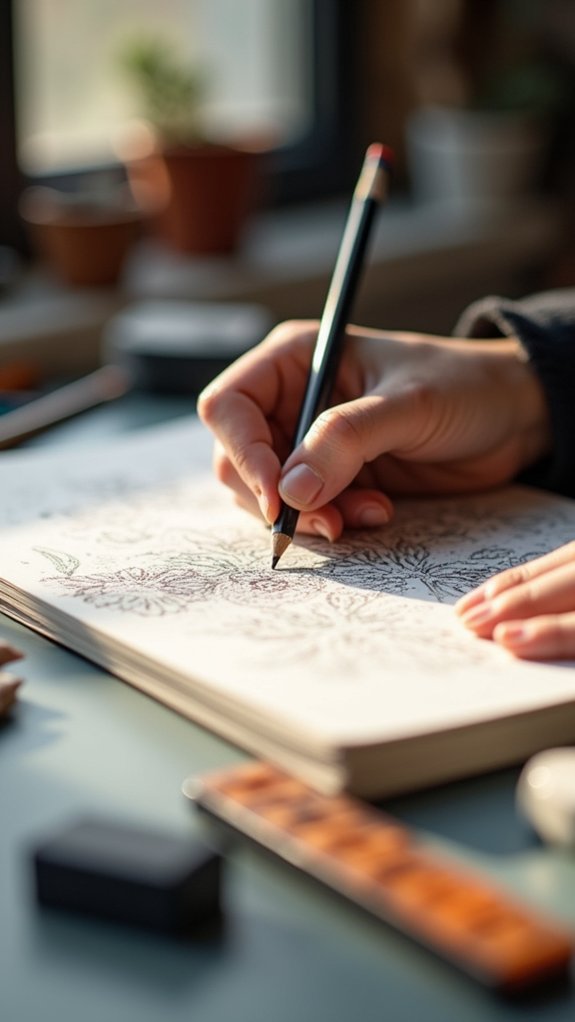
Grab a pen or pencil—it’s time to shake up that sketchbook with some serious stroke drills! When artists practice drawing strokes every day, even just for two minutes, they start building muscle memory. That means their hands become steadier, making lines more confident and smooth—kind of like leveling up in a video game.
By zeroing in on one stroke type at a time, like stippling or hatching, and mixing up the size, direction, and pressure, practice can get super interesting. Sometimes, even experimenting with sharp or fuzzy lines can reveal totally new styles and cool effects.
And here’s the best part: all that repetition? It lets artists mix different strokes together later, creating awesome textures. That’s how sketchbooks go from meh to must-see!
Experiment With Hatching and Cross-Hatching
Hatching and cross-hatching aren’t just about filling space—they’re like secret codes for building depth and drama in your sketches.
By layering lines in different directions, you can make a flat drawing pop and play with shadow as if you had a tiny spotlight.
Want more control? Try changing up the direction and thickness of your hatching lines and see how quickly things start looking more intense (and way cooler).
Building Depth With Layers
There’s something almost magical about watching a flat drawing transform into a scene with real depth, and layers of hatching and cross-hatching are like secret tools to make that happen. By laying down sets of parallel lines—hatching—and then crisscrossing with another set—cross-hatching—artists can turn even the simplest shapes into dramatic, shadowy masterpieces. Think of it this way: that boring old cube? Suddenly, it looks ready to leap off the page. Want to see how layering these strokes can create depth? Here’s a quick breakdown:
| Technique | Effect Created |
|---|---|
| Light hatching | Soft, subtle shading |
| Dense cross-hatching | Deep, bold shadow |
| Varied line weight | Rich texture, depth |
It’s all about controlling pressure and spacing—experiment and watch your art come alive!
Exploring Line Direction
Every artist, whether they’re a total beginner or a sketchbook superstar, eventually faces the question: which way should the lines go?
Line direction is a big deal, especially when playing with hatching and cross-hatching. Hatching means drawing lines side by side, close together, to create shady areas—think of it like the “emo” version of your pencil.
If you want more drama, cross-hatching adds another set of lines that crisscross, turning shadows into action-packed special effects.
Try filling different shapes with hatching, changing the angle and spacing of your lines. Notice how tight, dark lines can make things look heavy, while light, far-apart lines feel airy.
Practice combining both techniques and watch your art morph! The more you practice, the cooler your shading gets.
Create a Value Scale Gradient

Quite a few artists would agree—if you want your drawings to really pop, understanding values is a big deal.
One of the classic drawing exercises for mastering this skill is creating a value scale gradient. Picture drawing a row of boxes, maybe ten or twelve, and shading each one just a tad darker than the last, going from bright white all the way to the darkest black your pencil or charcoal can muster.
It sounds simple, but trust—getting a smooth shift is trickier than you might think! Artists quickly learn how much pressure to apply for those perfect grays.
Regular practice with value scales doesn’t just fill sketchbook pages—it cranks up an artist’s power to capture light, shadow, and epic drama in every drawing.
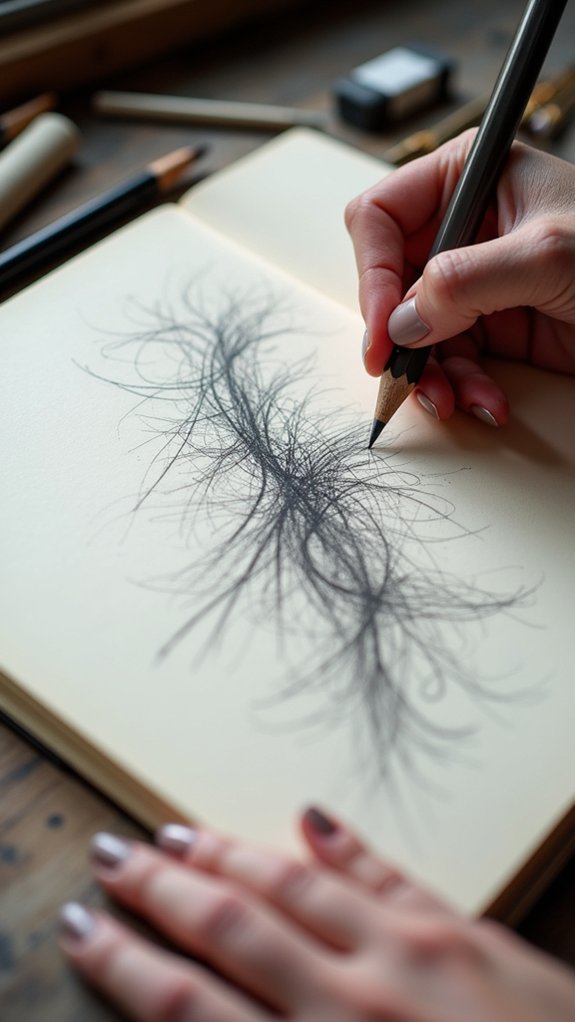
Blind Contour Drawing
Blind contour drawing might sound a little wild, but it’s actually a fantastic way to wake up your hand-eye coordination—kind of like giving your brain a morning jog with a pencil.
The results can be totally goofy or strangely awesome, since you’re not allowed to peek at your paper, and that’s the whole point! By letting go of perfection and expecting the unexpected, artists often end up with sketches that are full of energy and surprises, and that’s where the real fun begins.
Hand-Eye Coordination Boost
Lots of artists find themselves stuck trying to make their drawings look perfect, but there’s a quirky exercise that flips that whole idea upside down: blind contour drawing.
This approach means you have to draw the outline of an object—without peeking at your paper! Sounds silly, right? But what’s cool is that it really pumps up that hand-eye coordination. Your hand learns to do what your eye sees, creating a stronger connection between them.
Instead of focusing on tiny details, blind contour drawing trains artists to recognize overall shapes and proportions. The lines might go wild, but that’s part of the magic. Plus, it makes practice less stressful.
Even if the results look goofy, this exercise is a secret weapon for gaining serious drawing skills fast.
Embracing Unexpected Outcomes
Ever wonder what happens when you let go of control and just see what your hand can do? That’s exactly what blind contour drawing is all about.
Forget peeking at your paper—your eyes stay glued to the subject while your pencil moves across the page, making wild, adventurous lines. Sure, the results can look hilarious or even a little wonky, but that’s the point!
Every blind contour drawing becomes its own kind of surprise, shifting your focus away from making things “perfect.” This exercise forces your brain and hand to really team up, letting you capture the vibe of what you see instead of just the details.
Plus, guess what? It actually helps you worry less about mistakes and just have fun making art.
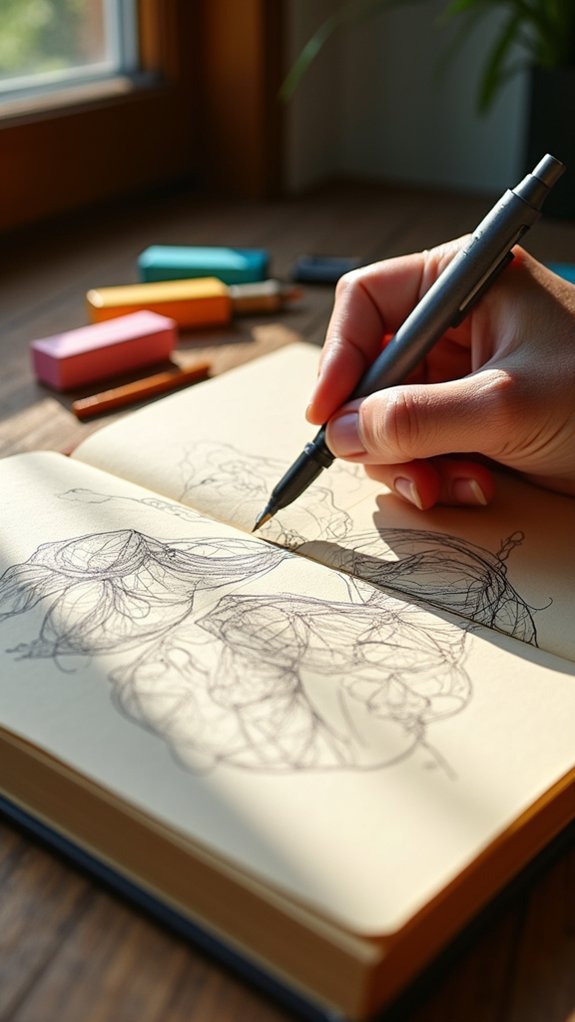
Continuous Line Sketching
Although it might seem a little wild at first, continuous line sketching is one of those art exercises that feels as fun as it looks. With this technique, the artist keeps their pen or pencil glued to the page, wandering over the subject like a determined squirrel on a park bench.
It’s not about perfect outlines—far from it. Continuous line sketching encourages the hand and eye to work together, sometimes resulting in wonderfully quirky and abstract drawings. The focus is more about capturing energy than details, which can definitely lead to some funny surprises.
Here’s why it matters:
- Boosts hand-eye coordination—like drawing and juggling at the same time.
- Trains the brain to break down tricky subjects into simple lines.
- Makes for an awesome, stress-free warm-up!
Draw With Your Non-Dominant Hand
Drawing with your non-dominant hand can feel totally weird, like eating soup with a fork, but that’s the point—it lets loose all those tight, nervous rules about how things “should” look.
When perfection goes out the window, it’s easier to notice the big shapes and wild lines, instead of stressing over every tiny detail.
This goofy challenge pushes artists to observe in new ways and shake off any fear of making mistakes.
Loosening Artistic Inhibitions
When someone grabs a pencil with their non-dominant hand, things can get a little wild—lines wobble, shapes squiggle, and suddenly, even drawing a simple circle feels like a challenge from another planet.
But here’s the cool part: drawing with your non-dominant hand isn’t just about messy sketches. It’s about letting go and giving your creativity room to breathe. Most artists discover their silly, shaky lines actually help them break out of their own perfection traps. This exercise is a fun way to ditch self-judgment and loosen up.
Here’s why it works:
- Mistakes are expected, so there’s less pressure to be perfect.
- Unpredictable lines spark new ideas and styles.
- Playfulness takes over, making drawing way more fun.
Enhancing Observational Skills
Sudden chaos hits the page when someone picks up a pencil with their non-dominant hand, but that’s actually where the magic starts. Lines wobble, shapes look wild, and circles? Forget perfect—drawing circles becomes a whole new adventure.
But that’s the point. By ditching control, artists stop stressing about results and start paying attention to what really matters: looking closely and noticing basic shapes in whatever they’re drawing. This lets their brain practice real observation, not just muscle memory.
Shading with this awkward hand is tough but helps reveal how light grabs hold of objects and dances around shadows. The best part? It’s impossible to judge yourself too harshly. Instead, mistakes get funny, and suddenly, even complicated sketches seem less intimidating.
Gesture Drawing for Movement
- It boosts hand-eye coordination and sharpens how you see action.
- You learn to create dynamic, lively sketches that ooze energy—not stiff, frozen statues.
- Regular practice builds confidence, making drawing people (and creatures) in motion way less intimidating.
Grab your sketchbook and get wiggly!
Quick Sketching From Life
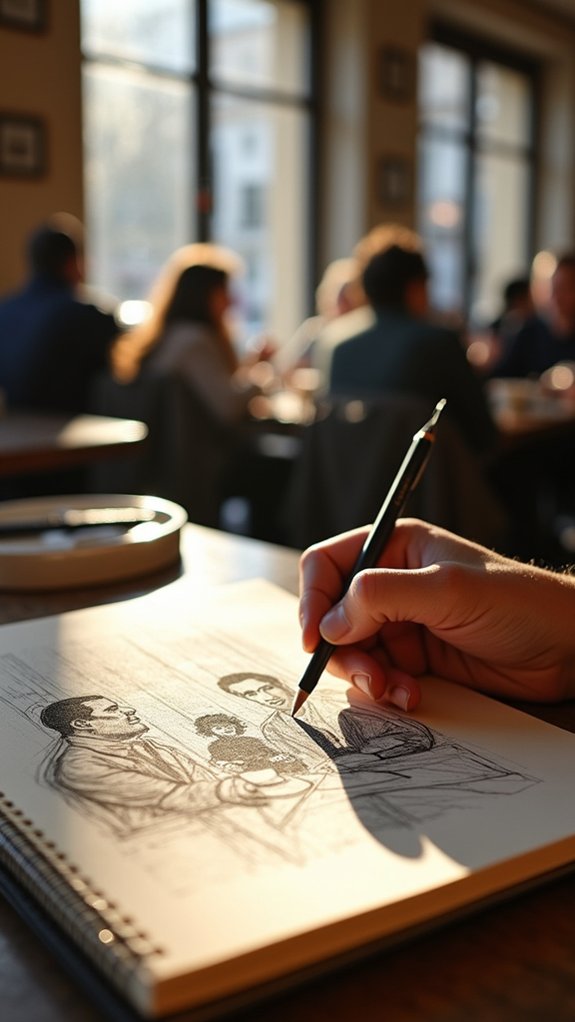
Even if grabbing a sketchbook feels a little awkward in public, quick sketching from life is hands-down one of the most electrifying ways to level up art skills in record time. Quick sketches, limited to about 30 seconds each, force the artist to capture the vibe and movement before the subject sneezes or strolls away. Parks, cafés, and city sidewalks make perfect arenas for this spontaneous art challenge. Instead of sweating tiny details, sketchers focus on the big shapes and gestures. Mixing things up with pencil, charcoal, or pen keeps it interesting—and messy, in a good way! Subjects can be people, snacking squirrels, or coffee cups. Nothing is off-limits!
| Setting | Possible Subjects |
|---|---|
| Park | Joggers, dogs, trees |
| Café | Baristas, mugs, pastries |
| Bus stop | Commuters, backpacks |
| Zoo | Penguins, zebras, birds |
| Library | Readers, books, lamps |
Simple Shapes and Form Construction
Ever wonder how artists can draw complicated things without losing their minds?
It all starts with breaking stuff down into simple shapes, like spotting cubes hiding inside a robot or a boxy base under a sneaker.
When you grab a pencil and turn anything into a bunch of cubes and cylinders, it feels like solving a puzzle—and suddenly, even a wobbly mug or a wild animal becomes way easier to sketch!
Breaking Objects Into Shapes
Imagine this: you’re facing a complicated object to draw, but instead of freaking out about all the complex curves and details, you start by spotting the simple shapes hiding underneath it all—circles, rectangles, triangles, you name it.
That’s the magic of breaking objects into shapes! It’s like turning a difficult puzzle into easy pieces. Here’s how anyone can jump in:
- Spot the shapes: Look at anything—a chair, a sneaker, or a plant—and see what basic forms you can find before you draw.
- Sketch the big forms first: Focus on circles, squares, and triangles. Put these down lightly as the skeleton of your drawing.
- Tweak and add details: Gradually adjust the outlines and fill in those important features.
Suddenly, drawing complex stuff feels way less intimidating!
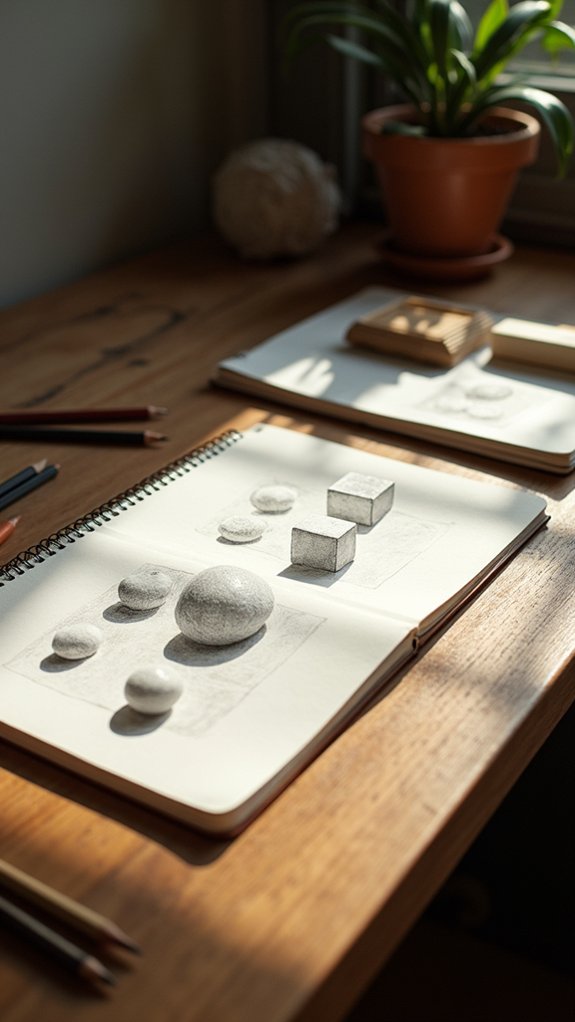
Building Forms With Cubes
Snap a cube onto the page, and suddenly drawing starts to feel more like building with blocks than wrestling with tricky lines. Grab your pencil and sketch basic cubes from different angles—they’re your all-access pass to understanding how light, shadow, and volume work together.
Watching how cubes overlap helps you create depth, almost like you’re stacking invisible Legos in your sketchbook. Once you get the hang of these building blocks, try connecting them to invent different shapes.
Mash a few cubes together, and suddenly you’ve got the skeleton for objects like robots, castles, or even spaceships. Add some shading by pressing harder or softer—there’s your secret recipe for making things pop!
Before you know it, you’ll be constructing wild, believable stuff from simple forms.
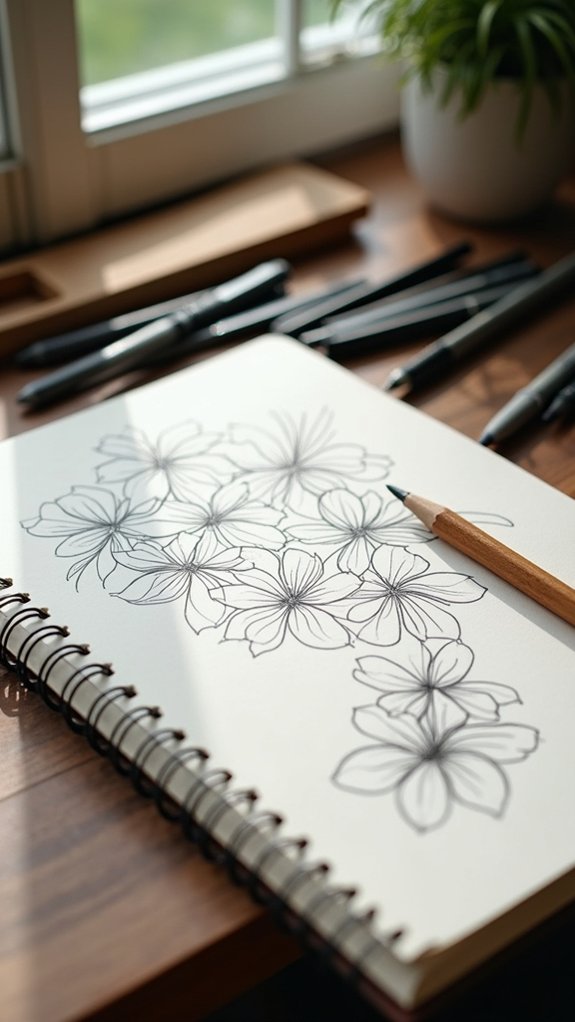
Observe and Sketch Everyday Objects
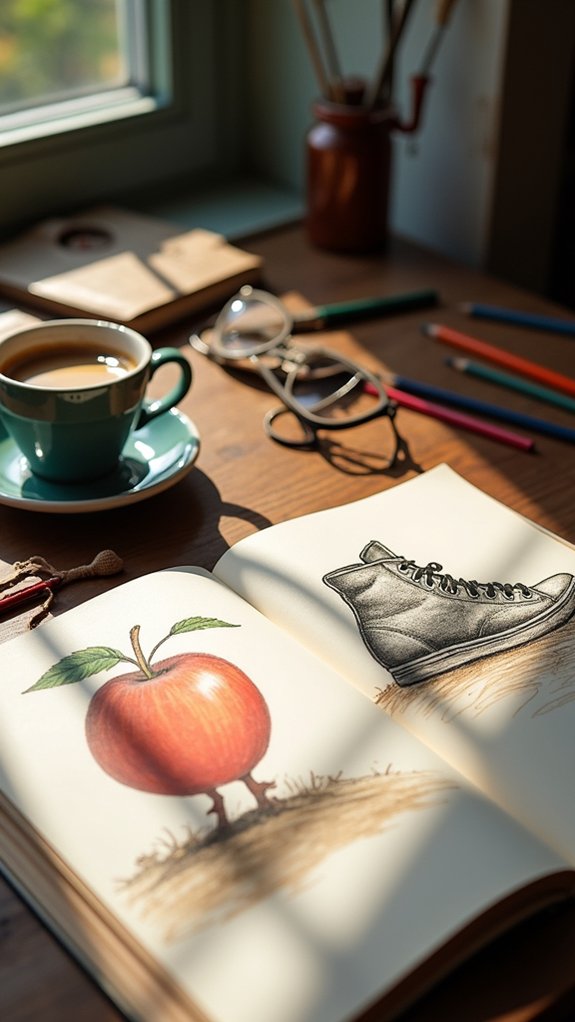
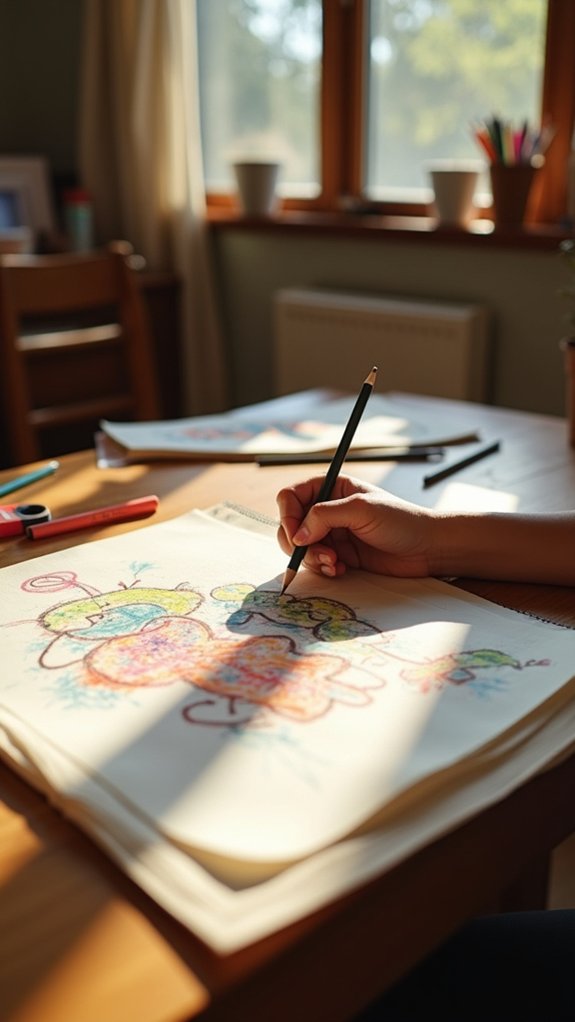
Even when life feels a little ordinary, sketching everyday objects can turn the boring stuff into something surprisingly cool. When artists observe and sketch everyday objects—like that banana on your kitchen counter or the sneaker left in the hallway—they train their eyes to see details they might usually ignore.
This practice isn’t just about learning to draw; it’s about understanding the world around you in a totally new way. Plus, it can be a mini visual diary of your daily life, kind of like social media, but with more pencil shavings.
Here’s how to make the most of this exercise:
- Choose something familiar, like fruit, shoes, or mugs.
- Draw it from three different angles.
- Add color with markers or watercolor for extra flair.
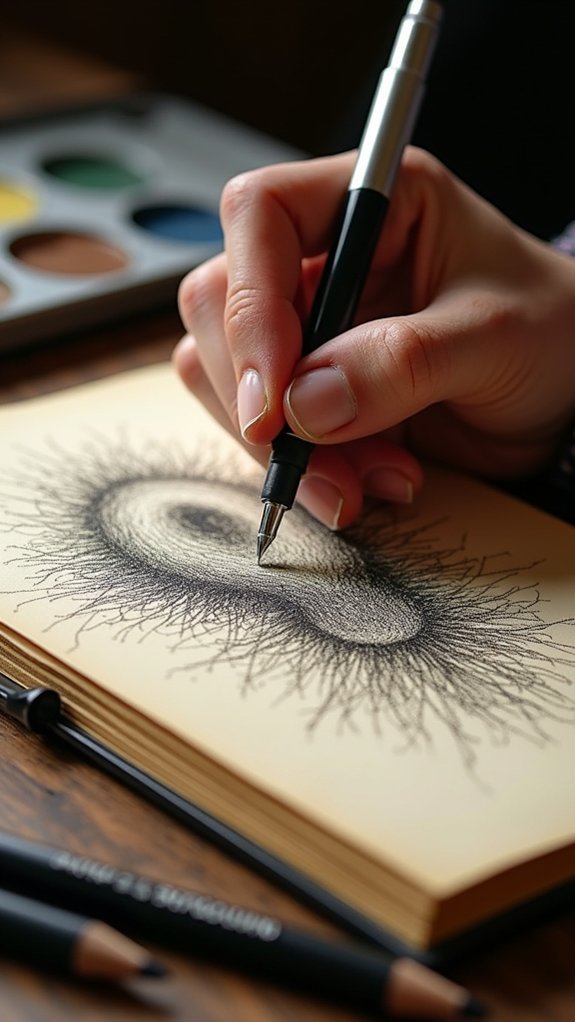
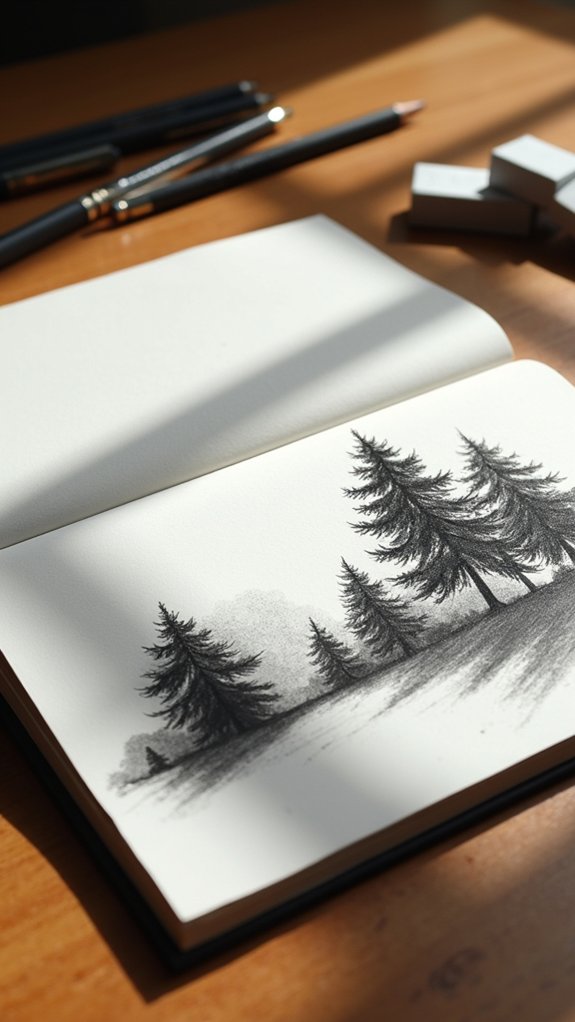
Texture Studies Using Different Tools
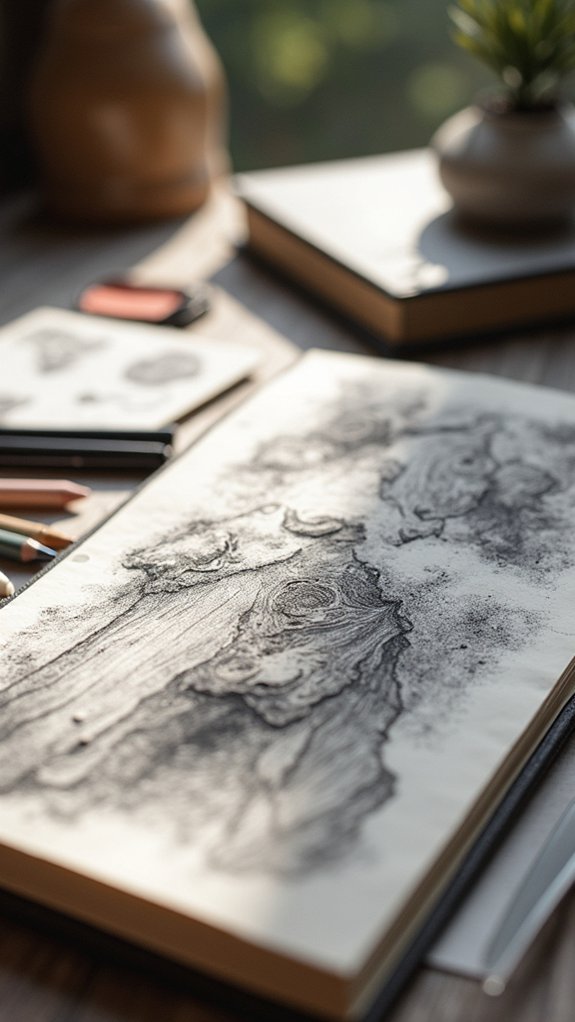
Switching up your drawing tools—like grabbing charcoal, graphite, or even a stick dipped in ink—can totally change the kinds of textures you get in your sketches.
Mixing techniques like hatching and stippling gives your drawings new life, letting you show off everything from fuzzy sweaters to rough tree bark.
Try stacking different marks and tools in one spot, and suddenly your art has depth that jumps right off the page—almost like it’s begging to be touched (but, you know, don’t actually poke your sketchbook).
Exploring Diverse Sketching Tools
When someone picks up a handful of sketching tools—graphite pencils, chunky pastels, crumbly charcoal, or that inky black pen—it’s like revealing a secret stash of superpowers for art.
Each one offers a different drawing adventure and opens up new ways to capture the world’s textures. By messing around with these tools, anyone can see how they each create cool effects for shading, patterns, and lines.
Try these ideas for a texture study:
- Draw the same object using three sketching tools. See how a pencil line looks compared to a pastel smudge or a charcoal swipe!
- Mix things up—use ink next to pastel for a wild combo effect.
- Keep track of your experiments in a sketchbook for future inspiration!
Creating Textural Variety
While some artists stick to one favorite pencil, diving into texture studies is like opening a doorway to a whole new level of sketchbook excitement.
These exercises are all about making a page explode with different surfaces and feels. Try grabbing charcoal for those deep, bold swipes, or switch to ink pens for crisp, snappy lines.
Don’t forget brushes, either—they’re perfect for swooping strokes or bubbly dots! Mix things up by practicing hatching, cross-hatching, and stippling; each one gives new textures.
Feeling adventurous? Stamp pages with found objects like leaves or cloth for funky, real-world patterns. Go wild with pressure and speed—light and heavy marks bring out tons of effects.
Finally, blend different mediums, like watercolor or pastel, for eye-popping variety.
Layering Techniques for Depth
Diving into layering techniques is like stacking up slices of awesomeness until your drawing practically pops off the page.
When artists want to create depth and texture, they get experimental—mixing pencils, pens, brush pens, and more, just to see what happens.
Drawing something as simple as a crumpled napkin or a tree trunk becomes way cooler with these tricks.
To help artists explore different ways to nail layering techniques for depth, try this:
- Grab pencils, pens, or brush pens and play with hatching, stippling, and scribbling together.
- Press hard or light to mix crisp and fuzzy lines—textures get wild this way!
- Layer mediums like charcoal over ink, or watercolor under pen, and see how they blend and pop.
It’s seriously transformative!
Master Copy Practice
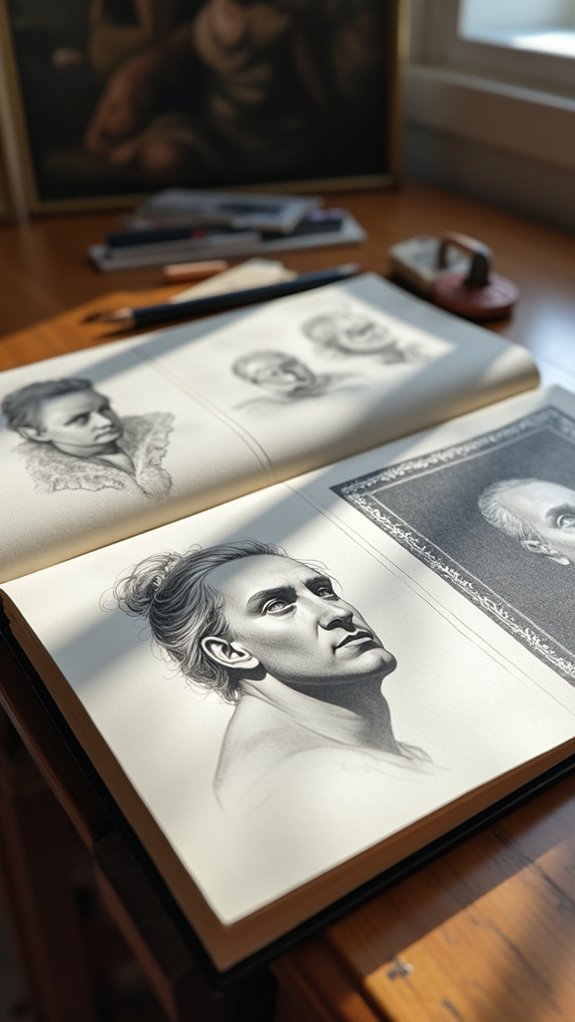
Every serious artist, sooner or later, finds themselves face-to-face with the idea of master copy practice—and honestly, it can feel a bit like peeking at the answers in the back of the art book (except it’s encouraged!).
Master copy practice is about carefully studying and replicating the works of legendary artists. It’s like stepping into their shoes, seeing how they use lines, colors, and textures to weave a masterpiece.
Trying to match their brush strokes or pencil lines helps artists sharpen their observation and hand-eye coordination—pretty cool, right?
The best part is you don’t have to get it perfect; the real win is learning how different techniques work. By mixing bits of the masters’ magic into their own art, artists level up, one sketchbook page at a time.
Perspective Drawing With One- and Two-Point Techniques
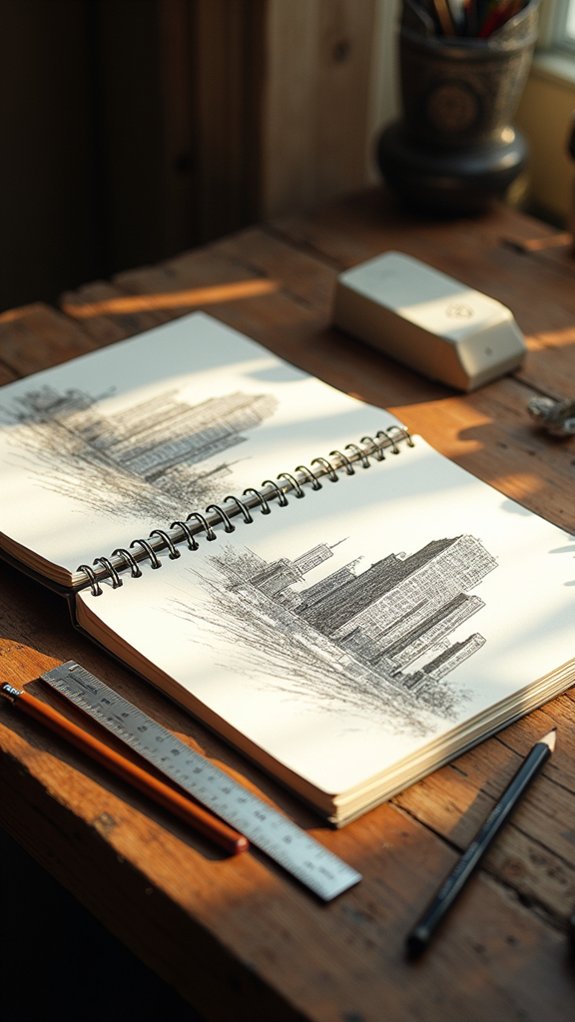
How wild is it that a few simple lines can totally trick your brain into seeing depth on a flat page?
Perspective drawing is like magic—suddenly, your sketches aren’t just floating shapes, but entire rooms and streets with real space!
With one-point perspective, everything zooms into a single vanishing point on the horizon, which is awesome for drawing hallways or straight roads.
Then, two-point perspective kicks it up a notch, letting you draw things like building corners and city blocks that really pop.
Try these to practice perspective drawing:
- Draw a hallway or road using one-point perspective—make sure all lines shrink toward your vanishing point.
- Sketch a building corner in two-point perspective, using two vanishing points.
- Experiment with everyday objects using both techniques!
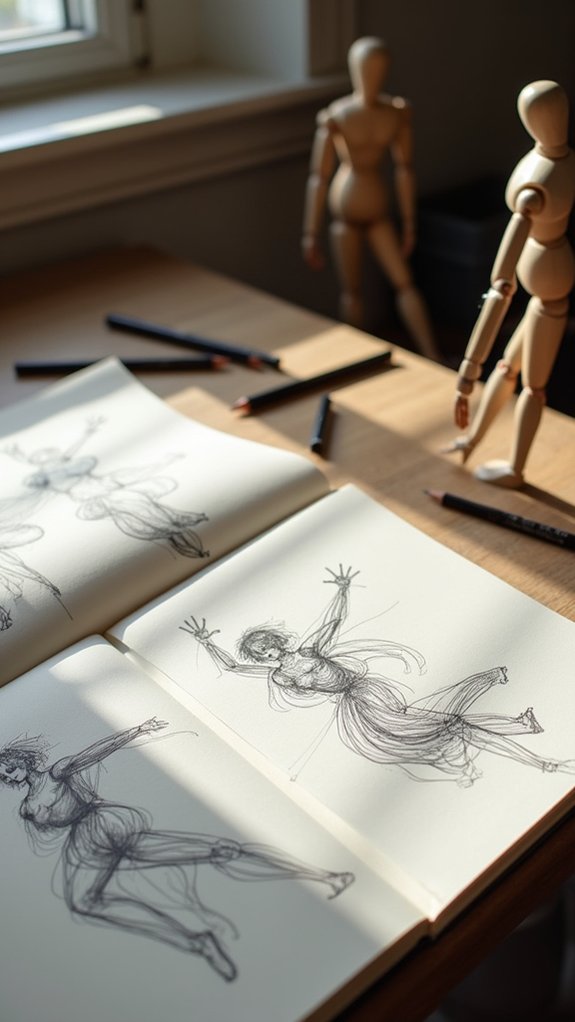
Anatomy and Figure Proportion Exercises
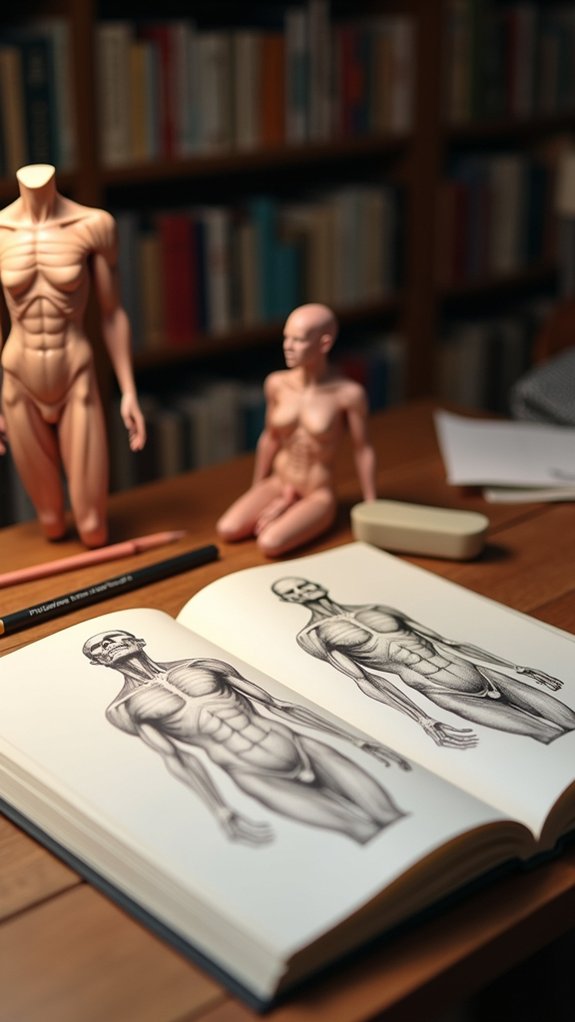
Anatomy might sound like something straight out of a science textbook, but for artists, it’s the secret sauce to making people on paper actually look like people. Anatomy and figure proportion exercises help break down the human body into understandable parts, so even drawing a superhero doesn’t end up looking like a potato. By studying the skeleton and learning the “eight-heads” rule, artists get a handle on making their figures stand proud (or slouch convincingly). Gesture drawing? It’s like doodling with a purpose—capturing action and movement with a few quick lines. Sketching from reference images or real-life models gives major skills boost. It’s all about practice! Here’s a quick breakdown:
| Exercise | Purpose | Tip |
|---|---|---|
| Skeleton Studies | Learn structure | Start simple shapes |
| Muscle Mapping | Understand form | Break into areas |
| Eight-Heads Rule | Master proportions | Measure with pencil |
| Gesture Drawing | Capture movement | Keep it loose |
| Reference Sketches | Improve observation | Change angles often |
Composition Thumbnails in Small Boxes
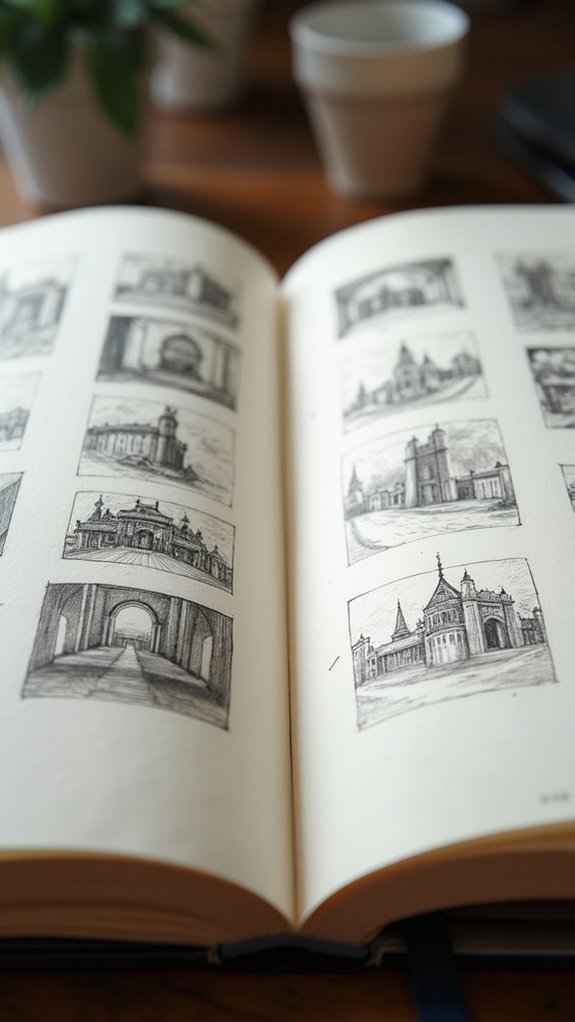
Lots of artists have a secret weapon up their sleeves when it comes to planning out great artwork: composition thumbnails in small boxes.
These tiny sketches might look simple, but they pack a punch! By working inside small boxes, artists quickly test out big ideas, rearrange elements, or experiment with wild angles—all without burning through expensive supplies or erasers.
It’s like a brainstorming party for your art.
Here’s why composition thumbnails can up your game:
- You can sketch a bunch of different layouts before picking your favorite—no pressure!
- Drawing small helps you focus on the big picture instead of getting lost in details.
- You’ll train your creative muscles by making quick decisions, and maybe even surprise yourself!
Give composition thumbnails a try—they’re tiny, but mighty!
Playing With Positive and Negative Space
Once those tiny composition thumbnails have sparked some big ideas, there’s another sketchbook trick that packs just as much punch: playing with positive and negative space.
Basically, positive space is the stuff you actually draw—it’s your subject, like a dragon dancing or a mug on a table. Negative space is everything around it—the empty bits, the background, even the awkward gaps between arms or wings.
When you draw in your sketchbook, practice sketching both spaces. Try flipping the focus: shade in all the background and leave the subject blank, or use bold colors to separate the two.
This helps train your eyes to see shapes better and bring more balance to your sketches. It’s weirdly satisfying, like a puzzle for your brain!
Speed Drawing With Time Limits
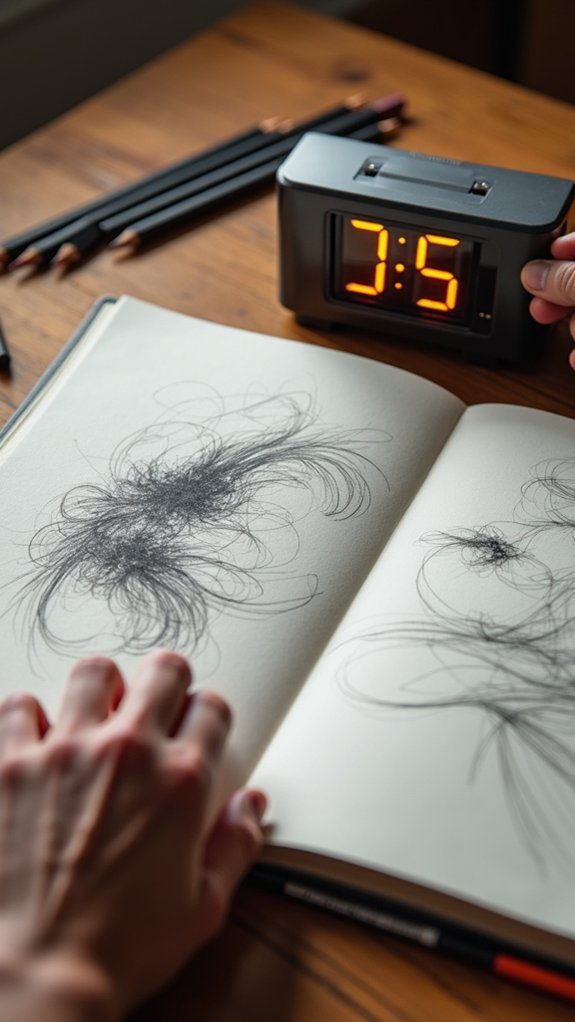
Some of the most fun (and frantic!) sketchbook sessions happen when the clock is ticking. Speed drawing is all about putting your pencil to paper and letting the timer push you to new creative heights.
Set strict time limits—like 5 or 10 minutes—for each sketch. It might sound wild, but that mad dash actually helps artists make quick decisions and focus on what really matters in a drawing.
Plus, when you speed draw, there’s no time to overthink, so you end up with surprisingly loose and expressive lines!
Here are three key things you get from regular speed drawing:
- Increased spontaneity and confidence.
- Sharper ability to capture movement and essence.
- Muscle memory and technique improvement—wherever you practice!
Limited Palette Color Studies
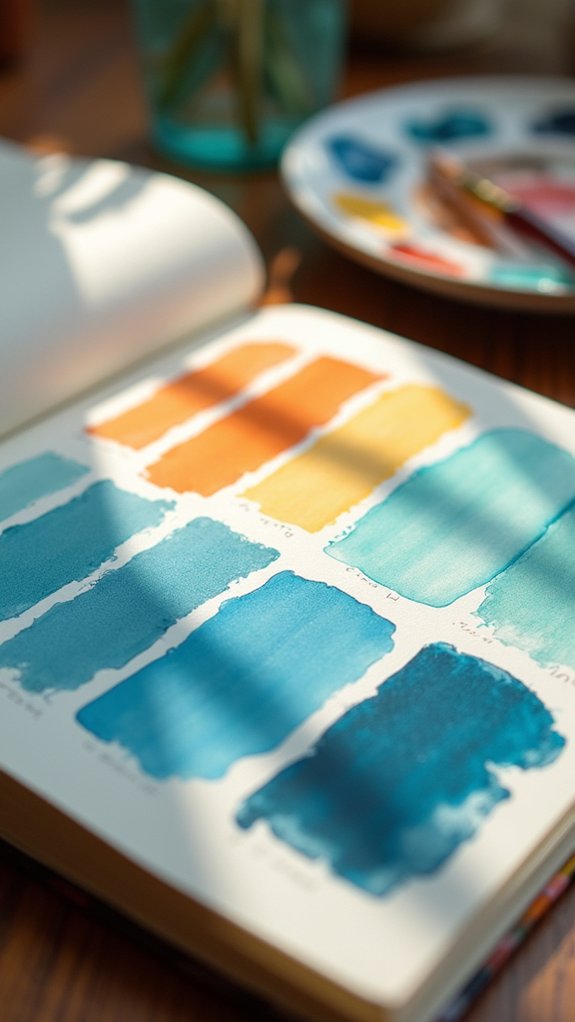
Plenty of artists swear by limited palette color studies, and honestly, it’s easy to see why once you try them out. Limiting yourself to just three to five colors seems scary at first—like, how can you make ANYTHING with so few choices?
But that’s kind of the magic. Limited palette color studies push artists to experiment, mix, and discover fresh ways to use those colors, finding harmony and unexpected beauty. Instead of getting stuck picking colors, you get to focus on what really matters: shapes, values, and how everything fits together.
Plus, using a limited palette makes a series of sketches look super cohesive, like you meant for them to be best friends. It’s a fun, challenging way to boost color confidence—seriously, try it!
Exploring Mark Making and Line Quality
Although it might sound fancy, “mark making” is really just the wild and wonderful world of how artists put stuff on paper. From scratchy scribbles to smooth, swoopy lines, mark making lets artists experiment and see what each tool can do.
It’s kind of like doodling, but on purpose—every stroke teaches something new about line quality and texture. No matter which tool they grab—a squeaky marker, a scratchy pen, or a fuzzy brush—each makes a unique mark.
Check out these quick ideas to make exploring mark making even more fun:
- Try drawing lots of different lines—thick, thin, zigzag, curly—which feels best to your hand?
- Repeat patterns like dots and hatches to build confidence and muscle memory.
- Combine mark-making tricks to create new textures and awesome visual effects.
Draw the Same Subject Four Ways
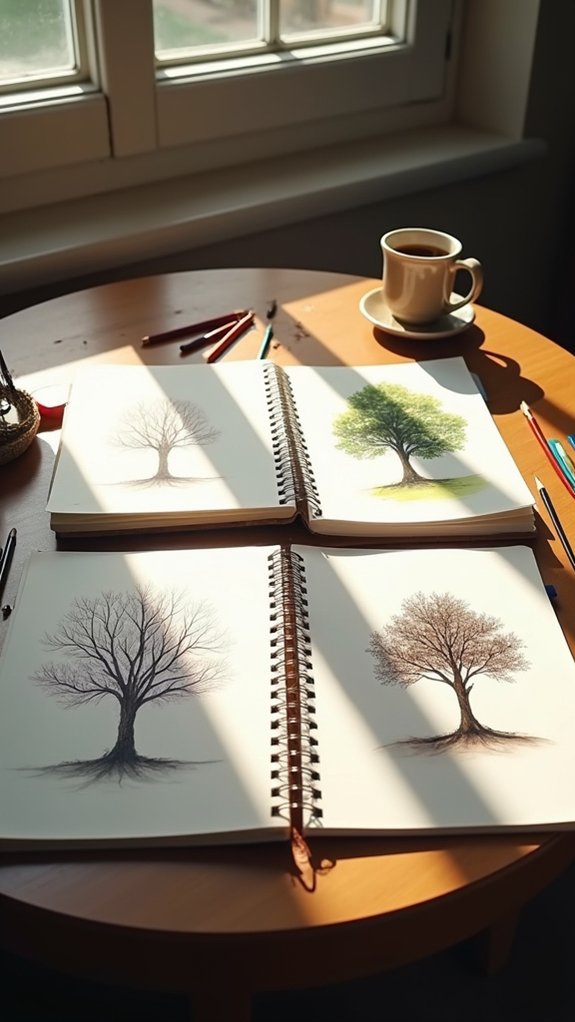
After experimenting with wild lines and funky marks, it’s time for a new challenge: picking just one subject and drawing it four totally different ways.
Want to improve your drawing skills? Try looking at your subject from fresh perspectives—draw it super close up, then from far away, in weird lighting, or even upside down.
Maybe sketch it with a pencil first, then grab some ink, watercolor, or pastels for the next tries. For extra fun, mix up your techniques—use hatching in one, try stippling in another, go wild with a continuous line, or immerse yourself in abstract shapes.
There’s no “right” version. Each attempt helps artists figure out their strengths and explore their creativity, making every sketchbook page a cool adventure.
Frequently Asked Questions
What Can I Draw to Improve My Skills?
When considering what to draw to improve skills, artists often benefit from gesture drawing. This practice sharpens their ability to capture movement and proportion, fostering fluidity and confidence in their sketches through rapid studies of the human form.
How Do I Sharpen My Drawing Skills?
Sharpening drawing skills often involves embracing Drawing Challenges that target observation, speed, and technique. Regular practice with time-limited sketches, contour exercises, and studies of everyday objects helps artists build fluency, accuracy, and confidence in their work.
How to Improve Art Skills?
Improving art skills involves consistent daily practice and exploration of varied Art Techniques. Progress is supported by quick, spontaneous sketches, studying from life or references, developing observational abilities, and engaging with artistic communities for feedback and shared growth.
How to Improve Your Art Sketchbook?
When considering how to improve your art sketchbook, attention to sketchbook organization is essential. Consistent page labeling, dedicated sections for experiments, and categorized mediums help streamline workflow, enhance progress tracking, and support effective, focused artistic exploration within the sketchbook.
Conclusion
These sketchbook exercises prove one thing: nobody gets awesome at drawing by magic. It takes guts, patience, and lots of pencil shavings. Anyone willing to pick up that sketchbook every day, try weird techniques, and laugh at their mistakes is on the right path. Progress might feel slow, and some drawings will deserve the recycling bin—but that’s art. So, keep sketching, experimenting, and, most of all, having fun. Who knows what your next masterpiece will be?
Leave a Reply