
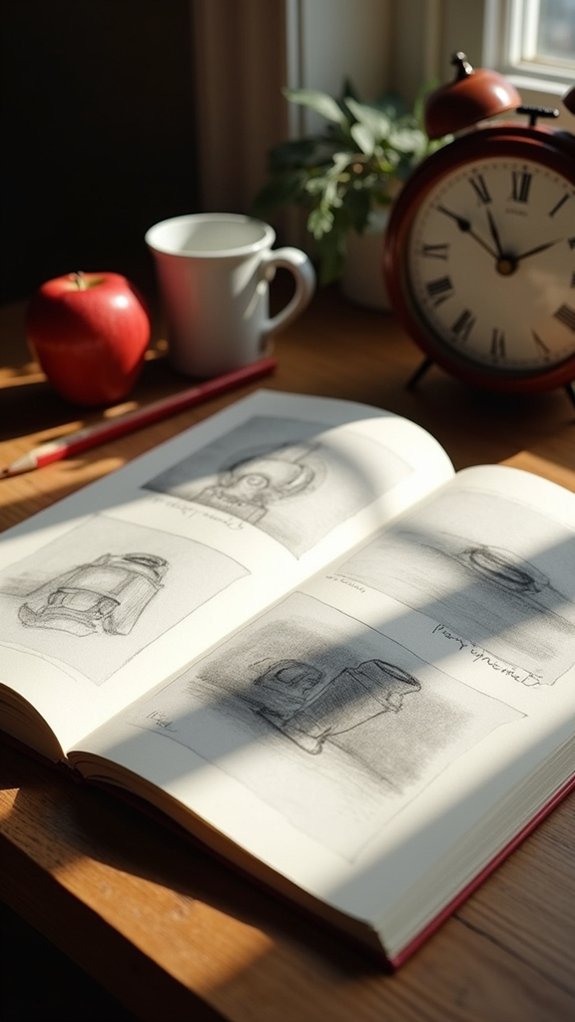
Jump into sketchbook fun with 17 different sketches that make practicing art skills way less scary—try wild daily pages, wonky blind contour portraits, and wiggly continuous line drawings. Doodle with your non-dominant hand, shade basic shapes like spheres, zip through speed drawings, and even copy old masters for practice. Mini composition thumbnails and creative collages keep ideas fresh, while experimenting with textures and shading reveals new tricks. Stick around, because things only get more interesting from here!
Key Takeaways
- Practice blind contour portraits and non-dominant hand sketches to boost observation and coordination skills.
- Fill a cheap sketchbook daily with experimental doodles and mark making for creative exploration.
- Create still life value studies and shaded geometric shapes to master light, shadow, and form.
- Use continuous line and speed drawing techniques to develop fluid lines and dynamic compositions.
- Plan compositions with thumbnail sketches and study masterworks to improve layout and artistic understanding.
No-Pressure Daily Sketchbook Pages

Sometimes all it takes to get creative is a cheap sketchbook and the freedom to mess up without worry. No-pressure daily sketchbook pages aren’t about making masterpieces; they’re more like a gym for your art muscles.
When the paper is inexpensive, there’s no stress about mistakes—smudges and wild doodles are all part of the sketching practice. People can try out watercolor washes, wild color mixing, or totally weird compositions just for fun.
Pages can fill up fast with half-drawn ideas, crazy experiments, and whatever pops into an artist’s head. Confidence slowly grows, and those little imperfections become cool discoveries.
It’s less about judgment and more about enjoying the ride—who knew creativity could be this low-stakes? It’s the best way to get better, one page at a time.
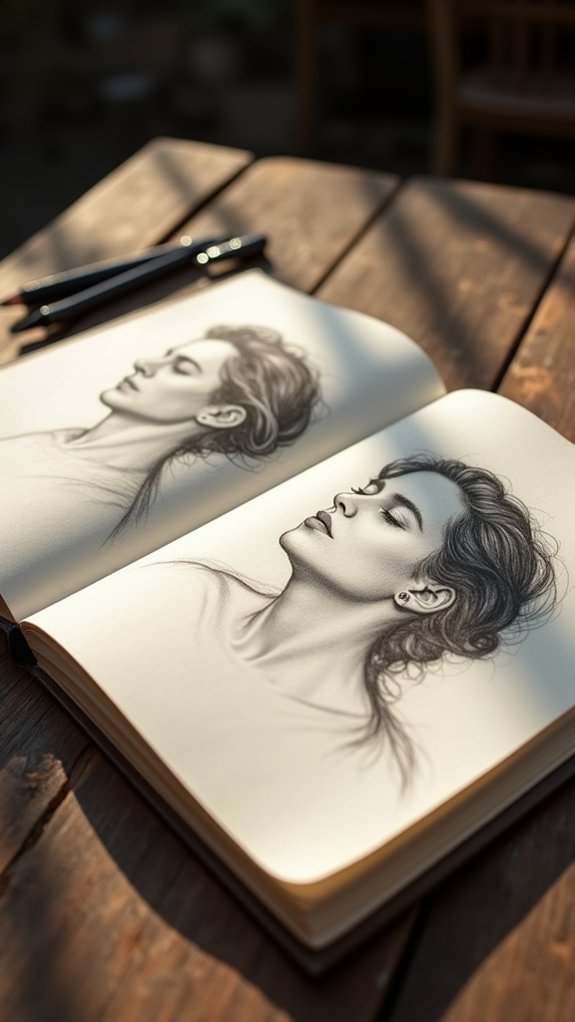
Blind Contour Line Portraits
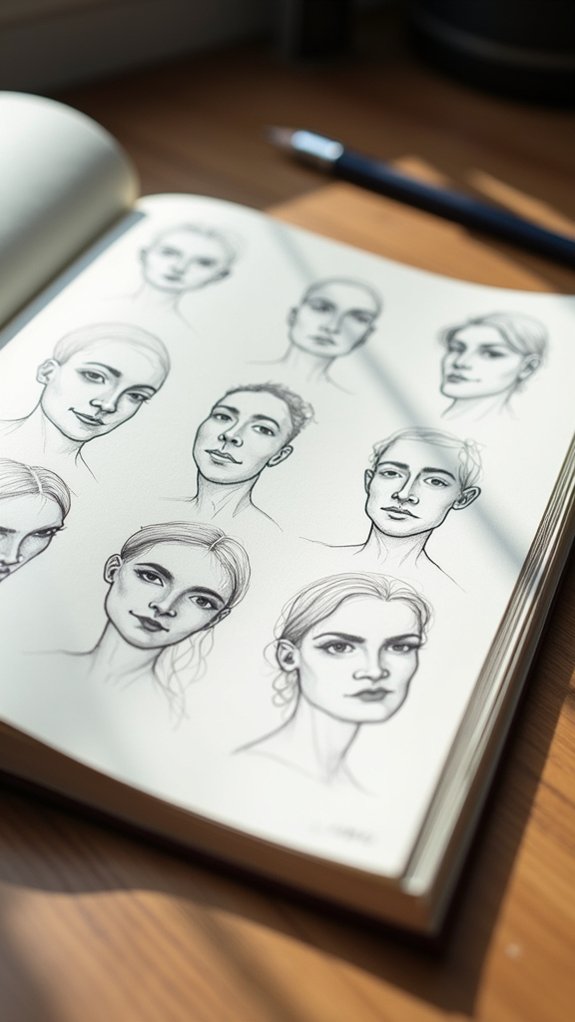
Blind contour line portraits are a wild ride for your hand-eye coordination, because you’re basically drawing someone’s face without peeking at your paper—talk about a trust fall with your pencil!
Sure, the portraits often turn out looking a little wonky or hilarious, but that’s half the fun, and you start to appreciate all those “mistakes” as unique touches.
This exercise makes you really slow down and look at the person’s features, turning drawing into a kind of focused, mindful adventure rather than just another homework assignment.
Hand-Eye Coordination Boost
Even though it might sound a bit wild, there’s a drawing challenge that asks artists to sketch a face without peeking at the paper—not even for a second! This is called blind contour drawing, and it’s like a secret workout for your hand-eye coordination.
Imagine your pencil trying to keep up with your eyes as they move across every twist, turn, and curve of a person’s face. No glancing down, no double-checking—just total trust in your senses. Practicing this technique helps boost observation and really makes that brain-to-hand connection way stronger.
Blind contour sketches often have wild lines and unexpected angles, but that’s part of the fun. The more artists practice, the more confident and agile their drawing skills become.
Embracing Imperfect Portraits
There’s something oddly exciting about letting go of perfection, especially when it comes to drawing faces without peeking—yes, really, no cheating! Blind contour line portraits totally flip the script on sketching. Instead of worrying about every little detail, artists try to capture the outline and main shapes of a face, letting the pencil wander wherever their eye goes. It’s kind of wild—sometimes the results are hilarious; noses end up where ears should be, but that’s the magic. Check out how different aspects line up in blind contour practice:
| Skill Built | What Happens | Why It’s Awesome |
|---|---|---|
| Hand-eye coordination | Wobbly, fun lines | Loosens stiff sketching |
| Free expression | Abstract faces | Shows uniqueness |
| Observation skills | Focus on shapes | Less about details |
| Spontaneity | Surprising results | No fear of mistakes |
Mindful Observation Practice
Observation gets a whole new twist when artists try drawing someone’s face without glancing down at the page even once. This wild art challenge is called a mindful observation practice: blind contour line portraits.
Here, artists really have to look around—no shortcuts! Staring at a friend’s nose or the curve of an eyebrow, they let their pencil follow along, never peeking to check if their lines actually connect. It’s about seeing simple shapes in the face and trusting the hand to go on its own artistic journey.
The results might look a bit wobbly or even goofy, but that’s the magic. Sometimes, adding a splash of use of color makes everything pop. Practice this, and soon confidence and creativity will flourish.
Continuous Line Object Drawings
Forget picking up the pencil just to scribble—continuous line object drawings crank things up a notch. Here, you draw your whole object with one single, never-lifting line, like a wild roller coaster on paper.
This style pushes artists to let loose and trust their gut, even when the results get a little wobbly. Since you’re always watching the object and almost never your paper, continuous line drawing turns ordinary things into wild, wiggly masterpieces.
It’s a sneaky way to boost hand-eye coordination and train your brain to see shapes and lines better. Playing with thick and thin parts of the line keeps things interesting, and before you know it, you might just break out of that perfectionist bubble altogether.
Non-Dominant Hand Practice
Trying to draw with your non-dominant hand feels a little wild, but that’s exactly what makes it awesome for boosting how closely you pay attention.
Every wonky, wobbly line forces the artist to really look at what they’re sketching, not just rely on muscle memory. Instead of perfect lines, mistakes start to look interesting—and suddenly, imperfection isn’t just allowed, it’s exciting.
Boosting Observation Through Challenge
Ever tried drawing with the “wrong” hand and ended up with an accidental masterpiece—or a hilarious scribble? That’s the heart of boosting observation through challenge.
Drawing and painting with your non-dominant hand jolts your brain awake, forcing you to really notice what you’re creating instead of going on autopilot. Every line becomes an adventure. Your sketches might look a little wild, but that’s what makes them interesting! Mistakes and quirky marks stop feeling bad and start feeling exciting as you see things with fresh eyes.
- Forces close observation, since your hand isn’t used to familiar motions.
- Encourages a fun, judgment-free approach—everyone makes wobbly lines!
- Sparks original ideas and cool, unexpected results in drawing and painting.
- Sharpens hand-eye coordination and helps you understand forms better.
Embracing Imperfect Line Quality
Once someone’s gotten over the shock (and a few giggles) of drawing with the “wrong” hand, something kind of magical can happen: let those wobbly, unpredictable lines roll.
Sketching with the non-dominant hand is all about embracing imperfect line quality. The lines wiggle, slant, and loop in ways your “good” hand would never allow—but that’s exactly the charm.
Instead of worrying about perfection, this method forces artists to observe more closely, tuning in to the subject rather than stressing every stroke. Sometimes, a shaky line turns into something uniquely beautiful or even funny.
Plus, making art this way can break through boring creative routines. Over time, that awkward practice builds hand-eye coordination you’ll notice in your regular drawings, too.
Basic Geometric Shapes With Shading
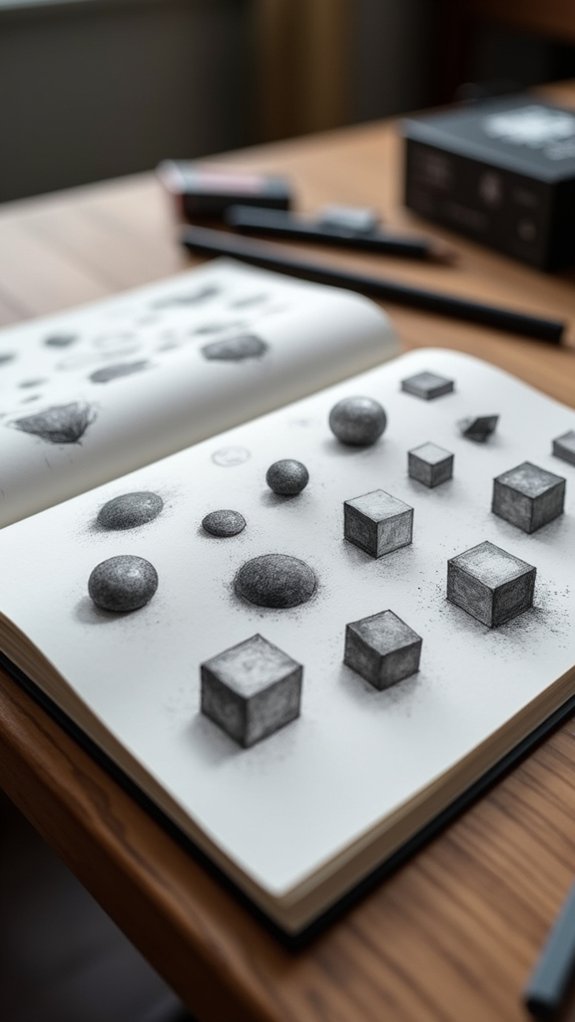
Although drawing can seem a little intimidating at first, starting with basic geometric shapes makes the whole thing a lot less scary. Learning to sketch shapes like spheres, cubes, and cylinders helps artists see how objects fit into space, which is way more fun than it sounds.
Shading these basic shapes gives them real “wow” factor—almost like magic! It’s all about paying attention to where the light hits, where the shadows fall, and using different pencil pressures for those smooth gradients.
- Start with basic shapes—spheres, cubes, cylinders—nothing fancy yet!
- Experiment with light sources, watching how shadows behave.
- Play around with different pencils for darker or lighter shading effects.
- Practice drawing from different angles, so your shapes look 3D, not flat.
Stick with it and watch your basic shapes jump right off the page!
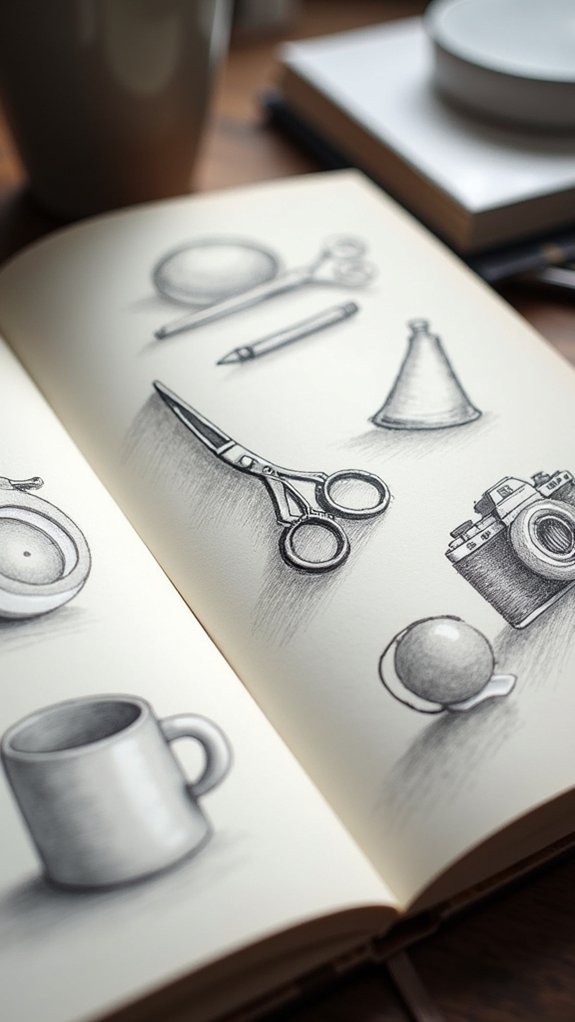
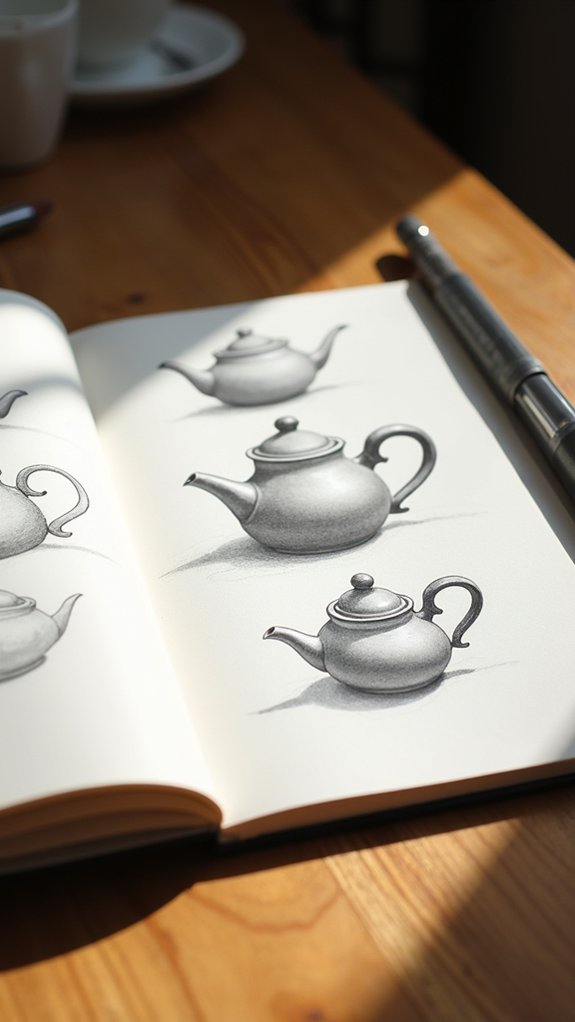
Still Life Value Studies
In still life value studies, artists get to play detective with light and shadow, searching for every bright spot and hidden dark patch on objects.
Translating what you see into value means turning real-life forms into a cool mix of grays so sketches look super real and almost pop off the page.
It’s like giving your art a little magic trick—suddenly, that boring old apple looks totally 3D and ready to roll right out of your sketchbook!
Exploring Light and Shadow
When someone starts exploring light and shadow in their sketchbook, it feels a bit like stepping into a new world—suddenly, even an old mug or an apple becomes way more interesting.
Every bump, curve, and dent catches the eye, and suddenly, that boring banana is casting shadows like it’s on stage. Focusing on value studies means you’re not worried about wild colors; you’re looking for the way light bumps into objects and spills across the page.
It all comes down to observing closely and noticing the dramatic stories light and shadow tell. Try these approaches in your sketchbook to see the magic unfold:
- Use a grayscale palette for clearer light and shadow relationships
- Experiment with changing light sources
- Sketch from different angles
- Practice gradual shading techniques
Translating Form Into Value
After all that excitement chasing light and shadow, it’s time to get hands-on with turning 3D stuff into bold, believable drawings. Translating form into value is all about using still life objects to practice shading, contrast, and the secrets of light and dark. Artists choose simple items—like apples or mugs—then break them down into basic shapes and figure out where shadows and highlights fall. By using materials like charcoal or graphite, everyone can play with different values, mixing dark grays and bright whites for awesome effects. Still life value studies push observational skills to superhero-level, making future drawings pop with real-life depth.
Here’s a quick value study guide:
| Technique | Impact |
|---|---|
| Limited Palette | Focus on contrast & tonal range |
| Basic Shape Simplifying | Keeps composition clear & readable |
| Different Materials | Adds texture & realistic value shifts |
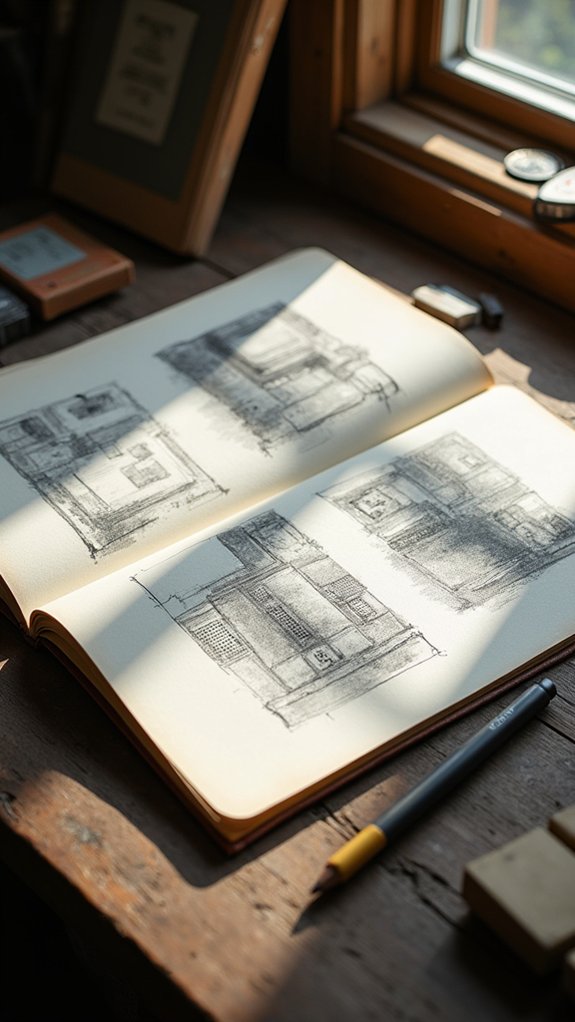
Simple One-Point Perspective Scenes
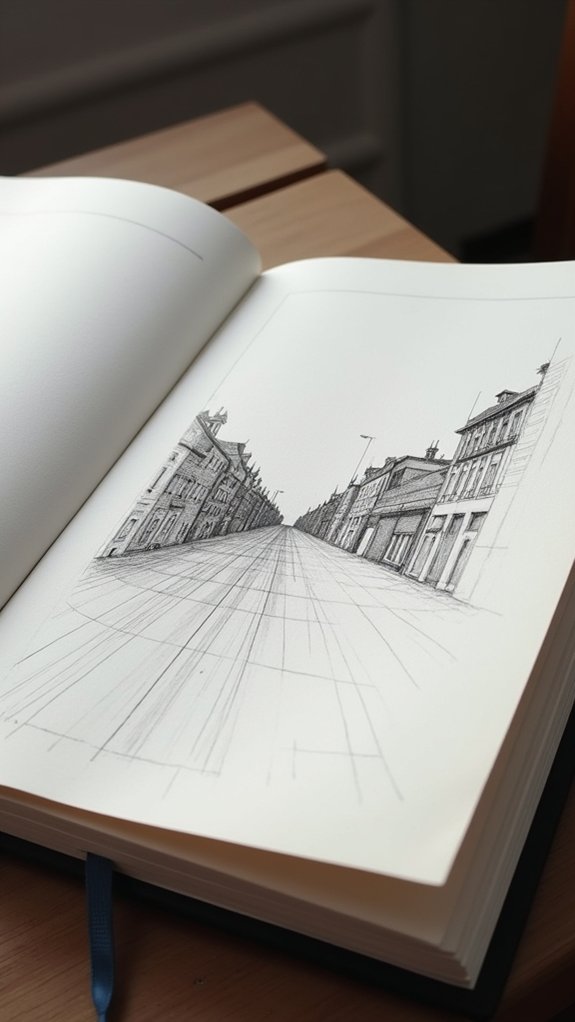
One-point perspective is like a magic trick for artists—it can turn a flat piece of paper into a window that seems to go on forever. When sketching one scene with this technique, everything lines up and draws your eyes right to the center.
All those sneaky parallel lines head straight for the vanishing point like kids racing to recess. To make the most out of sketching one-point perspective, start with easy stuff, like boxes, rooms, or roads, before leveling up. Simple shapes work wonders, transforming into cool city streets or sci-fi hallways in no time.
- Draw a horizon line and mark the vanishing point.
- Start with boxes or rectangles to build walls, floors, and ceilings.
- Create scenes using roads, sidewalks, and hallways.
- Add fun details like windows, doors, or streetlights for extra depth.
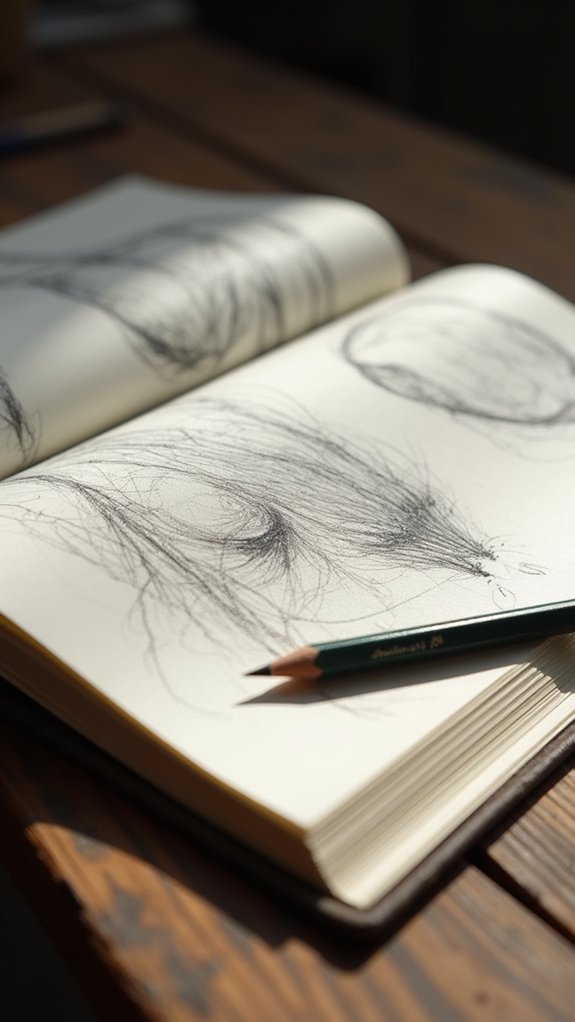
Exploring Texture With Mark Making
Texture is where a sketch really starts to come alive—mark making is the secret ingredient behind gritty bricks, fuzzy cats, or shiny robot arms.
With mark making, artists have a blast exploring texture using tons of techniques and tools. Ever tried scribbling wild circles, or packing dots super close together? That’s stippling, and it gives fur or stone some serious attitude.
Cross-hatching adds shadow and depth with lines that crisscross like a spaghetti mess. Don’t forget hatching for gentle shading!
Even swapping out your pencil for a sponge, paintbrush, or your own fingers can produce shockingly cool results. Keeping a sketchbook just for mark making is like having a playground for your ideas.
Experimenting helps personal style grow, plus every page feels like a new adventure.
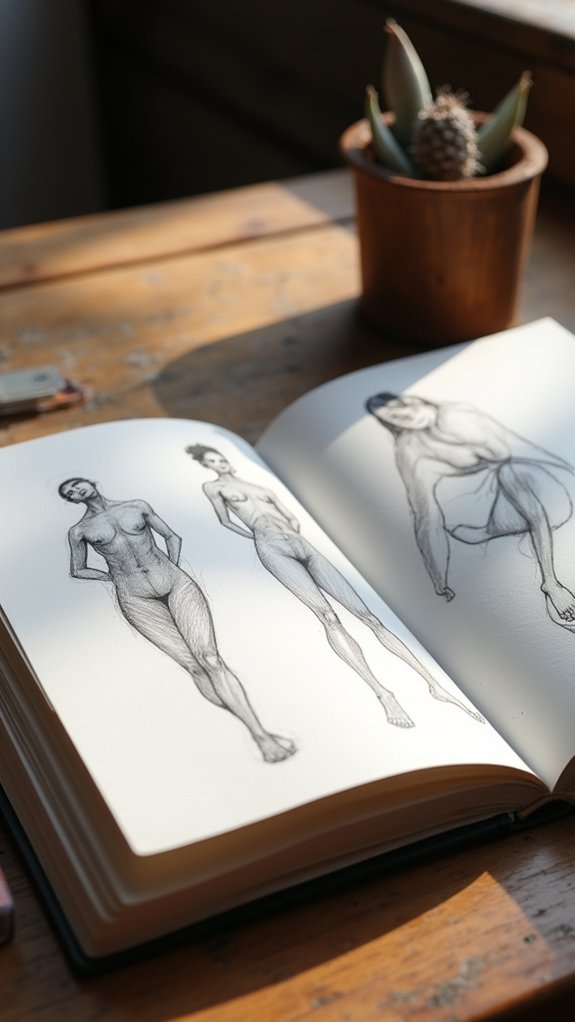
Drawing a Single Subject From Multiple Angles
A single subject, when viewed from different angles, can suddenly feel brand new—kind of like seeing your best friend wear their hair a totally different way.
Drawing that same object from the front, side, and even a dramatic low or high angle, helps artists see it in 3D, while also leveling up observation skills.
Throw in experimenting with different mediums—maybe sketch in pencil, then ink, then add some watercolor—and each version reveals something unique. The way shadows and highlights shift across each angle totally changes the vibe, making it a mini-adventure every time.
- Try drawing your subject under different lighting, like morning or evening.
- Use a different medium for each sketch: pencil, ink, watercolor, etc.
- Notice how your style changes with the angle.
- Challenge yourself with dramatic perspectives—think super close or from above!
Two-Color Watercolor Washes
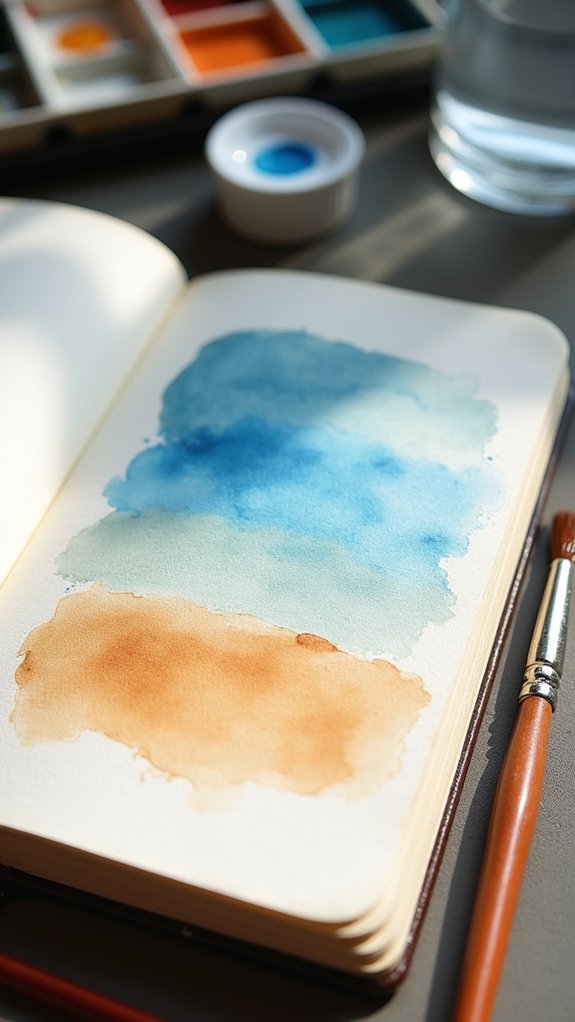
Magic happens when two watercolors meet on a page—they swirl, mix, and sometimes throw a surprise party for your eyeballs.
Using two-color watercolor washes is like letting two things, your favorite paints, share secrets right in your sketchbook. Start with wet paper (think of it as a blank dance floor), then let your first color glide on.
Quickly, bring in color number two and watch them blend into cool gradients, making depth and drama in your art. Want one color to rule? Use more of it. Prefer a friendship? Aim for an even mix.
Big brushes fill space fast, but small ones sneak into tight corners. Don’t rush the magic—let layers dry before adding more. That way, everything stays bright, never muddy.
Quick Gesture Sketches of Figures
Quick gesture sketches of figures are all about catching people in action, almost like pressing pause in the middle of a dance or a sprint.
Instead of worrying about tiny details, artists use fast, sweeping lines to show how the body moves and how the pose feels—it’s like drawing the “energy” of the figure.
It can feel a little wild the first time you try it, but that’s where the fun starts!
Capturing Dynamic Poses
Plunge into the world of capturing dynamic poses, where each sketch bursts with life and energy even in just a couple of minutes.
When artists start sketching quick gesture figures, they’re not aiming for perfect anatomy or flawless proportions. Instead, it’s about catching the action—like pausing a movie at the exact moment when things get really interesting.
Grab a pencil, get loose, and forget being neat! Try different positions to see what works best for getting across excitement, balance, or a sense of weight. Make mistakes and laugh them off; that’s part of the fun.
- Experiment with a variety of standing, sitting, and action poses
- Keep your lines light and fluid, not stiff or forced
- Challenge yourself with angles and crazy perspectives
- Try setting a timer for 1 or 2 minutes per sketch
Emphasizing Movement and Flow
Dive right in—sketching gesture drawings is all about celebrating the wild energy and motion inside every pose.
Don’t even worry about making it perfect—gesture sketches give artists a chance to capture action fast, usually in just 30 seconds to 2 minutes. It’s like speed-running art class!
Instead of getting stuck on tiny details, the focus is on big, swooping lines that show where the body’s moving.
Trying things like continuous line drawing feels a bit wild, but it absolutely sharpens observation skills.
By practicing gesture sketches over and over, artists get braver and quicker, learning to put the “wooosh!” in every figure.
Mix up your references too! Drawing from photos or live models gets your creativity—and your pencils—moving in awesome new ways.
Urban Street Scenes in Loose Ink
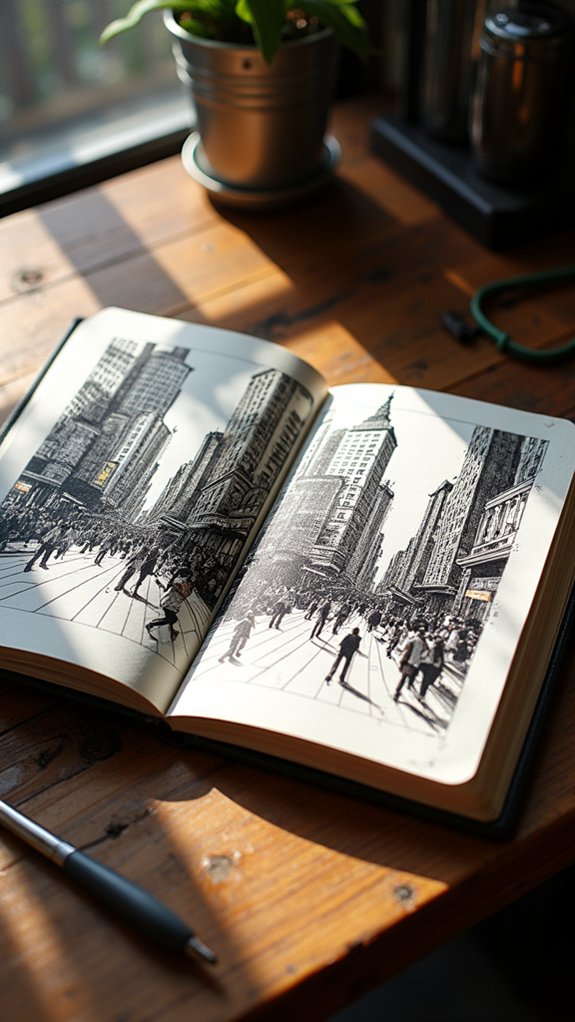
Bustling city streets almost seem to buzz with life, and that wild energy is just begging to be captured on paper using loose ink sketches.
Next time you grab your sketchbook, don’t worry about drawing every brick or window. Instead, focus on the vibe. Loose ink lets you sketch quickly, catching people dashing by, cars zooming around, and tall buildings stretching upwards.
Vary the thickness of your lines—maybe thin for window frames, thick and bold for tree trunks or lampposts. Hatching and cross-hatching bring out shadows and depth, making your scene pop with dimension. Change your viewpoint: try doodling from a sidewalk bench or up high near a balcony!
- Use expressive, loose lines to show movement.
- Try hatching for shade and depth.
- Practice blind contour drawing for fun, wobbly results.
- Experiment with different perspectives and angles.
Abstract Compositions Using Basic Shapes
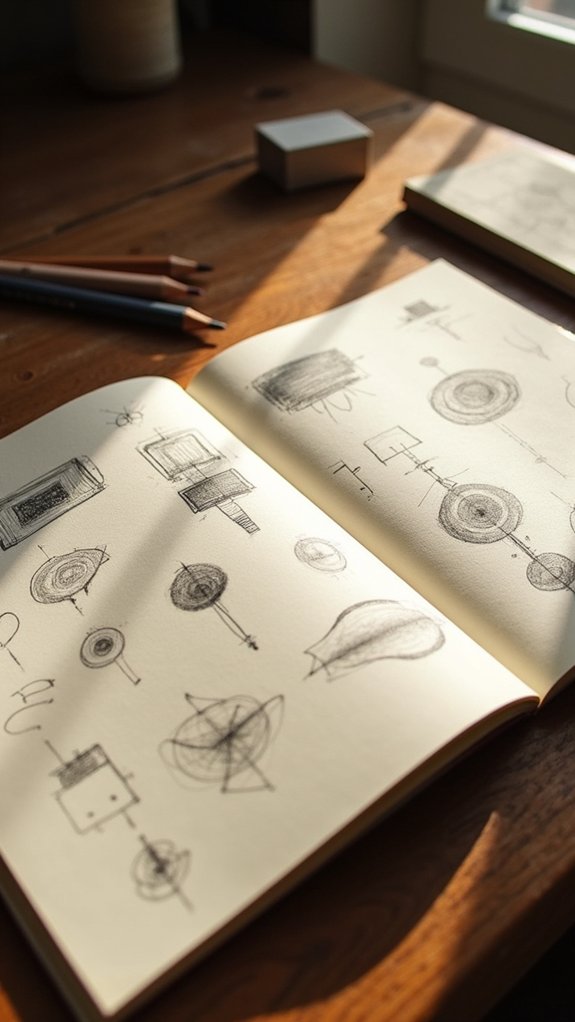
After sketching city streets filled with energy and chaos, things can get really interesting when the subject is, well, not a city at all.
Imagine starting with only abstract shapes—circles, squares, triangles—no need for any ruler-straight buildings or realistic cars this time. Instead, artists get to play, arranging and layering these shapes until the sketchbook page seems to buzz.
By changing the size, orientation, or even squishing some shapes together, a sense of movement and depth pops up, almost like magic. Throw in some color theory—maybe a bold combo, or just two colors that clash in the best way—and suddenly everything just clicks.
Letting go of rules means surprises, happy accidents, and a creation that’s totally your own, weirdness and all.
Copying a Master Sketch
Picture someone holding their sketchbook up to a real masterpiece, eyes darting from the original to their own empty page, a mix of excitement and serious “oh boy, here we go” energy swirling around.
Copying a master sketch isn’t cheating—it’s learning straight from the greats, like having a secret training montage with Leonardo or Van Gogh as your coach. As you copy, every line, shadow, and curve becomes a clue into the artist’s mind.
You start to notice tiny decisions: why a line is thick here or a shadow is soft there. It’s detective work in art form, and honestly, pretty thrilling.
- Break down line, shading, and perspective choices
- Experiment with materials just like the masters
- Study value and color relationships up close
- Compare your version to spot areas for growth
Speed Drawing Everyday Objects

Sometimes all it takes is a sharp pencil, a kitchen spoon, and the ticking of a nearby clock to turn drawing into an epic challenge. Speed drawing everyday objects isn’t about perfect details—it’s about learning to see fast and draw even faster!
Set a timer for anywhere from 5 to 30 minutes, pick something ordinary—like your keys, a banana, or even your shoe—and start sketching. Don’t sweat the small stuff; focus on basic shapes, big movements, and quick decisions.
Try using continuous line drawing, barely lifting your pencil, to keep the flow going. Mix up the angles! Drawing your water bottle from below is way more dramatic than straight on.
And remember, varying line weights and quick shading add instant personality.
Creating Compositional Thumbnails
Ever wonder how artists plan out those eye-catching drawings that just seem to “work”? The secret is often in something called compositional thumbnails!
These are tiny, super-quick sketches artists use to figure out where everything goes in their bigger artwork. Instead of sweating over details, they use lines and blobs to test where the main subject, foreground, and background could sit on the page.
It’s like being a director, arranging actors for the best shot, except with pencils and wild ideas! Trying out several compositional thumbnails for one scene can reveal cool angles and looks no one expected.
- Experiment with layout using quick, small sketches
- Represent objects with simple shapes, not details
- Vary positions of key elements for fresh perspectives
- Use art basics like rule of thirds, leading lines, and focal points
Curated Collage With Mixed Media Sketches

A handful of artists might say that making a curated collage is like being a mad scientist—except instead of bubbling potions, they’ve got scraps of fabric, paint swatches, and weird little bits of paper scattered everywhere. With curated collage, artists mix almost anything: a friend’s doodle, a ticket stub, or a scrap from their old jeans. Toss in a splash of paint, scribbled thoughts, or favorite quotes, and suddenly, your sketchbook looks like a wild adventure map. Each layer of paper or fabric brings new texture and personality. This mixed media process encourages wild ideas and helps artists remember what styles or colors make them happy. Plus, every collage becomes a super cool reference for future projects.
| Material | Technique | Result |
|---|---|---|
| Fabrics | Layering | Texture |
| Paint Swatches | Overlapping | Bold Color Blocks |
| Old Papers | Tearing/Sorting | Vintage Look |
| Personal Notes | Handwriting | Meaningful Details |
| Quotes | Gluing/Arranging | Deep Inspiration |
Frequently Asked Questions
What Should I Sketch to Practice Drawing?
When considering what to sketch to practice drawing, one might focus on gesture drawing, capturing dynamic poses and movement. This strengthens anatomical understanding and expressive skills, complementing studies of simple forms, value, and everyday objects for well-rounded progress.
How to Have a Sketchbook Practice?
Establishing a consistent Sketchbook Routine requires setting daily sketch times, starting with simple subjects, using inexpensive materials, and experimenting with techniques, while regularly reflecting on progress to foster growth and maintain enthusiasm in a personal artistic practice.
How Do You Draw Basic Techniques?
Drawing basic techniques involves deliberate technique exploration, starting with mastering simple shapes, then progressing to shading for volume and depth. Practice methods such as blind contour and continuous line drawing to sharpen observation, accuracy, and expressive mark-making skills.
What Are Practice Sketches Called?
The Current Question pertains to terminology for routine Sketching Exercises aimed at skill improvement. Such practice sketches are commonly called “studies” or “gesture drawings,” both referring to pieces created for learning purposes rather than as finished artworks.
Conclusion
Sketchbooks aren’t just for “artsy” people— they’re awesome tools for anyone who wants to get better at drawing. Practicing these 17 sketchbook sketches can make a big difference, even if your stick figures scare the dog. With a bit of time (and maybe some eraser crumbs), you’ll see your skills grow. Remember, it’s not about perfection— it’s about having fun and learning. So grab your sketchbook, start scribbling, and don’t be afraid to mess up big time!
Leave a Reply