
Creating a sketchbook front cover that really wows starts by grabbing some paint, brushes, and maybe even a splash of metallic flair—because who doesn’t like a bit of drama? First, sketch out some wild or funky ideas, keeping the mood and purpose of your sketchbook in mind. Layer on bold colors, experiment with splatter and sponge techniques, and don’t be shy with textures. Finish by sealing your work, so your masterpiece stays safe. Curious about the next steps to make yours truly unique?
Key Takeaways
- Choose high-quality materials and paints to ensure your cover looks vibrant and professionally finished.
- Plan your design by sketching layout ideas that reflect your artistic style or the sketchbook’s intended theme.
- Experiment with dynamic techniques like sponge painting, splatter effects, and metallic accents for visual interest.
- Enhance durability and polish by sealing your finished cover with a clear varnish or protective sealant.
- Share your creative process online to inspire others and gather valuable feedback from the art community.
Gathering Essential Supplies for Your Sketchbook Cover

Supplies are the secret ingredients to making any sketchbook cover stand out, and gathering them is where the fun really begins.
First things first: make sure you pick a really good sketchbook. Size and paper type can totally change your design game, so choose wisely!
Next, grab spray paint or acrylic paint, paintbrushes, and a trusty white colored pencil to sketch ideas before you go wild with color.
Scissors are a must for trimming, and if you’re feeling fancy, try chipboard or cardboard for extra cover strength.
Want to sew something cool onto your cover? Embroidery floss is your new best friend.
Oh, and don’t forget a flat, clean workspace—that’s key to making your cover look totally pro, not like a glitter explosion!
Planning Your Layout and Drawing Initial Sketches
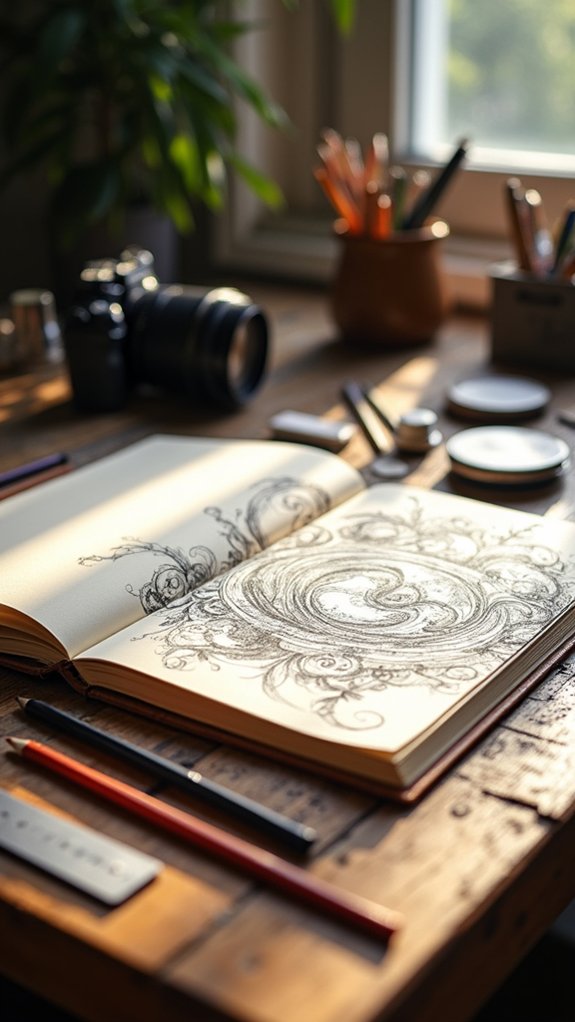
A blast of creativity kicks off the next big step: actually planning what that sketchbook cover should look like! Forget jumping in headfirst—this stage is all about searching for ideas and getting those brain gears whirring.
Begin brainstorming tons of wild or thoughtful concepts, scribbling every idea you get. Now, grab a pencil, and start sketching those initial sketches right on paper—no worries about mistakes, they’re just early drafts!
Think hard about your sketchbook’s theme or its secret purpose because that should steer your planning your layout. Don’t forget to play with elements like balance, contrast, and color harmony for that eye-popping look.
Move your sketches around, swap things up, and experiment until you discover a layout you absolutely love!
Painting and Decorating Techniques to Try

Ready, set, paint! Time to grab some color and turn that plain cover into a masterpiece that demands attention.
Start with a bold base using spray paint or acrylic paint—go for a smooth, even sweep so your art really pops. Mix things up with fun techniques like sponge painting for texture or a wild splatter effect for extra energy.
Want flashy details? Contrasting tones like white, yellow, orange, and red are a surefire way to make everything pop. And don’t forget to sketch your plan using a white colored pencil or light acrylic paint first—think of it as a map for your creativity.
- Try metallic silver or black highlights for dramatic flair
- Sponge or splatter techniques add unique textures
- Contrast bright and dark colors for instant wow-factor
Securing and Assembling the Final Cover
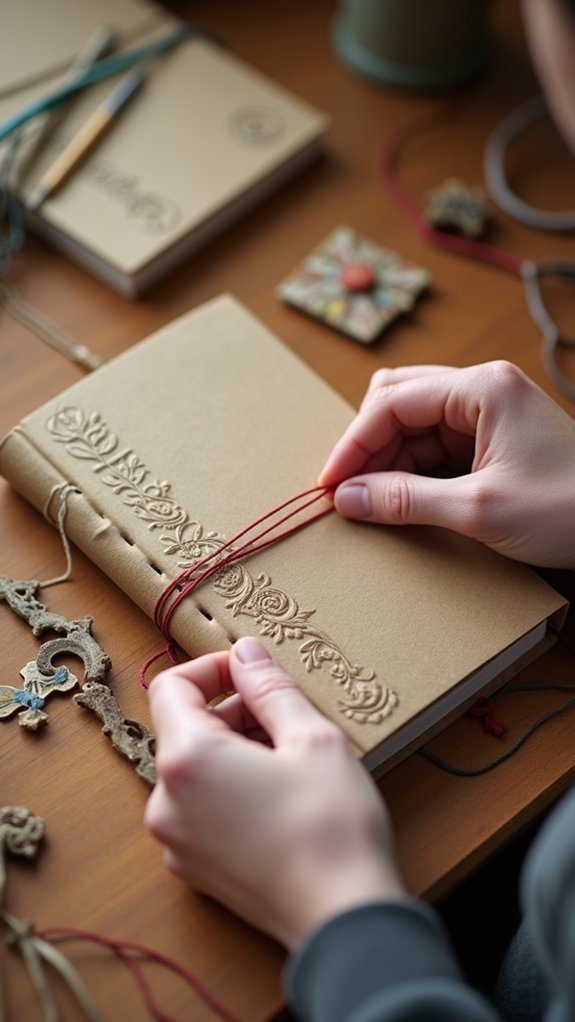
Lock in that masterpiece! After turning your art project into an epic sketchbook front cover, it’s time to make sure everything stays put.
If you took the cover off to decorate it, gently reattach it so your cool design looks flawless and never slips. If you spot any loose corners or bubbling spots, grab your strongest adhesive or trusty double-sided tape—no wimpy glue allowed here!
Press those down so the cover sits as flat as your confidence on presentation day. To protect all your hard work from backpack drama, brush on a layer of clear varnish or sealant.
Wait—don’t rush—let everything dry totally, or you might accidentally create a smudgy modern art piece! Finally, handle with care—your masterpiece deserves TLC!
Sharing Your Creative Process With the Art Community

There’s nothing quite like showing off a creative project and seeing others react with excitement, questions, or even epic suggestions.
Sharing the process of making a sketchbook front cover with the art community can turn a solitary task into a full-blown group adventure.
Seriously—posting that very first page, even if it’s still a bit wonky, can inspire tons of helpful feedback and maybe even a few laughs.
Please feel free to use social media, blogs, or online forums to really put yourself out there!
Here are three surefire ways to connect and learn:
- Try sharing progress pics and cover close-ups on Instagram or Pinterest.
- Join art forums where artists swap tips about design materials.
- Start a blog or video diary to discuss your evolving style.
Frequently Asked Questions
How to Decorate the Front Cover of a Sketchbook?
When considering how to decorate the front cover of a sketchbook, one should explore various cover design options and artistic techniques, such as layering vibrant paints, sketching ideas first, and applying contrasting colors to achieve an eye-catching, personalized result.
How Do I Protect My Sketchbook Cover?
Ensuring ideal sketchbook care and cover durability involves applying acrylic sealant, using a laminated cover, and storing it in a protective sleeve. Avoid prolonged sunlight exposure, and periodically reinforce embellishments to maintain the sketchbook’s original appearance and strength.
What Materials Are Used for Sketchbook Covers?
When considering cover materials for sketchbook types, options include sturdy chipboard, cardboard, or heavy-duty paper. Some sketchbooks feature fabric, leather, or plastic covers, each offering varying durability, texture, and aesthetic appeal to suit an artist’s needs.
How to Make Your Sketchbook Unique?
Making a sketchbook unique involves exploring custom cover designs and incorporating elements fueled by artistic inspiration. Artists may personalize covers with paints, textures, or meaningful illustrations, ensuring the finished sketchbook is a distinctive reflection of their individual style.
Conclusion
Creating a sketchbook cover is more than just an art project—it’s a chance to let your personality shine. From picking out funky supplies to splattering paint like a mad scientist, the process is as wild or as chill as you make it. And hey, sharing your masterpiece just might inspire someone else to try. So, go ahead, dream up something amazing, and watch your sketchbook go from plain to “whoa, did you make that?”
Leave a Reply