
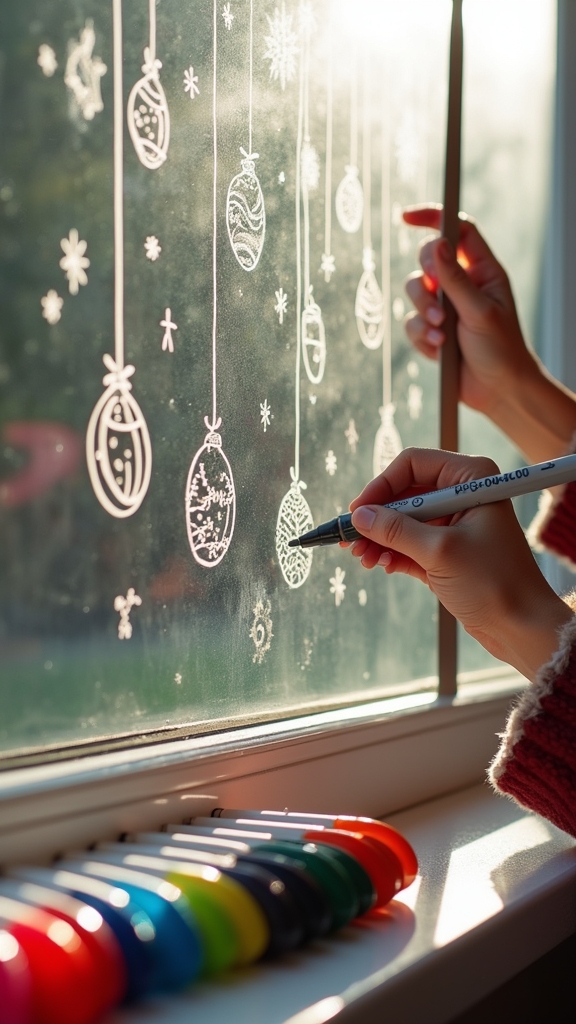
First, gather Posca pens in fun Christmas colors, a ruler, painter’s tape, and a super clean window (no fingerprints—Santa’s watching). Plan out your festive design with sketches, double-check your window measurements, then lightly mark the layout. Brush on a white acrylic base coat for brighter colors, let it dry, and start layering in color with Poscas. Add your details—think snowflakes, snowmen, or gingerbread houses—and watch your holiday masterpiece come to life! Want even cooler tips? There’s more ahead.
Key Takeaways
- Clean the window thoroughly and apply a white acrylic base coat for brighter, longer-lasting Posca colors.
- Choose a festive color palette and sketch your Christmas design on paper before transferring it to the window.
- Measure and mark window sections with a pencil or washable marker to ensure balanced, well-aligned artwork.
- Prime the glass and let it dry completely before using Posca Pens to outline and fill in your design.
- Layer Posca colors for added vibrancy, allowing each layer to dry before applying the next for a professional finish.
Gathering Materials and Choosing Your Christmas Palette

Before diving into the world of Christmas window art, everyone needs to gather the right supplies and pick out a color palette that screams “festive!” A classic choice? Red, white, and baby blue—these colors instantly turn any window into a winter wonderland.
Gathering materials is the next big step. Stock up on Posca Pens in those magical hues, grab a ruler to keep everything straight, and painter’s tape to mark off your masterpiece zone. Don’t forget: a squeaky-clean window is a must, or your colors won’t stick (yikes!).
Slap on a white acrylic base coat to make those Posca Pens pop like fireworks. With these basics ready, anyone can set the stage for some seriously cheerful Christmas creativity—no elves required!
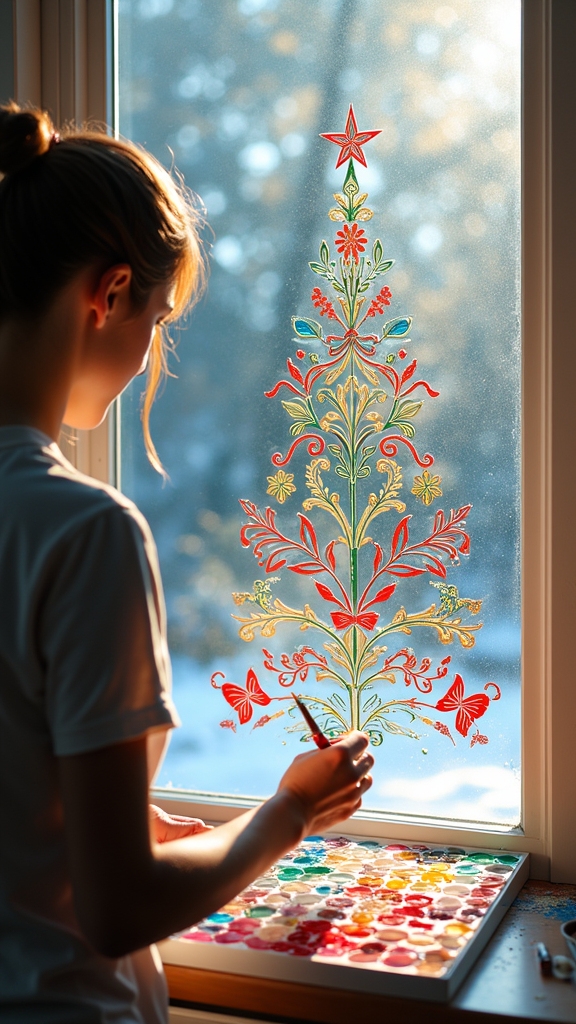
Planning and Sketching Your Festive Design

With supplies in hand and a color palette that’s bursting with holiday cheer, the real fun can finally begin—planning out exactly what will fill those frosty panes. First, it’s smart to gather reference images and jot down a brief. Maybe snowmen, twinkling stars, or a reindeer with a goofy grin? Make sure your Posca pen colors fit your theme—reds, whites, and baby blues always bring out that Christmas sparkle. Sketch out your ideas on paper first, so you don’t wind up with a snowman that looks more like a potato. Here’s how planning your design can feel:
| Feeling | Design Moment |
|---|---|
| Bursting with excitement | Picking Posca colors |
| Nervous but hopeful | First pencil sketches |
| Inspired | Browsing references |
| Proud | Finalizing your sketch |
| Ready to create magic | Grabbing your Posca pen |
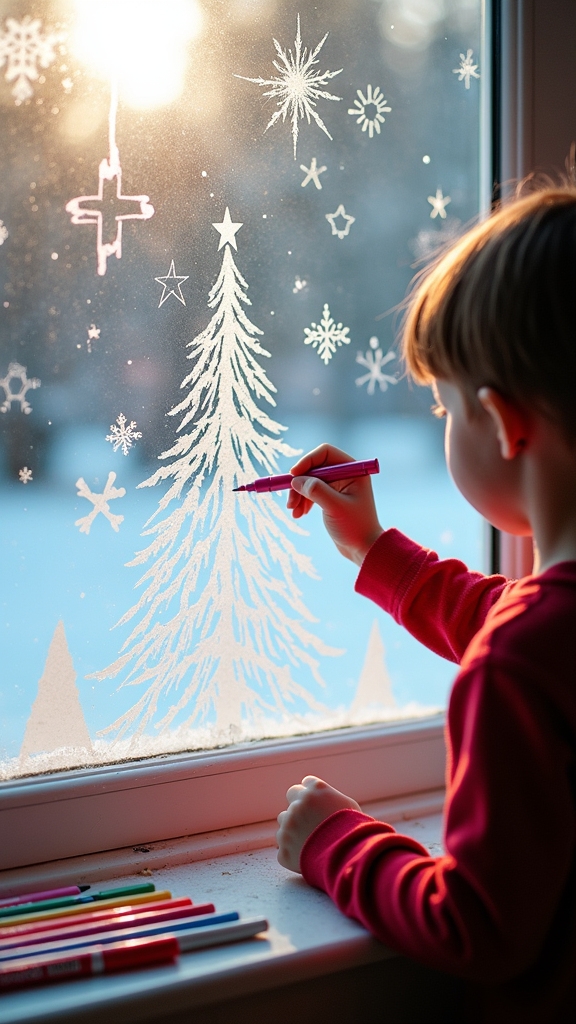
Measuring and Marking the Window Layout
If anyone’s ever tried drawing a giant snowflake on a window without measuring first, they know it can end up looking like a lopsided spider—definitely not the festive vibe.
Before grabbing those Posca markers, it’s smart to grab a tape measure and check those window dimensions. This way, the holiday masterpiece actually fits and doesn’t get chopped off by the window frame.
Using marking tools like a pencil or a washable marker, artists can lightly sketch outlines onto the glass. Dividing the window into sections helps keep the design proportion balanced, so no snowman’s head is accidentally bigger than his body.
Double-checking those markings is key—imagine finishing only to realize the Christmas tree is leaning like the Tower of Pisa!
Priming the Surface for Bright, Lasting Color
A little secret that most window artists swear by: priming the glass makes all the difference between colors that dazzle and colors that fade into the background.
Before opening those Posca Pens, pros always talk about great surface preparation techniques. First, they suggest using a white acrylic paint base—this is the magic trick! It really boosts color vibrancy, making even the palest pinks and yellows pop against the glass.
Acrylic paint benefits include super smoothness, so your markers glide like skaters on ice. Want clean, crisp outlines? Mark your design with a light pencil or some painter’s tape.
Just don’t rush—wait until your primer is totally dry. This avoids smudges and helps those Christmas colors shine brighter and last longer!
Applying Base Layers and Building Vibrancy
Grab that ruler—it’s showtime for those holiday masterpieces! To kick things off, base layer techniques are essential.
First, a little math magic: use your ruler or measuring tape to map out your Christmas design on the window. Trust the process—straight lines make everything look sharp.
Channel your inner architect—grab a ruler, measure twice, and let crisp lines set the stage for your festive window masterpiece.
Next up, it’s time for acrylic application. Paint an even white base layer over your chosen areas; this isn’t just for looks, it’s what makes your colors pop later. Think of it as the perfect snowy background for your festive art.
Wait patiently (seriously, no shortcuts!) for the base to dry. Then, bust out those Posca Pens and start adding bright colors. This combo boosts color vibrancy like crazy, making every snowflake and ornament shine.
Detailing and Finishing Touches With Posca Pens
Now comes the fun part—bringing your Christmas window art to life with crisp outlines, bold color pops, and those tiny details that make everything sparkle.
A fine-tip Posca Pen is your secret weapon for sharp edges and bright highlights, while layering on extra color adds a punch that really stands out (and might just make the neighbors jealous).
Don’t forget to finish off with festive extras—like snowflakes or twinkling stars—for that magical, just-right holiday vibe.
Crisp Outlines and Highlights
Nothing makes window art pop more than those crisp outlines and sharp highlights, and Posca Pens are like little magic wands for this part.
With a fine-tipped Posca, artists outline their designs, creating super crisp edges that instantly boost the vibrant contrast of each shape. It’s like giving your art a bold comic book upgrade.
Next, a white Posca Pen swoops in to add highlights—tiny dabs or streaks on spots where light would naturally hit, making the artwork look almost three-dimensional.
For the best effect, colors should dry fully before adding these details; nobody likes a smeared snowman!
To make sure everything is looking good, stepping back from the window helps check if those outlines and highlights are really enhancing visibility from afar.
Layering Vibrant Color Accents
A splash of bold color can take any Christmas window art from nice to totally eye-catching, and that’s where layering with Posca Pens truly shines.
First, artists lay down a solid white acrylic base—think of it as a blank snowy canvas. Next comes the magic: using color blending techniques, they start with lighter reds, whites, and baby blues, then layer on deeper shades.
This isn’t just for looks—it’s all about creating depth so the artwork pops right off the glass. Plus, festive color psychology plays a role too; red brings warmth and excitement, while blue and white feel icy and calm.
For the finishing touches, fine-tipped Posca Pens add tiny details, making everything look polished, playful, and totally ready for holiday cheer.
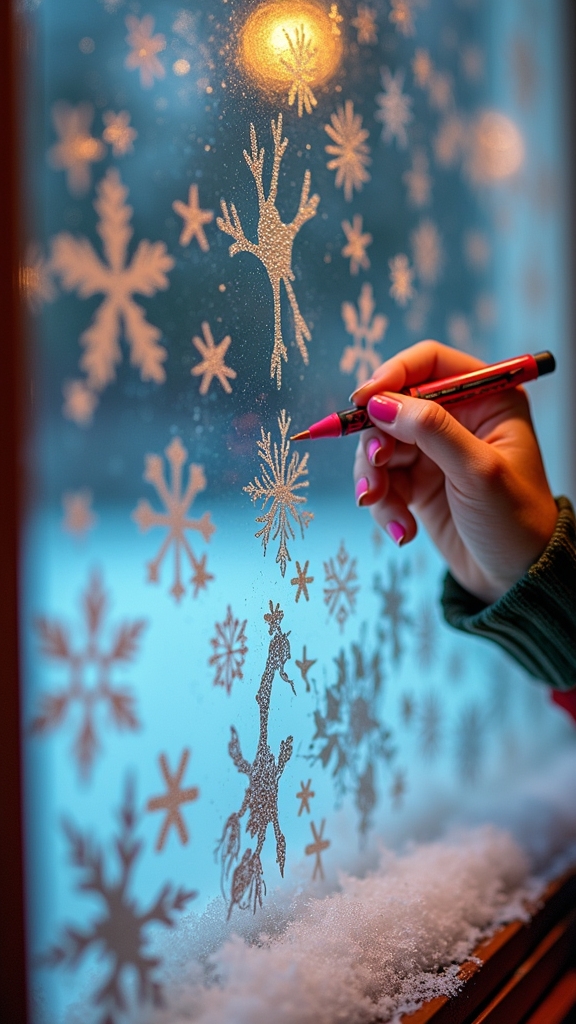
Adding Festive Final Details
Even after the main colors are in place, the real magic happens when artists grab their Posca Pens for those festive final details. This is where the window art truly pops to life!
With a steady hand and a dash of holiday spirit, artists can add personality and sparkle by focusing on intricate touches and playful festive motifs. Color layering makes Santa’s cheeks rosy and his beard fluffy, while texture techniques—like drawing twinkling stars or snowflakes—add a wow factor.
Don’t forget to sprinkle in patterns, such as candy canes or ornaments, to tie everything together.
- Add Santa’s facial features, fur trim, and tiny decorative bits for charm.
- Use lighter and darker Posca Pens for color layering and depth.
- Try fine tips for texture techniques, like delicate snowflakes or shining stars.
Frequently Asked Questions
How to Do Window Art Step by Step?
When exploring window art techniques, one begins by selecting festive design ideas and seasonal color palettes. Surfaces are cleaned, designs are sketched, and colors are applied in layers, ensuring vibrant, eye-catching results suitable for various holiday or seasonal themes.
How Can I Decorate My Window for Christmas?
When considering how to decorate a Christmas window, one might incorporate festive designs and holiday themes using vibrant colors. Utilizing washable materials allows for creativity, while ensuring the decorations remain temporary and can be easily removed after the season.
What Paint to Use for Christmas Window Painting?
When considering what paint to use for Christmas window painting, one should explore window paint types like acrylic or washable markers. Festive color palettes enhance seasonal appeal, while proper paint application techniques guarantee vibrant, temporary holiday designs.
How Do You Stick Christmas Decorations to Windows?
When attaching Christmas decorations to windows, window safety is prioritized by choosing adhesive options like removable putty, suction cups, or static cling decals. These methods allow for seasonal themes while protecting glass surfaces and ensuring easy removal.
Conclusion
And there it is—your window is now a Christmas masterpiece, thanks to a little planning, a bunch of Posca pens, and a dash of bravery. Anyone walking by will probably stop and stare (maybe even take a selfie). The whole process turns a plain window into a festive work of art you can be proud of. So step back, admire your creation, and maybe start planning what wild and merry design you’ll tackle next year!
Leave a Reply