
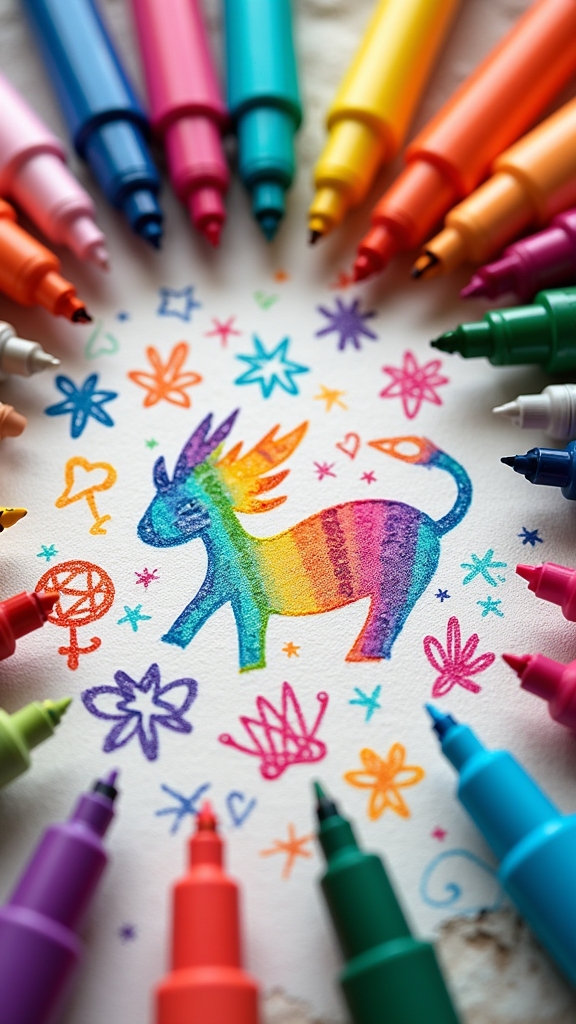
Grab some Posca pens and get ready for seriously fun doodling! Try clouds with goofy grins, leafy branches that look like they’re doing a dance, or kawaii cats with big round eyes. You can sketch cute pandas, draw croissants with silly faces, or make bright mushrooms and potted succulents. Don’t forget shooting stars, funny suns, and dreamy moons, plus food doodles like smiling strawberries and icy treats. There’s lots more cuteness ahead—each idea is more creative than the last!
Key Takeaways
- Try whimsical nature doodles like happy-faced clouds, leafy branches, and colorful mushrooms for charming, beginner-friendly Posca pen art.
- Create cute animal illustrations such as kawaii cats, panda faces, and cartoon croissants to add playful character to your doodle collection.
- Experiment with fun food doodles, including strawberries, ice cream scoops, and coffee mugs, for vibrant, tasty-looking sketches.
- Explore playful celestial designs like funky sun characters, mini moons, and star clusters for dreamy, eye-catching effects.
- Use creative color blending and layering techniques to enhance depth, vibrancy, and uniqueness in all your Posca pen doodles.
Cloud Doodles With Happy Faces

Even on the gloomiest days, cloud doodles with happy faces can turn any page into a burst of cheer. There’s something magical about drawing with my new Posca pens—those bright, bold colors make every cloud pop!
Start by sketching a fluffy, round shape; don’t worry if it looks a little wonky, that just adds character. Add some big, grinning faces, and suddenly your clouds are full of personality.
Embrace the wonky shapes—each fluffy cloud doodle gains charm and personality with every big, happy face you add!
With Posca pens, layering whites and blues is super easy, giving your doodles amazing depth. Try mixing in raindrops or sun rays for extra flair—imagine a cloud that’s both sunny and raining, talk about mood swings!
Play around with sizes and group them together for a sky that’s packed with pure, playful fun.
Simple Leafy Branches
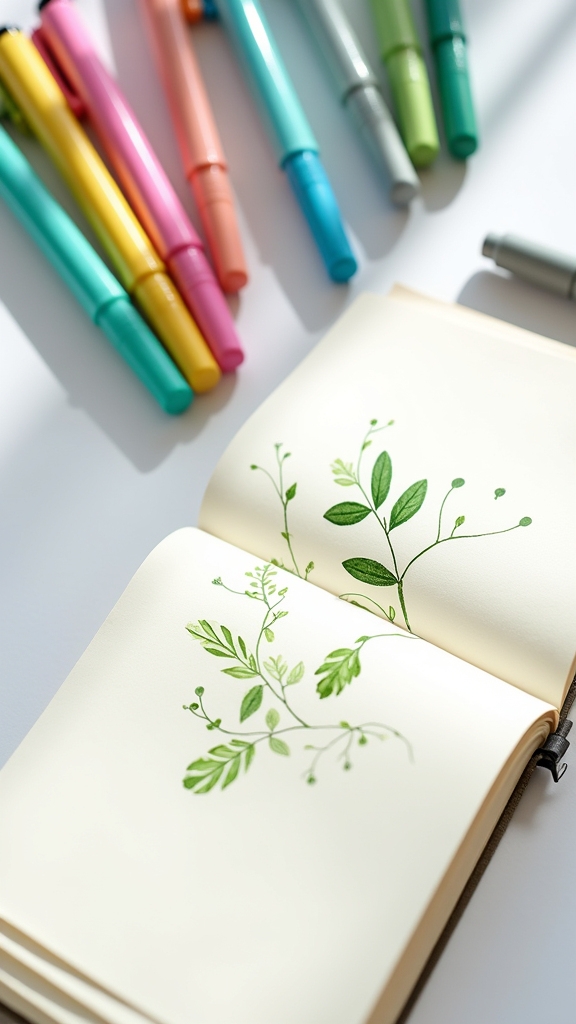
Simple leafy branches are a total game-changer for Posca pen doodles, and they’re way easier to draw than you might think—just start with a swoopy stem and add some plump little leaves on each side.
It gets even cooler when you play around with different shapes and add details using your markers, like mixing shades of green or giving your leaves some fun textures.
For anyone who loves a bit of extra flair, adding berries or tiny flowers can make your branches pop off the page and look super unique.
Basic Leaf Branch Shapes
A leafy branch doodle, believe it or not, is one of the coolest building blocks for Posca pen art.
Seriously, once you learn the basics, your Pen Art game totally levels up! If you’re hunting for the best ideas and inspiration, start simple: a wavy stem and pairs of oval leaves. That’s it—so chill, right?
But you can get playful and try new things as you Draw With Posca. Here’s what to try:
- Draw a single curvy stem, then add pairs of oval leaves for classic leafy vibes.
- Sketch several stems together and fill them with clusters of tiny leaves for a fuller look.
- Use smaller leaves as spacers to design giant single leaf doodles.
- Add little berry circles for fun pops of interest.
Leafy fun revealed!
Adding Detail With Markers
Once the basic leafy branch shapes are down, things start to get really exciting—because this is where marker magic comes in! Adding detail with markers, especially a posca pen, takes those simple ovals and transforms them into something that actually looks alive. Using the fine tip, artists can draw delicate veins on each leaf, giving the branch a little extra oomph. Mixing up leaf sizes, throwing in some clusters, or even adding a few tiny berries makes the whole thing pop. For even more wow factor, try layering different greens—light on top, dark in the shadows. This mixed media approach keeps things fun and colorful. Check out this guide for more tips:
| Tip | Tool Used | Detail Level |
|---|---|---|
| Leaf veins | Fine posca | High |
| Color layering | Posca pens | Medium |
| Berries/flowers | Bright pens | Fun |
| Mixed clusters | All markers | Dynamic |
Cute Cat Illustrations
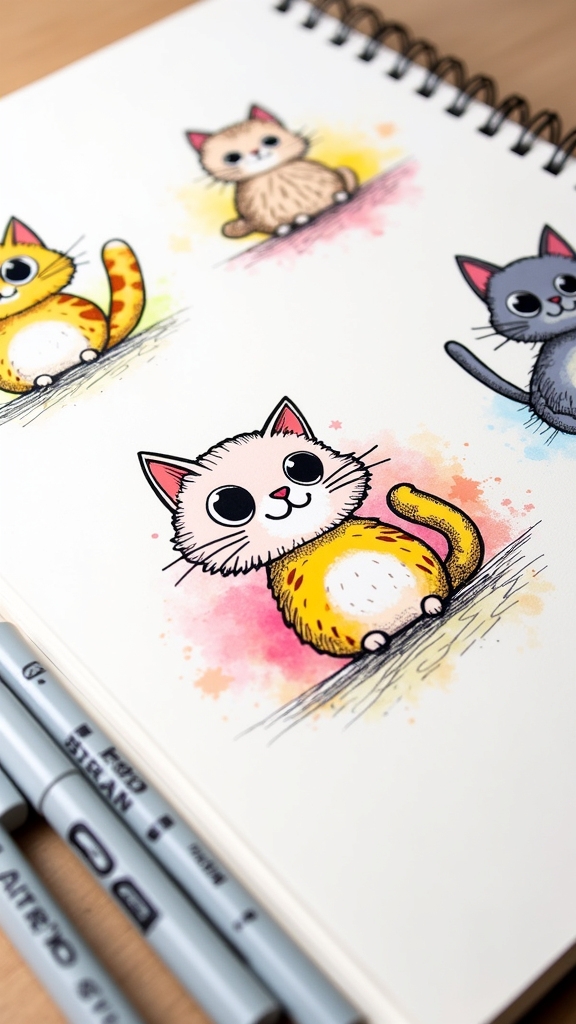
When it comes to cute cat illustrations, kawaii drawing tips make all the difference—think big eyes, round faces, and tiny whiskers that instantly grab attention.
Mixing in playful poses, like a cat stretching with its paws in the air or rolling on its back, brings a ton of personality and just the right amount of mischief.
With Posca pens, artists can really make these cats pop, using bold colors and fun patterns to turn even a simple doodle into a scene-stealing star.
Kawaii Cat Drawing Tips
Big, round eyes and chubby little cheeks—nothing says “kawaii” like a cartoon cat drawn with Posca pens!
Anyone feeling inspired and ready to try out new Pen Painting ideas should start with these simple, fun tips. Kawaii cats are all about adorable exaggeration and playful details, so don’t be afraid to make those features extra cute.
- Start with Shapes: Draw big circles for the head and smaller ones for the body; keep everything soft and round for max cuteness.
- Pastel Power: Use pastel Posca pens for a soft, sweet look—think baby pinks, sky blues, and minty greens!
- Expressive Eyes: Make eyes big and shiny, adding little highlights for that lively sparkle.
- Add Details: Blush marks and tiny whiskers instantly boost that kawaii factor!
Playful Cat Pose Ideas
Although every cat has its own unique charm, nothing beats the cuteness overload of a playful kitty caught mid-pounce or stretching out like a furry noodle. To capture this with Pens Art, artists can start their first drawing by sketching basic circles and ovals—super simple, but it helps let your hand get comfy before going wild with details. Try different poses: a cat curled up like a cinnamon roll, batting at invisible foes, or stretching with paws outstretched. Posca pens bring these ideas to life with bold colors and fun patterns. Using various pen tips, artists add texture—think fuzzy bellies and swishy tails. Whiskers, big eyes, and tiny noses seal the deal on cuteness.
| Cat Pose | Creative Details |
|---|---|
| Stretching | Striped fur, big paws |
| Playfully Pawing | Swishy tail, bright eyes |
| Curled Up | Fluffy cheeks, tiny ears |
Playful Star Designs
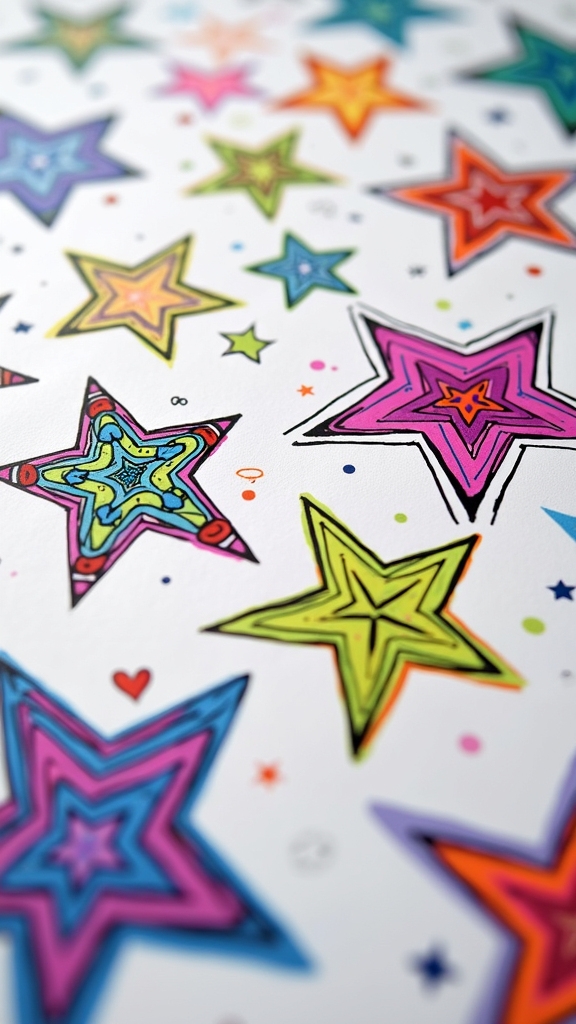
Ever wondered how to make your doodles burst with personality? Playful star designs are a top pick from Pinterest’s best ideas, and they’re super fun with new posca pens.
Start with a basic five-point star—simple, right? Now give it attitude! Try goofy faces, wild patterns, or even sunglasses. Mix up star sizes and tilt them around for an awesome night sky look.
Begin with a classic five-point star, then jazz it up with silly faces, funky patterns, and cool sunglasses for extra flair.
Go bold with neon or metallic Posca pens; your stars will totally pop. Sprinkle in clouds, shooting stars, or a crescent moon for extra magic.
Here are four ideas to get started:
- Draw happy, winking, or silly-faced stars.
- Fill stars with zigzags, stripes, or polka dots.
- Cluster tiny stars for a galaxy vibe.
- Add glowing halos or sparkles for sparkle overload!
Whimsical Mushroom Scenes
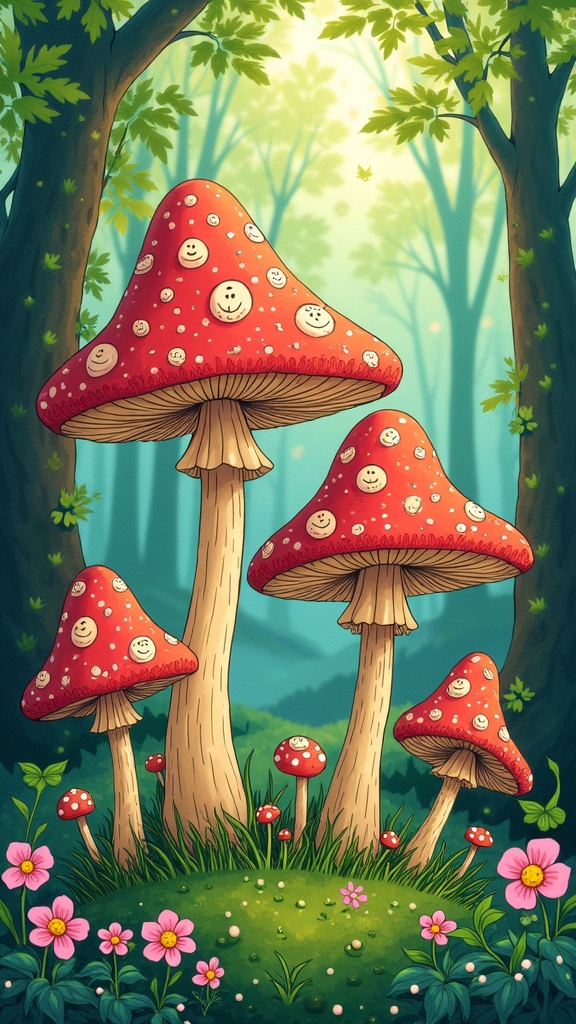
Mushroom magic takes center stage when Posca pens hit the paper! Imagine doodling mushroom patterns—big spots, tiny dots, wild stripes—until your page bursts with vibrant colors. It’s like making your own whimsical surroundings, where mushrooms pop up in every shape and size.
Start with simple shapes; circles and ovals work great for mushroom caps. Then, grab your brightest Posca pens and layer on wild designs, adding highlights and shadows for a super cool 3D effect.
Don’t stop at mushrooms—draw flowers, leaves, or a sneaky little snail to build a full, enchanting scene. Want to show off your masterpiece? Snap a pic and post it with #PoscaPenArt. You might even inspire someone else to start their own magical mushroom doodle adventure!
Colorful Rainbow Stripes
When it comes to making colorful rainbow stripes with Posca pens, layering those bold marker colors is where the magic really starts.
Blending from one color to the next can look super smooth if you go slow and let each layer dry—no rainbow puddles allowed!
With a bit of practice, anyone can turn plain stripes into a bright, eye-catching masterpiece that almost looks good enough to eat (but maybe stick to admiring it with your eyes).
Layering Vibrant Marker Colors
Rainbow stripes practically explode with color magic when Posca pens are in play.
Layering vibrant marker colors is where the fun really begins—think of it like building a candy-colored tower, one bright block at a time!
By using smart color blending techniques and creative layering strategies, anyone can craft marker color combinations that pop right off the page.
The secret? Letting each color dry just a bit before stacking on the next, so the colors can shine without turning into a muddy mess.
Here’s how to make your rainbow stripes stand out:
- Start with a solid base layer using your boldest color.
- Let it dry slightly—patience, grasshopper!
- Layer on a second color, gently overlapping the edges.
- Mix pen sizes for both chunky stripes and skinny details.
Blending for Smooth Transitions
Building one bold color on top of another is awesome, but what if those colors could melt into each other like a bowl of rainbow sherbet? That’s where color blending techniques come in!
With Posca pens, it’s totally possible to create dreamy, smooth shifts—especially on rainbow stripes. Start with a light color as your base, then slowly layer on darker shades.
Here’s a hot tip: use a wet paintbrush or blending tool to soften those edges, making the ombre effect pop.
Want your stripes to stand out? Try mixing gradient color combinations—think fiery reds fading into cool blues and purples.
Don’t forget to practice on scrap paper first. That way, your final doodle will look like a pro did it, not a rainbow-wrangling rookie!
Easy Cherry Clusters
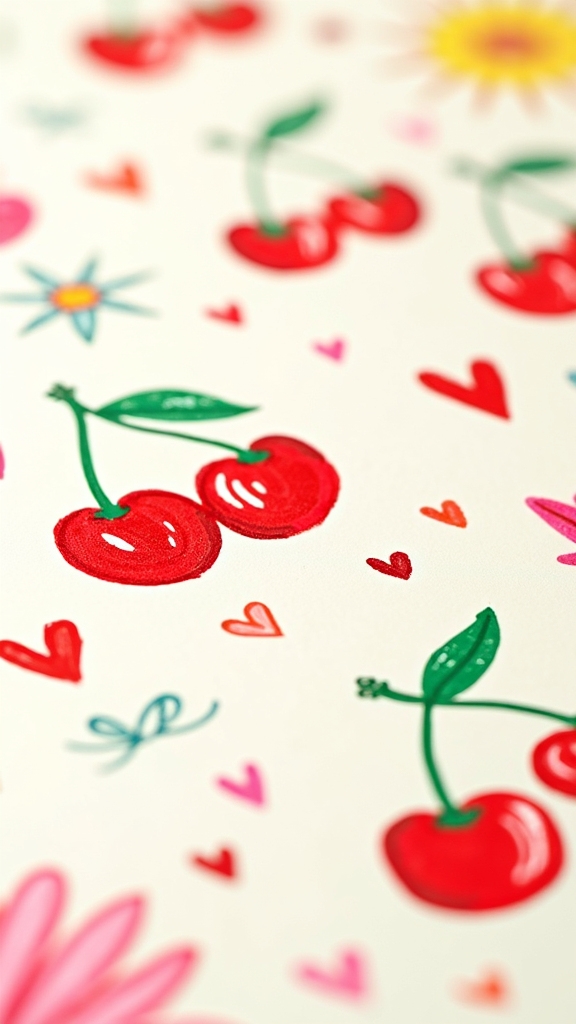
A bunch of bright cherry clusters can make any page look instantly happier, and drawing them with Posca pens is honestly way easier than it looks.
Cherry doodle techniques start with overlapping circles—two or three—for the fruit, and a fiery red Posca pen makes them pop. Playing with cherry color combinations (think deep red, pink, or even magenta) can add a quirky twist.
Start your cherry doodles with overlapping circles and fiery reds—mix in pinks or magentas for a playful pop of color!
Cherry cluster variations are endless, too; just change the number of cherries or angle the stems differently for a new vibe every time!
Want to give your cherries some personality? Try these steps:
- Draw two or three circles, overlapping slightly.
- Add green, curved stems using a Posca pen.
- Sketch on small, light green leaves for fun.
- Dot white highlights for a juicy, shiny look!
Adorable Panda Faces
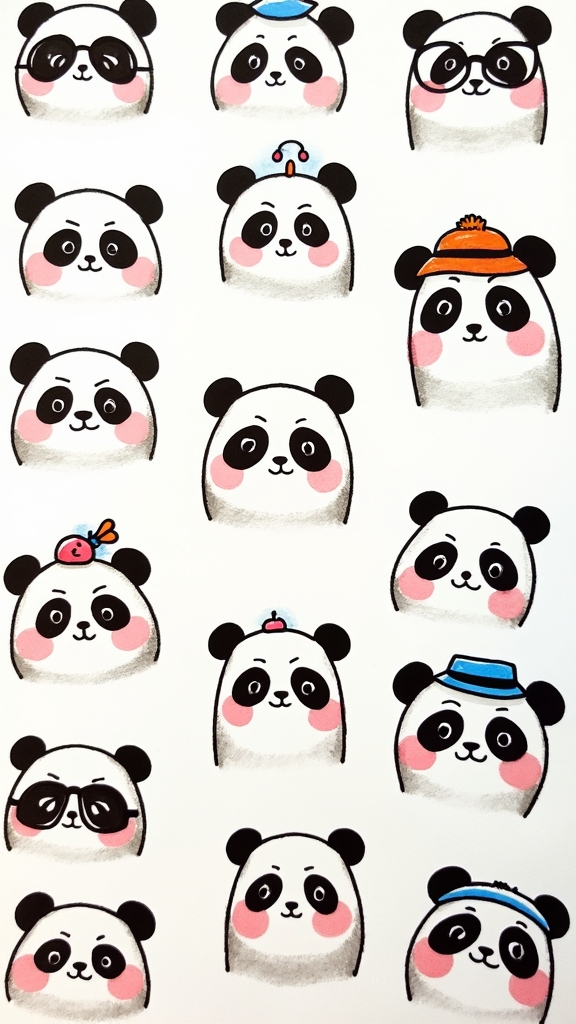
Even though pandas are basically black-and-white fuzzballs, drawing their faces with Posca pens is way more fun than it sounds.
Start with a round circle for the head and add two smaller circles as ears—super simple, but instantly recognizable. Black Posca pens make the ears and eyes pop, but don’t forget to leave tiny white spots in the eyes for that adorable glimmer.
To really nail those panda expressions, try switching up the shapes of the mouth: a happy grin, a surprised “O,” or even a cheeky smirk.
Surround your panda with playful backgrounds—maybe doodle some bamboo or cartoon clouds. For extra wow, color experimentation with pastel Posca pens creates soft backgrounds that make your panda’s black-and-white face absolutely stand out.
Sweet Strawberry Sketches
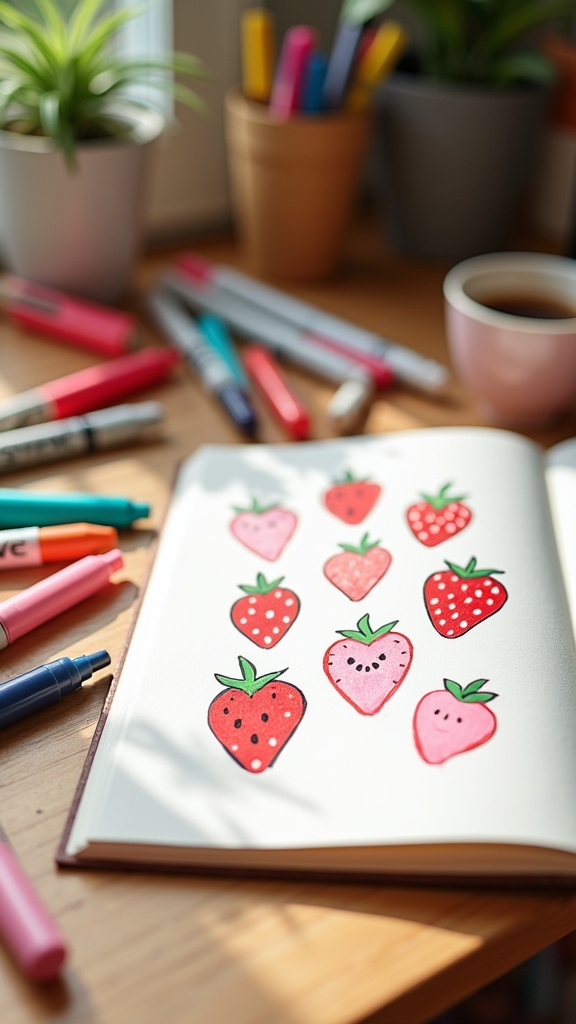
After all those fuzzy panda faces, it’s time for something a little sweeter—strawberries!
Sweet strawberry sketches with Posca pens are a total treat. Start with a heart-shaped outline, then top it off with a leafy crown for extra cuteness. To really make your doodles pop, try out strawberry color variations—mix lighter reds with deeper shades, and blend in different greens for the leaves.
For even more fun, add textured strawberry details by dotting seeds with a fine tip pen. And don’t forget: playful strawberry expressions, like big eyes or silly smiles, can turn any berry into a character!
- Heart-shaped outlines for classic strawberry bodies
- Varying red and green shades for strawberry color variations
- Fine pen dots for textured strawberry details
- Goofy faces for playful strawberry expressions
Cozy Coffee Mug Art
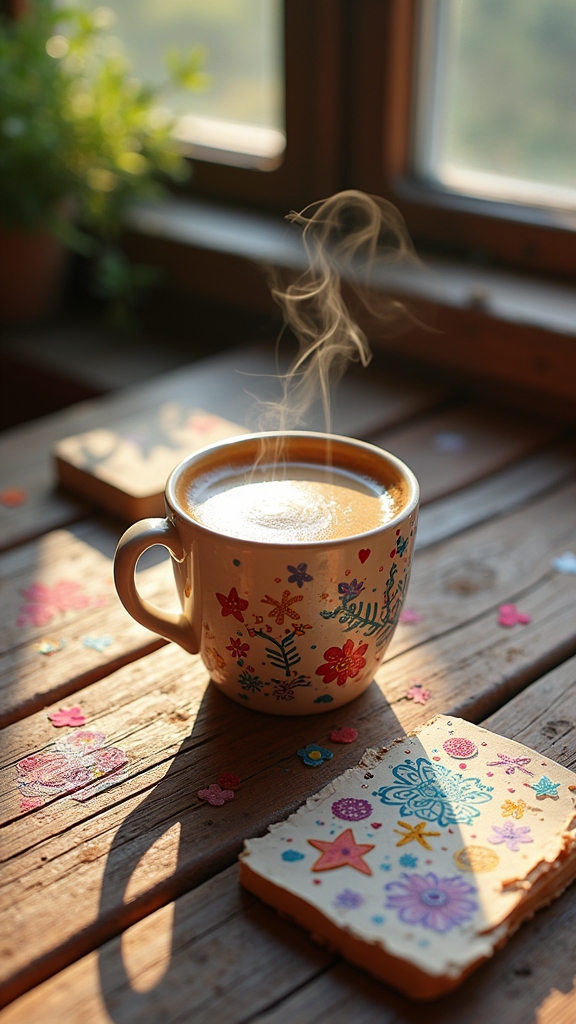
Nothing beats the cozy vibes of doodling on a coffee mug with Posca pens—it’s pure creative magic, especially when the weather outside is chilly. Imagine sipping hot cocoa from a mug you decorated with your own mug personalization ideas! Start by sketching out the mug shape with a fine liner, then fill in with bold Posca colors. Seriously, it’s like wrapping your hands around a warm hug. Try seasonal theme designs like autumn leaves or snowy patterns, or write your favorite quote inspirations for a daily mood boost. Just make sure your mug is clean and dry before you start. Check out these quick ideas:
| Mug Art Idea | Why It’s Awesome |
|---|---|
| Cute animal faces | Instant smiles every sip |
| Floral motifs | Brighten up any morning |
| Holiday doodles | Festive all year long |
| Punny quotes | Laugh while you drink |
| Starry night scenes | Dreamy and peaceful feels |
Fun Donut Drawings

Fun donut drawings are a blast to make with Posca pens, starting with a simple circle and then layering on bright, colorful frosting.
There are tons of ways to give your donuts personality, from swirling on bold icing to adding goofy sprinkles or funny faces.
With just a few easy steps and some playful color tricks, anyone can turn a plain donut doodle into a mouthwatering masterpiece—no baking required!
Easy Steps for Donuts
While doodling with Posca pens, anyone can turn a plain piece of paper into a dessert lover’s dream by drawing a super cute donut.
With a few simple donut decoration techniques, even beginners can create art that looks good enough to eat. Here’s how to get started:
- Draw a big circle for the donut, then add a smaller circle in the middle for the hole—make the outer one a bit chubbier for that puffy, bakery-fresh look.
- Sketch a wavy line across the top to create icing, and try different icing flavor variations like classic chocolate, strawberry pink, or cheerful vanilla.
- Sprinkle on creative topping ideas—dots for sprinkles, tiny nuts, or even mini fruits.
- Finish by adding a shadow and a few shiny highlights to make your donut pop off the page!
Colorful Frosting Techniques
A swirl of color can turn an ordinary donut drawing into something totally show-stopping, and that’s where colorful frosting techniques come in.
With Posca pens, artists can play around with frosting color combinations—pastels for dreamy vibes or neon for donuts that practically shout, “Look at me!”
The real magic happens when experimenting with donut decoration techniques: try layering colors for a bold effect, or use playful icing patterns like zigzags, waves, or classic swirls.
Adding sprinkles with tiny dots of contrasting colors makes each donut look extra tasty (even if it’s just on paper).
Don’t forget to give your donut a cute face or happy eyes!
Finally, outlining with a black Posca pen makes those colors pop and keeps everything looking crisp.
Kawaii Ice Cream Cones
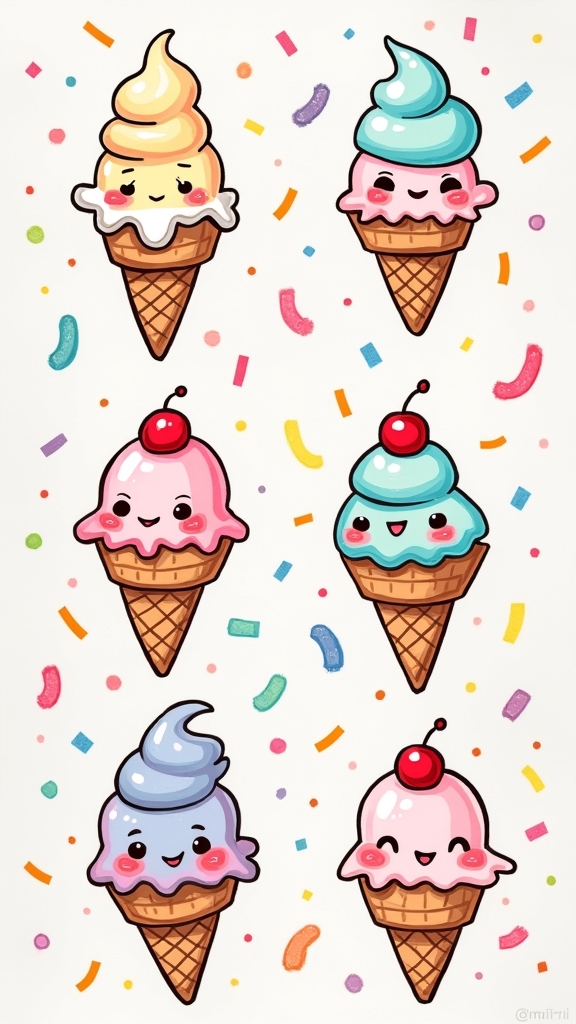
Even before putting pen to paper, just thinking about Kawaii ice cream cones can make anyone smile. They’re cute, colorful, and packed with personality!
With Posca pens, artists can easily turn ordinary ice cream cone sketches into adorable masterpieces. It all starts with picking out fun ice cream flavors—think bubblegum blue or pastel pink—and layering them into dreamy scoops.
Kawaii toppings like sprinkles, cherries, and little stars add bursts of cuteness, making each design unique. And don’t forget the cone variations—waffle, sugar, or even a cartoonish twist!
A white Posca pen brings the magic, creating shiny highlights that make the scoops look extra tasty and three-dimensional.
- Sprinkle-covered strawberry scoops
- Smiling waffle cones
- Pastel rainbow ice cream flavors
- Cheery cherry-on-top details
Funky Sun Characters
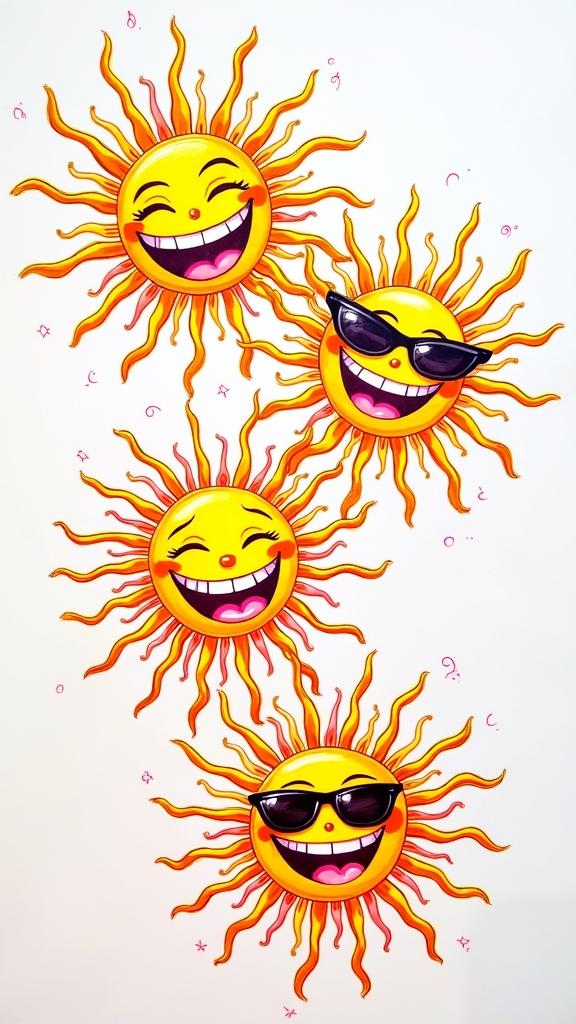
Sunshine gets a major upgrade with funky sun characters drawn in bold Posca pen colors! These doodles aren’t just circles with rays—they’re bursting with personality thanks to creative sun character expressions, like cool sunglasses, wacky smiles, or even a surprised face.
Mixing vibrant color combinations makes every sun look unique and eye-catching. Want to take things up a notch? Try layering techniques tips: start with a bright yellow base, then blend orange or pink around the edges for awesome depth.
Simple shapes like circles and triangles make doodling easy, but how you customize your sun is totally up to you. Share your funky suns on social media; Posca fans everywhere love seeing new spins on this cheerful, playful doodle trend!
Mini Moon and Night Sky
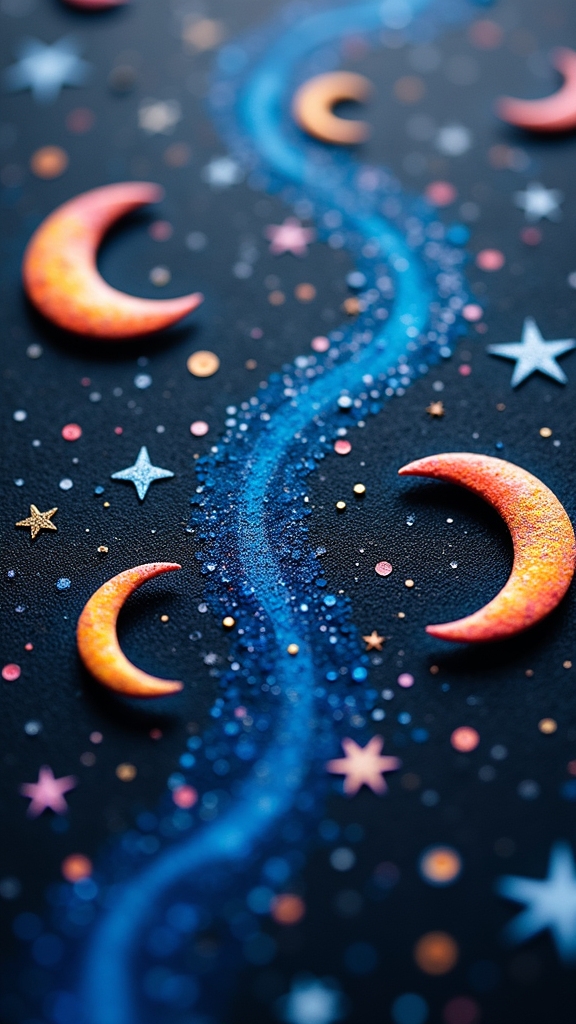
After rocking those funky sun characters, it’s only fair to let the moon have its moment, too.
Creating a mini moon and night sky with Posca pens is all about mood and magic. Start with a crescent moon, using moon texture techniques—think little dots and lines for craters.
Bring your night sky to life—sketch a crescent moon with Posca pens, adding textured craters for a touch of lunar magic.
Add some star twinkling effects by dotting around the moon in different sizes and brightness. Now, get bold with dreamy color blending: mix blues and purples for a smooth, magical sky.
Want to take it even further? Metallic pens will make your moon shimmer like it’s winking at you!
Here’s a quick breakdown:
- Sketch a crescent moon with textured details.
- Dot stars and twinkles all around.
- Blend dreamy night sky colors.
- Add shimmering effects for extra magic.
Succulent in a Pot
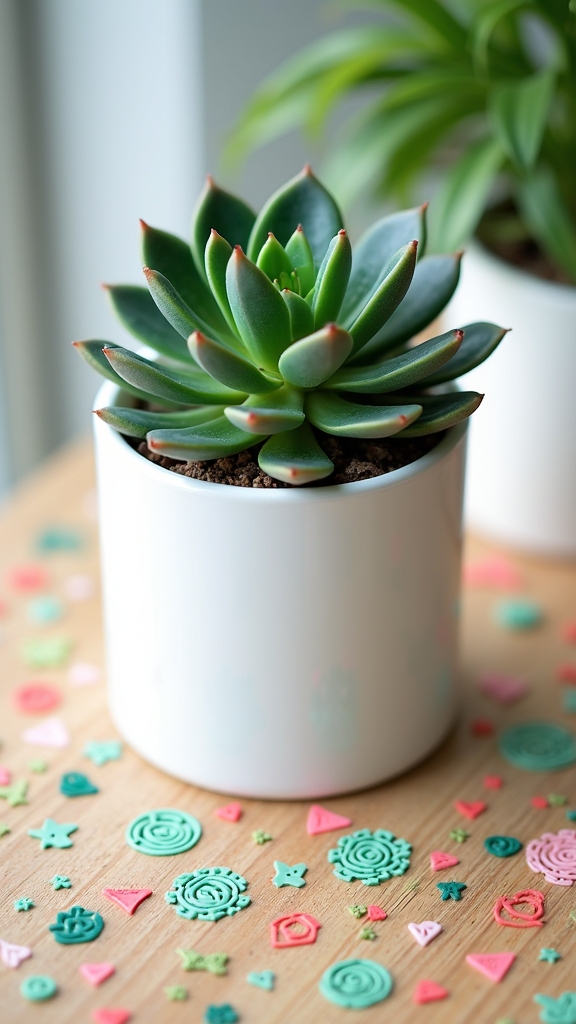
Succulents are like the cool kids of the plant world—quirky, a little chubby, and always rocking those funky leaf shapes.
When doodling a succulent in a pot with Posca pens, it starts with a simple rectangle for the pot and a curved line for the rim—think of it as giving your plant a cozy home.
For the leaves, teardrop and oval shapes stacked together look perfect, especially with some layering colors methods to blend greens and blues.
Pot painting techniques come in handy: keep the pot terracotta or beige for that earthy vibe.
Add cute details like dots or lines on the leaves for texture. For extra fun, decorate the pot with a face or tiny flowers, and sneak in a playful succulent care tip somewhere!
Cartoon Croissant Shapes

Potted plants aren’t the only cute things begging to be doodled—baked goods have a way of stealing the show, too. Cartoon croissant shapes are the perfect mix of flaky fun and adorable charm.
To master croissant character design, start by sketching a big, curvy base and stack those classic, layered arcs on top, just like in a layering techniques tutorial. With Posca pens, fill it in using warm browns and add shading to make each layer pop.
Then, bring your playful pastry illustrations to life by drawing cheerful faces, maybe a goofy grin or wide, sparkly eyes. To really make your scene sing, sprinkle on some details:
- Butter pats
- Little herb sprigs
- Polka dot patterns
- Striped croissant styles
Frequently Asked Questions
Why Is POSCA so Expensive?
The Posca price comparison often highlights higher costs versus affordable art supplies. However, quality vs. cost factors—such as vibrant pigment, versatile surfaces, durable nibs, and eco-friendly formulas—justify their expense for artists seeking reliable, professional-grade performance.
Is POSCA Ok on Skin?
Posca skin safety is generally favorable, as most Posca pen types use non-toxic, water-based ink. However, patch tests are recommended. Proper Posca application techniques—on clean, unbroken skin—help minimize irritation and guarantee safe, temporary body art.
What Should I Draw With My Posca Markers?
When considering what to draw with Posca markers, one might explore cute doodle ideas such as nature themes or animal sketches. These approachable subjects allow for creativity, vibrant color use, and adaptation for various artistic skill levels.
How Long Will a POSCA Pen Last?
The Posca pen lifespan varies by usage, typically lasting from weeks to years. Proper Posca pen storage, such as horizontal placement, and utilizing Posca pen refills and replacement tips, can greatly extend overall usability and performance.
Conclusion
So, whether you’re doodling a goofy sun or a sleepy cat, Posca pens make every idea pop with color and fun. It doesn’t matter if you’re a total beginner or already a doodle pro—these cute designs are easy to try and impossible to mess up. Grab your pens, pick a favorite prompt, and let your imagination run wild. Who knows? Your next masterpiece might just start as a happy-faced cloud or a silly croissant!
Leave a Reply