
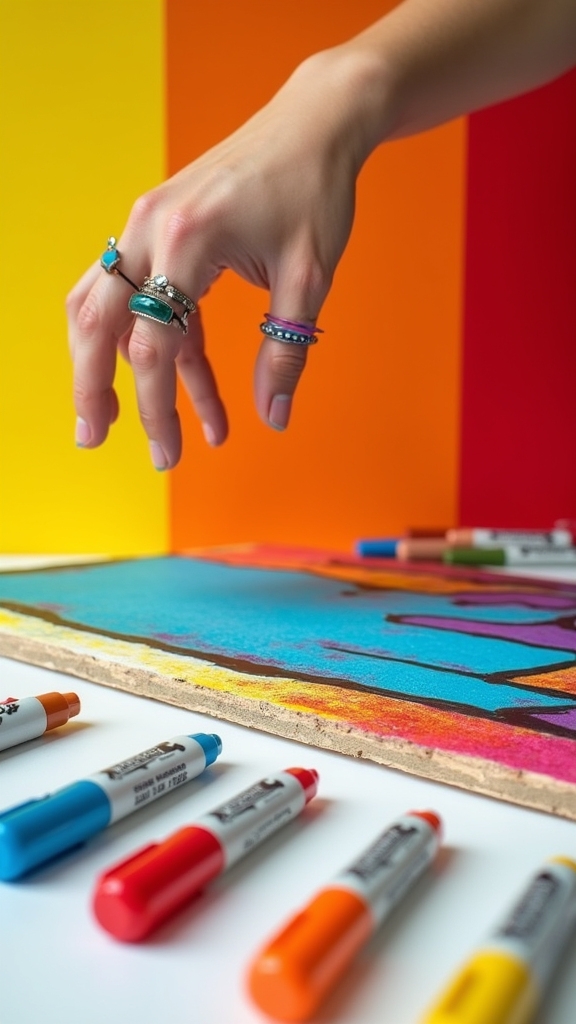
Posca markers open up a whole universe of awesome drawing projects, whether you’re into wild nature scenes, glowing night art, or sharp geometric patterns. Try animal portraits, graffiti-style lettering, or create your own retro pop art. Make mood boards, doodle hidden surprises, layer bold colors for depth, and even customize old tech gear. Mandalas can chill you out, and mixed-media tricks add drama. There’s so much you can tackle, and each new idea just ups your art game. Stick around—you might just find your next favorite project.
Key Takeaways
- Create vibrant nature-inspired landscapes and botanical illustrations using Posca markers on diverse surfaces like canvas, wood, or even everyday objects.
- Experiment with abstract and geometric designs, including mandalas, to explore color layering, symmetry, and negative space with Posca pens.
- Personalize tech accessories, gifts, or upcycled items by customizing them with bold colors and intricate details using different Posca tip sizes.
- Combine Posca markers with other materials like pastels or collage for unique mixed media projects that enhance depth, texture, and visual interest.
- Add interactive elements to your art, such as hidden details, scratch-off layers, or UV-reactive features, to engage viewers and elevate creativity.
Nature-Inspired Landscapes With Posca Markers

Even though some people might think vistas are just a bunch of trees and hills, creating nature-inspired scenes with Posca markers is actually a super exciting adventure for any artist.
With their bold, vibrant colors, Posca paint pens can make skies pop and fields glow—like you’re painting with sunlight and grass stains. Artists experiment with different Posca pens, using broad tips for those big, dramatic skies and fine tips for the tiny twists of tree branches or fluttery leaves.
Blending with Posca pens lets you capture those magical sunset gradients or the wild mix of greens in a forest. Plus, these markers work on canvas, wood, and more, so every nature-inspired setting feels unique.
Add a curious fox or a splash of autumn, and suddenly, nature comes alive!
Neon Glow Art: Exploring Vibrant Night Scenes
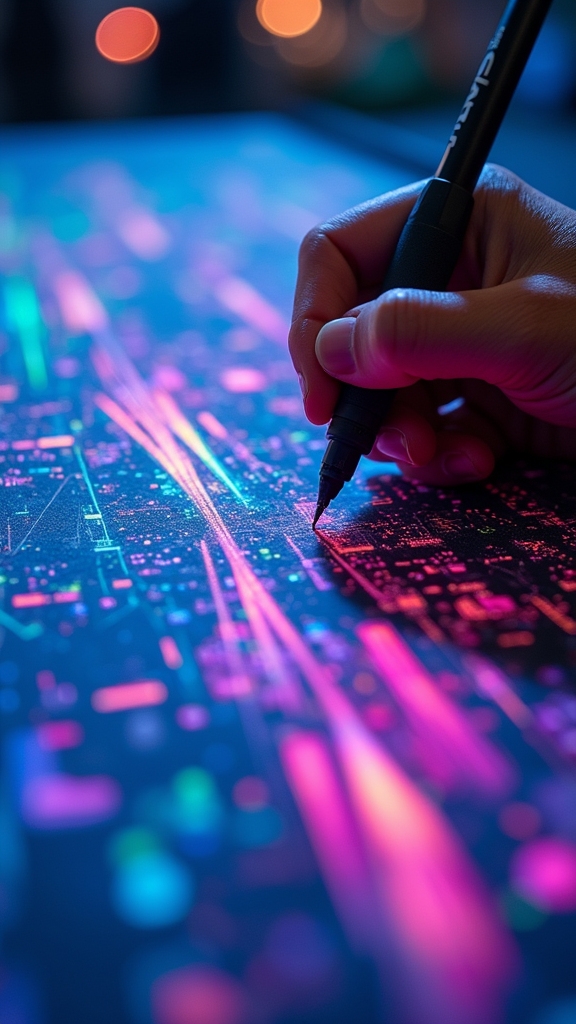
Neon glow art with Posca pens is like turning your night scenes into a mini city filled with glowing signs and electric colors.
By layering bold neon shades and sneaking in some sharp white highlights, artists can make their artwork look deep, bright, and almost alive—like it’s buzzing under city lights.
It’s all about picking the right color combos, using that white marker for a little “pop,” and suddenly, your night sky isn’t just dark—it’s glowing with energy!
Achieving Neon Color Effects
When the lights go down and the world outside turns shadowy, there’s something magical about art that glows like a city at midnight.
To reveal that neon magic with posca pens, artists reach for the brightest fluorescent neon colors in the posca range. On a black paper or canvas, these colors don’t just sit there—they explode off the page, like a secret rave for your eyeballs.
Layering neon colors turns up the glow effect, making the artwork feel electric. And don’t forget the white POSCA! Adding sharp highlights and details with it gives the illusion that your art is shining from within.
For some wild fun, try blending two neon colors while they’re still wet. Boom—instant glow party!
Layering for Night Depth
If you’ve ever stared out at a city skyline at night and wondered how artists make those glowing scenes look so intense, here’s a secret: it’s all about layering.
To nail that neon glow with Posca Pens, artists start by putting down dark colors first—think deep blues, purples, or even black—to set the mood.
Once that dries, it’s time to bring in the real party with fluorescent Posca markers. These bright, bold colors pop against the shadows, making everything look like it’s buzzing with energy.
By layering and blending different shades, you can make city lights or moonbeams look almost real.
Just remember, patience is key—let each layer dry before adding the next, or you might end up with a colorful blob!
Highlighting With White Markers
After stacking all those deep, moody layers to set the stage for a night scene, there’s a game-changing move that artists love: busting out the white Posca marker.
This isn’t just any pen—it’s like a magic wand for neon glow effects! Art with Posca gets a major upgrade when white highlights come into play.
Take a look at how these pens can mimic the glint of moonlight or the sharp shine of streetlights. Layering white over those rich, dark backgrounds? Boom—instant depth and drama, making everything pop.
Artists use fine lines for sparkles or bold strokes for glowing signs. Experimenting with white highlights is like adding sprinkles to a cupcake. It pulls the viewer in, making night scenes totally unforgettable.
Abstract Patterns and Geometric Designs
Even though art can sometimes feel like a wild roller coaster, abstract patterns and geometric designs offer a way to bring order to the chaos—kind of like using a cool secret code only artists understand.
With Posca markers, artists can immerse themselves in abstract layering techniques, stacking colors and shapes to build awesome depth and complexity.
Geometric shape exploration is a blast—grab a ruler or stencil and start playing with triangles, circles, or squares. The bold, sharp lines you get with Posca markers really make those shapes pop!
And don’t forget about negative space utilization; leaving parts of the page blank isn’t just empty—it actually makes your colors and patterns look even more powerful.
Try blending, layering, and experimenting to reveal wild, eye-catching designs!
Animal Portraits: Capturing Texture and Expression
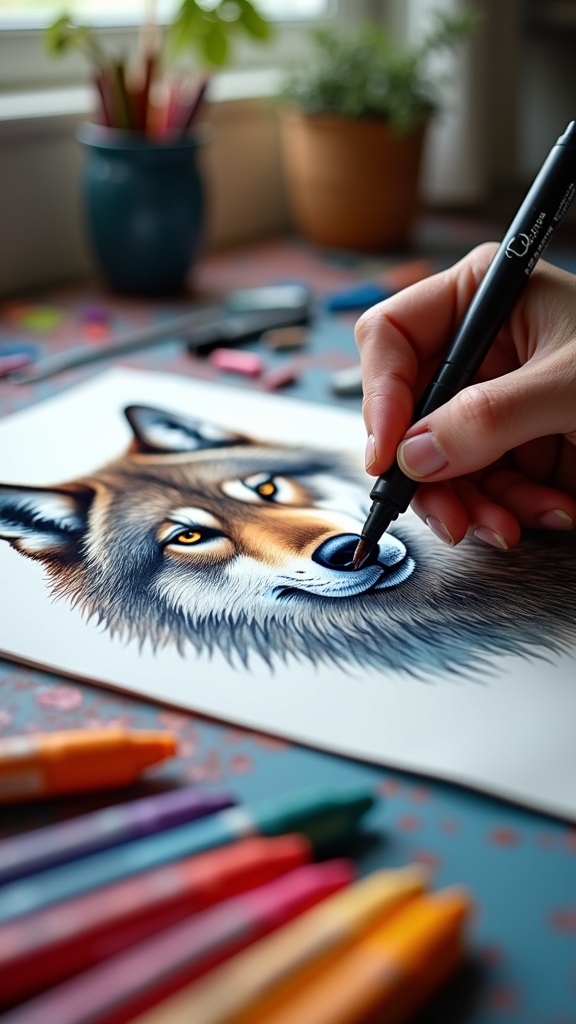
While drawing animals with Posca markers might seem a little intimidating at first, it’s actually a wild ride packed with color, texture, and tons of personality. Artists start by layering colors—using color blending techniques—to make fur texture creation look super real. Fine-tipped Poscas are magic for tiny details like eyes and whiskers, helping portraits leap off the page. Want to make a tiger’s stripes shimmer? Add metallic or glitter pens for bold highlights! For emotion capture strategies, studying reference photos is key. Notice how a dog’s eyebrows shift when it’s curious or how a cat’s eyes go wide with excitement.
Here’s a quick breakdown:
| Technique | Tool/Marker Type | Artistic Impact |
|---|---|---|
| Color Blending | Broad & fine tips | Soft shifts |
| Fur Texture Creation | Layered colors | Realistic fur |
| Detail Work | Fine-tipped markers | Sharp features |
| Emotion Capture | Reference images | Expressive faces |
Urban Graffiti-Inspired Lettering
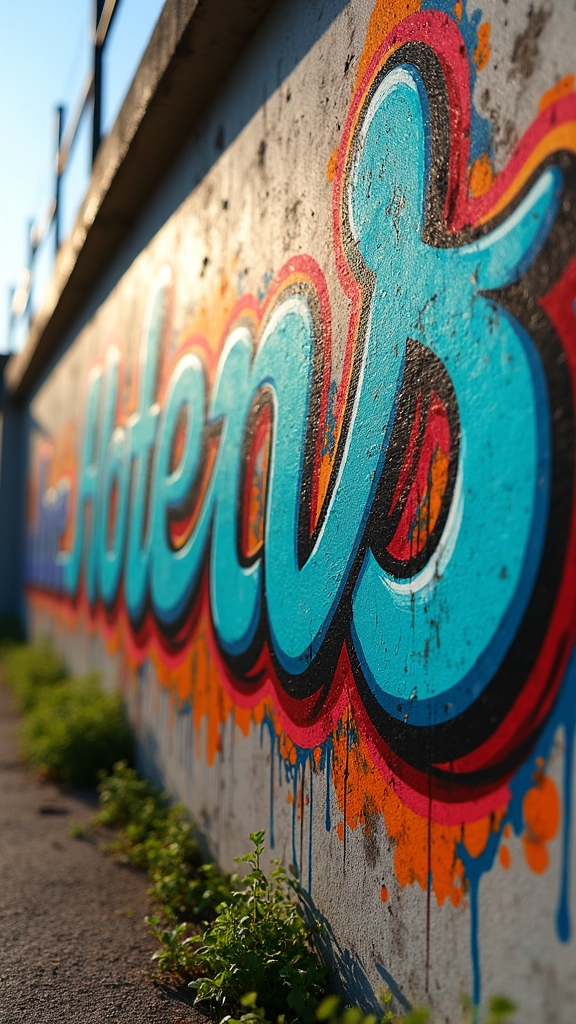
Graffiti—the kind that covers city walls with wild colors and electric words—has a way of grabbing attention and not letting go.
Urban graffiti-inspired lettering with Posca pens lets artists plunge into the world of spray paint techniques without a single can rattling. Those broad-tipped markers, like the 15mm size, are perfect for filling in chunky letters fast, just like in street art history’s boldest pieces.
Want that signature graffiti drip or splash? Posca’s versatility makes it almost too easy. Play around with contrasting layers; stack bright colors for depth and dimension that truly pops, echoing urban design influences everywhere.
Trying out different surfaces, from canvas to brick, keeps things interesting—and who wouldn’t want to turn their bedroom wall into an art gallery?
Still Life Studies With Layered Colors
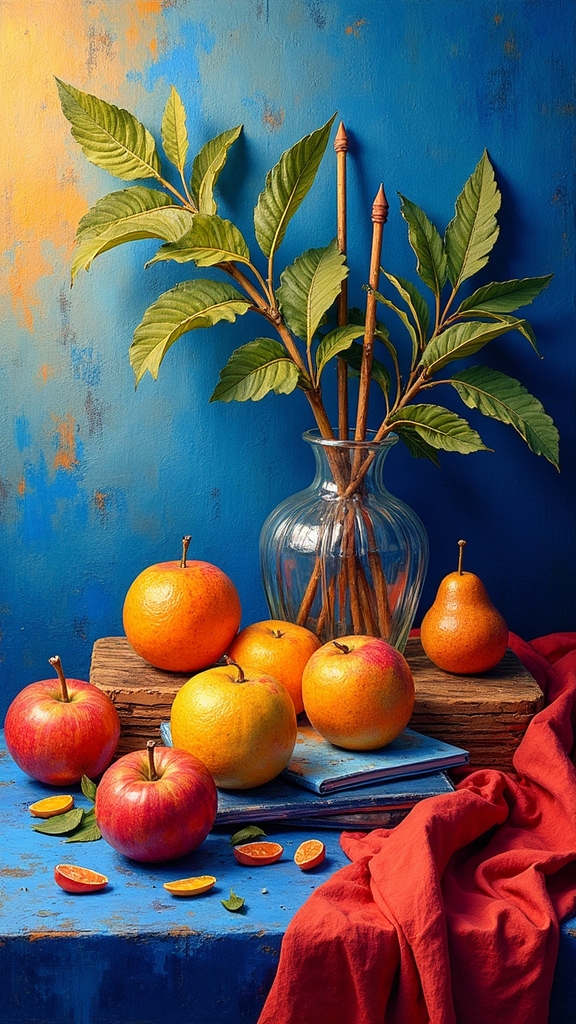
When starting a still life with Posca markers, picking objects with cool shapes and different sizes instantly makes the setup way more exciting—no one wants a boring bowl and nothing else!
Layering shades of the same color, from soft pastels to bold brights, helps create a sense of depth that almost makes the objects pop off the board (like they’re trying to escape).
Mixing in some wild color contrasts and adding those sharp white highlights can give your artwork awesome texture, making even an apple look ready for its close-up.
Choosing Dynamic Subject Objects
A bowl of lemons, a stack of books, or even a weirdly shaped shell—these are the kinds of objects that can turn a boring still life into something seriously eye-catching. When picking your subject, think about color contrast techniques to make your artwork pop. Objects with different heights add drama, like a tall bottle next to a squat apple. Mixing shapes and sizes gives your still life more composition complexity, so it doesn’t feel flat or dull. Why settle for plain when you can make your drawing burst with personality? Check out how different choices can change the mood:
| Color Pop | Height Drama | Shape Surprise |
|---|---|---|
| Electric lemons | Towering books | Twisty shell |
| Deep purple plums | Short mug | Spiky pinecone |
| Bold green apples | Slender candle | Bulging vase |
| Hot pink flowers | Flat coaster | Bumpy gourd |
Layering Techniques for Depth
So, after picking out those wild and wonderful objects for your still life, it’s time to work some magic with Posca markers and layering.
Layering techniques are where things get super cool—by stacking different shades of one color, artists create the kind of depth that makes apples look like you could just grab them off the page.
Here’s the trick: let each layer dry before adding the next. Patience, grasshopper! This keeps your color blending crisp and prevents smudging disasters.
Want to make things pop? Try contrasting colors in your layers for eye-catching effects. White Posca markers are total game-changers for highlights and smooth blends.
Add texture variation by layering in lines, dots, or swirls, making each object stand out in your still life masterpiece.
Enhancing Texture With Color
Although it might sound a bit wild, color can totally change the way texture feels in a still life made with Posca markers. When artists engage in texture exploration techniques, they find that layering different colors—sometimes even ones that clash—can make objects pop off the page like crazy.
Using color layering strategies, like putting lighter shades over dark ones for shiny highlights, gives still life studies an extra boost. On pastel boards, Posca hues look so bold, every brushstroke stands out.
Trying out different shapes and heights in arrangements isn’t just fun; it also helps artists get better at showing off scale and form. With regular practice, these methods seriously enhance visual dynamics, making artwork feel almost touchable—like you could reach out and grab a pear!
Customizing Everyday Objects With Posca Pens

With Posca pens in hand, even the most boring everyday objects are just waiting to become one-of-a-kind masterpieces.
Imagine customizing tech accessories like your phone case or earbuds, turning them from plain to totally epic with just a few bold strokes. Upcycling old items, like that tired water bottle or forgotten pair of sneakers, suddenly feels like a creative adventure.
Transform the ordinary into the extraordinary—your tech and old favorites become creative canvases with just a few strokes of color.
The vibrant, opaque colors pop on so many surfaces—plastic, glass, wood—you name it. Plus, Posca pens are mess-free, so you can get artsy without turning your desk into a disaster zone.
With different tip sizes, it’s easy to add tiny details or go big and bold. Personalizing gifts? Now you’re giving something that’s truly one-of-a-kind—and way cooler than store-bought.
Botanical Illustrations: Flowers and Foliage
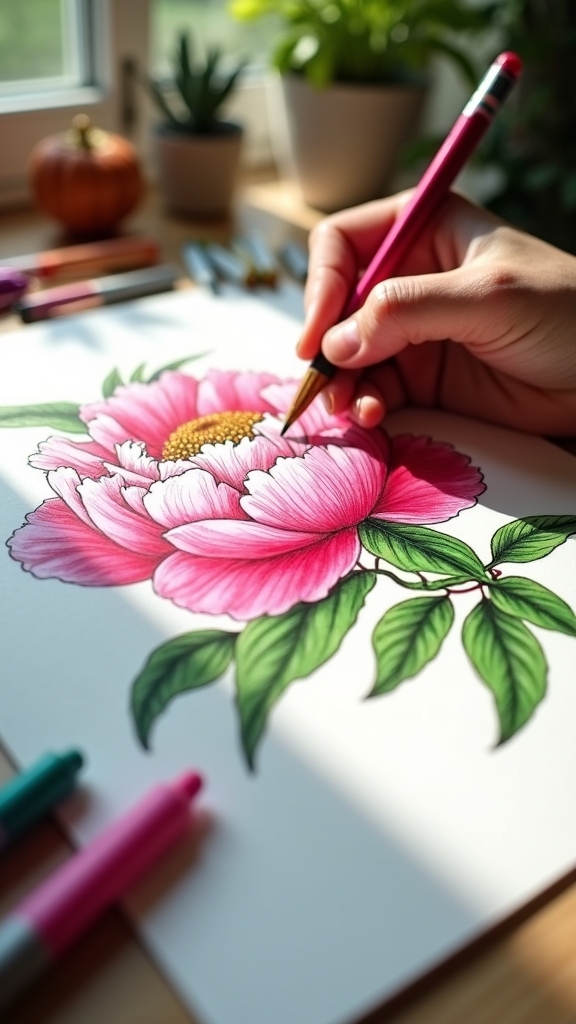
When it comes to drawing nature, Posca pens totally steal the show—flowers and leafy branches pop right off the page, almost like you could reach out and pick them. With their super vibrant, opaque colors, these pens make it easy to capture the wild beauty of any garden.
Artists love trying out different color mixing techniques to match real botanical color palettes—think rose reds, leaf greens, and sunflower yellows. Layering is key for adding depth, so petals and leaves look extra lifelike.
Floral composition tips? Play with overlapping shapes and different tip sizes to nail those fine lines and bold outlines. Adding contrast with light and shadow makes everything stand out. Honestly, it’s almost like having a magic wand for botanical art!
Mixed Media Art: Combining Posca With Other Materials
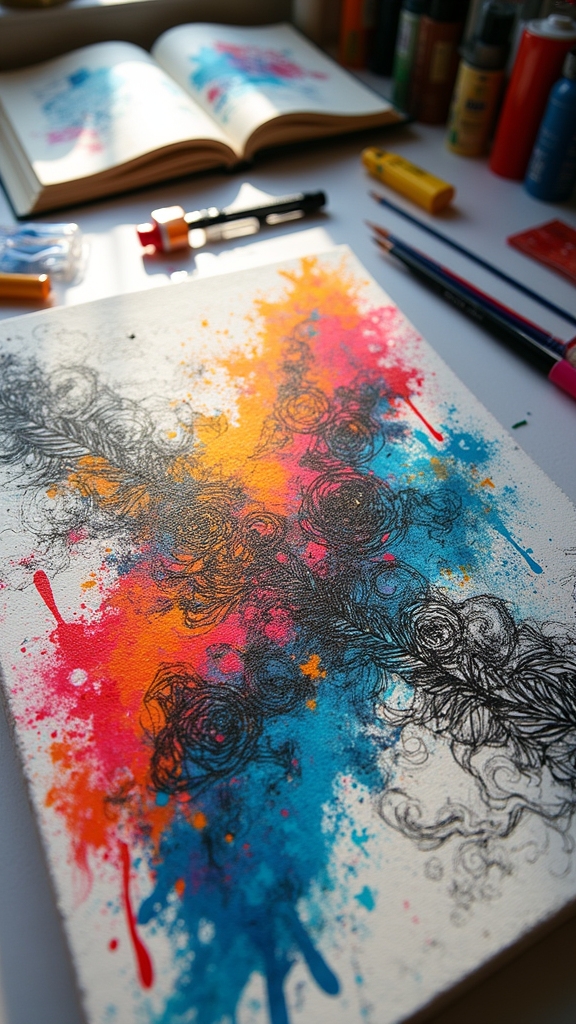
Mixing Posca markers with pastels opens up a whole new world of color blending—think bold lines crashing into soft, chalky clouds, like a comic book hero landing in a daydream.
Collage takes things even further, letting artists glue on bits of paper, fabric, or even candy wrappers (yes, seriously) for wild textures that Posca can outline or highlight.
With these tricks, a drawing doesn’t just sit on the page—it practically bursts off it, begging for a closer look.
Blending Posca With Pastels
Ever wondered what happens when you let Posca markers and pastels hang out together on the same page? It’s kind of like mixing peanut butter and jelly—a surprising combo, but totally awesome.
Artists use techniques for blending the smooth, waxy pastels with the bold, opaque Posca lines to create eye-popping effects. Color layering strategies—like adding pastel shading under Posca details—bring depth and punch to your art.
Picking the right surface is key; pastel paper or canvas can make colors pop or textures stand out. Want to make your art sparkle or shine? Try using Posca for highlights over pastel.
- Combine bold Posca lines with soft pastel shades
- Layer colors for extra depth
- Use cross-hatching for cool textures
- Experiment with pastel paper or canvas
- Add Posca highlights for drama
Enhancing Textures Using Collage
Although Posca markers are already pretty eye-catching on their own, collage takes their bold colors to a whole new level. Imagine mixing bright marker strokes with scraps of patterned paper, bumpy fabric, or even a shiny button—suddenly, your art feels alive!
Collage layering techniques let artists stack and glue different materials, creating real, touchable texture. It’s like building a tiny mountain range, only way more colorful.
Texture exploration methods involve experimenting: try drawing Posca outlines on crinkled paper, or highlight the edge of a rough fabric patch. Mixed media combinations like these encourage wild ideas and happy accidents.
Every new layer changes how Posca colors look and pop, making each project totally unique—because, honestly, who wants boring, flat art anyway?
Fantasy Creatures and Imaginative Worlds

When it comes to creating fantasy creatures and wild, imaginative realms, Posca markers are like having a box of magic spells in your hand. With these markers, anyone can immerse themselves in creature design, inventing dragons with shimmering scales or fairies with sparkling wings.
Color blending with Posca pens makes fantasy environments pop—think rainbow skies and glowing mushrooms! Layering colors adds depth, making fur, feathers, or scales look almost real. Contrasting colors work like magic wands, creating glowing effects and mysterious shadows.
With Posca blending and layering, fantasy worlds burst to life—fur glows, scales shimmer, and magical shadows dance across the page.
Drawing with Poscas is part art, part adventure.
- Craft dragons, unicorns, and other fantasy creatures with bold, layered hues
- Blend colors for magical settings that wow your friends
- Add tiny details with fine tips for realistic textures
- Use contrasts for glowing, mystical effects
- Combine techniques for show-stopping art
Mood Board Collages for Visual Storytelling
How does an artist turn a jumble of wild ideas into a single, awesome vision? Enter the mood board collage—a creative playground where inspiration runs wild.
Artists gather photos, cool patterns, and even weird fabric swatches, gluing them together until something magical happens. This isn’t just for show; mood board inspiration acts as a launch pad for unique Posca projects.
By picking out cohesive color palettes straight from the collage and matching them with Posca markers, artists keep their art looking sharp and connected.
Visual storytelling techniques explode here—mixing themes, experimenting with new ideas, and never getting stuck.
The best part? Mood boards grow with you. Update them often, and your art keeps evolving, always surprising you with what’s next.
Retro Pop Art With Bold Color Blocks
Step into the world of retro pop art, where color isn’t just a choice—it’s a full-on attitude.
With Posca markers, artists dive straight into the heart of bold color combinations. These markers pack a punch with their vibrant, opaque finish, perfect for creating those iconic design elements that scream retro art influences.
The magic really happens when layering techniques are used—contrasting colors pop, and depth sneaks in like a plot twist in your favorite comic. Geometric shapes are a breeze with Posca’s solid tips, while fine tips let the details shine.
And don’t forget, neon and metallic shades can launch your artwork right into the funky future!
- Explore bold color blocks
- Layer contrasting colors
- Create simple geometric shapes
- Experiment with tip sizes
- Add neon and metallic accents
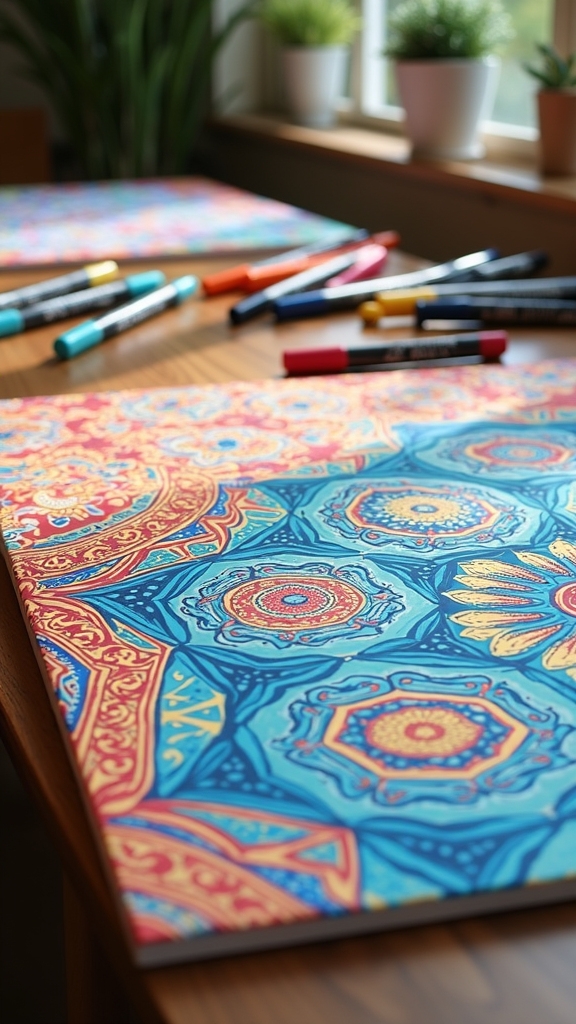
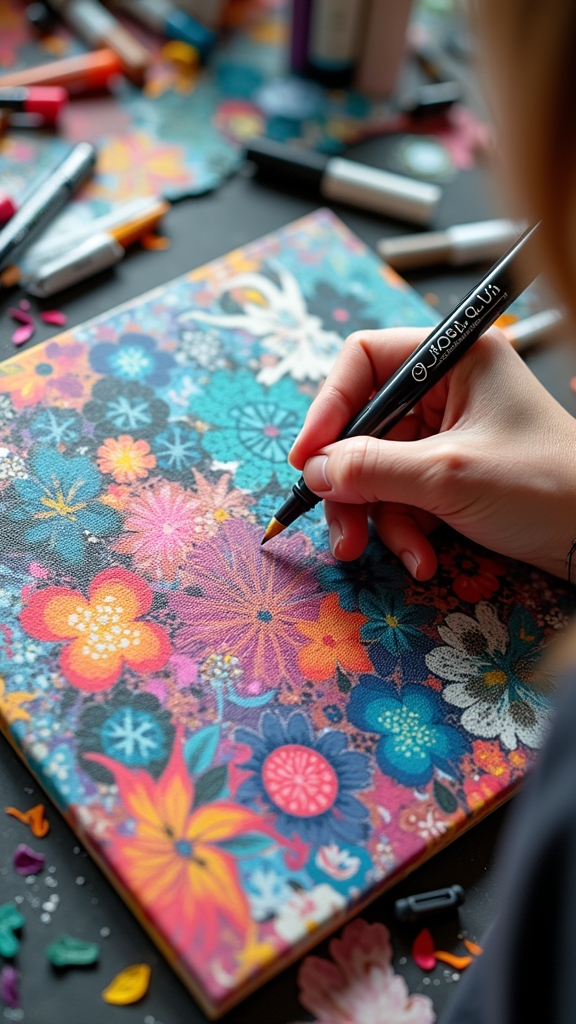
Mandala Designs for Mindful Drawing
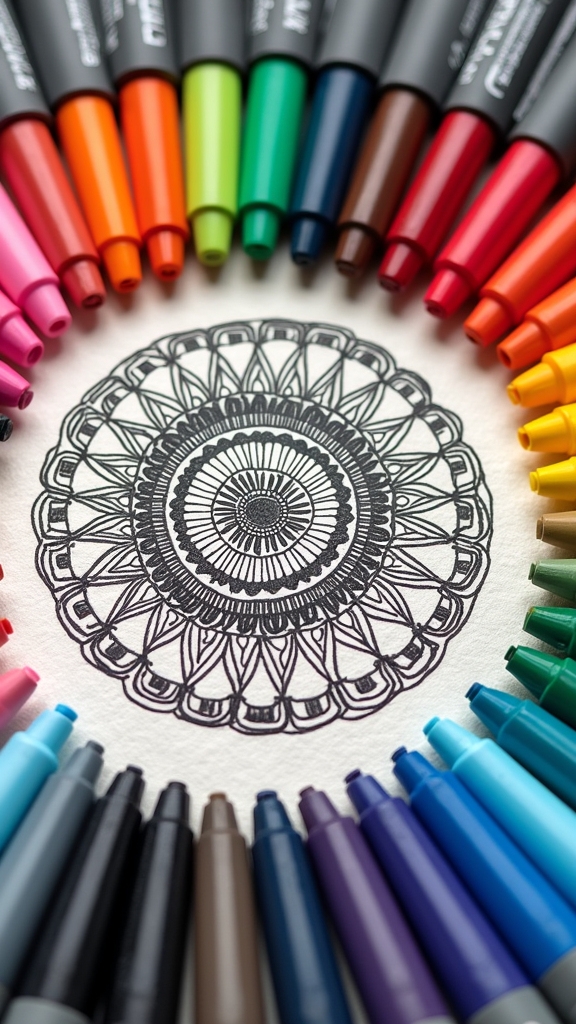
Creating a mandala with Posca markers starts with planning out symmetrical patterns—think of it like slicing a pizza so every piece matches, only way more colorful and way less cheesy.
Picking colors is where the fun really kicks in, because bold contrasts and unexpected combos make the design pop right off the page.
With each careful line and color choice, drawing a mandala becomes both an art project and a chill-out session in one.
Steps for Symmetrical Patterns
A lot of people think mandalas look super complicated, but the secret is that every wild swirl and petal starts from one simple spot—the center.
Building symmetry in art is all about working out from that point, kind of like a spider spinning its web. To get those even, hypnotic patterns, artists use mandala meditation techniques—slow, careful moves that help keep the mind calm while the design grows.
Layering Posca pens and using color theory principles makes each section pop. Here’s how to take your first steps:
- Pick a center point as your mandala’s start.
- Use a compass to draw guiding circles.
- Divide circles into equal sections.
- Add repeating shapes like petals or triangles.
- Layer colors patiently, enjoying the process.
Color Choices for Mandalas
Once the basic mandala shapes start to fill the page, it’s time for the real magic: picking out colors.
Now, don’t just grab random pens! Color psychology matters—a calm blue or gentle pastel might make you feel relaxed, while bold reds can add excitement.
Try creating color harmony by mixing complementary colors, like purple and yellow, to make designs pop. Layer lighter shades first, then add darker colors for extra depth.
Want your mandala to look super cool? Throw in metallic or fluorescent Posca pens for a real “wow” factor.
Or, follow seasonal palettes—think warm oranges for autumn or bright greens for spring.
And remember, using different tip sizes helps you get crisp details or bold, beautiful sections.
Creating Interactive Art With Hidden Details

Even if someone thinks they’ve seen everything a piece of art has to offer, hidden details can turn any drawing into a thrilling treasure hunt.
With Posca markers, artists can create interactive installations that surprise viewers with secret messages, glowing features, or hidden narratives only found by those brave enough to look closer.
Using different colors, textures, and even UV-reactive markers, artists can boost viewer engagement and make art that feels like a game.
Imagine scratching off a layer to find a surprise or scanning a QR code that leads to a secret video—talk about next-level fun!
- Try layering Posca markers for hidden designs
- Use UV-reactive markers for a glowing twist
- Experiment with contrasting textures and colors
- Create scratch-off reveals for extra surprises
- Add QR codes for digital secrets
Frequently Asked Questions
What Is the Best Thing to Draw on With Posca Markers?
The best surfaces for Posca markers include canvas surfaces, metal objects, and wood projects. These materials highlight the markers’ vibrant, opaque colors and allow artists to experiment with layering, texture, and detail for unique creative outcomes.
Is POSCA Ok on Skin?
When considering Posca application techniques on skin, skin safety concerns arise due to possible irritation or allergic reactions. While some use Posca as alternative body art, it is not specifically formulated for prolonged or sensitive skin contact.
Why Is POSCA so Expensive?
The Posca price comparison often highlights its higher cost, attributed to superior Posca quality factors such as durable, vibrant ink and ergonomic design. Strong Posca market demand and a diverse color range also influence its premium pricing.
Are Posca Pens Safe for Children?
Posca pen safety is well established, as these child friendly materials are water-based, non-toxic, and odorless. Their easy-clean formula and ergonomic design make them suitable for young users exploring art project ideas under appropriate adult supervision.
Conclusion
With these 14 Posca drawing projects, anyone can level up their art game—no magic wand required. Whether sketching neon city lights or crafting wild mandalas, there’s something here for every mood and style. Don’t worry about being perfect; mistakes just add character (and maybe some laughs). So, grab those markers, let your creativity run wild, and remember: art is supposed to be fun, a little messy, and totally your own. Now go make something awesome!
Leave a Reply