
With POSCA markers, it’s super easy to turn everyday stuff into epic art projects! People can decorate plain plates with wild shapes, paint rocks to look like emoji faces, or jazz up boring phone cases with their own designs. Try making bold tote bags, add funky patterns to leather wallets, or paint glass jars that light up a room. Even skateboards and canvas art get a fresh vibe. Curious about even more colorful ideas? Stick around for some creative surprises!
Key Takeaways
- Decorate plain ceramic plates or rocks with simple shapes and patterns using POSCA markers for vibrant, personalized home décor.
- Customize phone cases and leather accessories by layering colors and sealing designs for long-lasting, unique accessories.
- Repurpose glass jars into colorful art pieces with bold marker designs, then bake or varnish for durability and display.
- Create striking canvas illustrations or Klimt-inspired stenciled art by layering opaque and metallic POSCA marker colors for visual impact.
- Design skateboards or tote bags with geometric patterns, ensuring surfaces are clean and designs are heat-set or varnished for lasting results.
Plate Decoration With Bright Shapes

Plates don’t always have to be boring, especially when they become the canvas for some seriously cool Posca marker art.
With POSCA markers, even a plain ceramic plate suddenly looks like it belongs in a modern art museum—or at least on your kitchen table. The trick is to use simple shapes and colours: think bold circles, triangles, squiggly lines, and maybe a few goofy faces if you’re feeling wild.
These markers glide on smoothly and are non-toxic, so everyone, even your little brother, can join the plate decoration party.
Once you’ve finished your masterpiece, let it dry completely. If you want your design to last, a quick coat of clear spray varnish makes it tough enough for everyday use or display.
Rock Painting for Fun and Creativity
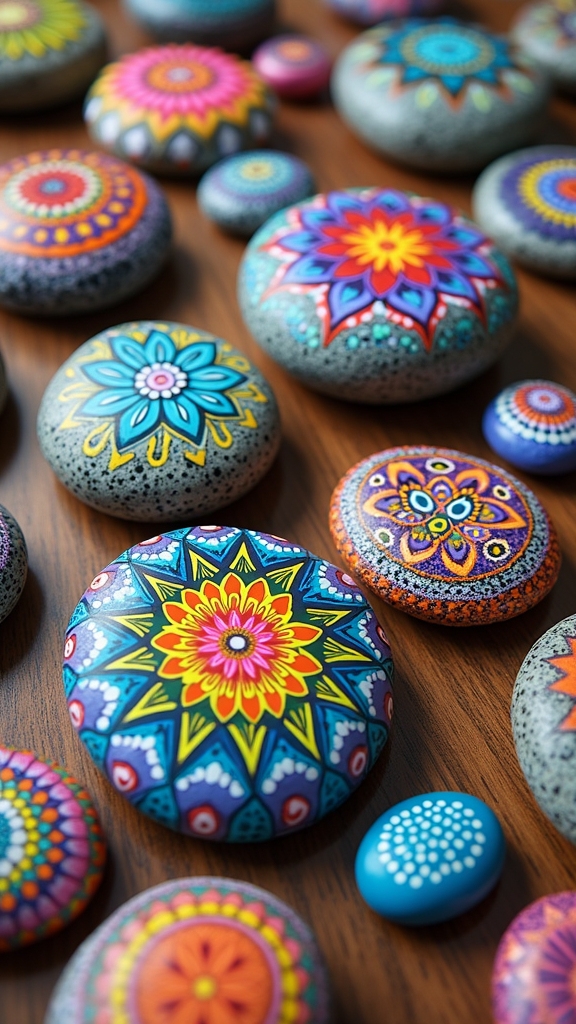
Rock painting with POSCA markers is all about picking the right rocks—think smooth, flat ones that won’t make your designs look like a bumpy rollercoaster.
Using simple tricks like a base coat and bold marker strokes, anyone can turn a plain stone into a mini masterpiece packed with color.
Once the art is done, a couple of quick sprays with varnish can lock in your design, making it ready to show off indoors or out—just try not to start a rock collection that takes over your whole backyard!
Choosing the Right Rocks
Even though it might be tempting to grab the first pebble spotted in the backyard, picking the right rocks makes a huge difference when painting with POSCA markers. Smoother, flatter stones are like a blank canvas—your colors pop, your lines stay crisp, and you won’t waste time fighting a bumpy surface.
Some people like to experiment with porous rocks for a cool, bumpy look, but just remember, you’ll need extra layers of paint for those vibrant colors to really shine.
If you’re feeling fancy, try painting a craft paint background first—it’s like giving your rock a little primer coat.
And when you’re done? A protective varnish is your artwork’s superhero cape, keeping those designs bright and safe from rain or rough handling.
Techniques for Vibrant Designs
Once the perfect rock has been picked out and prepped, it’s time for the real fun—turning that stone into a mini masterpiece!
For the best vibrant results, artists often start with smoother, flatter rocks, making it way easier to draw with POSCA markers. If the rock is a bit porous, no problem—just add a few layers of paint to get those colors really popping.
Some crafty creators even paint a background first, using craft paint to set the stage for bold, bright designs.
With POSCA markers in hand, experimenting with different shapes, patterns, and color combos becomes a blast. Simple projects like stripes, polka dots, or doodles can look amazing when you layer colors.
It’s all about letting creativity run wild!
Sealing and Display Tips
Lock in those bold colors and creative designs—it’s time to talk sealing and showing off all that hard rock work!
After finishing a masterpiece with POSCA markers, it’s super important to seal the surface. Two coats of spray varnish will protect the designs from rain, sun, and the occasional curious squirrel.
Choose smoother, flat rocks for easier drawing, but no worries if the rocks are porous—just add extra paint layers before sealing. For a polished look, paint a background first for extra depth.
Once sealed, display your art outdoors in the garden, on a porch, or anywhere that needs a pop of color. Sealing is key—not just for protection, but for making sure your awesome artwork lasts and gets the attention it deserves!
Customizing Phone Cases With Unique Designs
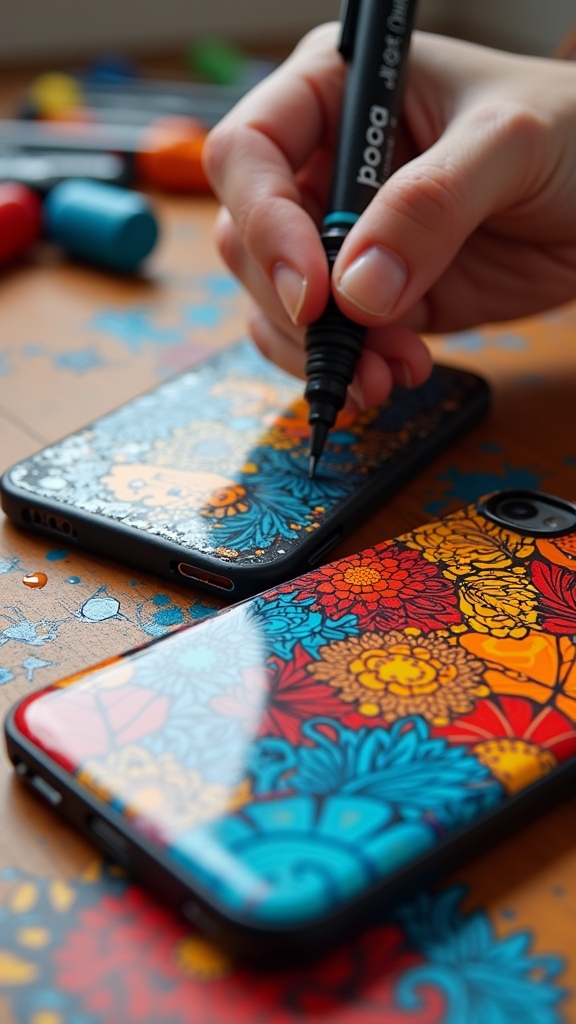
There’s something seriously awesome about turning a plain old phone case into a one-of-a-kind piece of art using POSCA markers.
With POSCA paint pens, projects are so simple—even beginners can decorate them with bright, bold patterns! First, scrub that phone case squeaky clean, so the colors stick perfectly.
Smooth plastic cases work best, since textures can mess up your design. Grab a mix of marker tip sizes. It’s fun to outline with a fine point, then fill in with a chunky one for some eye-popping contrast.
Let each layer dry completely before adding more color; nobody wants a smeary mess! Once your masterpiece is finished, spray on a clear varnish to protect your design from scratches or fading.
Voilà—custom case magic!
DIY Geometric Tote Bags
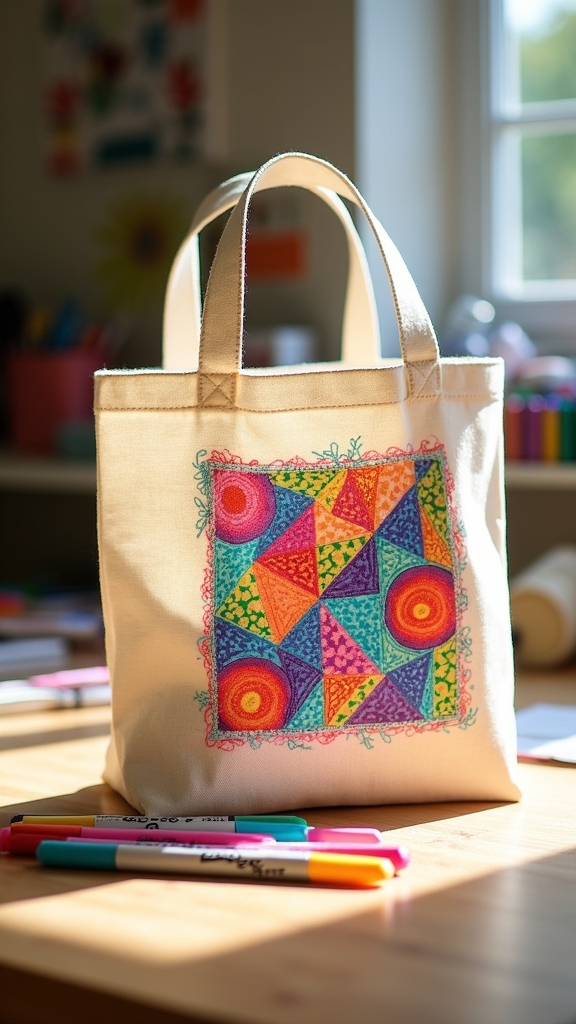
A blank tote bag is basically a giant canvas just waiting to get jazzed up, and POSCA markers are the ultimate sidekick for adding some seriously cool geometric flair.
First things first—make sure the tote bag is squeaky clean and totally dry, because that’s how you get those crisp, vibrant results with Posca Paint.
Start with a spotless, dry tote bag to guarantee those Posca colors come through crisp, clean, and seriously vibrant.
Now, grab your markers and start doodling triangles, squares, and circles in wild combinations. Layering bold, contrasting colors? Oh yeah, that makes the patterns pop like crazy!
Don’t rush—let the designs dry all the way so your art doesn’t smudge. Want it to last even longer? Carefully heat-set the paint with an iron.
Suddenly, your tote’s not just a bag—it’s a walking masterpiece!
Decorating Wooden Yo-Yos With Animal Themes
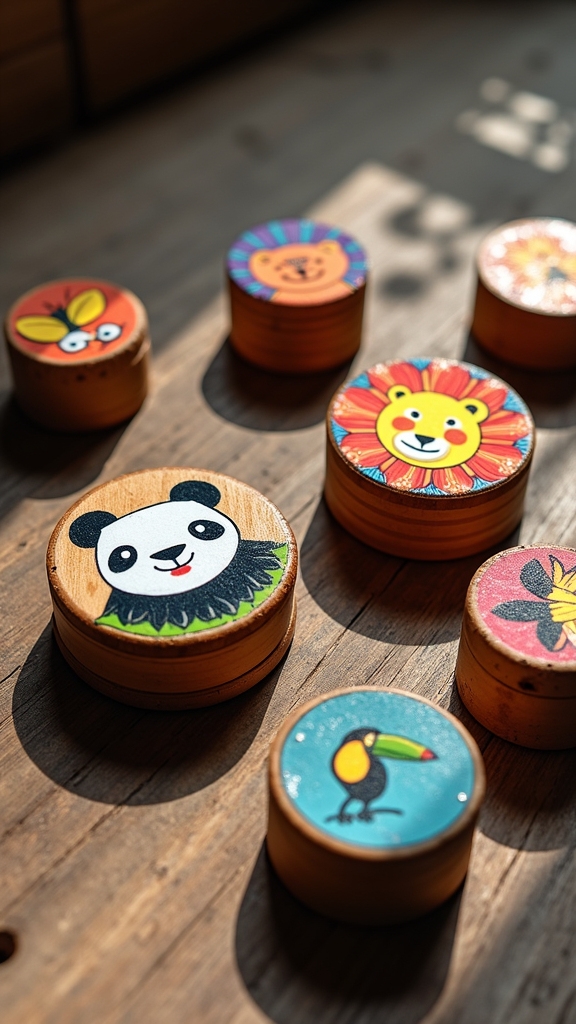
Wooden yo-yos practically beg for a little personality, especially when Posca markers are involved. Starting with a plain, clean, and dry yo-yo, artists can plunge into animal themes—think cats with quirky whiskers, playful pups, or even chirpy little birds.
Using simple shapes and bold outlines keeps the process fun and totally doable, even for beginners. Layering colors is the secret to vibrant results, so don’t be shy—let each layer dry before adding more details. Fine-tipped Posca markers help with those tiny eyes and funky patterns, and contrasting colors make designs pop.
Once the masterpiece is finished, a quick spray of clear varnish seals everything in, making sure your animal yo-yo survives plenty of spins and tricks.
Bold Ceramic Art Using POSCA Markers
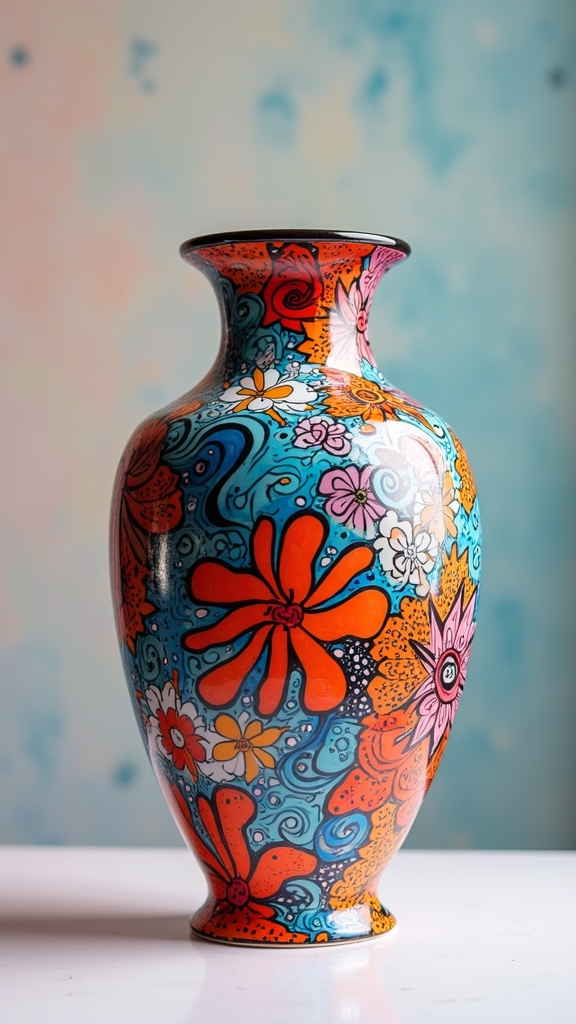
Release a burst of color onto boring ceramics with the magic of POSCA markers! Imagine turning a plain mug or tile into bold ceramic art that stands out on any shelf.
POSCA markers make it easy, with their super-bright colors sticking beautifully to clean, dry ceramic surfaces. Want to get creative? Try mixing and layering different shades, or go wild with stencils and freehand doodles—there are no rules except to have fun.
Just remember, wipe your ceramic clean first, so your designs really pop! To make your masterpiece permanent, bake your decorated piece following the recommended guidelines. This locks in your art, making it tough and long-lasting.
POSCA markers are perfect for anyone ready to make their ceramics unforgettable!
Personalized Skateboard Deck Art
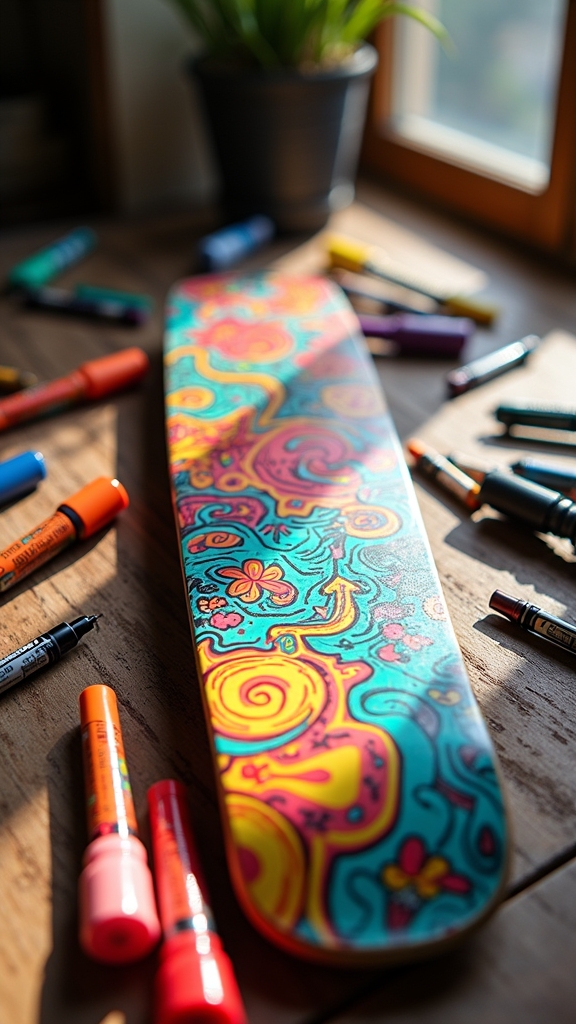
Turning a blank skateboard deck into a rolling masterpiece with POSCA markers starts with prepping the wood, because nobody wants their art flaking off during a kickflip.
Artists get to play with bold graphics using different marker tips and wild color combos, making the board totally one-of-a-kind—kind of like a fingerprint, but way cooler.
To make sure all that hard work survives wipeouts and wild rides, a clear spray varnish seals everything in, locking in the colors and the bragging rights.
Preparing the Skateboard Surface
A blank skateboard deck is like a canvas just waiting for some epic POSCA marker magic. But before diving in, it’s super important to clean the deck thoroughly—nobody wants crusty dirt or greasy fingerprints messing up their masterpiece!
Once it’s squeaky clean, priming comes next. A base coat, like white acrylic paint, helps colors pop and stick around longer, so your design won’t fade after a few rides. Don’t rush—let that primer dry all the way for a smooth, even surface.
When you finally get to use the markers, remember: thin layers are your friend, so the colors stay sharp without smudging.
And when you’re done? Seal everything in with a clear spray varnish to protect your art from scratches and wipeouts!
Designing Bold Graphics
Creativity takes center stage when it’s time to design bold graphics for a skateboard deck. With POSCA markers in hand, the possibilities are wild, colorful, and totally unique.
Artists can play with different marker tip sizes, making thick lines for dramatic shapes and thin lines for crisp details. Layering colors, blending shades, and adding textures all help each design pop with personality.
Before starting, it’s smart to clean and prime the deck—because nobody wants their masterpiece to peel off after one epic ride!
Here are some striking visuals to imagine:
- Fiery red lightning bolts zigzagging across matte black.
- Cartoon monsters with goofy grins and neon accents.
- Layered geometric patterns that create a 3D illusion.
- Graffiti-style bubble letters spelling out a skater’s nickname.
- Swirling galaxies bursting with purples and blues.
Sealing for Lasting Art
Once the last neon monster face or swirling galaxy is in place, it’s time to figure out how to keep that epic art looking fresh, even after a few wild rides and maybe a wipeout or two.
Sealing your personalized skateboard deck art is a must if you want those bright POSCA marker colors to stay permanent and not fade into boring blobs. After the markers are dry (seriously, wait for it), grab a clear acrylic sealer or varnish that works with POSCA markers.
Spray on light, even coats, letting each layer dry—think of it like building armor for your art. This extra step helps protect against scratches, sun, and rain.
And hey, storing your deck out of direct sunlight really helps your masterpiece last even longer!
Upcycling Leather Accessories
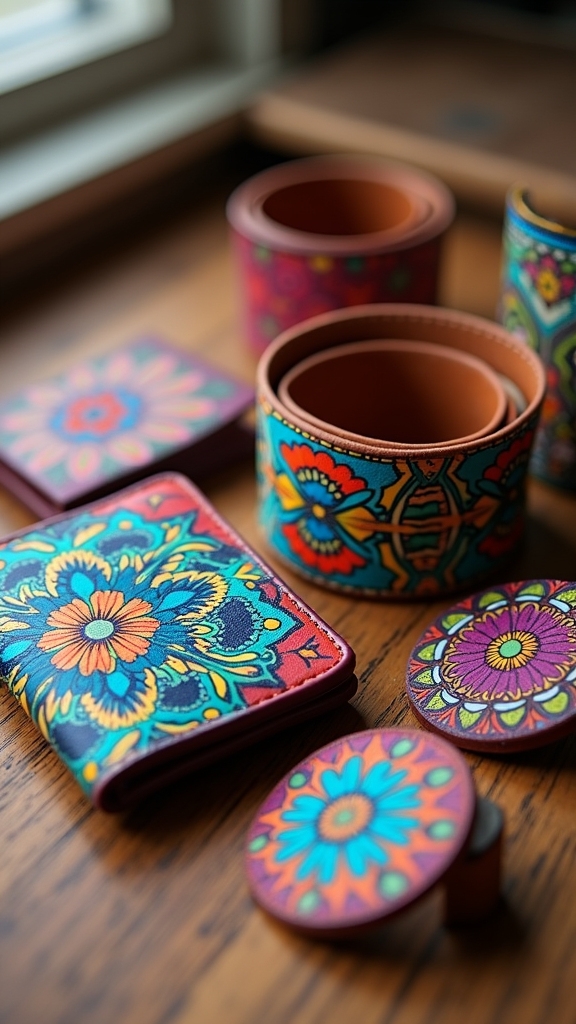
Give old leather accessories a wild makeover with a splash of color and a little imagination—thanks to POSCA markers, even the most boring wallet or plain bag can become a work of art.
POSCA markers are awesome for up-cycling projects because they’re permanent and bleed-proof, which means your designs stay sharp and bold.
Before starting, make sure to clean the leather well so the markers stick. Try layering colors or using wild patterns—there’s no limit to what you can create!
Once your masterpiece is dry, add a protective clear coat to lock it in for the long haul.
Imagine these possibilities:
- A wallet bursting with rainbow lightning bolts
- Cosmic stars scattered across a handbag
- Funky geometric patterns on a phone case
- Cartoon monsters jazzing up a leather bracelet
- Swirling vines and doodles on a belt
Stenciled Art Inspired by Gustav Klimt
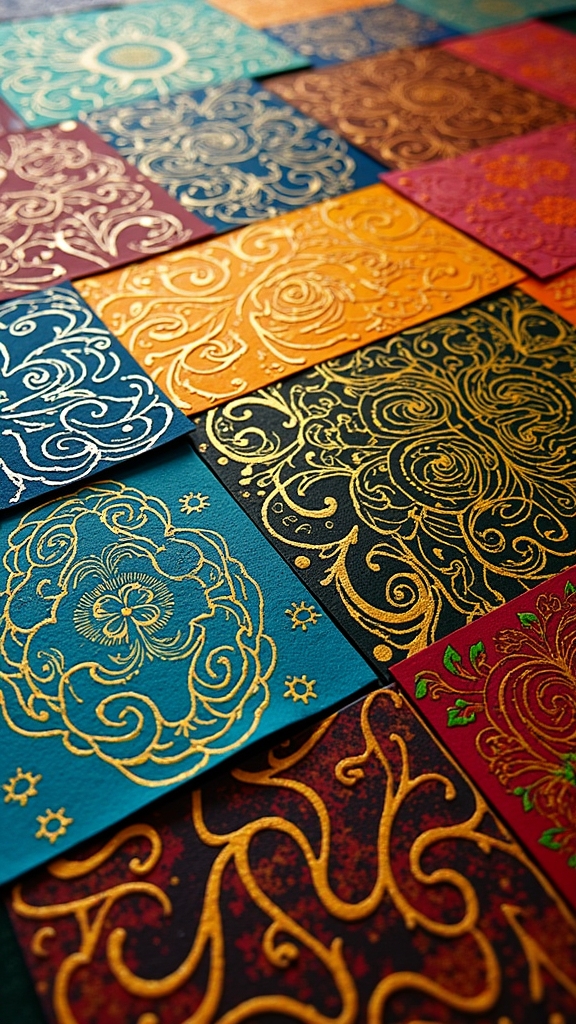
Stenciled art inspired by Gustav Klimt pops with wild color and bold patterns, and Posca markers make it easy to get that look.
Klimt’s style is all about layering shimmering golds, swirling shapes, and dramatic contrasts, so mixing bright marker shades and stacking stencils is key.
With a few clever tricks, anyone can channel their inner artist and create a masterpiece that even Klimt might envy.
Klimt-Inspired Color Techniques
Even though Gustav Klimt painted over a hundred years ago, his bold colors and wild patterns still feel super fresh—like they could jump right off the canvas and dance around your room.
To channel that same energy, artists can grab Posca markers in vibrant colors, including metallics and glitters, and experiment with layering techniques. Start with a base layer of black gesso for major drama, then use gold, apple green, and bronze for that signature Klimt glow.
Layering with ghost prints lets some colors peek through, giving the art surprising depth. Fine-tip Posca markers make it easy to add all those tiny, swirling details that Klimt loved, making the artwork totally pop.
- Shimmering golds and bronzes
- Swirls and dots in wild, unexpected places
- Dramatic black backgrounds
- Pops of apple green and candy-bright hues
- Delicate, intricate linework
Stencil Layering Methods
When artists want to make their work look extra fancy—like, “Whoa, did you really draw that?” fancy—stencil layering is the ultimate trick up their sleeve. It’s all about building up cool designs, one on top of the other, just like Gustav Klimt did.
Start by making a bold background—black gesso on a gel plate is perfect for this. Then, grab some stencils and Posca markers. Use different tip sizes for crisp outlines or tiny details.
Between layers, try the ghost printing technique (press a paper on a wet stencil—boom, instant texture!). This adds crazy depth and interest.
For an epic finish, go wild with glitter or metallic Posca markers. Suddenly, your art sparkles like a Klimt painting—fancy, with extra “wow!”
Creating Vibrant Canvas Illustrations
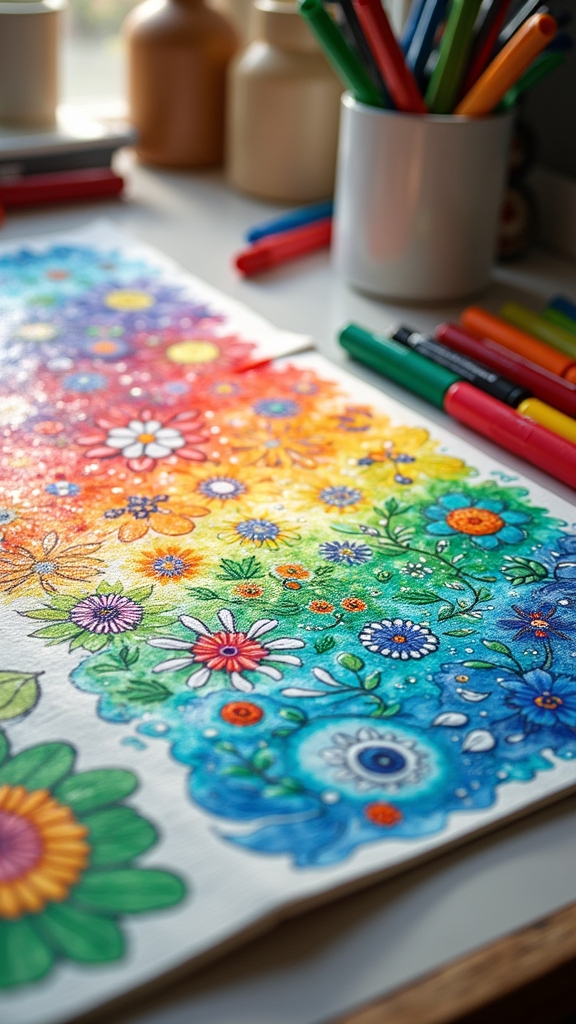
Honestly, who can resist the thrill of watching bold colors leap onto a blank canvas, especially with Posca markers in hand? Turning a plain white surface into a burst of vibrant illustrations feels like a secret superpower.
First, artists pick a clean, dry canvas—no dust bunnies allowed! Using Posca markers’ opaque, water-based colors, they start layering, blending, and even adding sparkly metallic or glitter touches for extra flair. Fine tip markers come in handy for those tiny details that make everyone lean in for a closer look.
Just remember, patience is key—let each layer dry so colors don’t turn into an accidental tie-dye. Finally, a quick spritz with a protective spray keeps that masterpiece bright and safe for ages.
- Bright, bold shapes popping against crisp white canvas
- Shimmering metallic accents catching the light
- Layer upon layer of vivid colors, building depth
- Intricate lines and tiny doodles in every corner
- A glossy finish that makes the whole piece shine
Transforming Glass Jars Into Colorful Decor
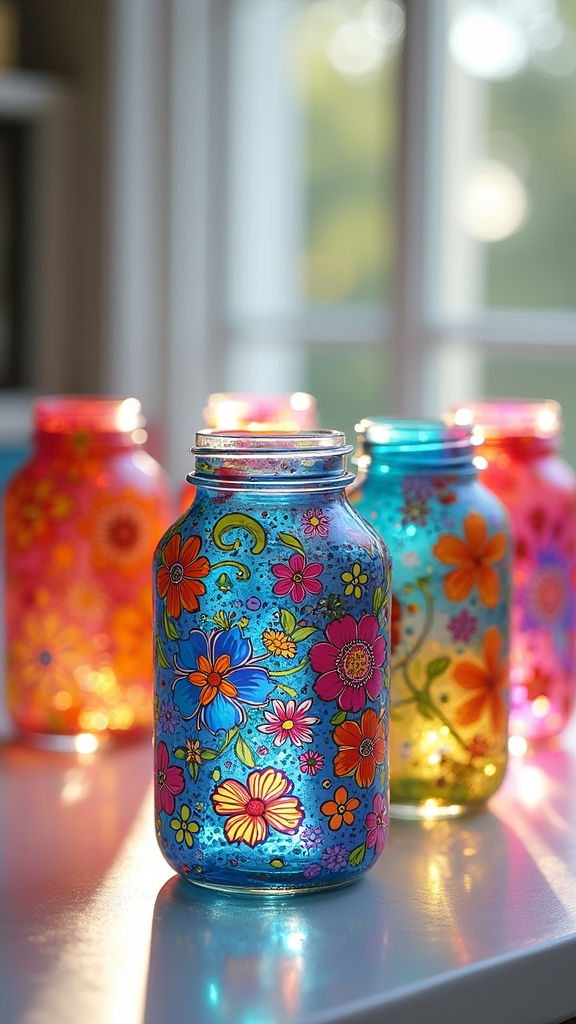
With just a handful of old glass jars and a bunch of bright POSCA markers, anyone can turn boring containers into eye-popping works of art.
First, scrub those jars squeaky clean—nobody wants dusty designs ruining their masterpiece!
Next, grab some POSCA pens and get creative. Go wild with vibrant designs, doodle patterns, or let your imagination run free with funky shapes. For tiny details or super-precise lines, fine-tip POSCA pens are the secret weapon.
Let your creativity loose with POSCA pens—bold designs, playful patterns, and crisp fine lines are all just a doodle away.
Once you’re done, let your artwork dry, then bake the jars at 350°F for 30 minutes to make the colors stick for good—science and art, together at last!
Fill your new creations with fairy lights or flowers and watch your space explode with color and personality.
Frequently Asked Questions
What Is the Best Thing to Draw on With Posca Markers?
When considering the best drawing surfaces for Posca markers, art paper and canvas stand out. These allow for ideal color blending and marker techniques, providing vibrant results, though other smooth surfaces like wood, glass, and ceramics also perform well.
What Easy Things Can You Do With Poscas?
When considering what easy things can be done with POSCA markers, one can explore beginner-friendly Posca techniques, experiment with DIY crafts, and take advantage of the markers’ surface compatibility for decorating plates, rocks, wooden objects, and personal accessories.
Is POSCA Ok on Skin?
When considering skin safety, POSCA markers are generally non-toxic, but unlike marker types made for body art, they are not formulated for skin. For temporary designs, safer, skin-specific products are recommended to prevent irritation or allergic reactions.
Why Is POSCA so Expensive?
Posca markers are expensive due to their superior Posca marker quality, extensive Posca color variety, and impressive Posca marker durability. These features, combined with eco-friendly materials and innovative formulations, justify their higher price compared to standard markers.
Conclusion
With just a set of Posca markers, anyone can turn ordinary objects into amazing art. Whether it’s jazzing up a phone case or making a wooden yo-yo look like a tiny jungle, the possibilities are wild. Mistakes? No big deal—just keep going! That’s part of the fun. So grab those markers, pick a project, and let creativity take over. Who knows? The next masterpiece could be hiding on a rock or even an old tote bag.
Leave a Reply