
Starting to doodle is easier than people think—all you need is some blank paper, a pencil, and your favorite pen. First, try drawing a carnation using a squiggly U shape for the base and zigzag lines for petals, or sketch a tulip with simple ovals and lines. For food doodles, draw a triangle for an ice cream cone, or a coffee cup with a U shape and steam squiggles. Add thick outlines and bright colors for depth, and soon your simple sketches will pop off the page. Stick around—there’s more fun, easy doodles ahead!
Key Takeaways
- Gather basic supplies like blank paper, pencil, and pens of various sizes to start your doodle.
- Start with simple shapes such as U’s, ovals, and triangles as the foundation for your doodle.
- Outline your sketch with thick lines for main shapes and thin lines for finer details.
- Add color, shadows, and simple textures like crosshatching or dots to make the doodle pop.
- Practice daily in a dedicated sketchbook to improve skills and track your artistic growth.
Essential Doodling Supplies for Beginners

Every great doodle adventure needs the right gear, and starting out is easier than it looks. For any beginner diving into doodle tutorials, gathering essential doodling supplies is the perfect first step.
You’ll need some blank paper and a trusty pencil for your initial sketches—think of the pencil as your doodle’s warm-up routine. The real fun starts with picking your writing instrument; for crisp lines, Le Pen Drawing pens are fantastic.
Craving comic book vibes? Try Le Plume Permanent pens. Want to splash your art with color? Le Plume II markers will be your new best friends.
Grab pens in different sizes, because chunky outlines and super-skinny details make your art pop. Step by step, these simple tools unleash endless creativity.
Step-by-Step Guide: Drawing a Carnation
Now it’s time for the fun part—actually drawing your carnation, and trust us, it’s easier than you think!
First, sketch the basic outline, then add details, before grabbing your pen for inking and finally going wild with colors (don’t worry, we won’t judge if you make your carnation purple).
With a few simple steps, anyone can create a doodle that looks almost good enough to smell.
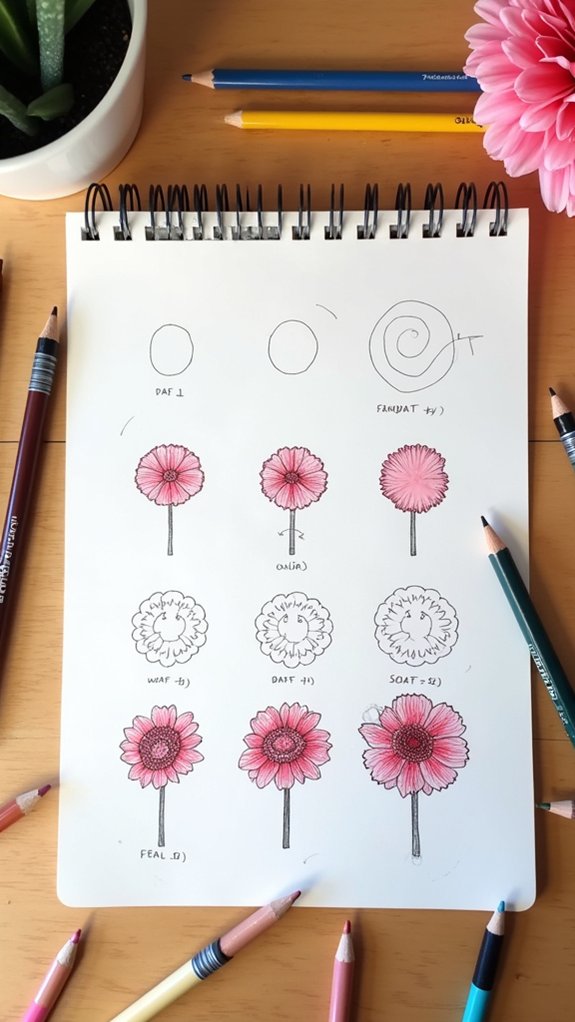
Sketching the Carnation Outline
There’s something oddly exciting about turning a blank page into a bursting bloom, and starting a carnation sketch is where all the magic kicks off.
To draw the outline, begin by sketching an elongated U shape for the calyx—the green base of the flower. Next, add a simple V shape for the stem, then draw two leaves hugging the body and two more pointing downwards, giving your carnation a fuller look.
Now comes the fun part: sketching those ruffled flower petals! Use rectangular shapes with jagged edges, starting from the center and moving outward. Don’t be afraid to get a little messy—carnations thrive on that wild, frilly look!
Inking and Adding Color
With the pencil sketch of the carnation looking wild and lovely, the real magic starts to happen—it’s time to ink and add color! Carefully trace over the sketch lines with a fine liner, letting the ink define each jagged petal and leafy detail. Here’s where those doodles pop! Vary the thickness of your ink lines: go bolder at the edges and lighter within, adding loads of dimension (trust—it makes a difference). Once the ink dries, grab colored pens and fill in the petals with vibrant reds or pinks, and leaves with fresh green shades. The contrast between the lively color and black ink brings the carnation to life, turning a simple sketch into a burst of cheerful blooms.
| Step | Tip | Supplies |
|---|---|---|
| Ink the outline | Vary line thickness | Fine liner |
| Color petals | Use bright reds or pinks | Colored pens |
| Shade leaves | Blend different green tones | Colored pens |
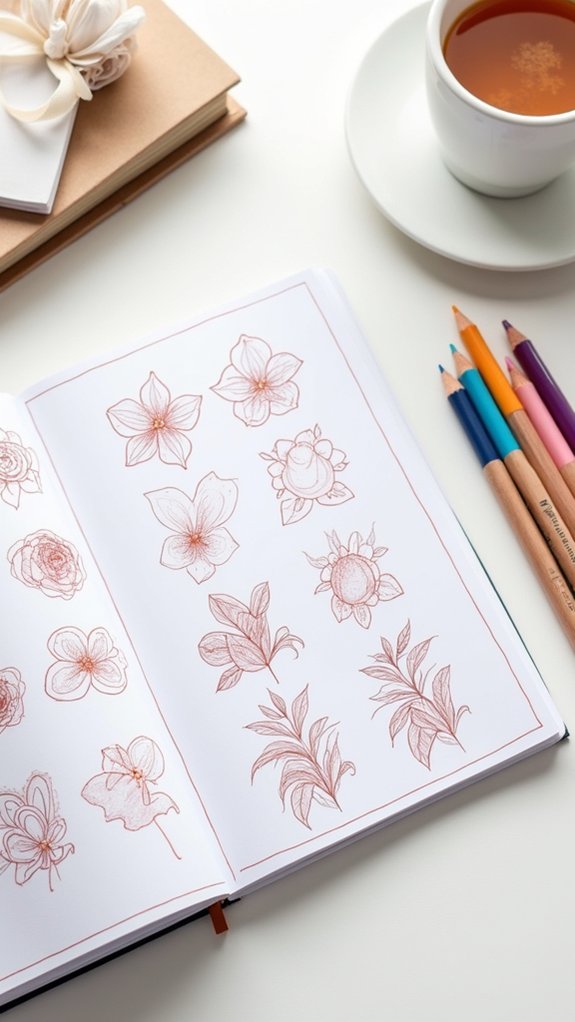
How to Draw a Tulip Easily

Now, let’s see how drawing a tulip can actually be super easy if you break it down into simple shapes, starting with a U for the base and an oval on top—just like drawing a fancy cup wearing a hat!
Adding just a few lines for the petals and some squiggly veins gives your flower serious “real tulip energy” without turning your hand into a cramped claw.
And for that wow factor, coloring in some shadows and highlights makes your doodle pop off the page—no green thumb needed!
Simple Tulip Shape Breakdown
A tulip might look fancy, but breaking it down into simple shapes makes it way easier to draw—kind of like turning a mysterious puzzle into a few easy steps.
First, sketching a tulip starts with an easy pencil outline: picture a big U shape with an oval sitting on top. This super simple combo is the backbone of your tulip doodle.
Next, add oblong petals with gently tapered tips, plugging them into that oval so they actually look floral (and not like alien ears). Don’t stop at just a couple—throw in a few more, angling them for a fuller, more natural look, almost like your tulip just woke up and stretched.
Finish with a sturdy stem and—bam!—a wavy, classic leaf. Step by step, you’ve nailed it.
Adding Realistic Petal Details
Even before colored pencils come out, tulip petals start to look way cooler once a bit of real detail sneaks in.
Here’s where the sketch gets all its personality—because doodling the right details is basically like giving your tulip its own style.
After you finish the basic tulip outline, it’s time to add two or three oblong petals, overlapping just enough to make things look natural (not like weird marshmallows stuck together).
Real tulip petals have thin veins running from the bottom up, so lightly doodle these lines—they don’t have to be perfect, just gentle and curvy.
Keep things sketchy and fun! The more details in your doodle, the more lifelike your petals look, and soon your simple tulip will seriously stand out.
Coloring for Depth
With all those cool petal details sketched in, the tulip already looks pretty awesome—but here comes the real magic: adding color. This is where doodles come alive!
Coloring for depth is not just filling in the lines—it’s about making your tulip pop off the page like it’s doing a happy dance. Grab your colored pens or pencils and pick colors that blend smoothly.
Don’t be afraid to layer and experiment, because, let’s be honest, coloring is half the fun of this creative outlet, especially if you’re into bullet journaling. Want to enhance your tulip with some real pizzazz?
- Use two or three shades for each petal for depth.
- Blend darker colors at the petal bases.
- Add highlights with lighter tones.
- Layer the greens in the stem and leaf.
- Try gentle crosshatching for shadow effects.
Fun Food Doodles: Coffee and Ice Cream
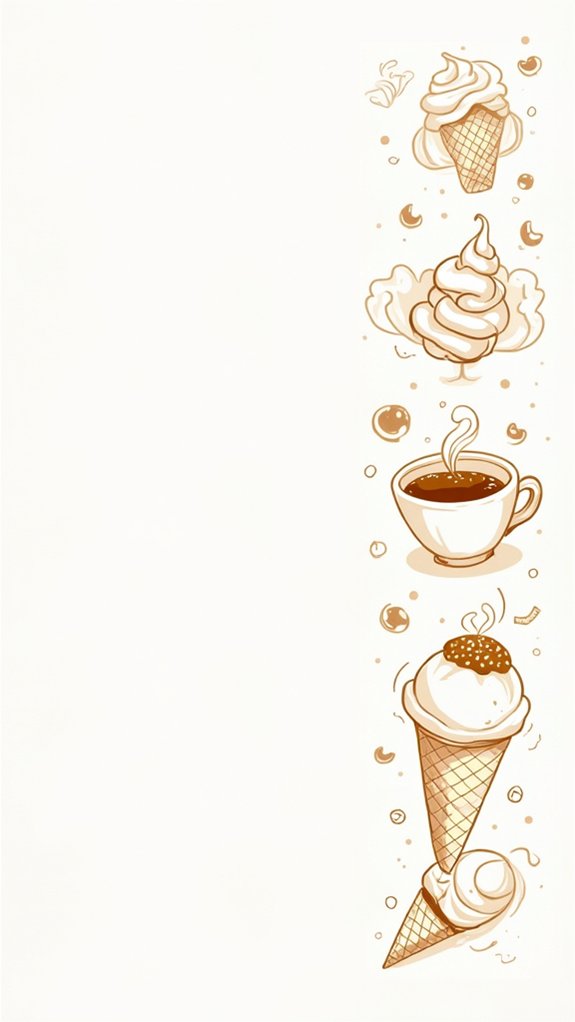
Nothing grabs attention quite like doodling delicious snacks, and food doodles almost feel like a secret shortcut to making any sketchbook a little more awesome.
Doodling helps people relax and get playful, especially when the subject is a happy ice cream cone or a steaming coffee cup. For an ice cream cone, it’s as easy as drawing a triangle for the cone and a squiggly oval scoop on top, then adding little jagged lines for that ice-cold texture.
Coffee cups start with a horizontal oval rim and a U-shaped body; add a handle, a saucer, and, of course, fun wavy steam lines. Using different pen sizes makes food doodles even more fun.
Add sprinkles, smiley faces, or even a tiny spoon, and you’ve got a creative outlet that’s good enough to eat!
Drawing Simple Objects: Pumpkin and Snowman
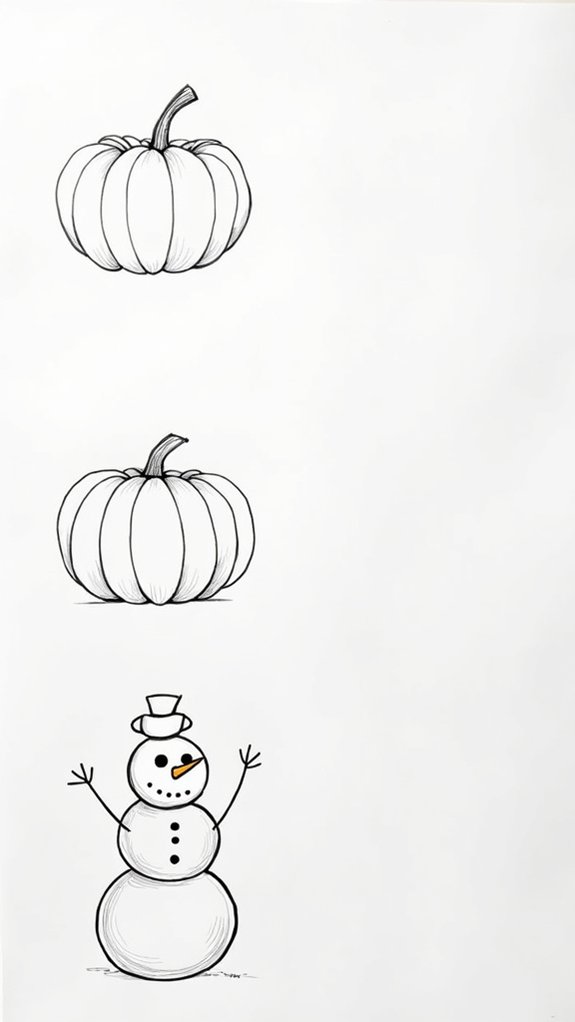
Pumpkins and snowmen always know how to steal the spotlight when it comes to simple—and seriously fun—doodles. In this drawing tutorial, anyone can quickly master these classic objects!
For a doodle pumpkin, you start with a big circle, add smaller ovals for depth, then toss in a couple more for the stem. Curved lines along the sides help with that signature pumpkin look.
As for the snowman, stack up three circles—head, body, base—and let your creativity fly with accessories.
- Begin with basic shapes: circle for pumpkin, three stacked for the snowman.
- Use small ovals to add dimension and texture to your pumpkin.
- Decorate the snowman with a carrot nose and top hat.
- Draw stick arms and buttons for personality.
- Outline your doodle using a Le Pen Drawing pen.
Quick Techniques to Enhance Your Doodles
Jump right in and watch how a few pro tips can turn doodles from basic to totally eye-catching!
Start by giving your main shapes big, thick outlines—boom, instant contrast. It seriously makes stuff pop.
Now, switch things up with your pens; thicker lines for shadows, skinny ones for details. That’s how you craft depth and make doodles look almost 3D.
Don’t just stop at lines, though. If you want cool texture, try stippling—just add tiny dots and watch dimension appear like magic.
A dash of shading with a light gray pen works wonders for shadowy vibes.
And hey, never underestimate the power of colors! Vibrant shades can take even the simplest sketch and turn it into a festival for your eyeballs.
Recommended Doodle Challenges and Practice Tips
Sometimes all it takes is a few good doodle challenges to seriously level up your skills and blast past art block. If you’re looking for a creative outlet and want some solid practice tips, check this out!
Consistency is key—doing a little each day goes a long way, even if your dog steals your pencil every other minute. Having a sketchbook just for doodle challenges lets you look back and see your skills grow (and maybe laugh at your early stick figures).
Here are some doodle tips to boost your artistic adventure:
- Join online doodle communities for support and feedback
- Try themed prompts like “Roll A Winter Doodle” for inspiration
- Set aside just 10 minutes a day to doodle
- Never skip a page in your sketchbook
- Experiment with different styles to keep things fresh
Frequently Asked Questions
What Are the Shapes for Doodle Art for Beginners?
The question addresses which shapes benefit beginners. Basic doodle shapes include circles, squares, triangles, and ovals. These geometric doodle ideas form the base for fun doodle patterns, simple line designs, and encourage creative doodle themes.
What Are the Five Styles of Doodling?
When exploring the five main styles of doodling, one encounters whimsical doodles, geometric patterns, nature doodles, character sketches, and abstract designs. Each style emphasizes distinct approaches, from imaginative spontaneity and symmetry to botanical inspiration and playful figures.
How to Make a Doodle for Kids?
To make a doodle for kids, one should use doodle techniques involving simple patterns and creative drawing. Incorporating fun doodle themes and bright colors results in kid friendly doodles that encourage imagination and artistic confidence.
How Do You Doodle Eyes for Beginners?
When exploring doodle eye techniques, beginners should practice simple eye variations, experiment with cartoon eye expressions, and learn basic eye shading methods. Attention to eye placement tips helps achieve proportion and enhances different styles and emotional effects.
Conclusion
Doodling isn’t just for passing time in class—it’s a real skill anyone can learn. With just a pen and paper, beginners can draw all sorts of fun things, from flowers and food to pumpkins with serious attitude. Mistakes? Totally part of the adventure. Practicing with new shapes and challenges makes doodles better every time. Grab your supplies, keep your eraser close, and remember: the only bad doodle is the one you didn’t try. Now, go make something awesome!
Leave a Reply